

安装 Steam
登录
|
语言
繁體中文(繁体中文)
日本語(日语)
한국어(韩语)
ไทย(泰语)
български(保加利亚语)
Čeština(捷克语)
Dansk(丹麦语)
Deutsch(德语)
English(英语)
Español-España(西班牙语 - 西班牙)
Español - Latinoamérica(西班牙语 - 拉丁美洲)
Ελληνικά(希腊语)
Français(法语)
Italiano(意大利语)
Bahasa Indonesia(印度尼西亚语)
Magyar(匈牙利语)
Nederlands(荷兰语)
Norsk(挪威语)
Polski(波兰语)
Português(葡萄牙语 - 葡萄牙)
Português-Brasil(葡萄牙语 - 巴西)
Română(罗马尼亚语)
Русский(俄语)
Suomi(芬兰语)
Svenska(瑞典语)
Türkçe(土耳其语)
Tiếng Việt(越南语)
Українська(乌克兰语)
报告翻译问题


")


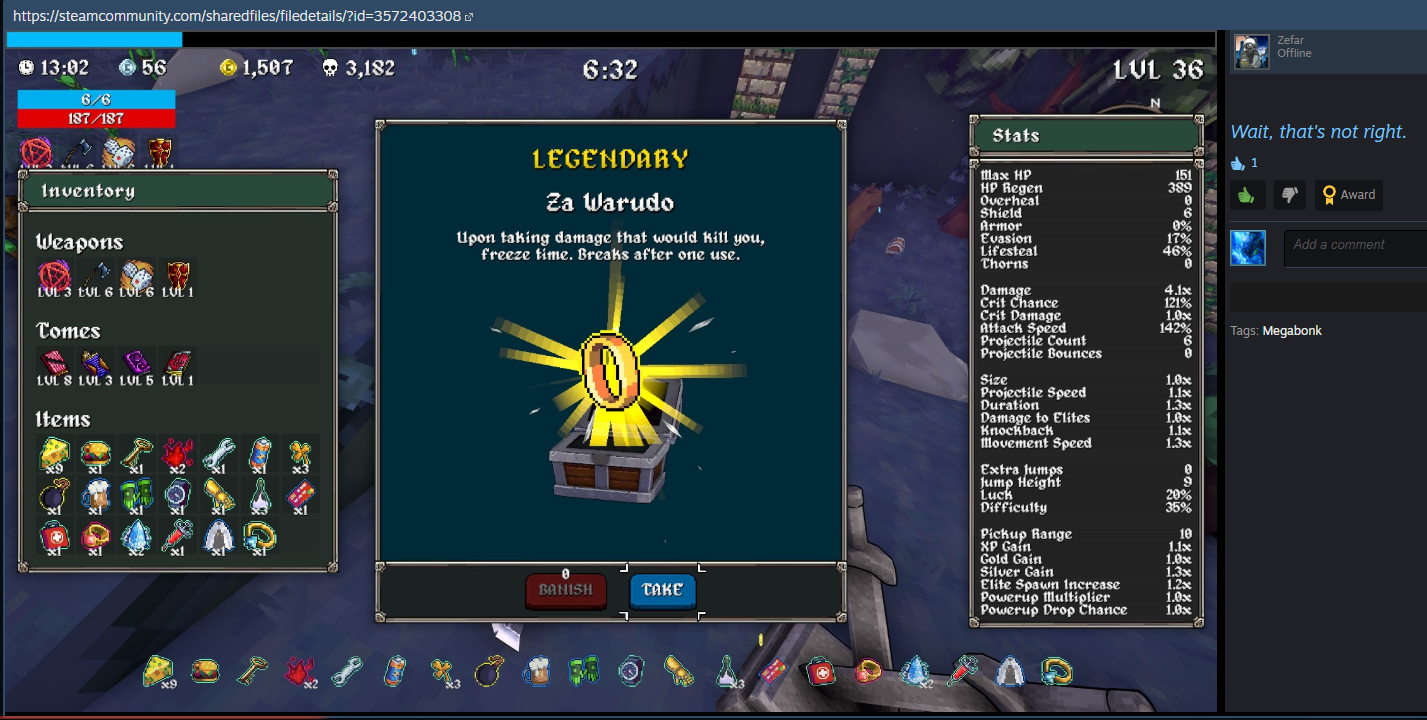


https://psteamcommunity.yuanyoumao.com/sharedfiles/filedetails/?id=3591584048
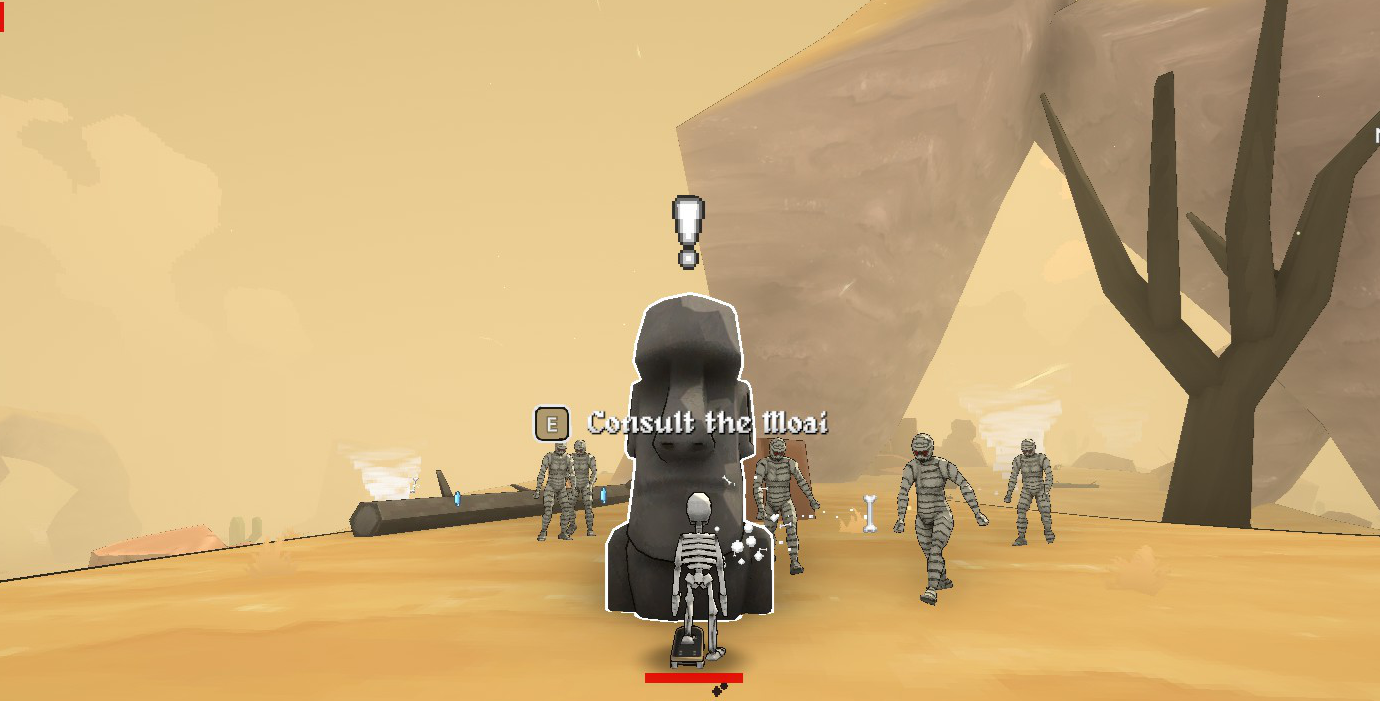
Tumbleweed can also drop gold like pots can
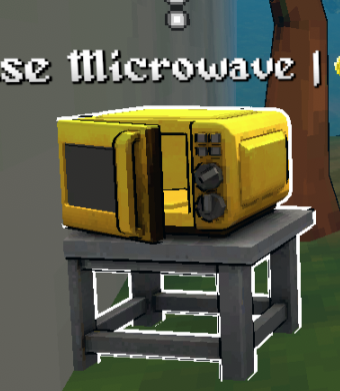
Higher tier microwaves provide less uses. Legendary (yellow) microwave is single use
The hat merchants hat color is minimum rarity, not guaranteed. So you can get a legendary from a black hat merchant, or a purple from a blue hat merchant, but never lower than the hat color
Evasion is chance to avoid damage, you said "chance to not avoid damage"
Its is possessive, it's is a contraction of "it is" (minor grammatical error)
(Home Alone clip)
The way you have writ it states that just getting life steal adds +1hp per hit, and implies further increases can give you +2% at 100% life steal but this is incorrect.
Getting the tome will give you a 10% chance to get +1hp.
Once you get to 100% life steal you will NOW get 1hp per hit.
Above 100% you will get the guaranteed 1hp per hit, and a chance for it to be 2hp and so on.
TY for writing the guide bruz!