

安装 Steam
登录
|
语言
繁體中文(繁体中文)
日本語(日语)
한국어(韩语)
ไทย(泰语)
български(保加利亚语)
Čeština(捷克语)
Dansk(丹麦语)
Deutsch(德语)
English(英语)
Español-España(西班牙语 - 西班牙)
Español - Latinoamérica(西班牙语 - 拉丁美洲)
Ελληνικά(希腊语)
Français(法语)
Italiano(意大利语)
Bahasa Indonesia(印度尼西亚语)
Magyar(匈牙利语)
Nederlands(荷兰语)
Norsk(挪威语)
Polski(波兰语)
Português(葡萄牙语 - 葡萄牙)
Português-Brasil(葡萄牙语 - 巴西)
Română(罗马尼亚语)
Русский(俄语)
Suomi(芬兰语)
Svenska(瑞典语)
Türkçe(土耳其语)
Tiếng Việt(越南语)
Українська(乌克兰语)
报告翻译问题


List of changes:
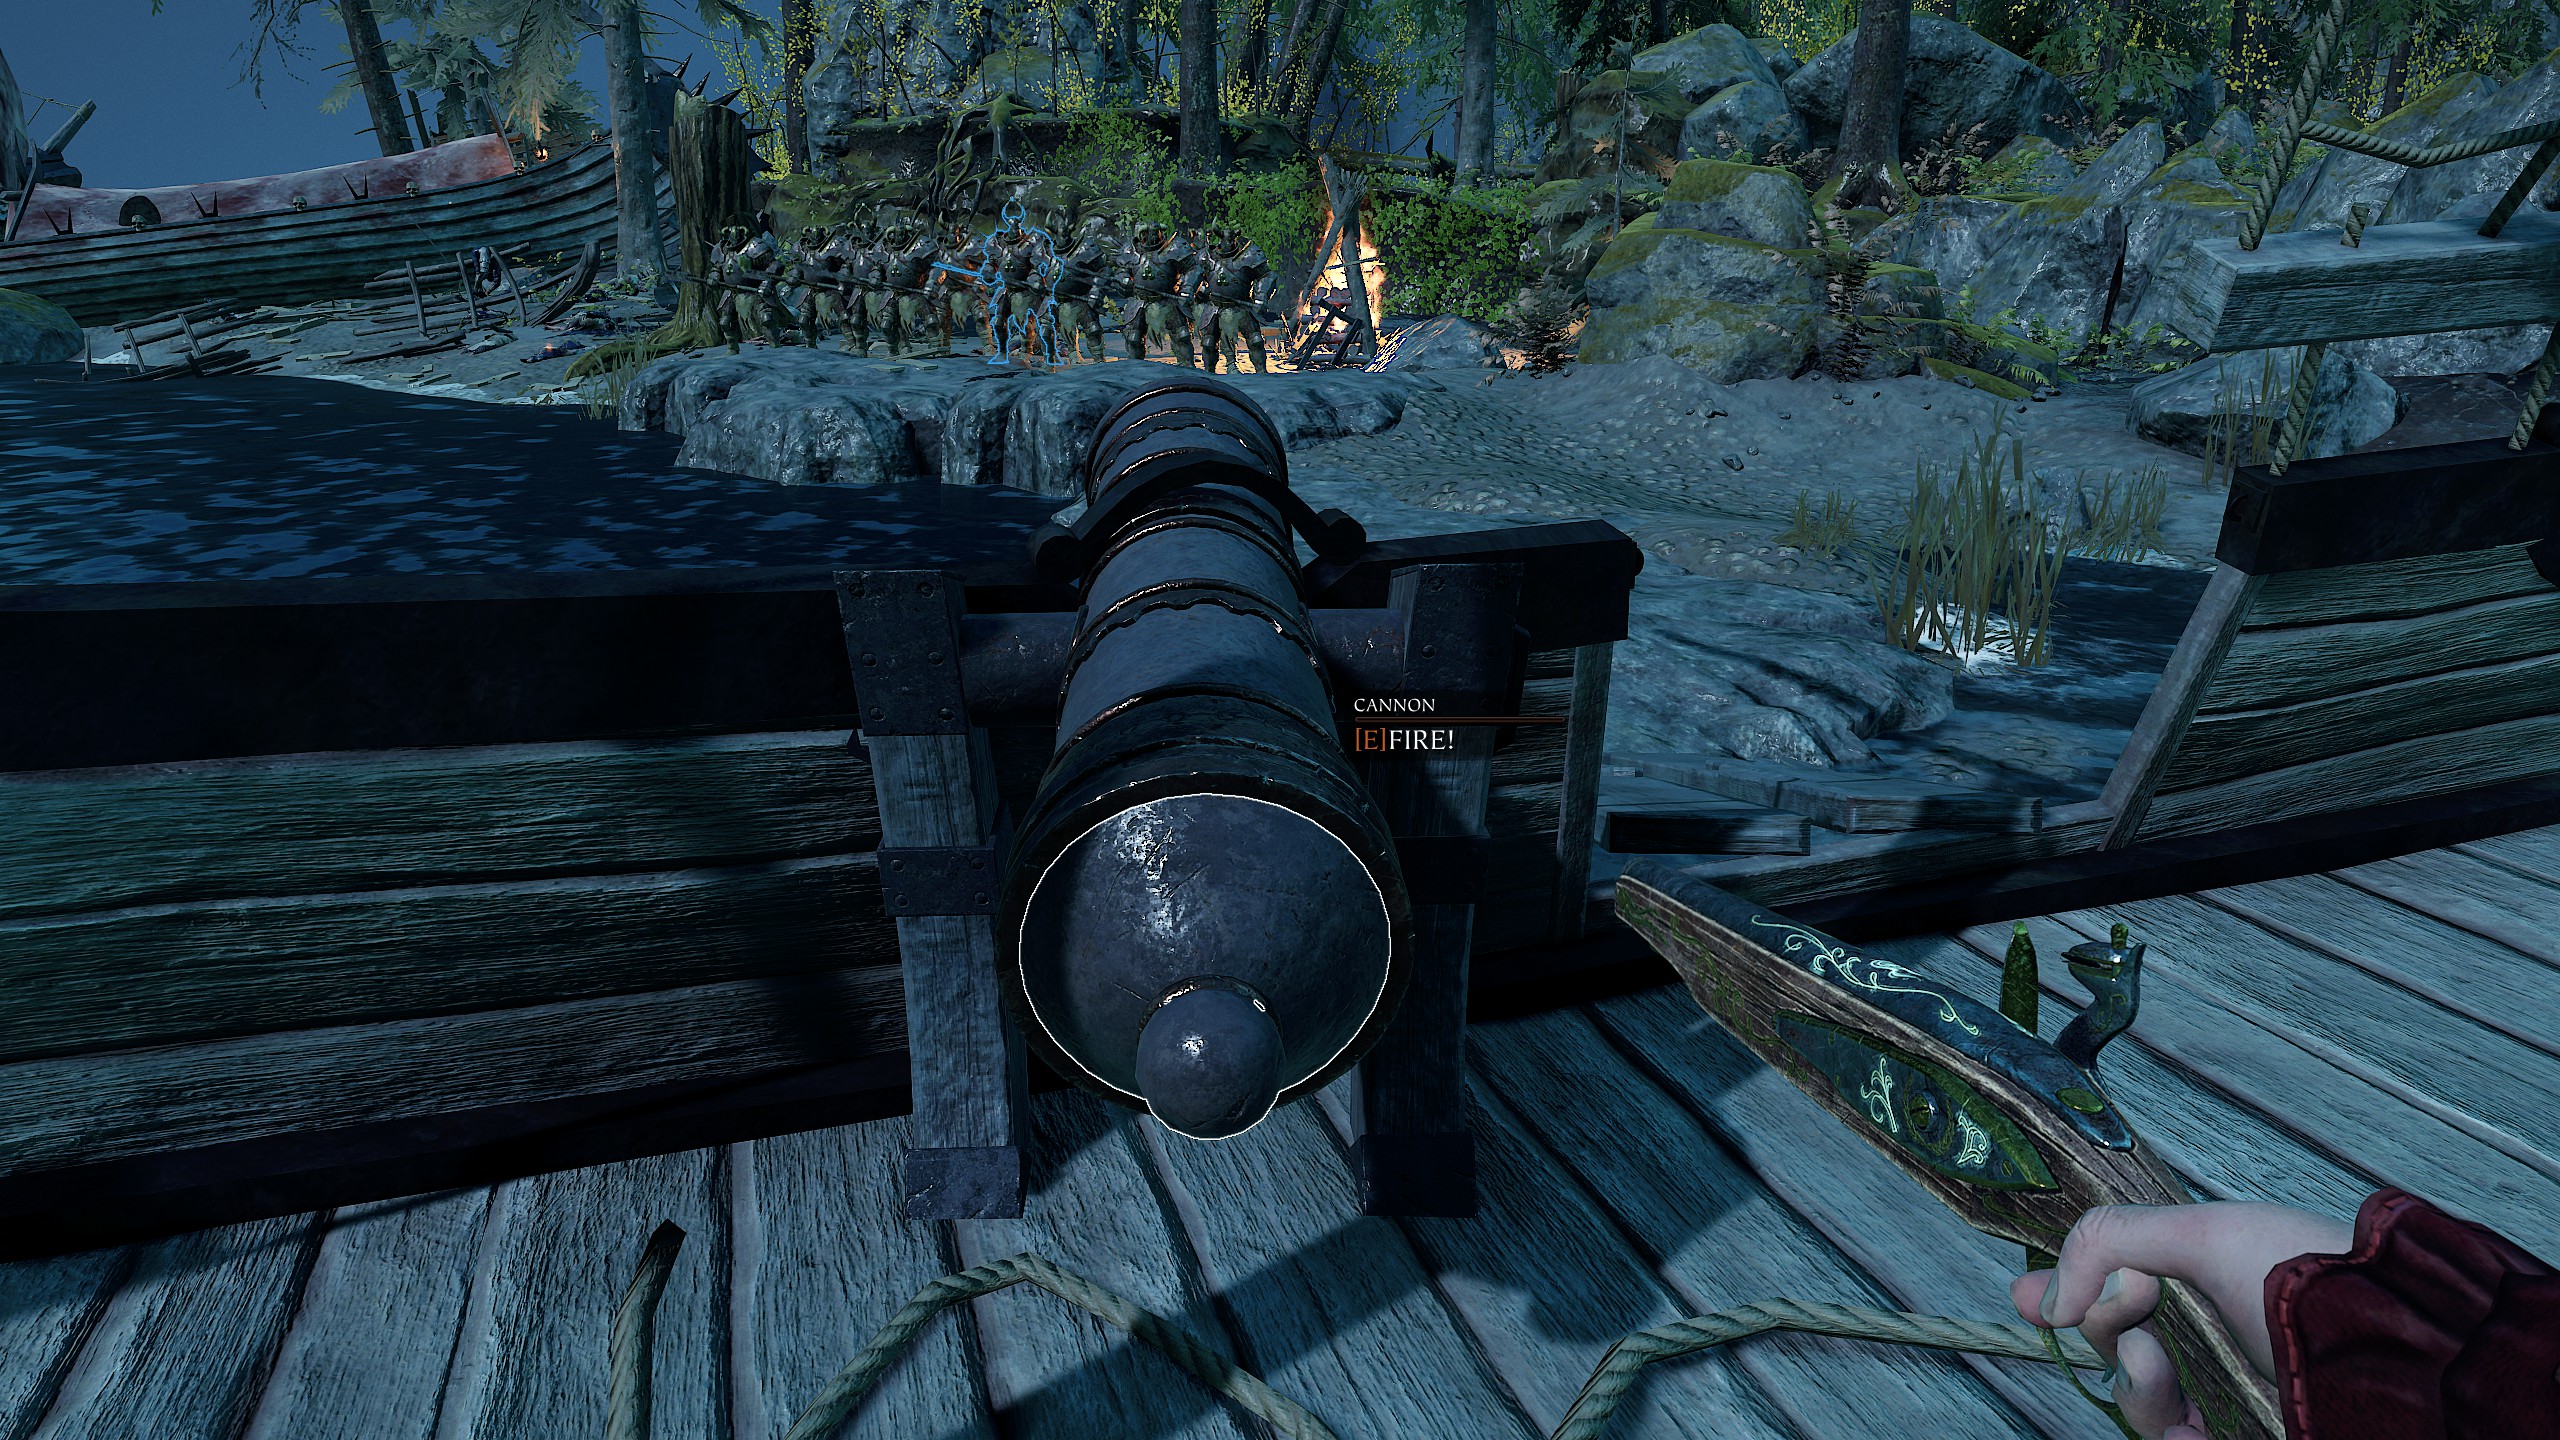
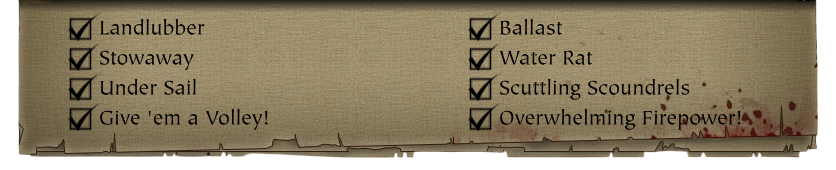
- Added challenges for the new map "Return to the Reik".
- Fixed many mistakes in text and layout
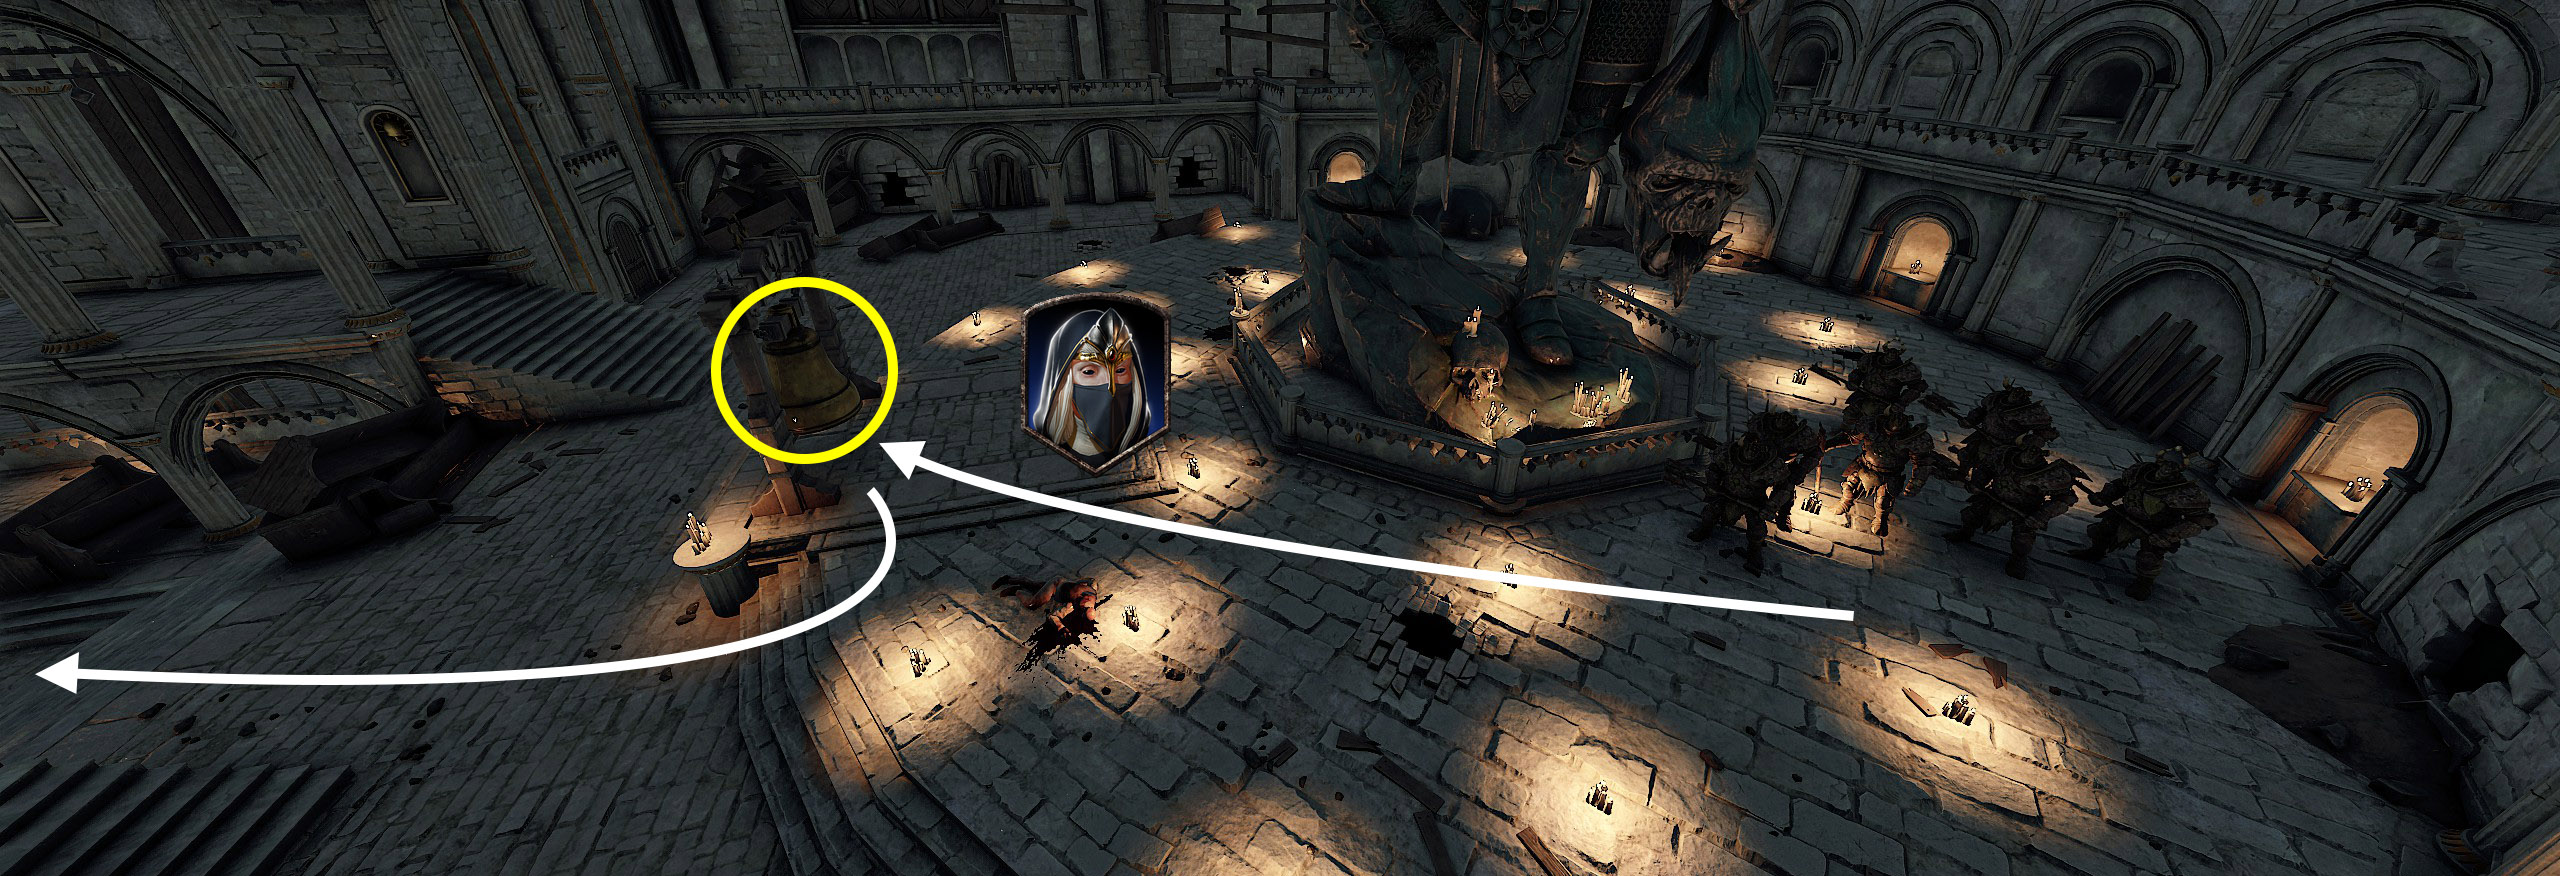
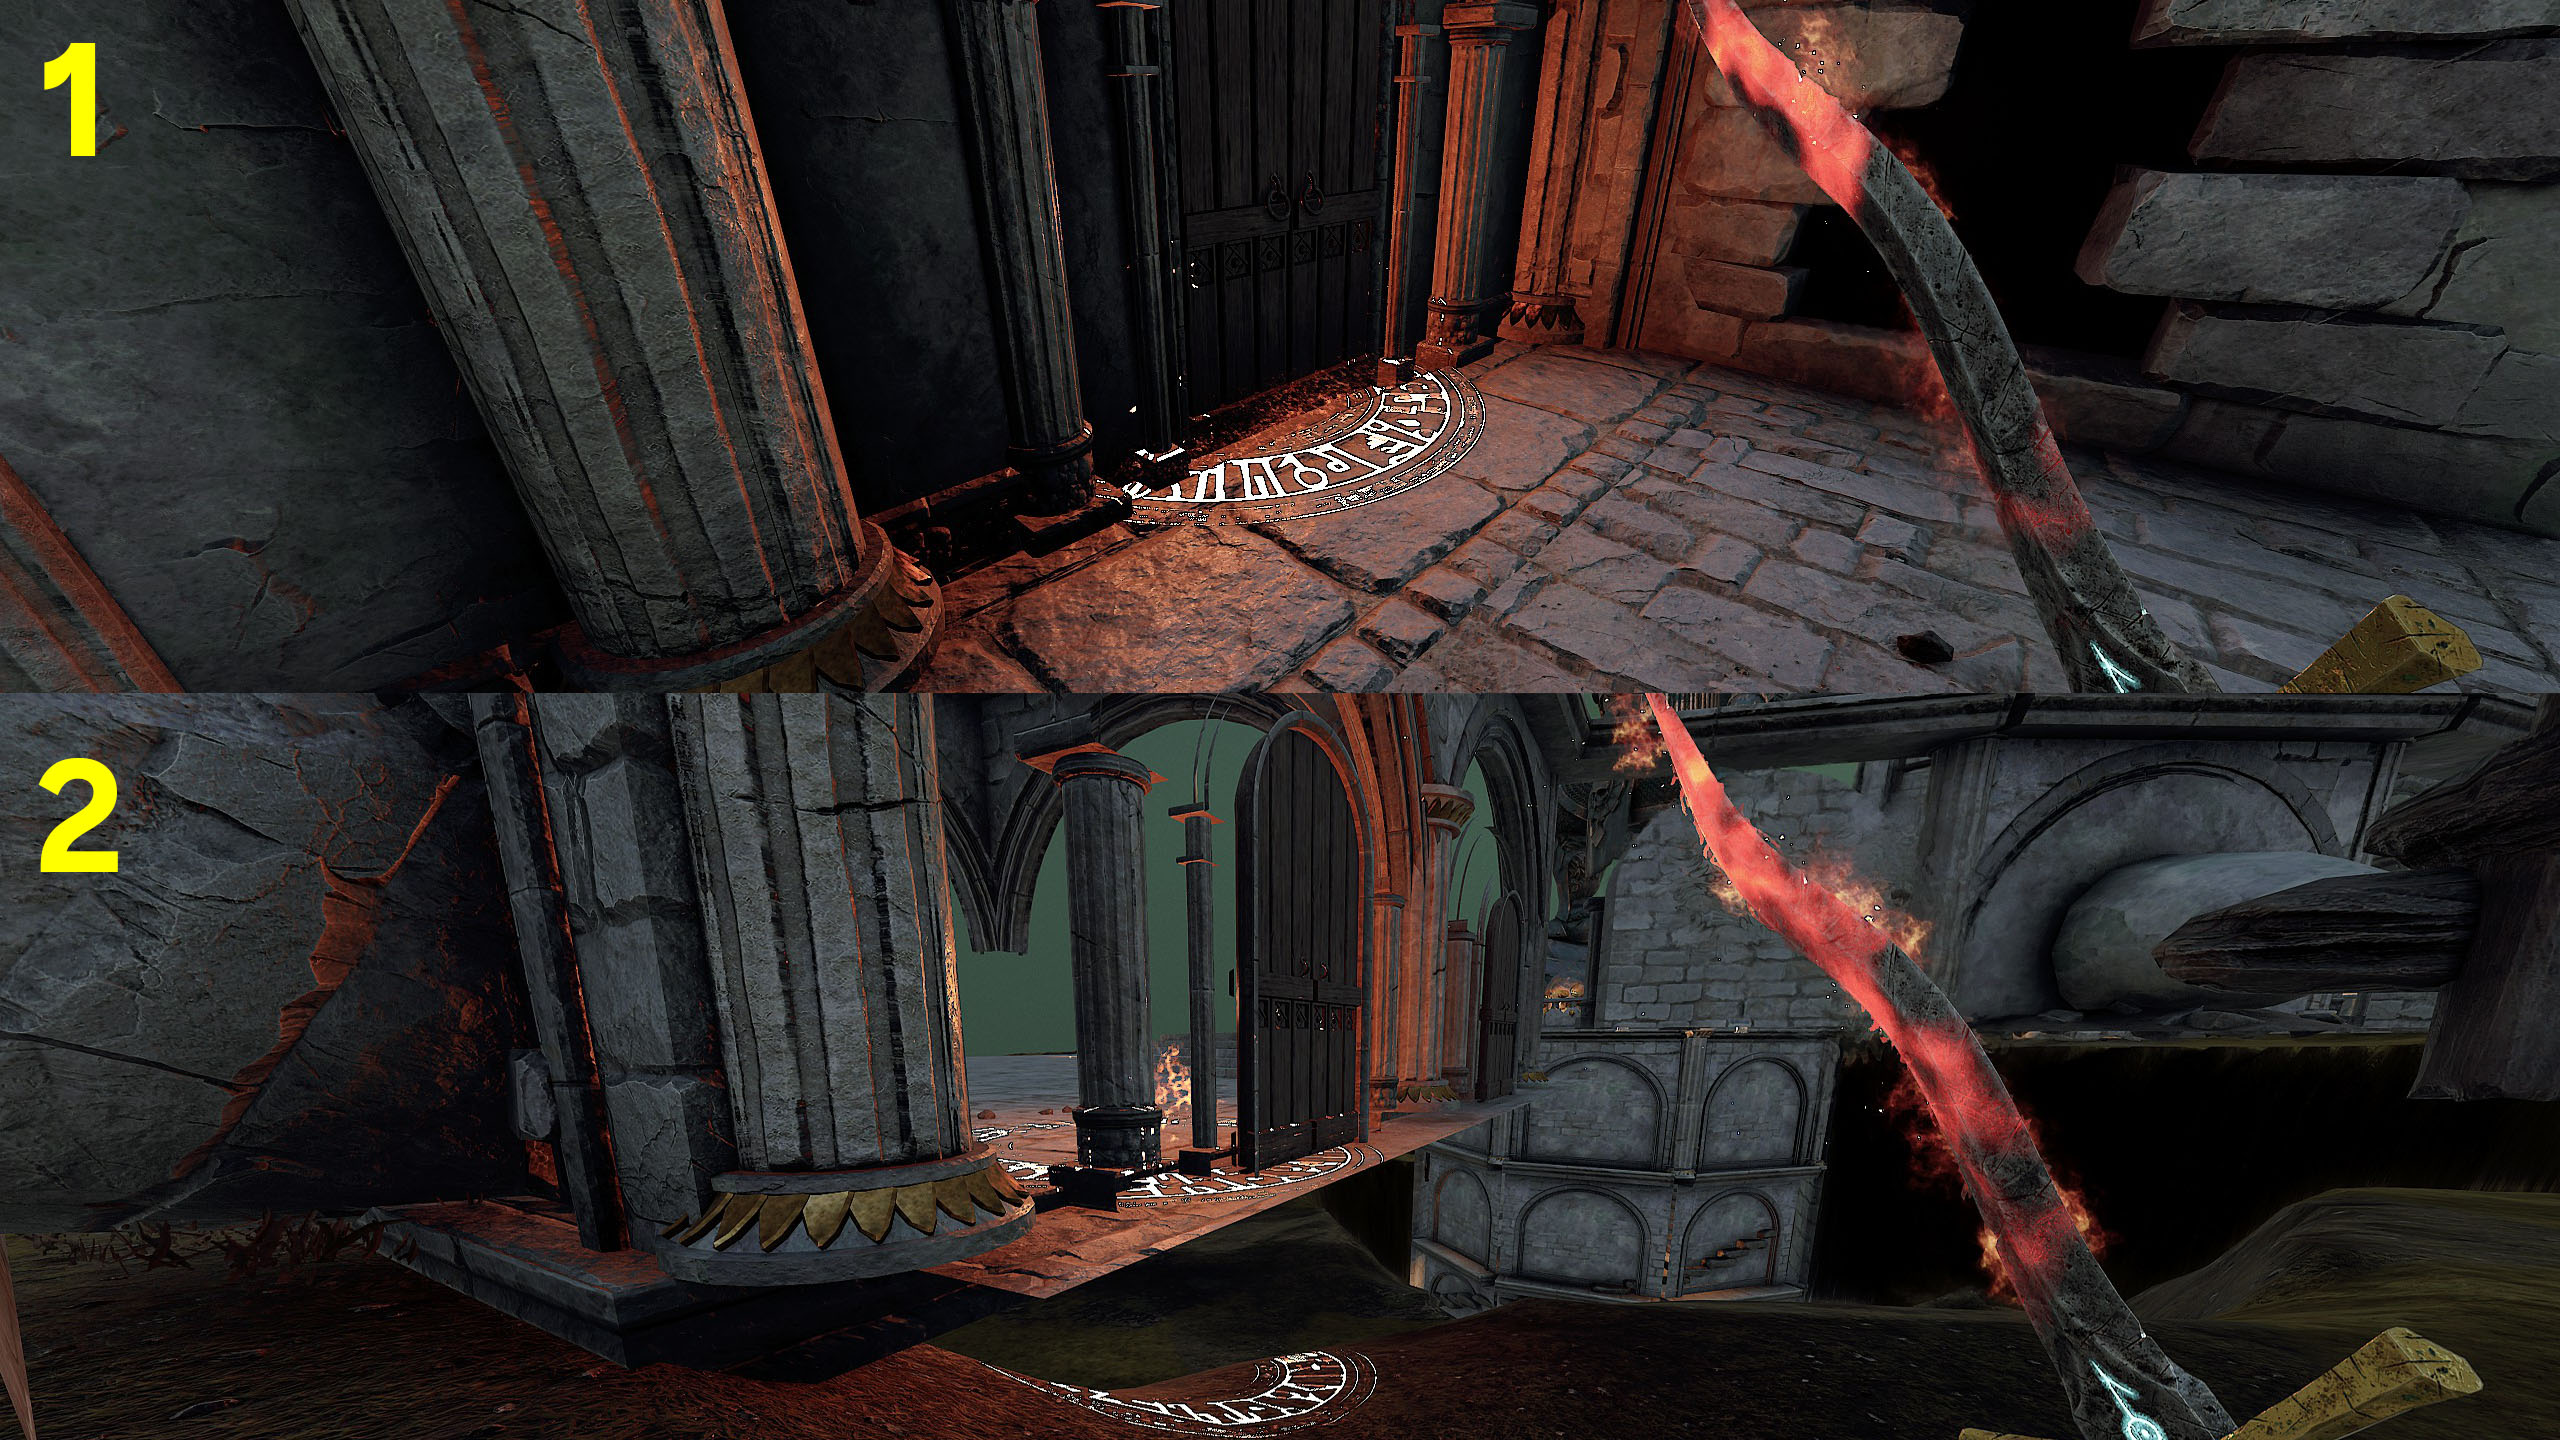
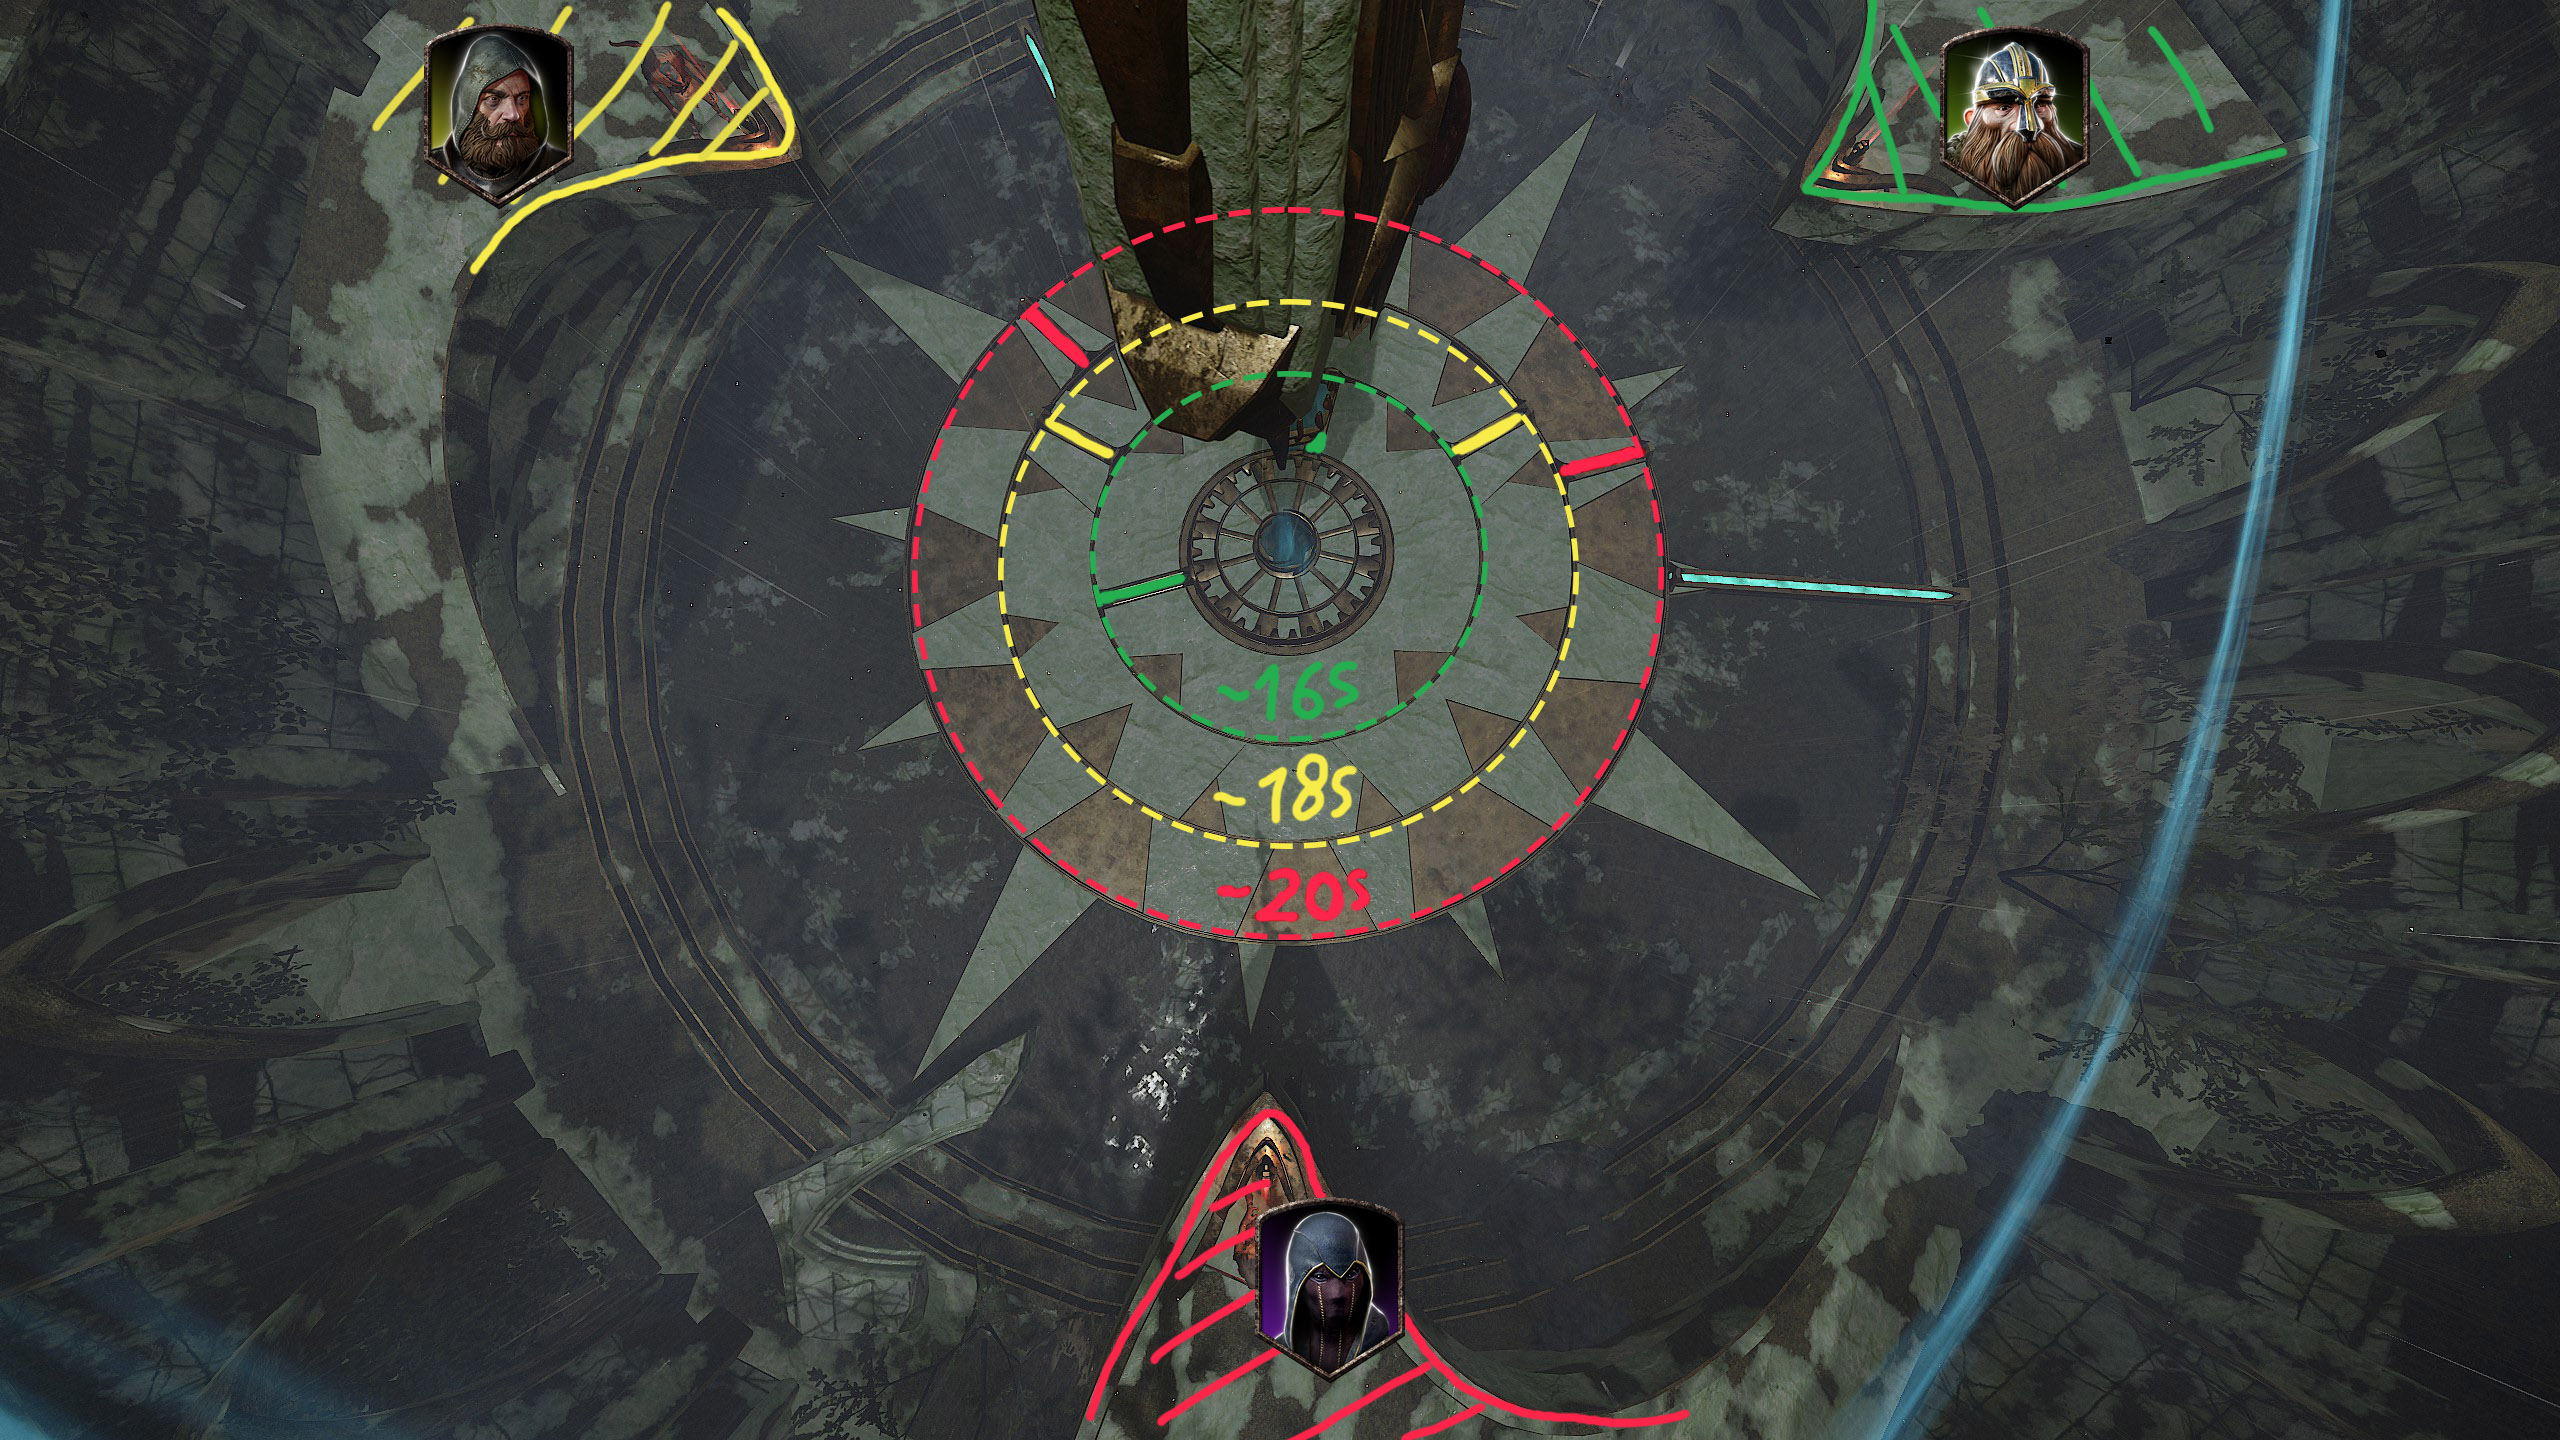
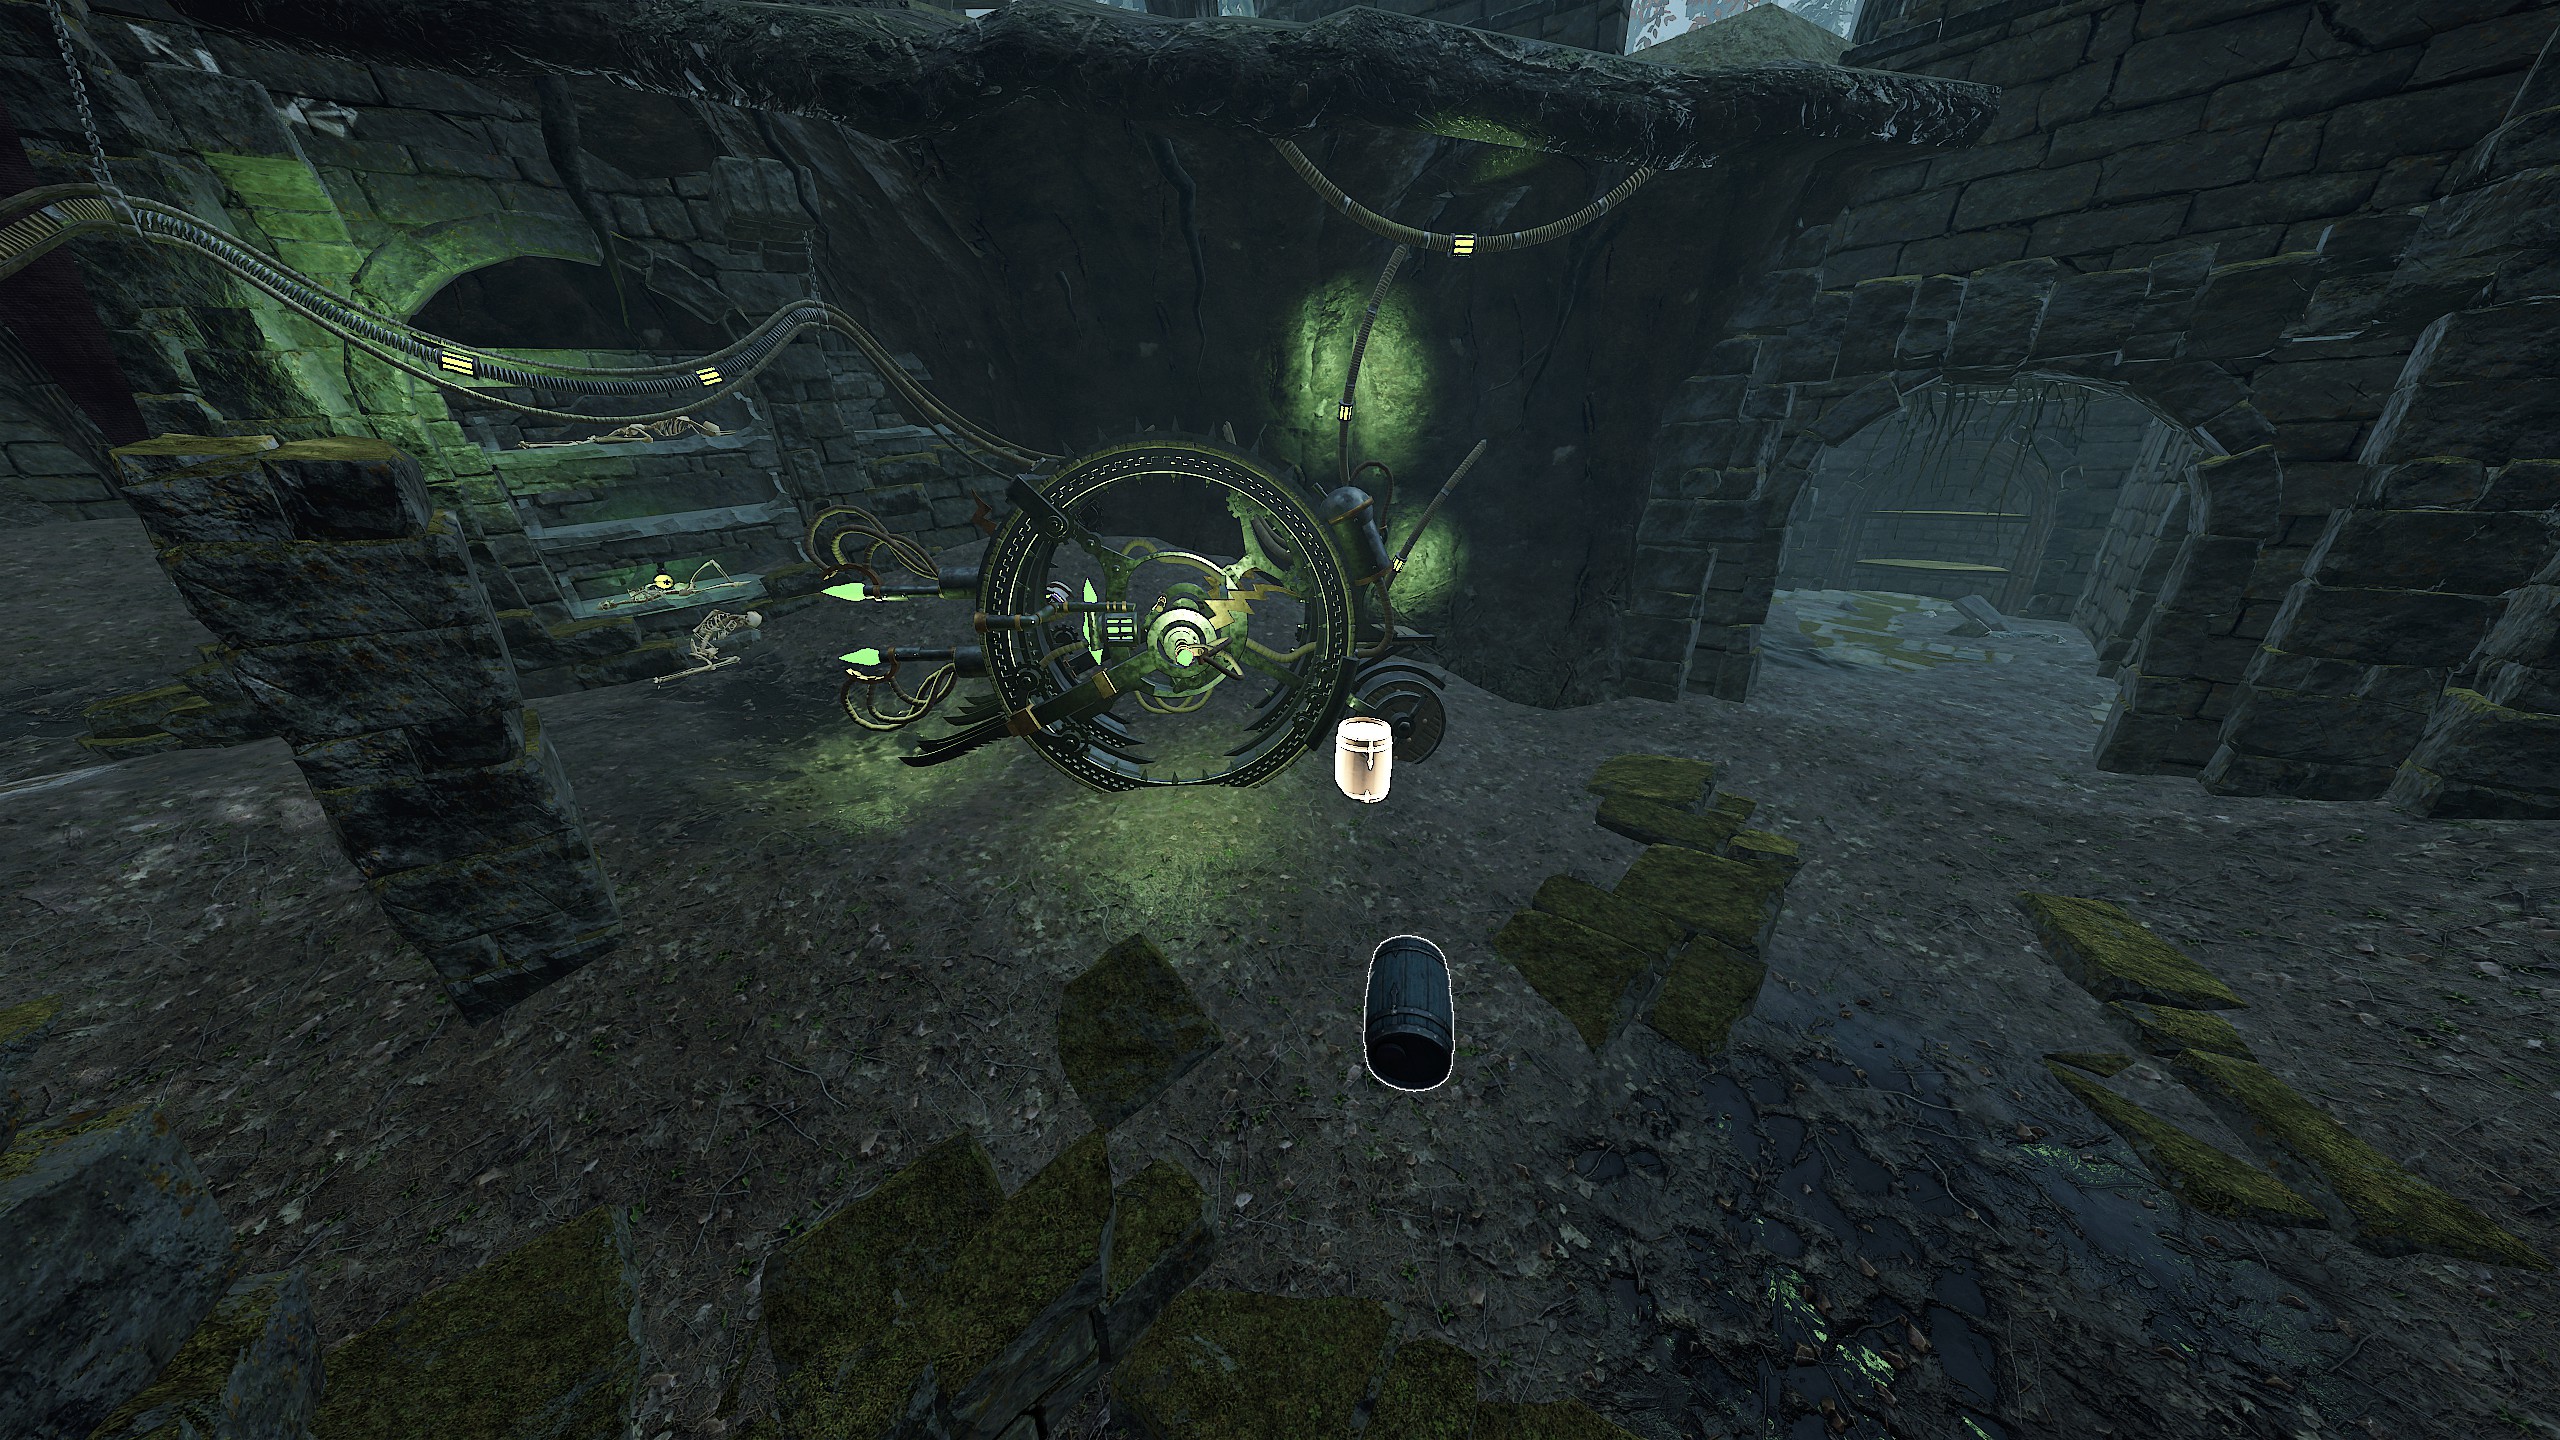
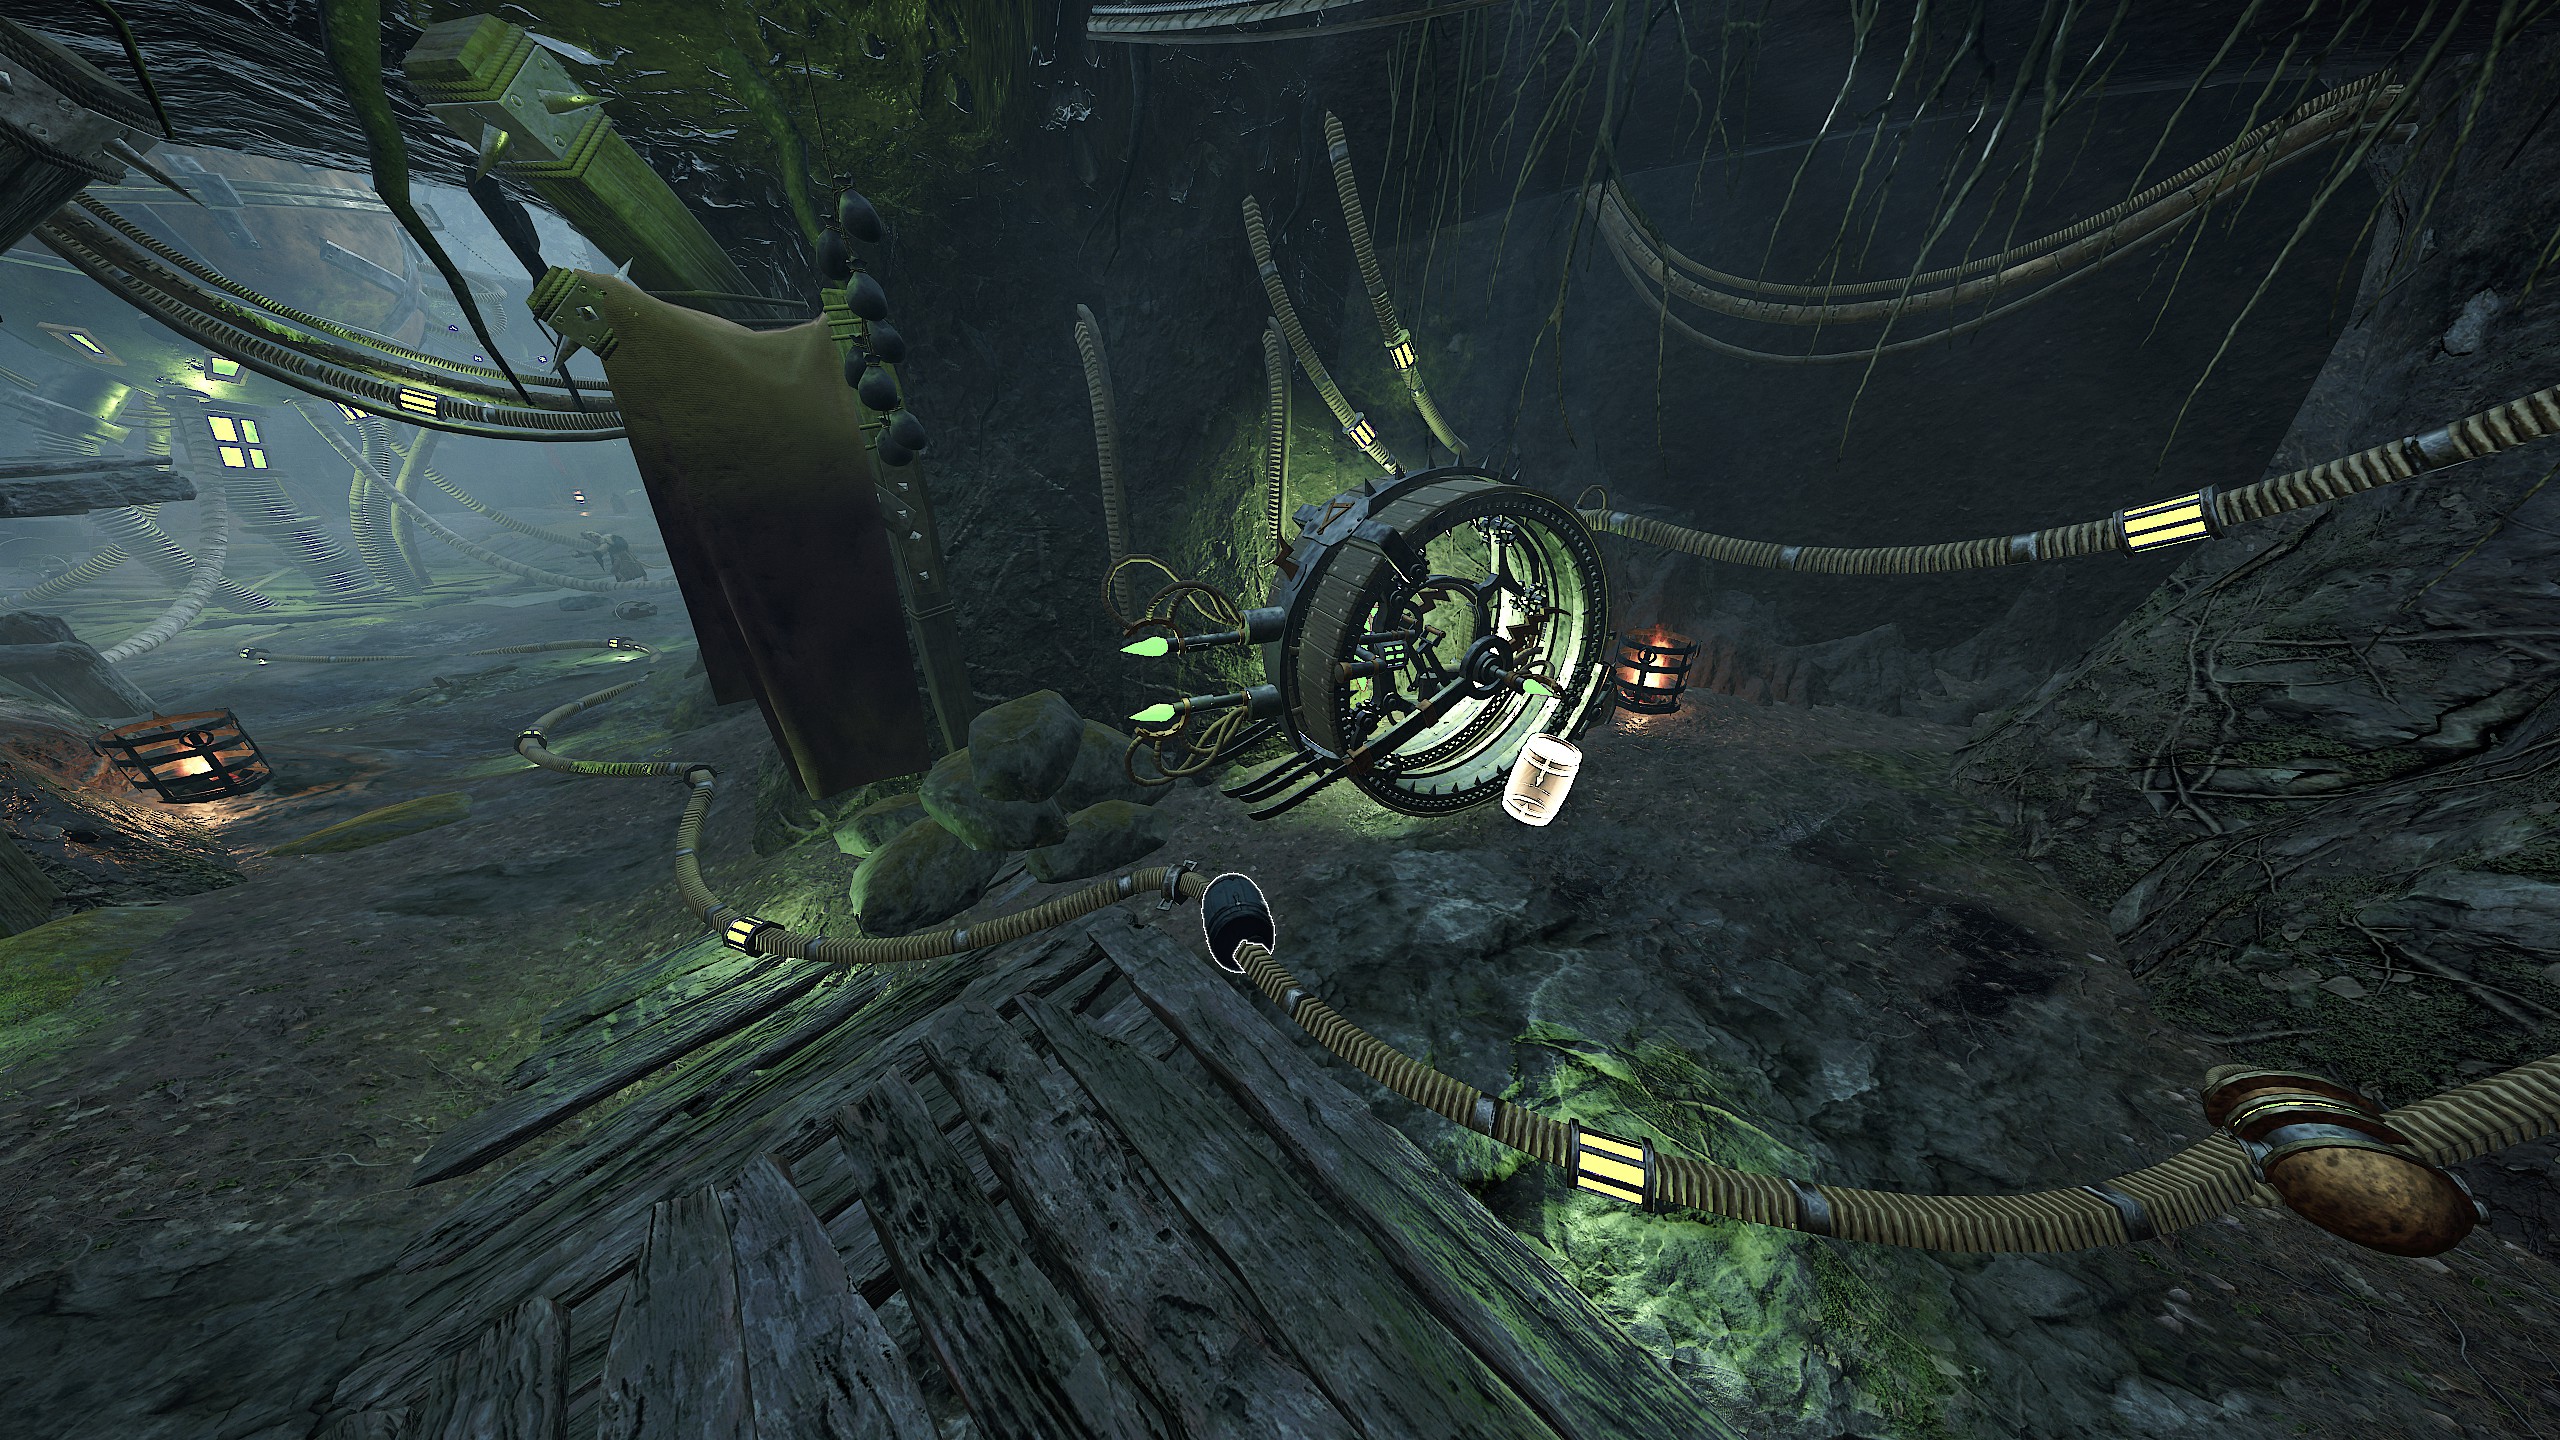
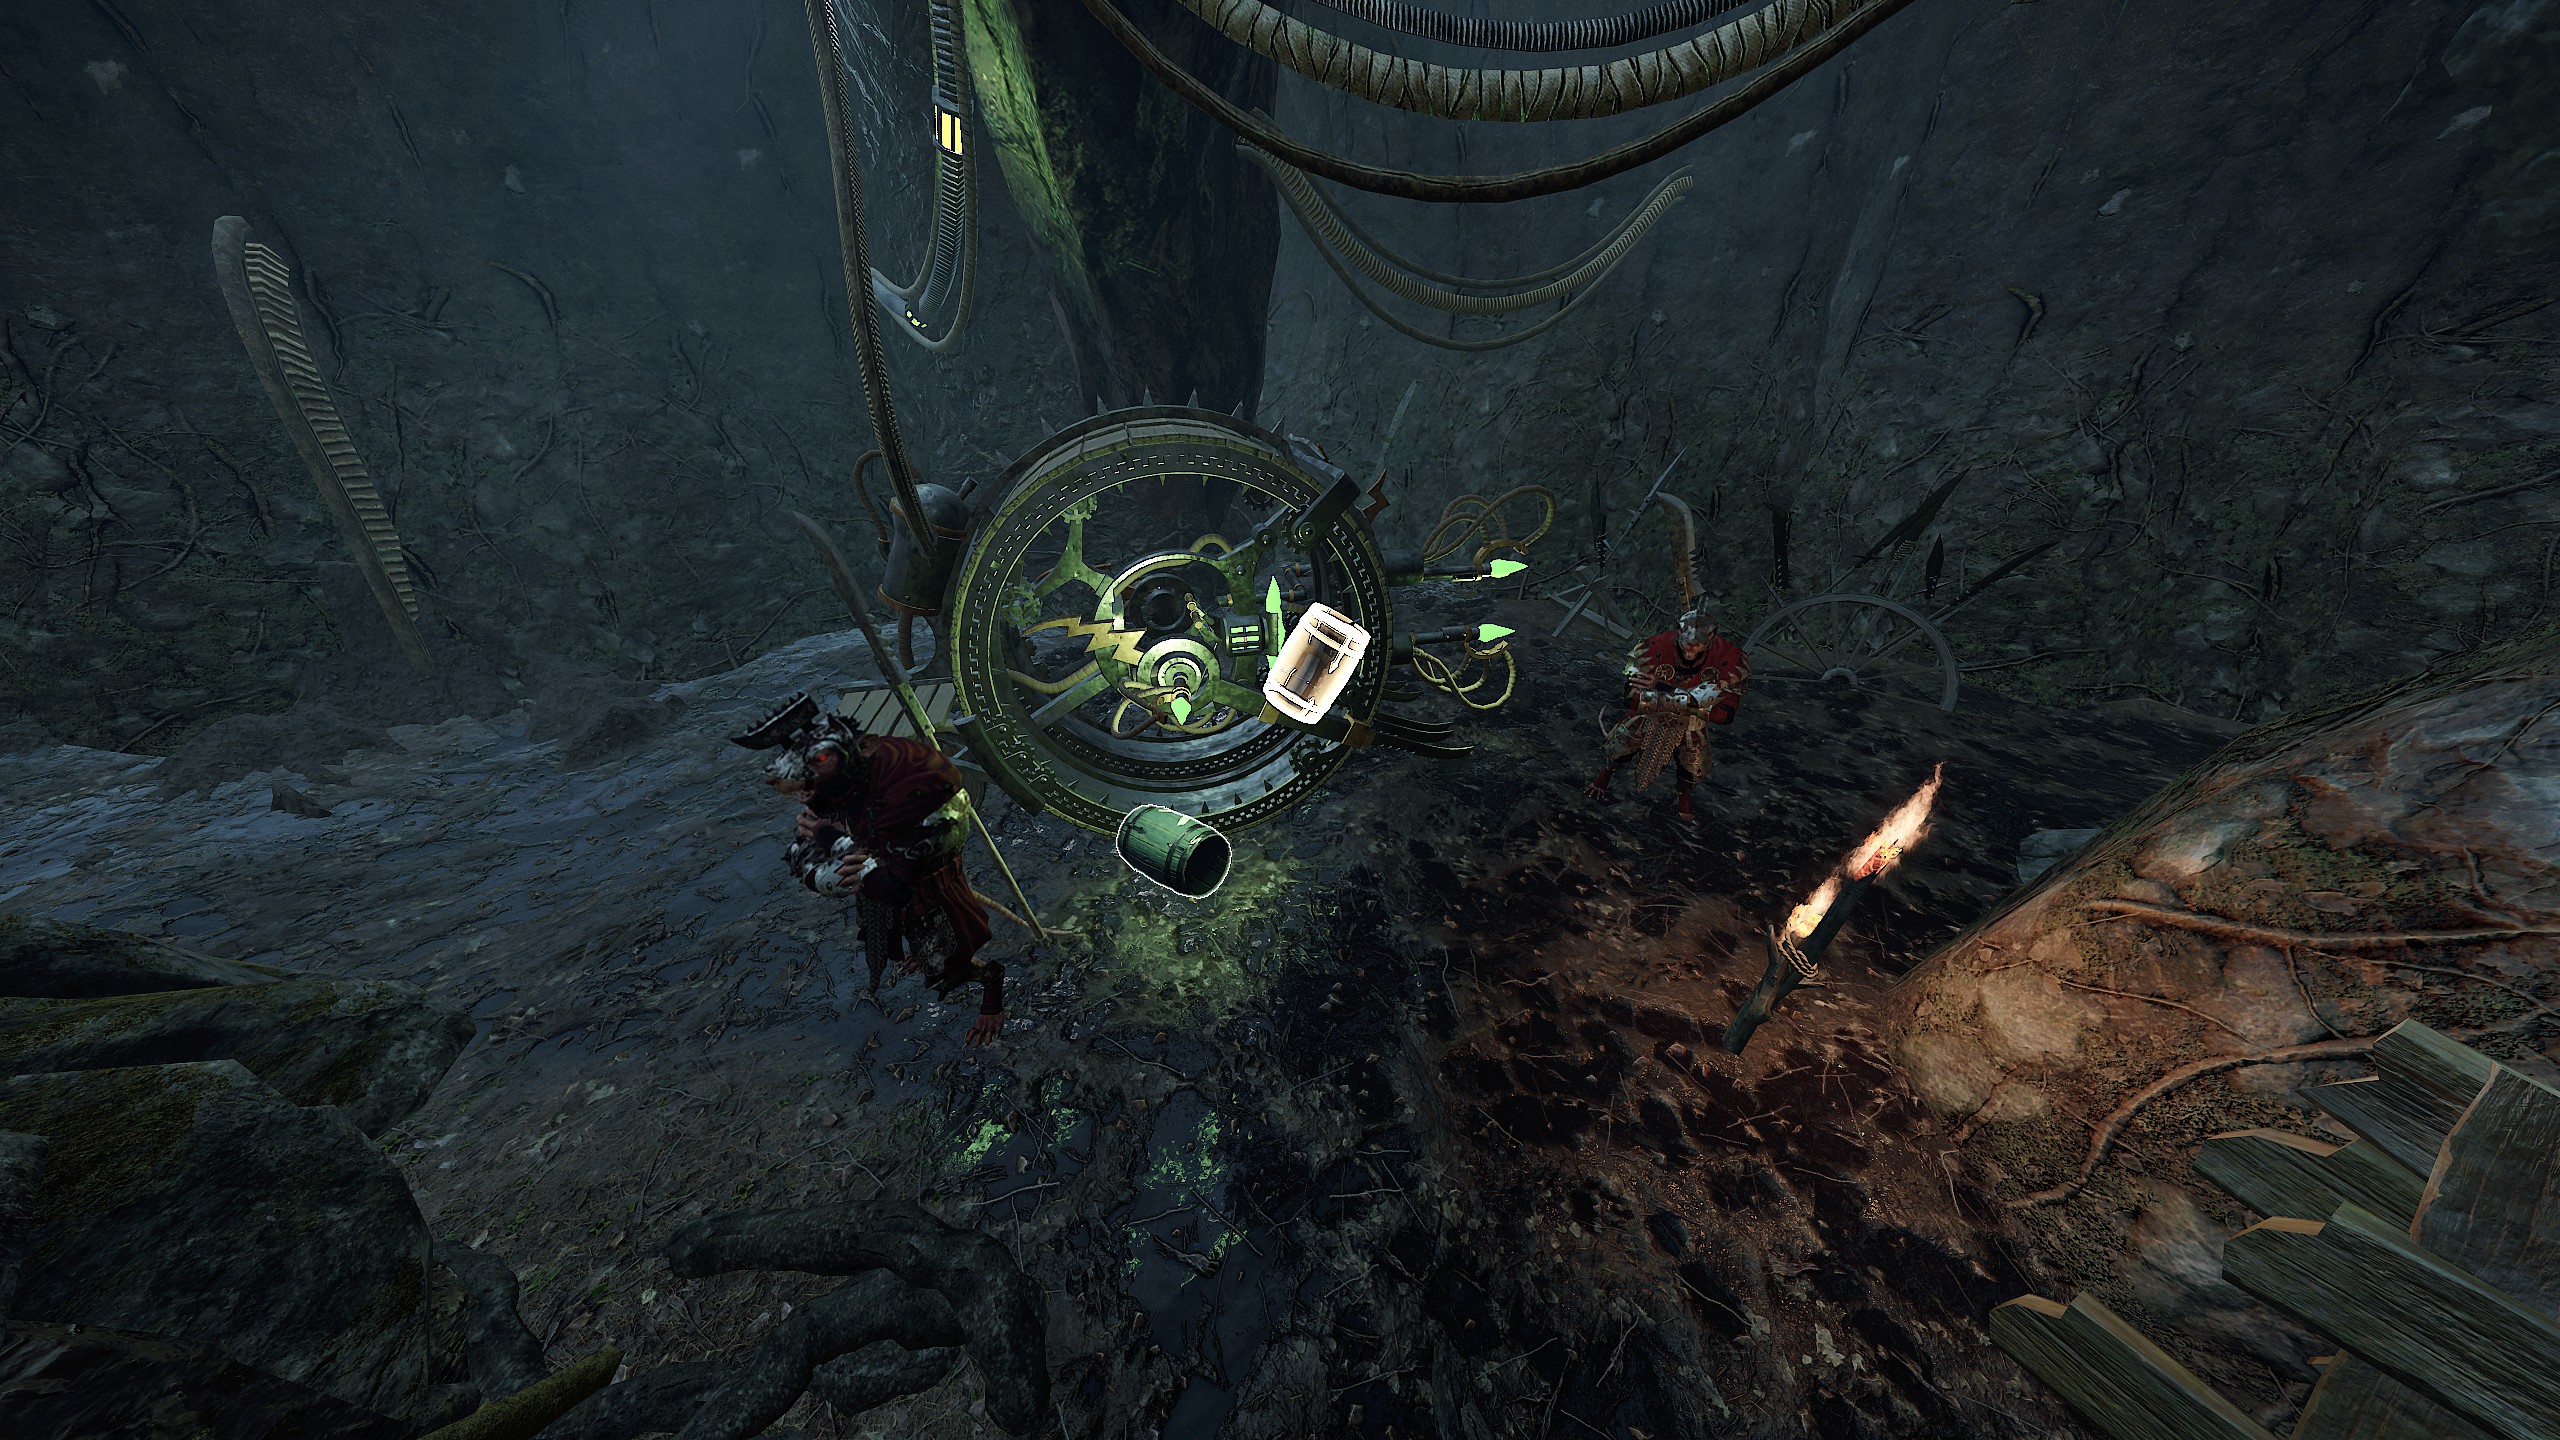
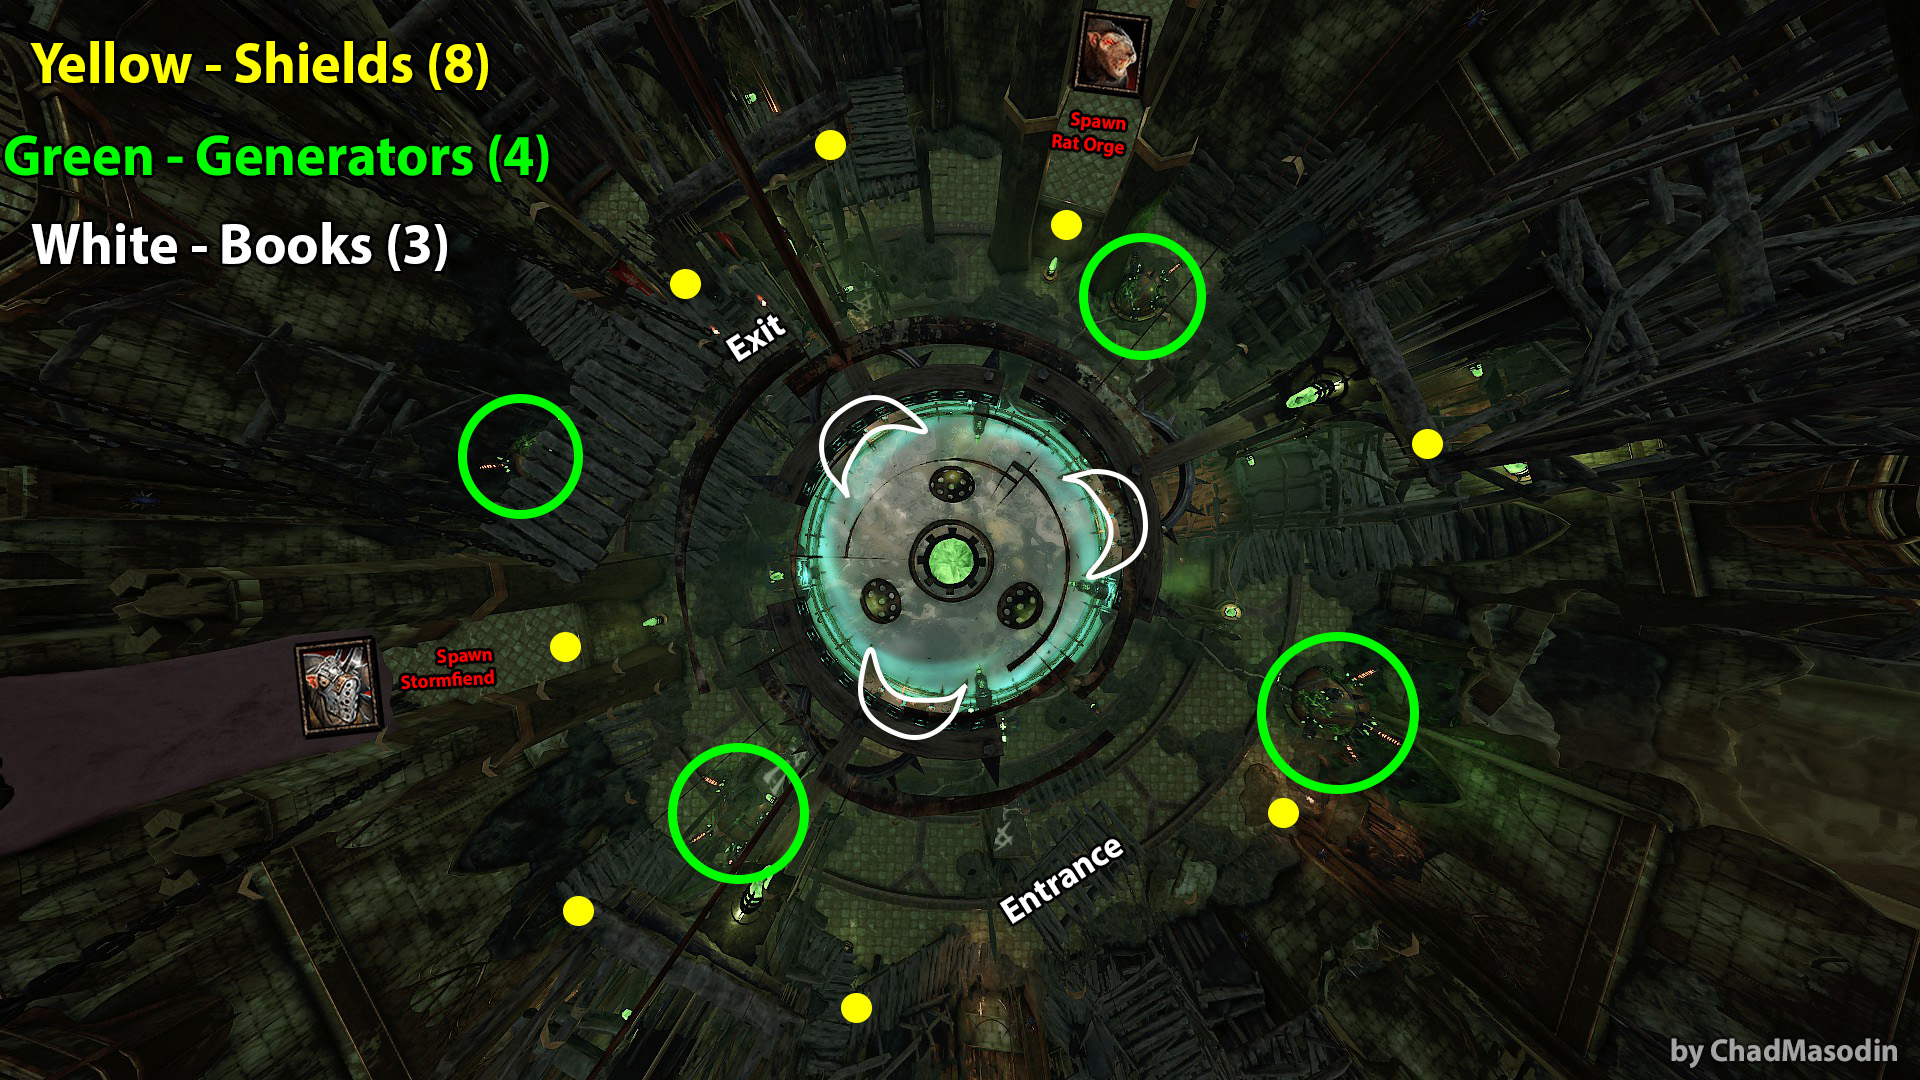
I have a problem with Master of Convergence at Athel Yenlui: when stopping the small inner circle stops right before the alignment, the interaction option is still available, but it does nothing until the 30 seconds have gone.
It happened to both me and two of my friends yesterday, is it just some unlucky bug in my lobby or some additional mechanism?
Overall, most of the guide has been improved and expanded. However, I'd like to highlight a few key changes in this update.
List of changes:
- Completely updated sections Helmgart, Verminous Dreams, Bögenhafen, Winds of Magic, Drachenfels, A Treacherous Adventure, Back to Ubersreik.
(For all of these sections, strategies have been reworked and new images and videos have been added).
- Updated wiki page Okri's Challenges. (https://vermintide2.fandom.com/wiki/Okri's_Challenges) .
Added all missing sections and icons for all challenges (870 pcs), thanks for help from Vladmoz. (https://drive.google.com/drive/folders/176rI9yjeTE-smFNyE6PkFppJmdAkfKMR?usp=drive_link) .
- Added a guide for Grail Knight all challenges in solo.
- Added section References & Resources.
- Fixed many mistakes in text and design.