
安装 Steam
登录
|
语言
繁體中文(繁体中文)
日本語(日语)
한국어(韩语)
ไทย(泰语)
български(保加利亚语)
Čeština(捷克语)
Dansk(丹麦语)
Deutsch(德语)
English(英语)
Español-España(西班牙语 - 西班牙)
Español - Latinoamérica(西班牙语 - 拉丁美洲)
Ελληνικά(希腊语)
Français(法语)
Italiano(意大利语)
Bahasa Indonesia(印度尼西亚语)
Magyar(匈牙利语)
Nederlands(荷兰语)
Norsk(挪威语)
Polski(波兰语)
Português(葡萄牙语 - 葡萄牙)
Português-Brasil(葡萄牙语 - 巴西)
Română(罗马尼亚语)
Русский(俄语)
Suomi(芬兰语)
Svenska(瑞典语)
Türkçe(土耳其语)
Tiếng Việt(越南语)
Українська(乌克兰语)
报告翻译问题


@RingWraith
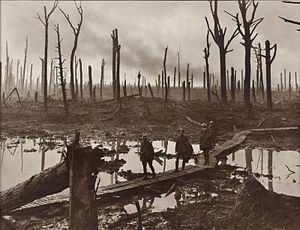
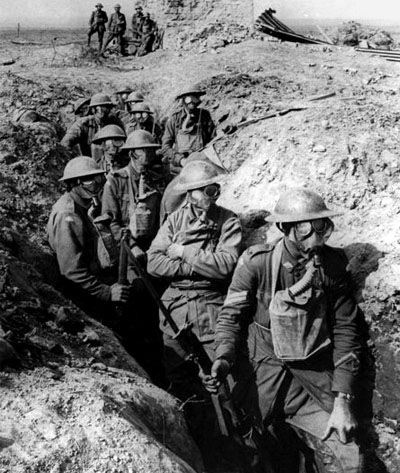
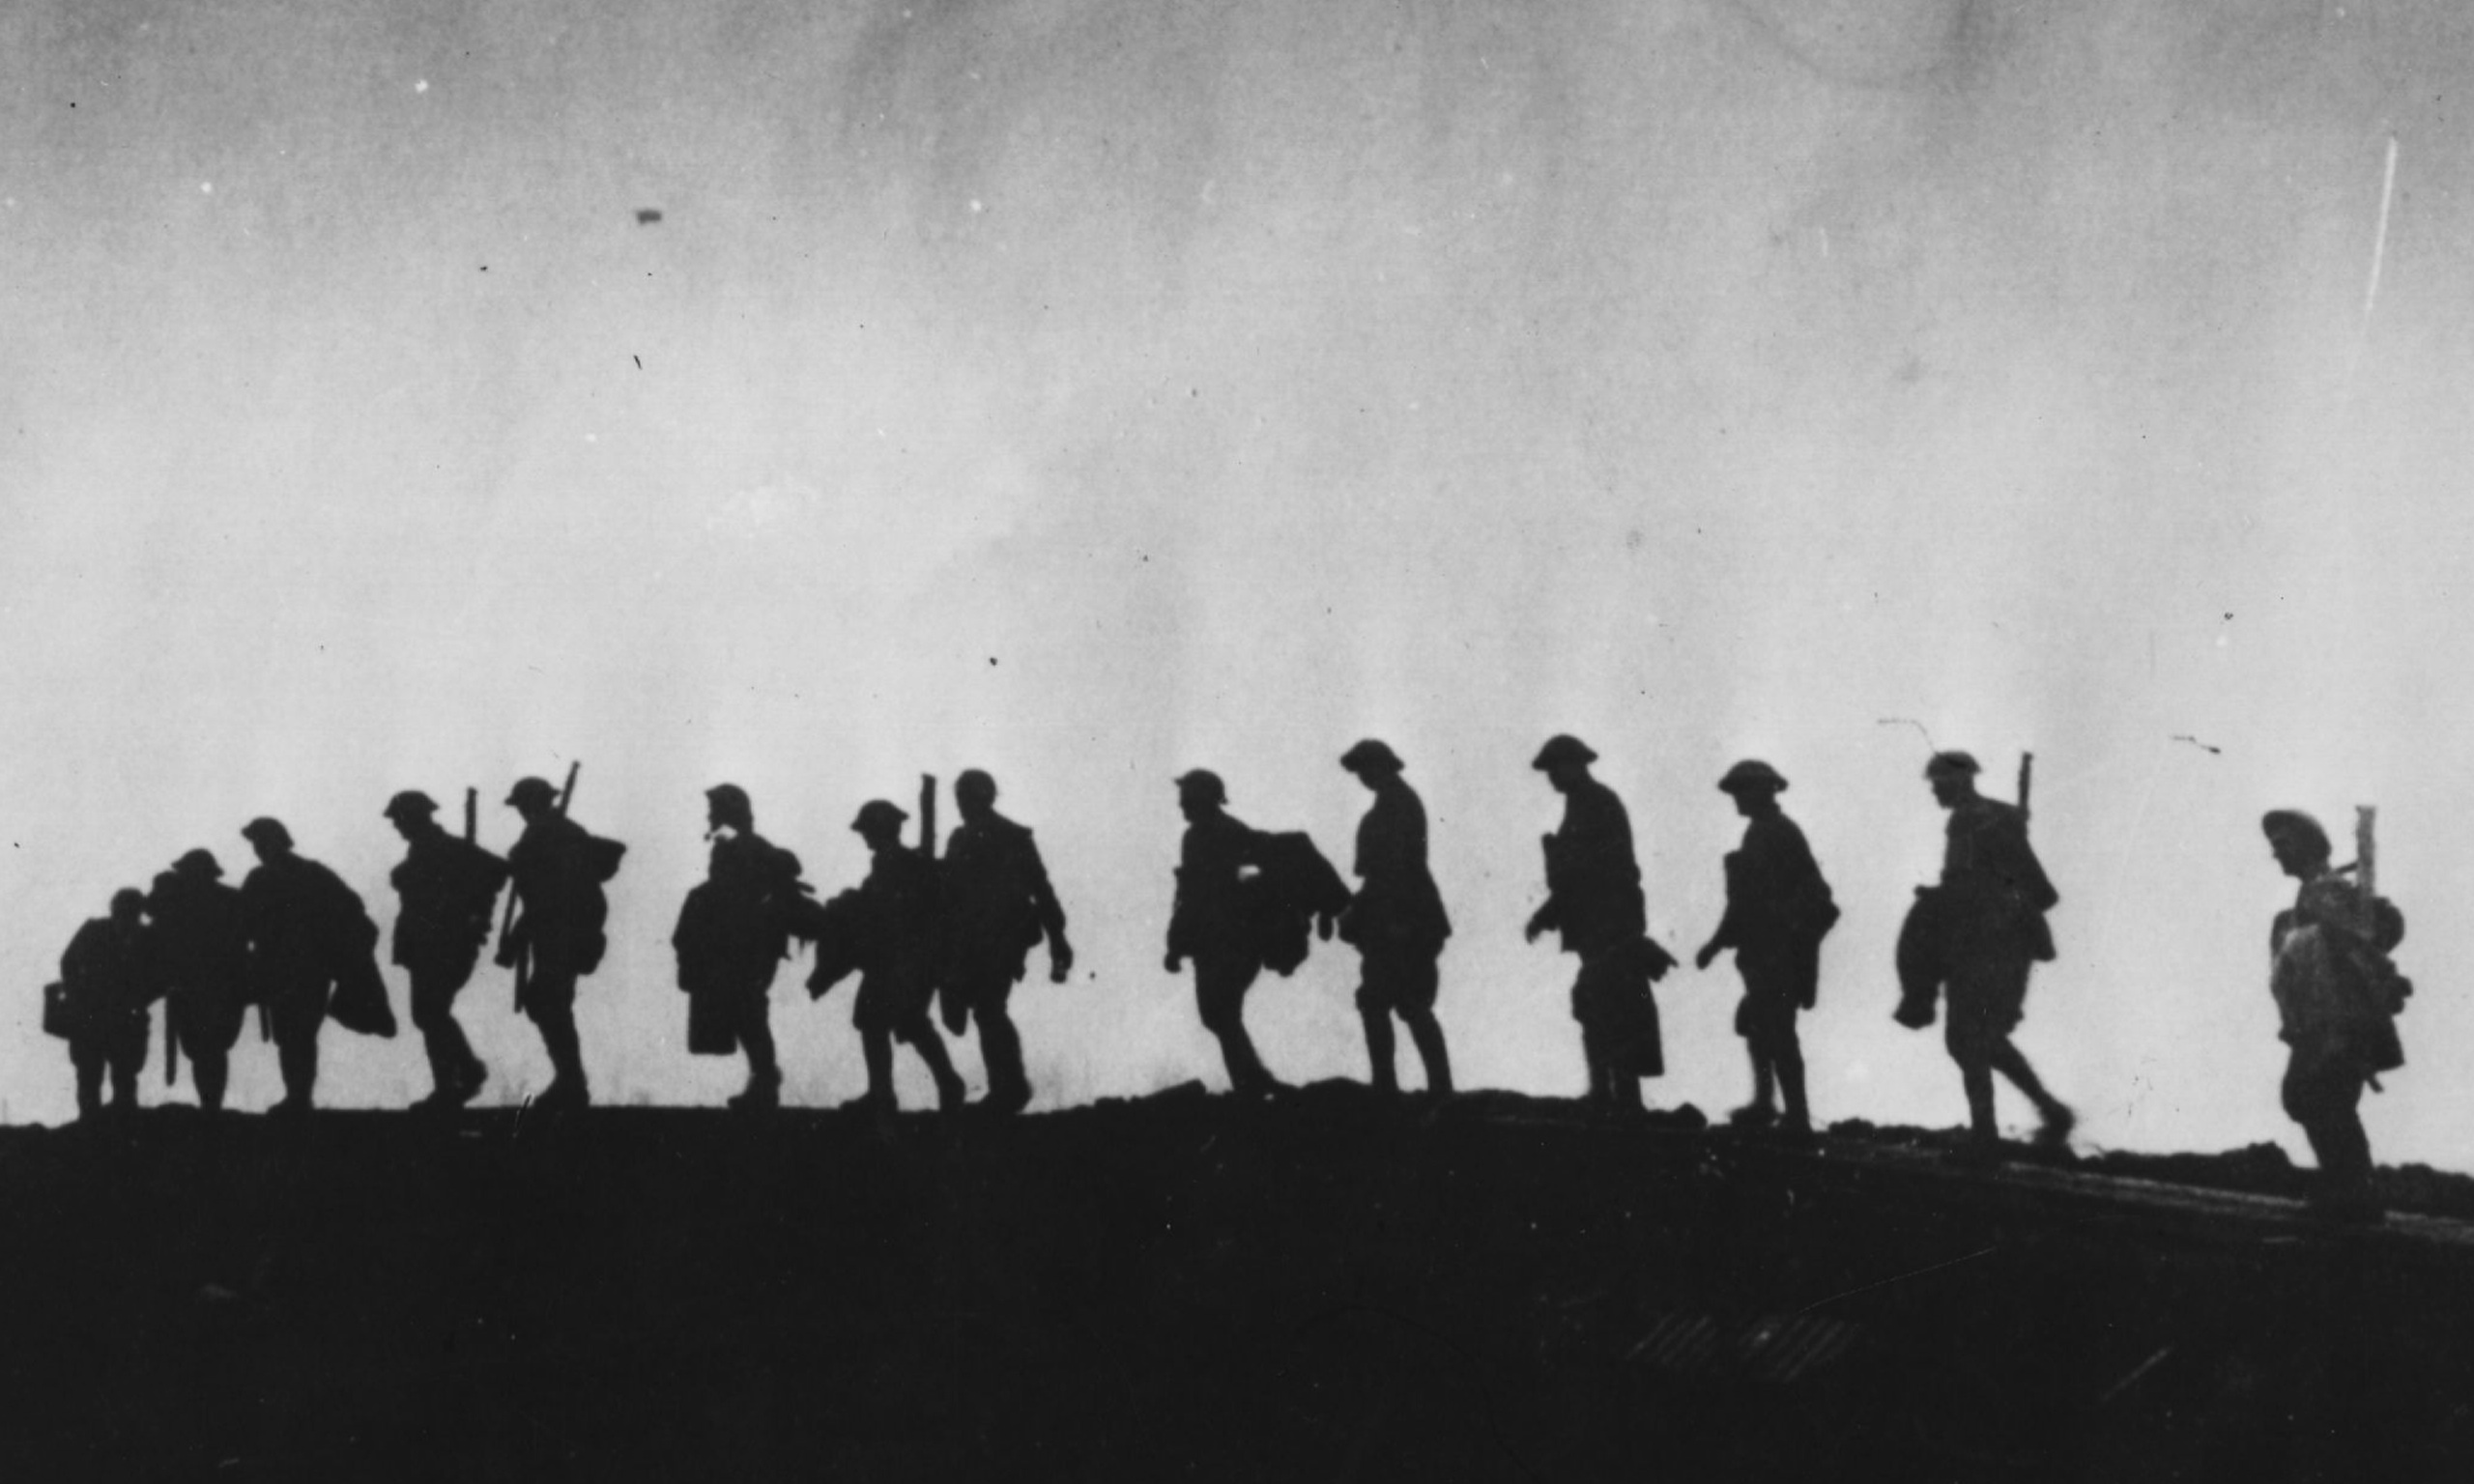
ANZAC
Picarde (Fromelles, 1916; Villers-Bretonneux, 1918)
Flanders (Messines & Passchendaele, 1917)
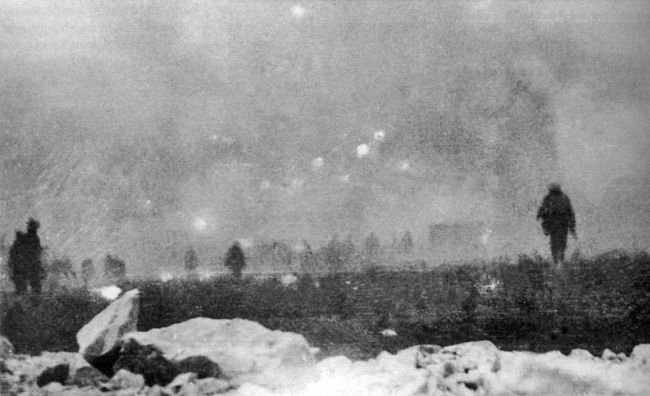
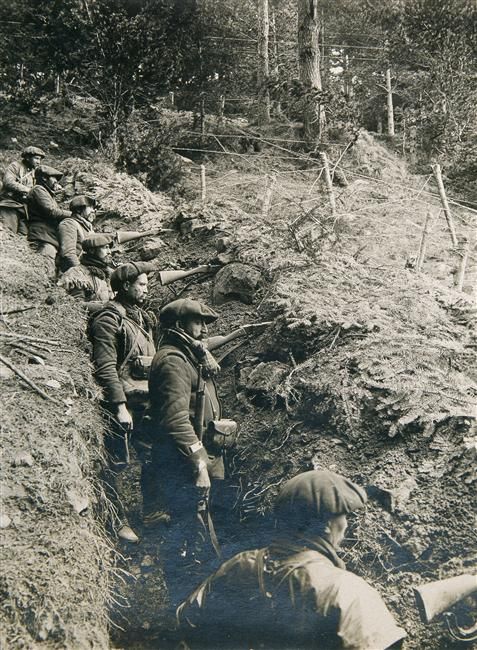
Tirailleurs
Flanders (Ypres & Dixmude, 1914)
Douaumont (1916)
Aisne (Chemin des Dames, 1917; Reims, 1918)
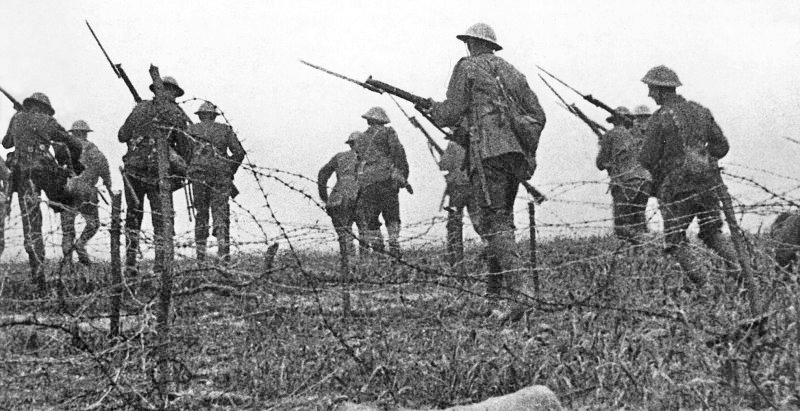
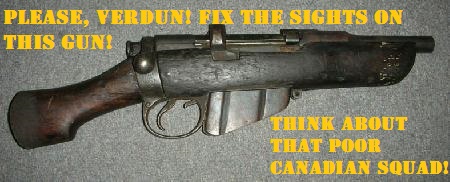
Its close combat meant...
But I'd rather use it as a stick to beat up shit... xD
Canadians and Australians are their Pitbulls and Staffords...
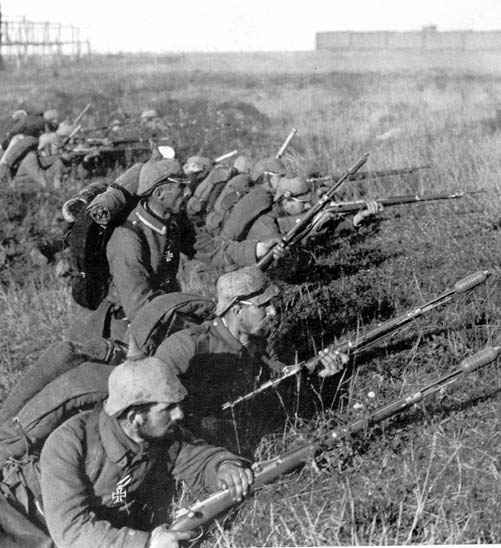
Crazy War, way to many dead, wrong time, wrong place but damn accurate rifles and birth of a new baby named Maschinengewehr xD
Lets not, get down like that, ever again!
:(:(:(:(:(:(:( R.I.P :(:(:(:(:(:(:( pay respect
Enjoy the game, I do as fuck... 💪😎✌