

安装 Steam
登录
|
语言
繁體中文(繁体中文)
日本語(日语)
한국어(韩语)
ไทย(泰语)
български(保加利亚语)
Čeština(捷克语)
Dansk(丹麦语)
Deutsch(德语)
English(英语)
Español-España(西班牙语 - 西班牙)
Español - Latinoamérica(西班牙语 - 拉丁美洲)
Ελληνικά(希腊语)
Français(法语)
Italiano(意大利语)
Bahasa Indonesia(印度尼西亚语)
Magyar(匈牙利语)
Nederlands(荷兰语)
Norsk(挪威语)
Polski(波兰语)
Português(葡萄牙语 - 葡萄牙)
Português-Brasil(葡萄牙语 - 巴西)
Română(罗马尼亚语)
Русский(俄语)
Suomi(芬兰语)
Svenska(瑞典语)
Türkçe(土耳其语)
Tiếng Việt(越南语)
Українська(乌克兰语)
报告翻译问题


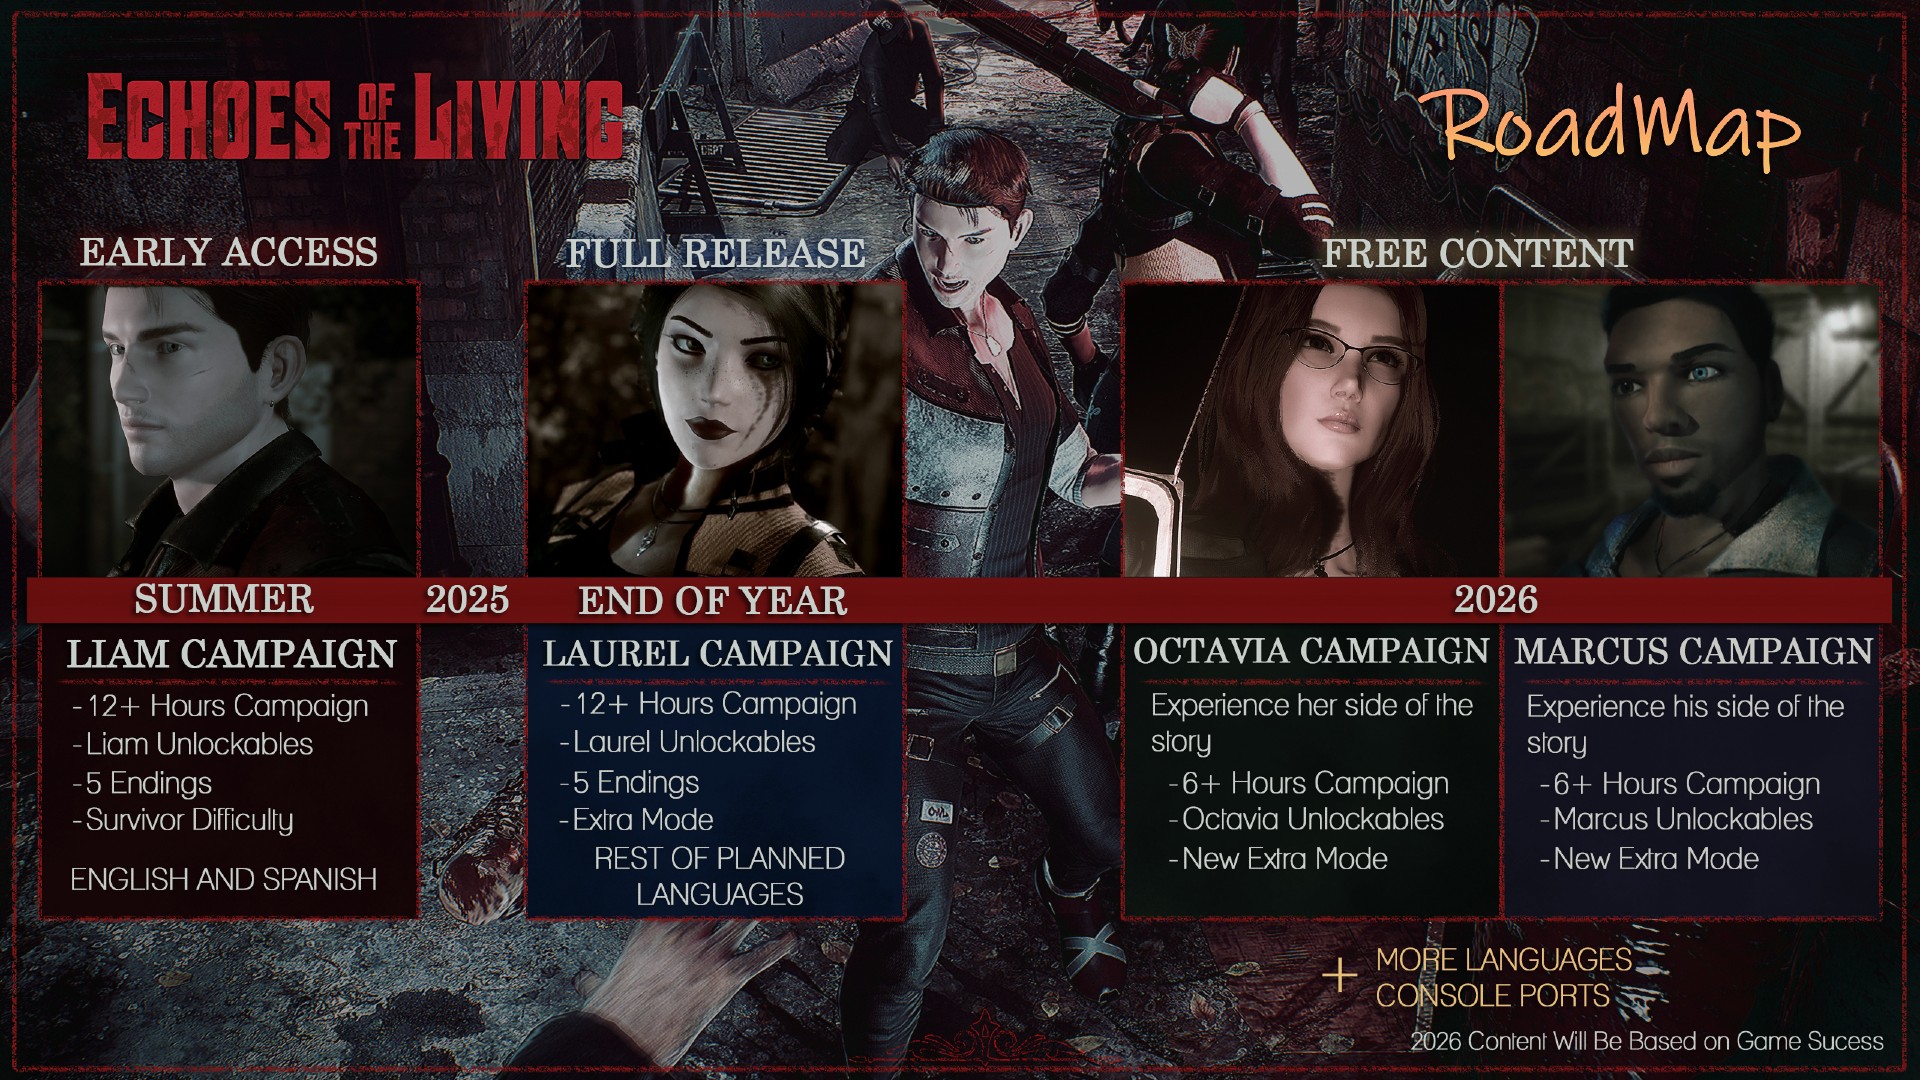

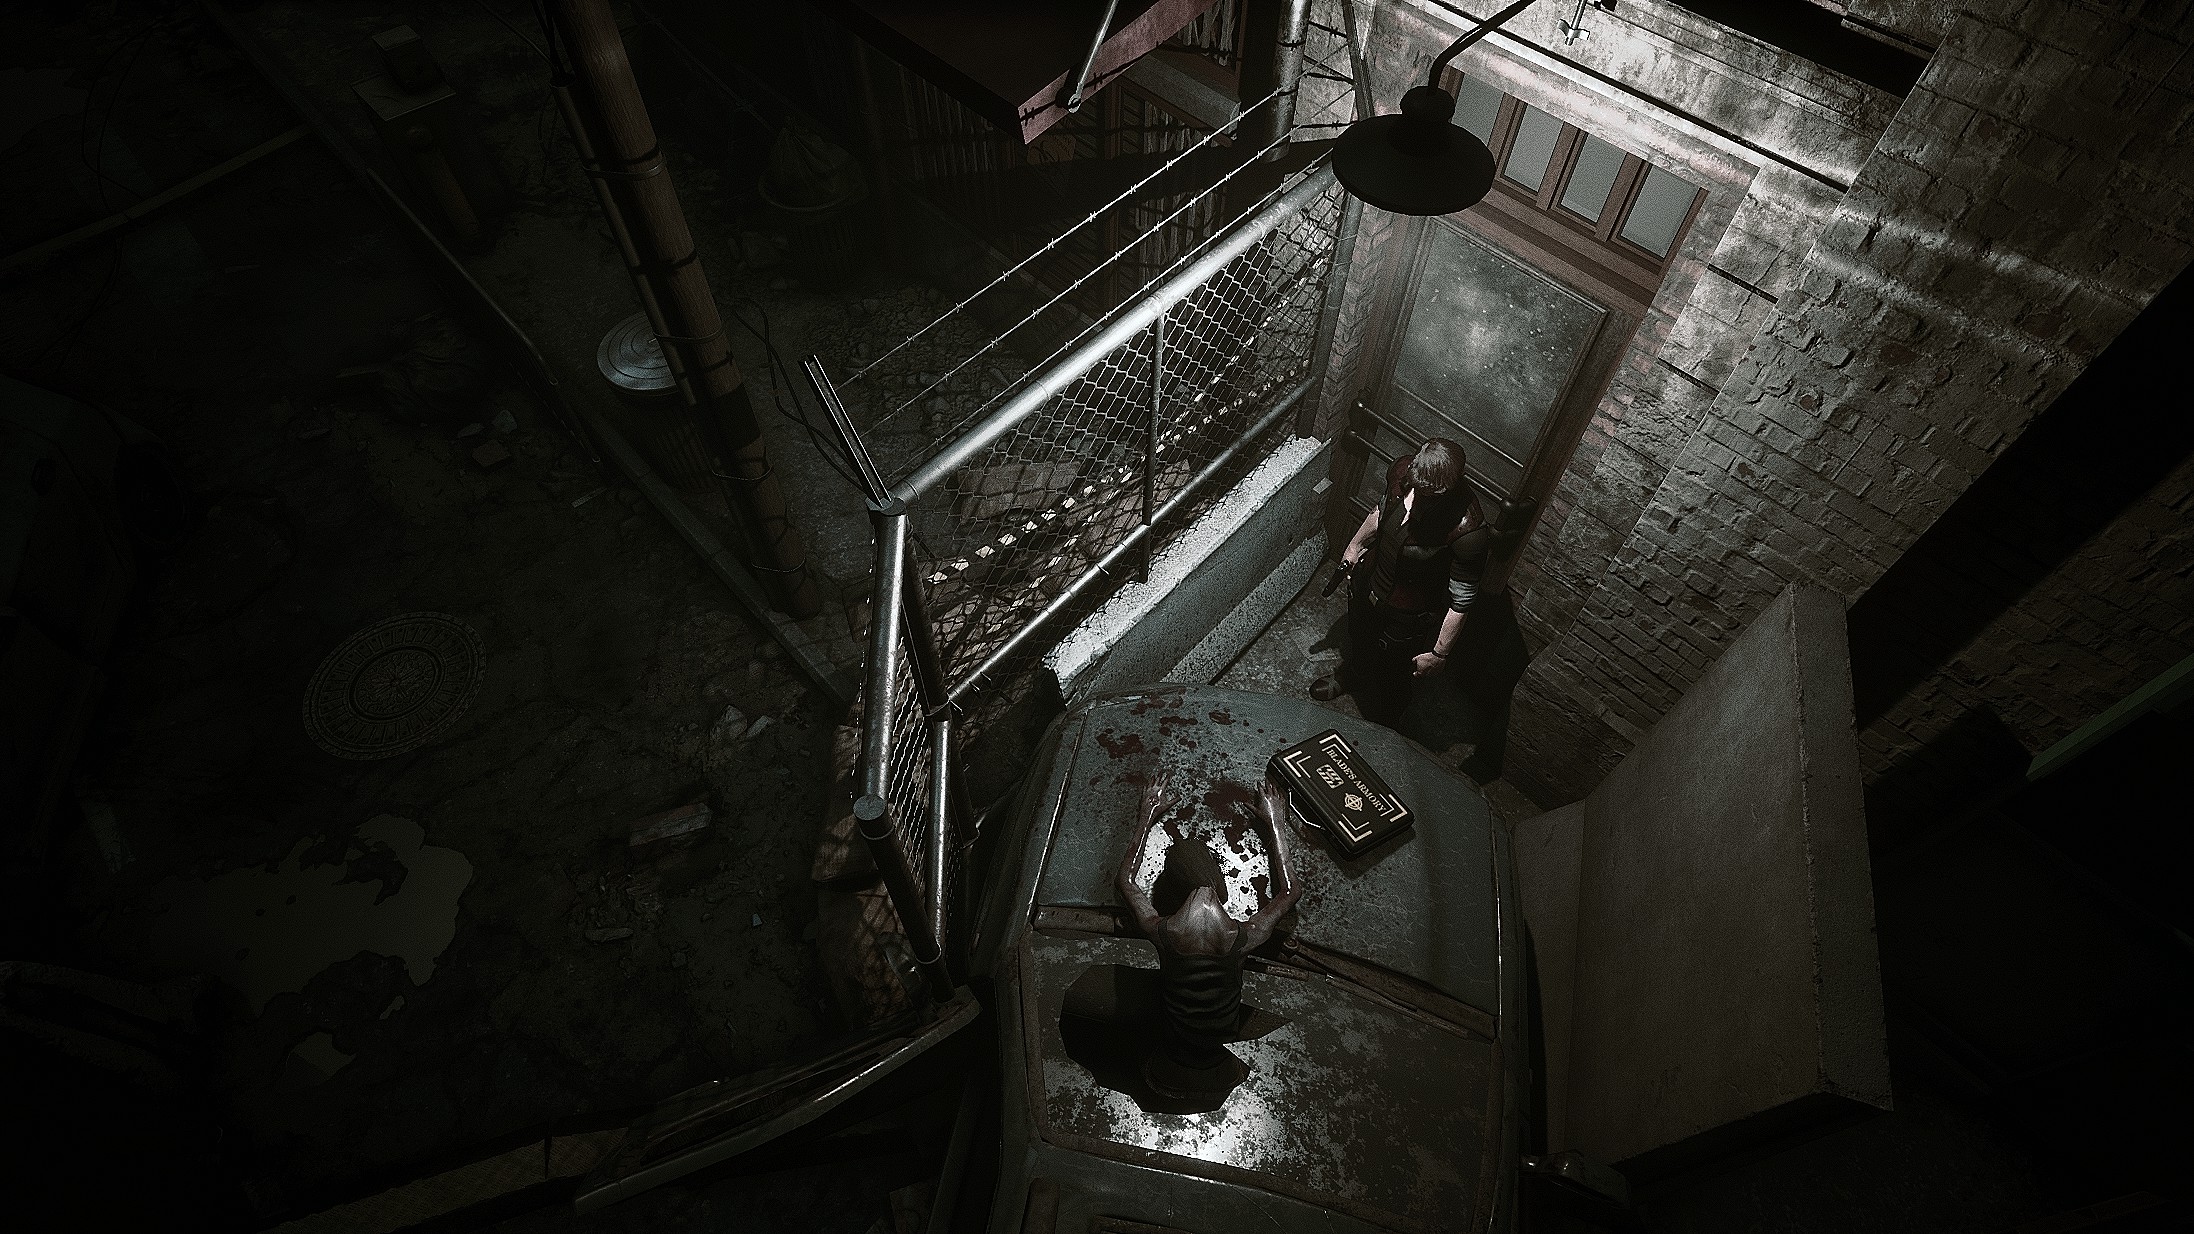


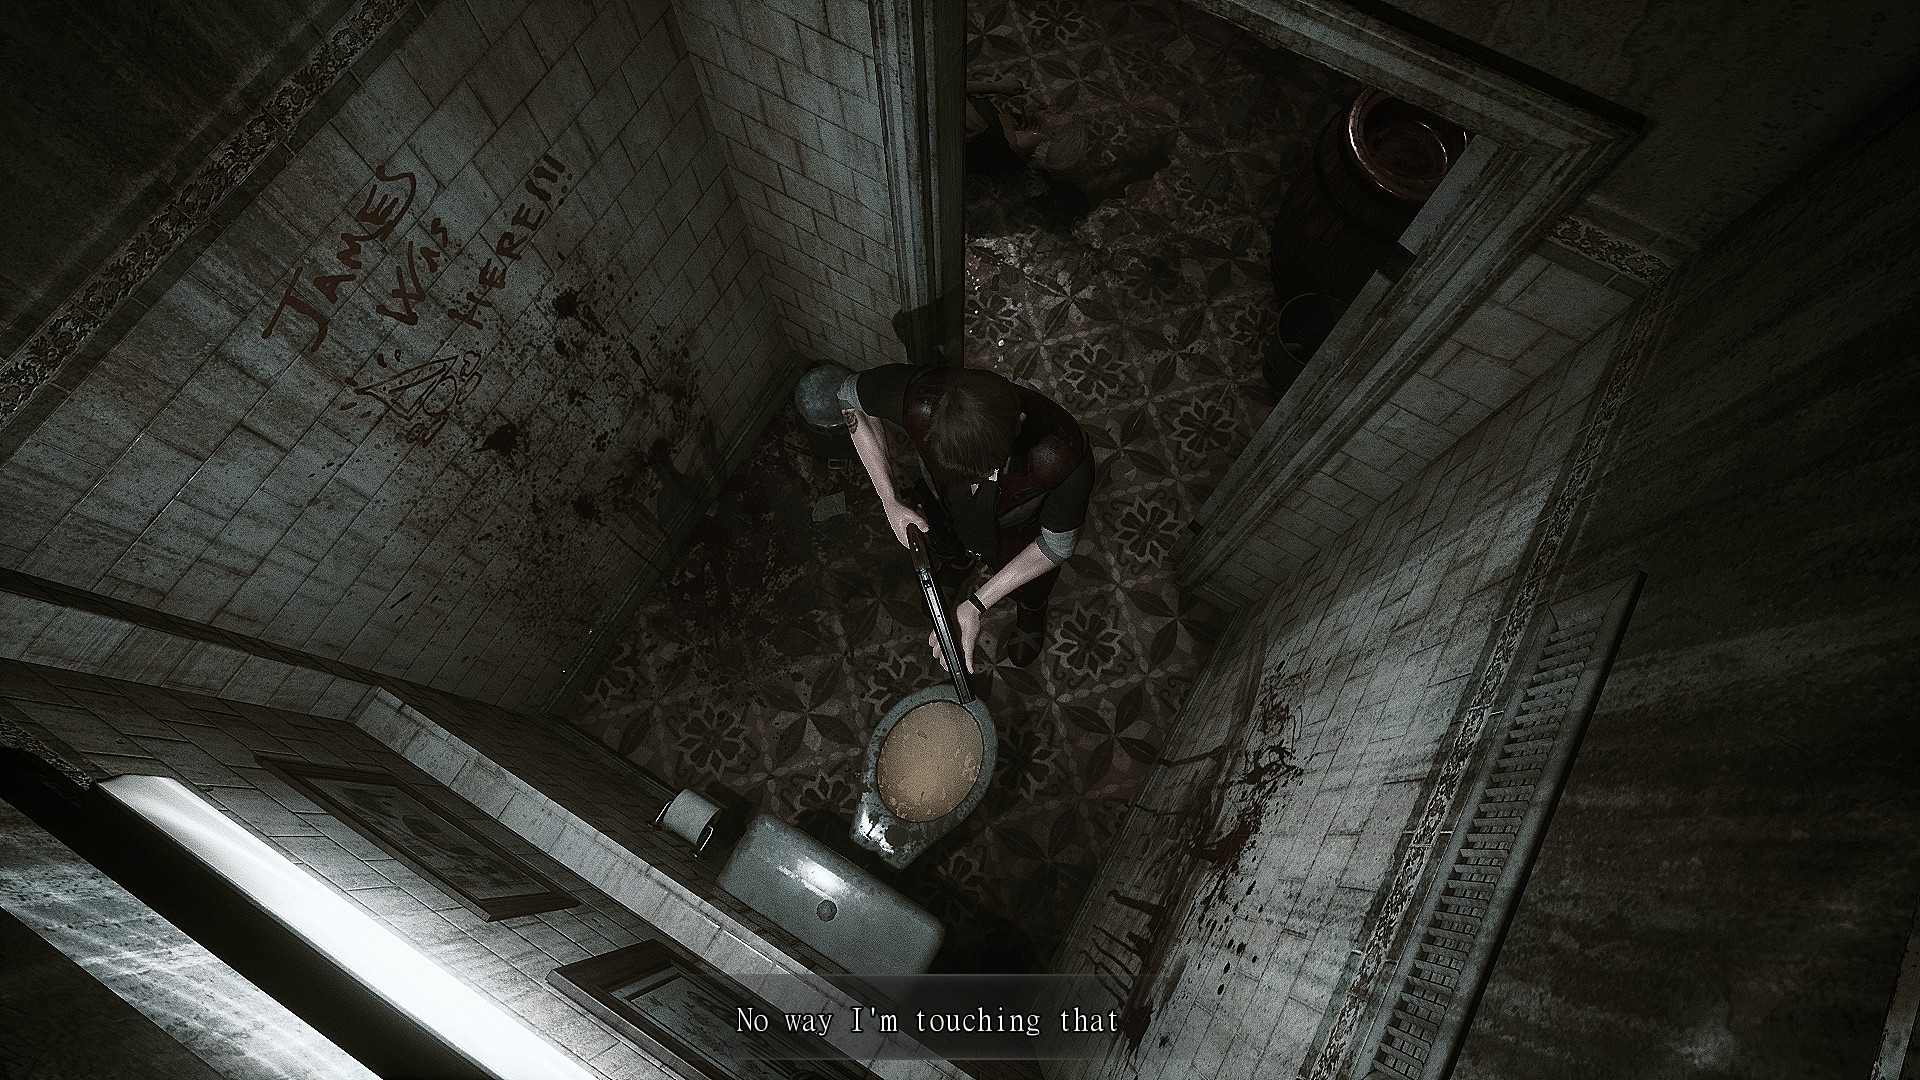


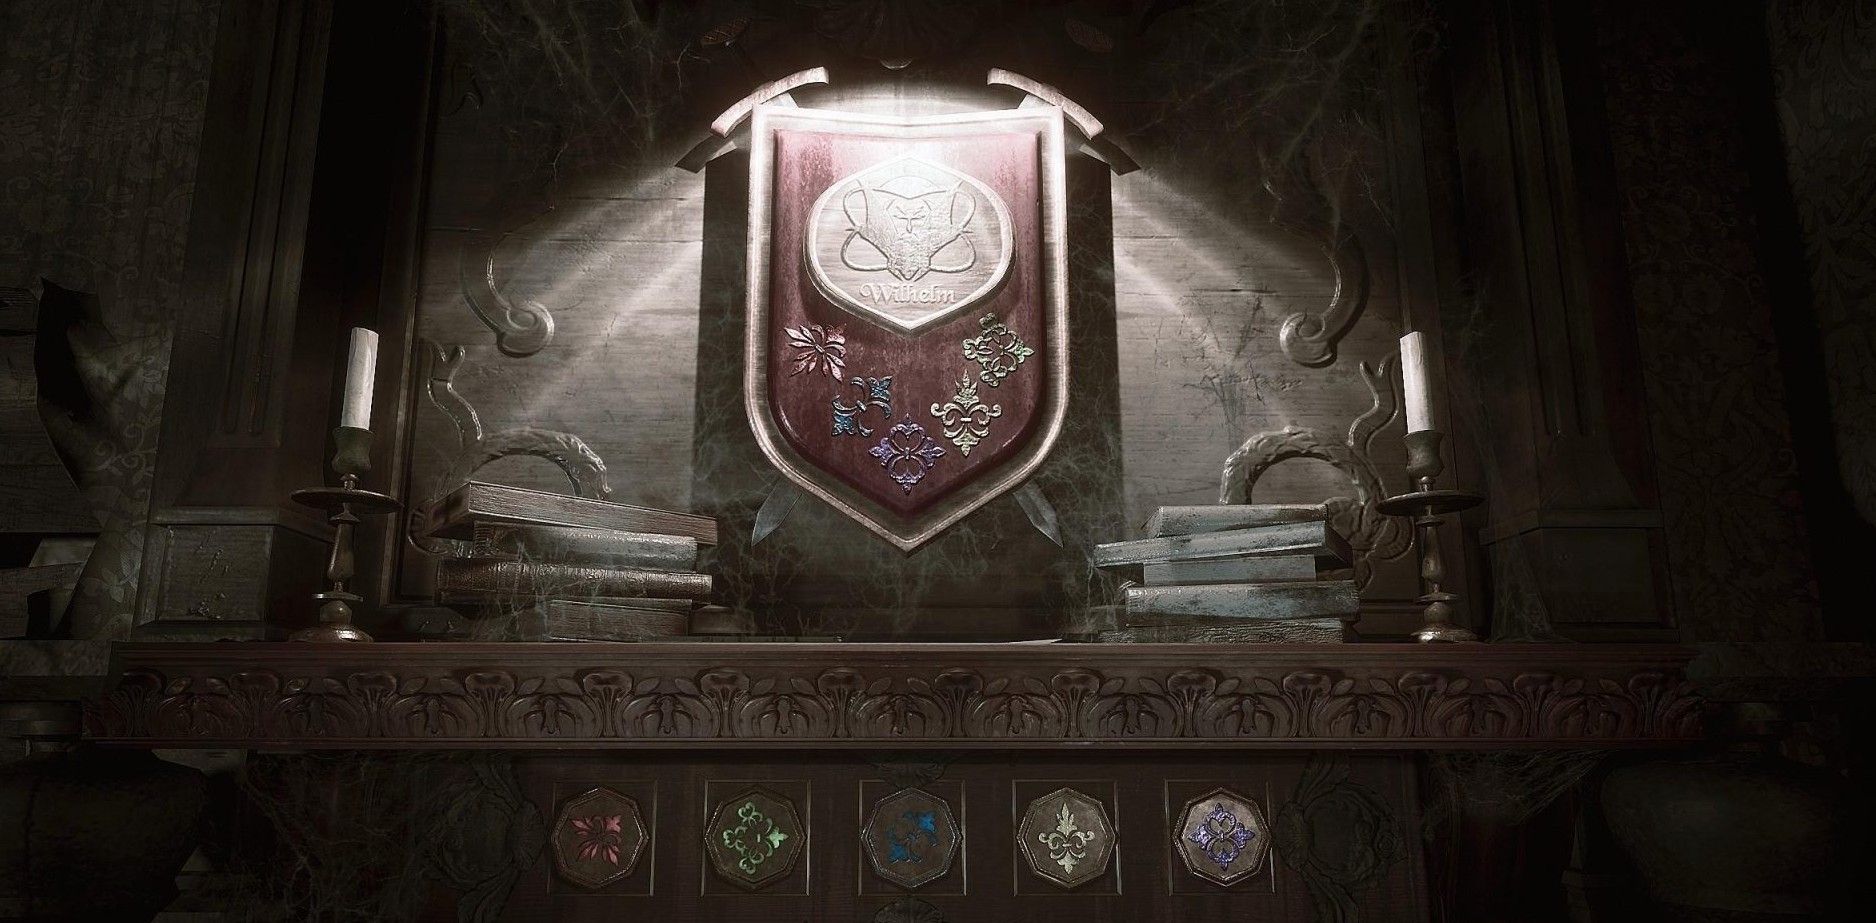


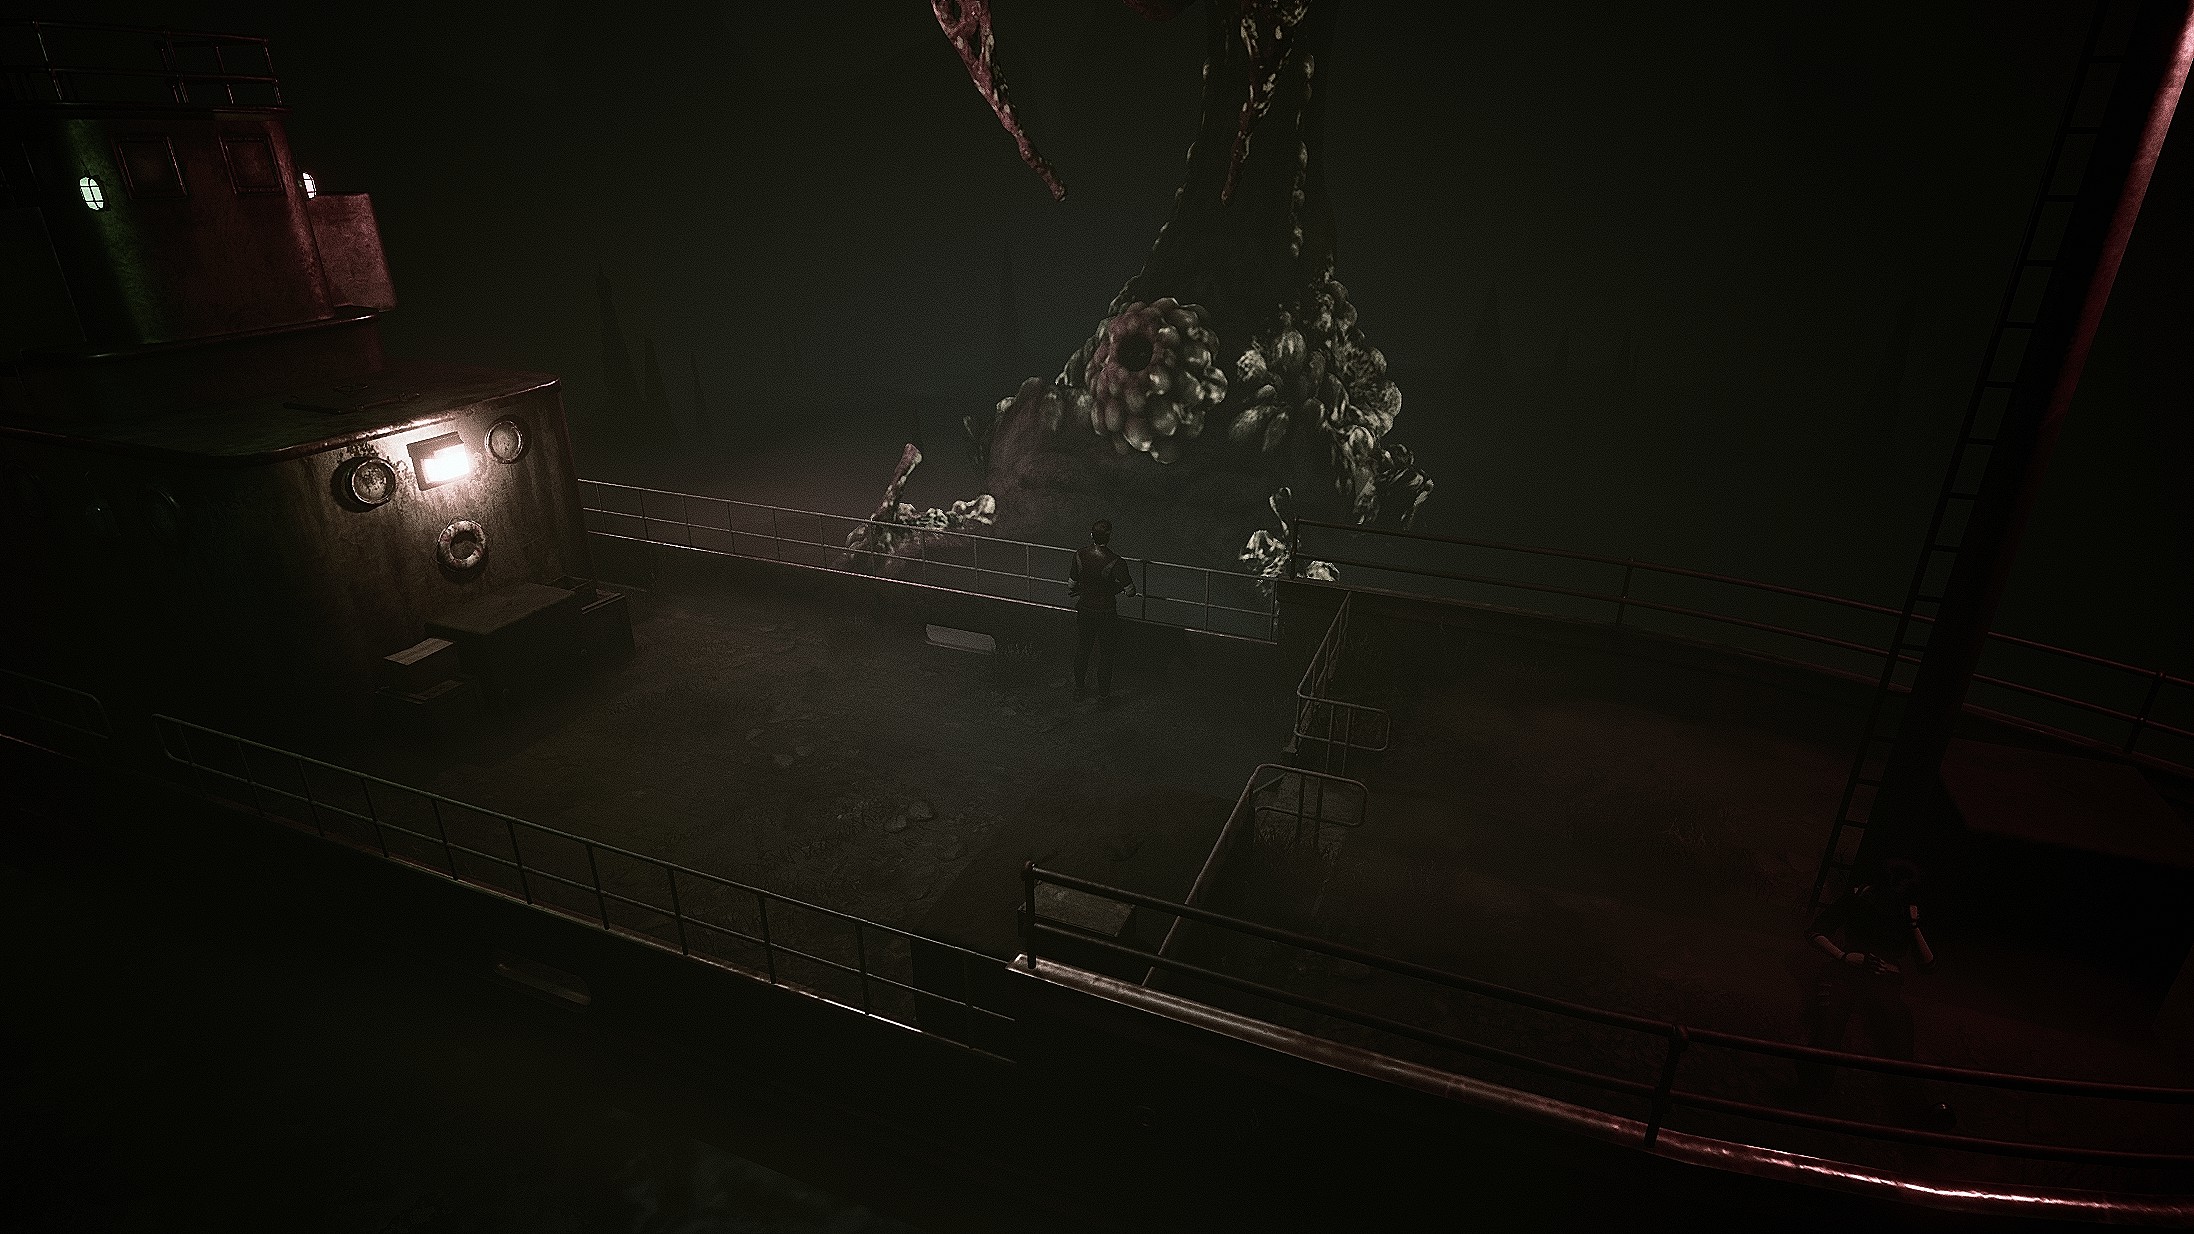
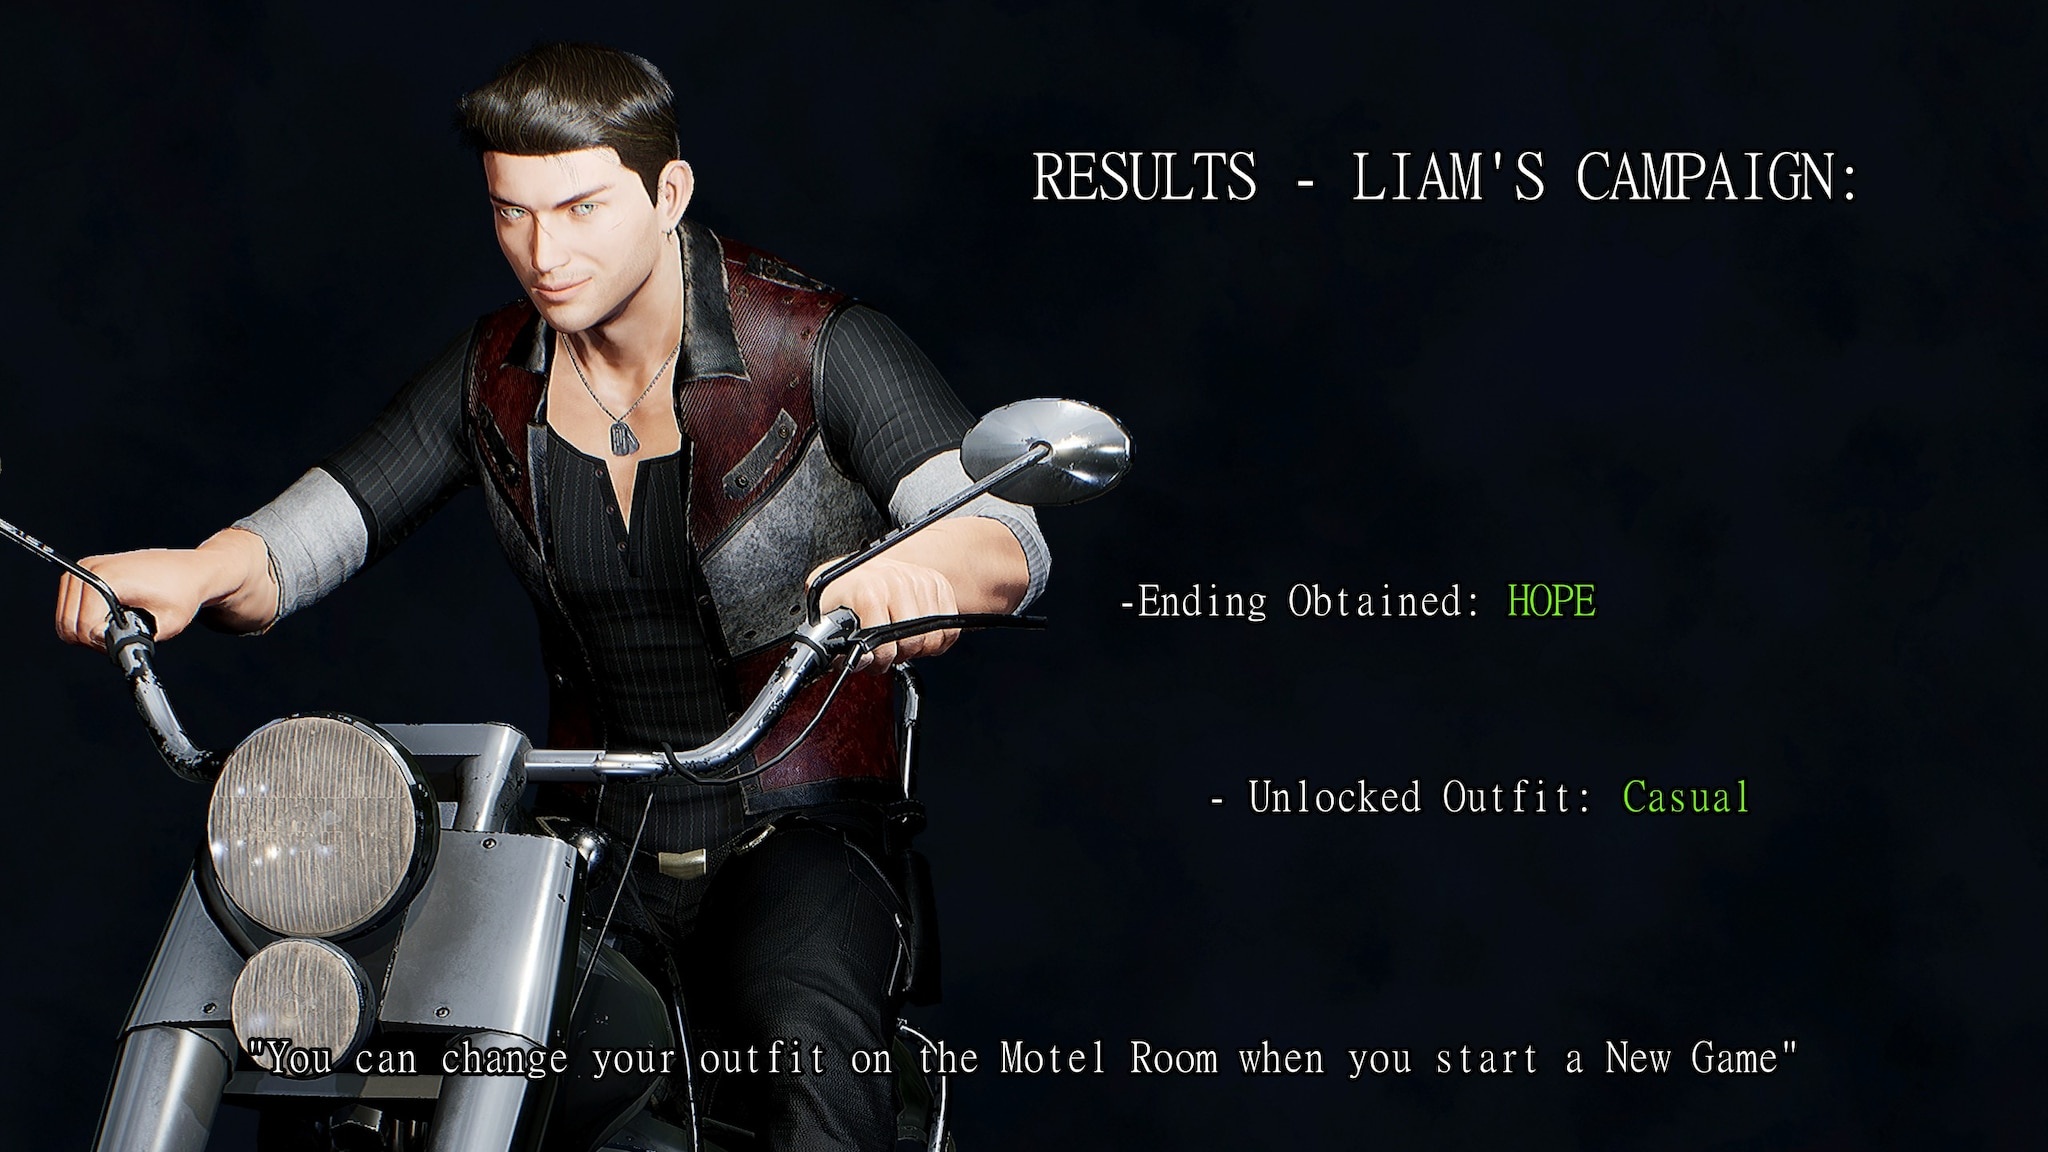


-After Blade’s Crest, in Wilhelm’s Crypt. DONT KILL Pendantel
-Before City Hall KILL Pendantel
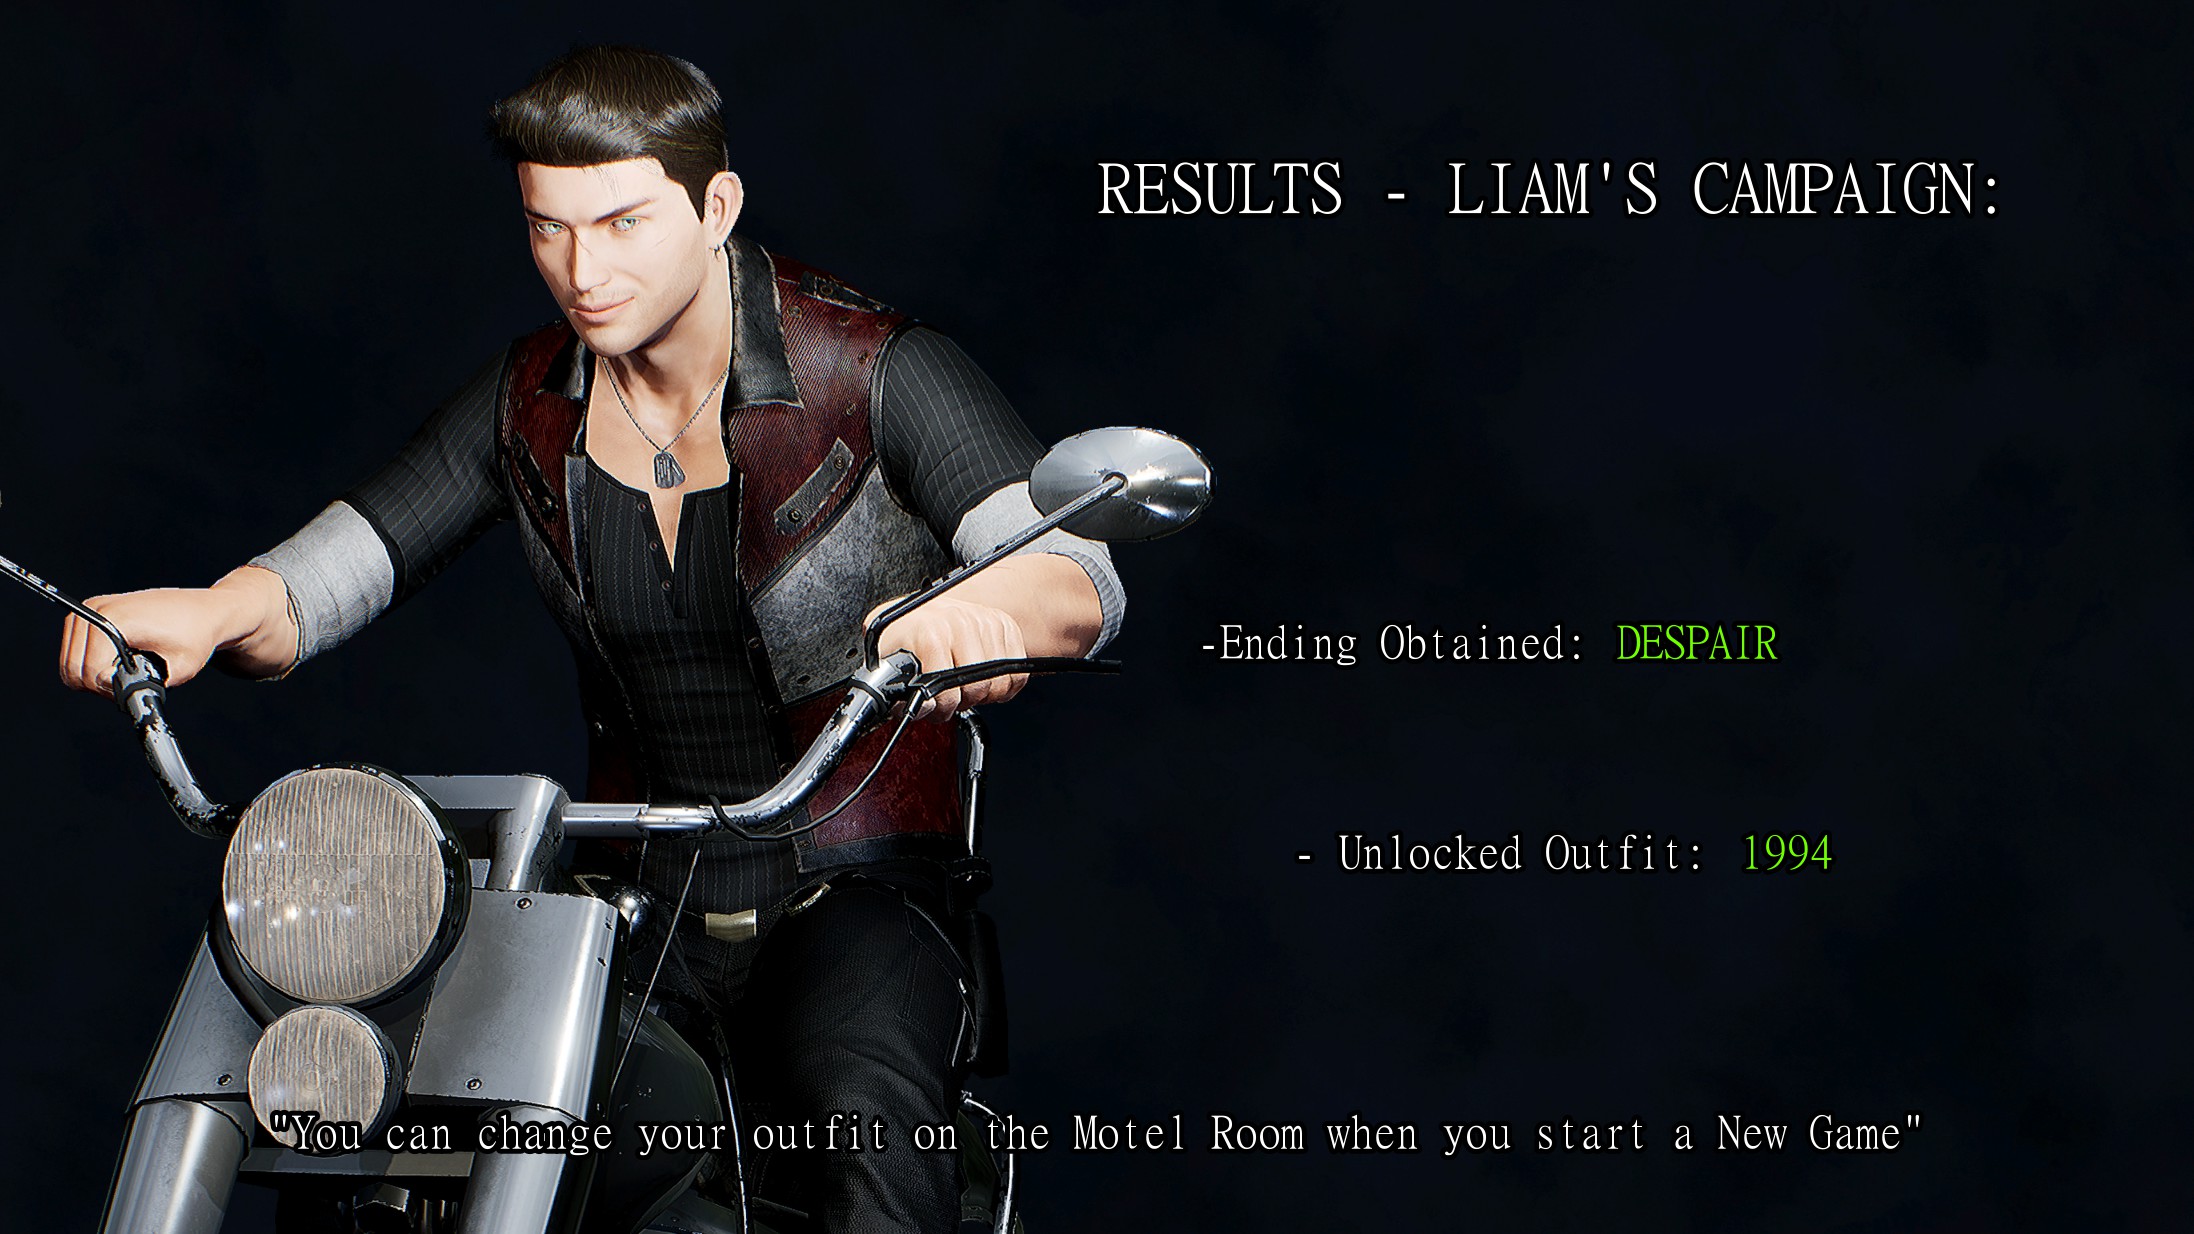
2.Despair ending
-After Blade’s Crest, in Wilhelm’s Crypt. KILL Pendantel
-Before City Hall Kill or dont Pendantel doesnt matter
3.Madness ending
-After Blade’s Crest, in Wilhelm’s Crypt. DONT KILL Pendantel
-Before City Hall DONT KILL Pendantel
we could shorten it a bit, in the end its just about it
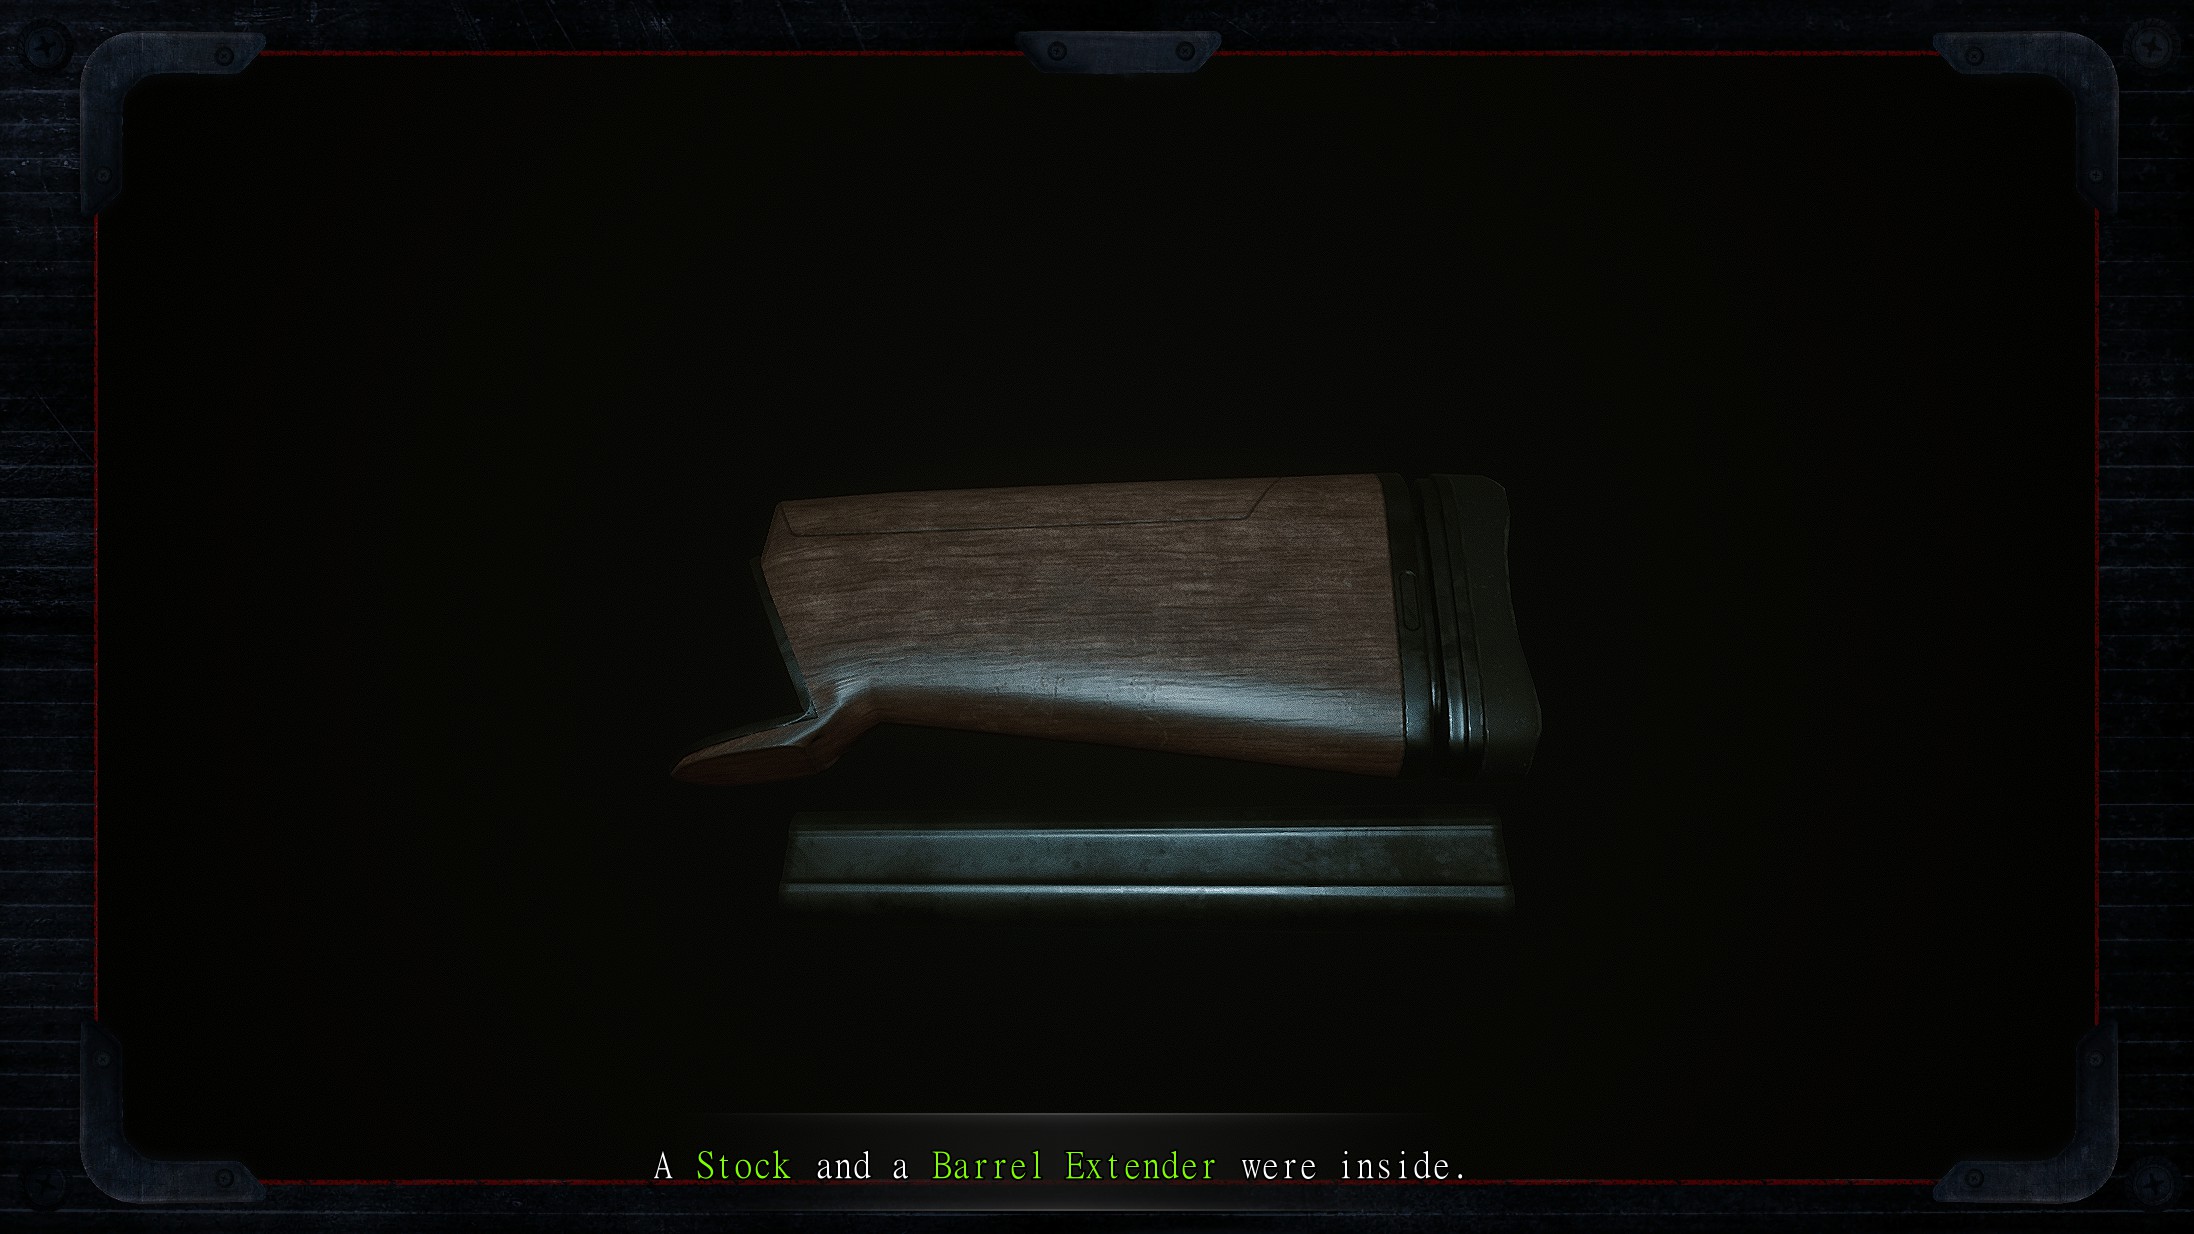
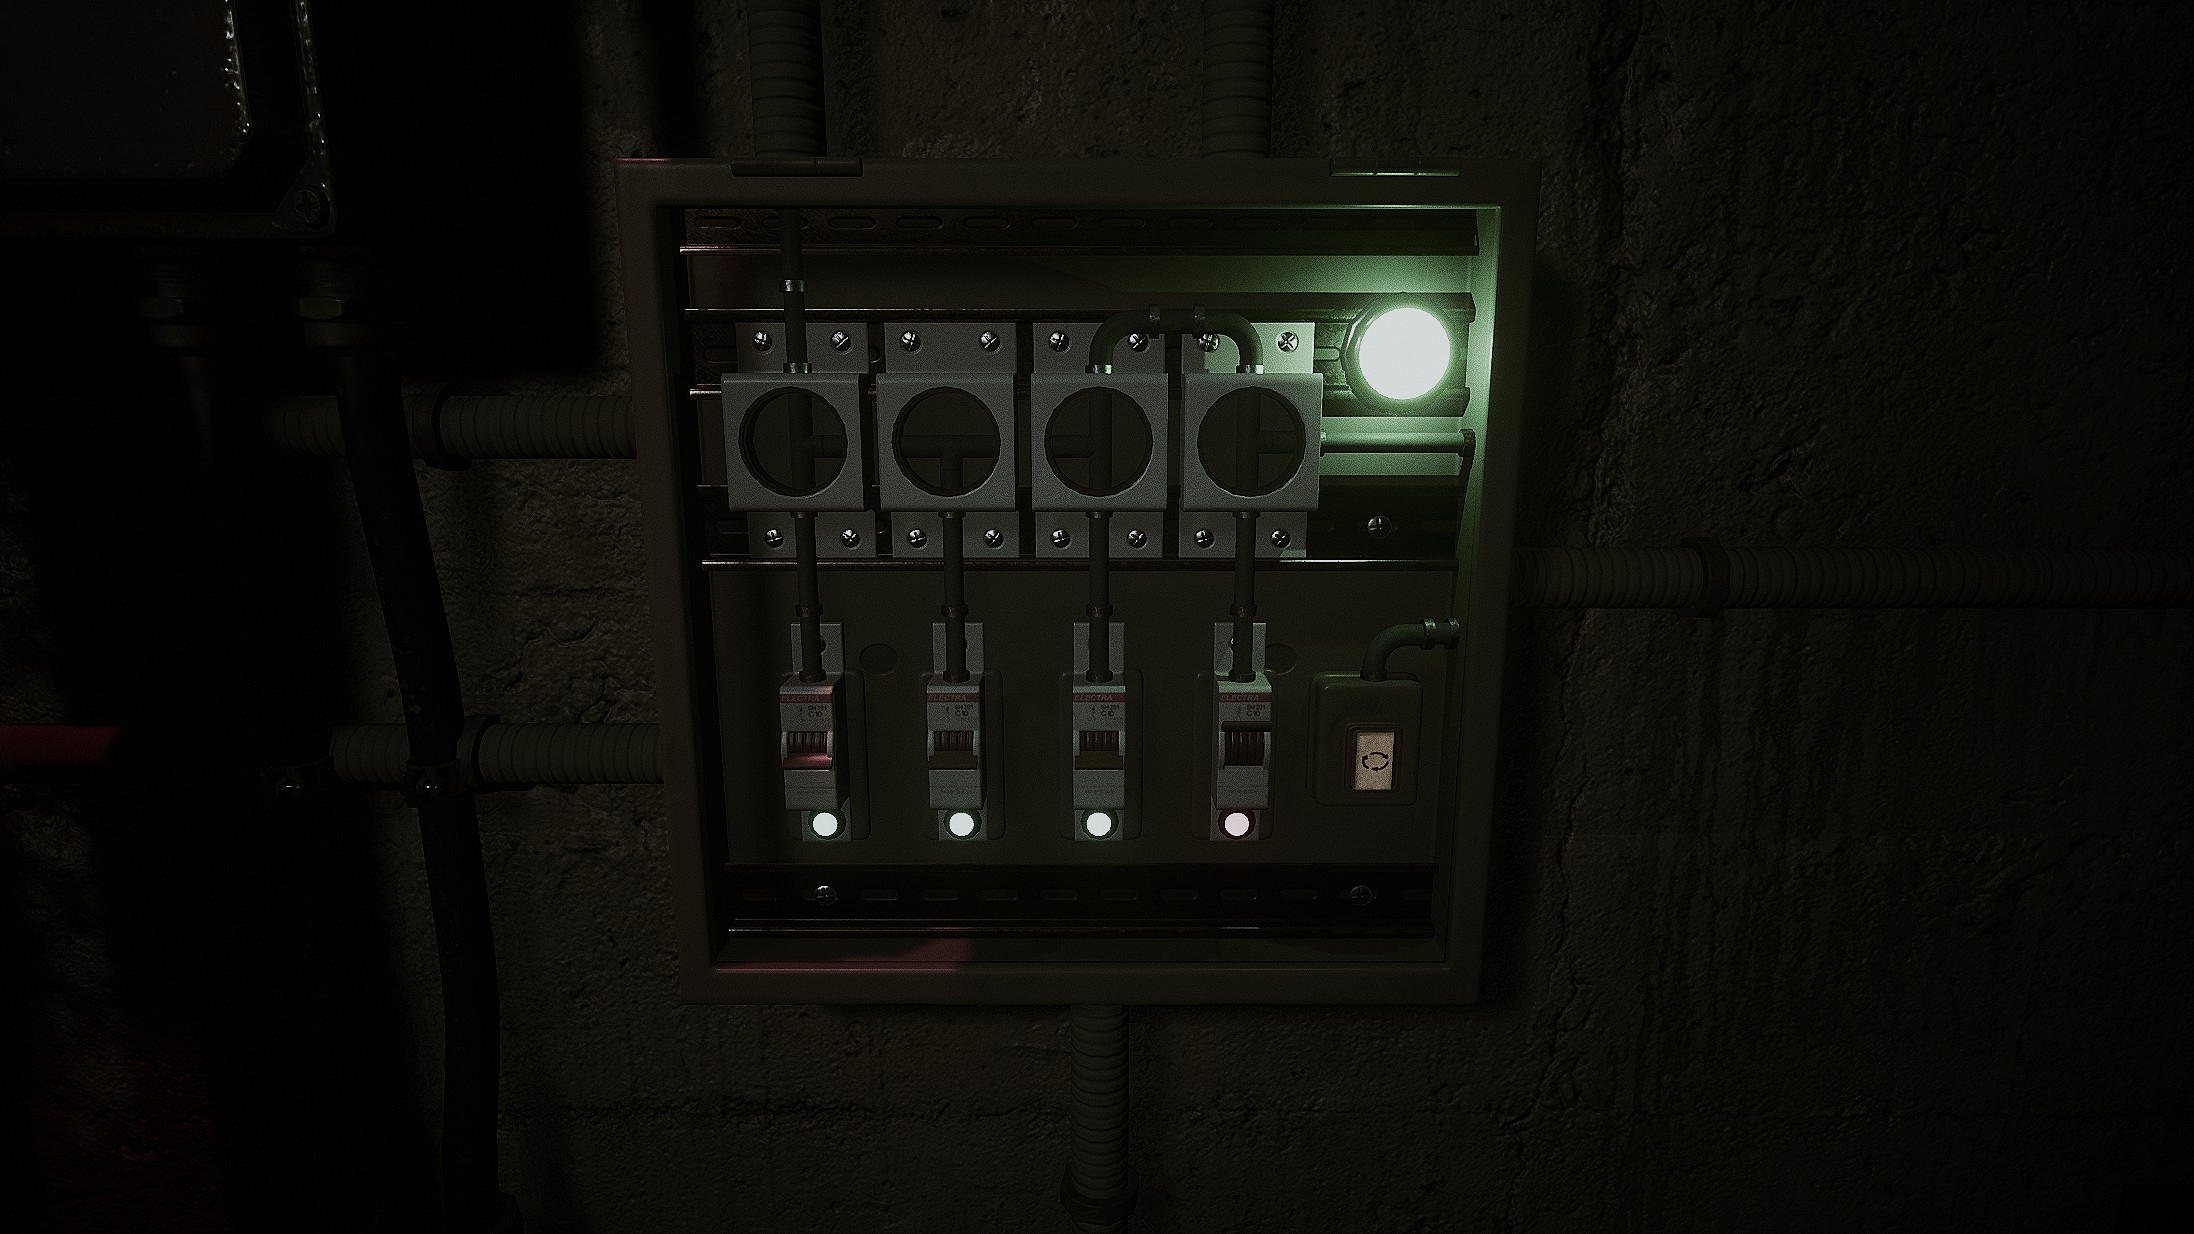
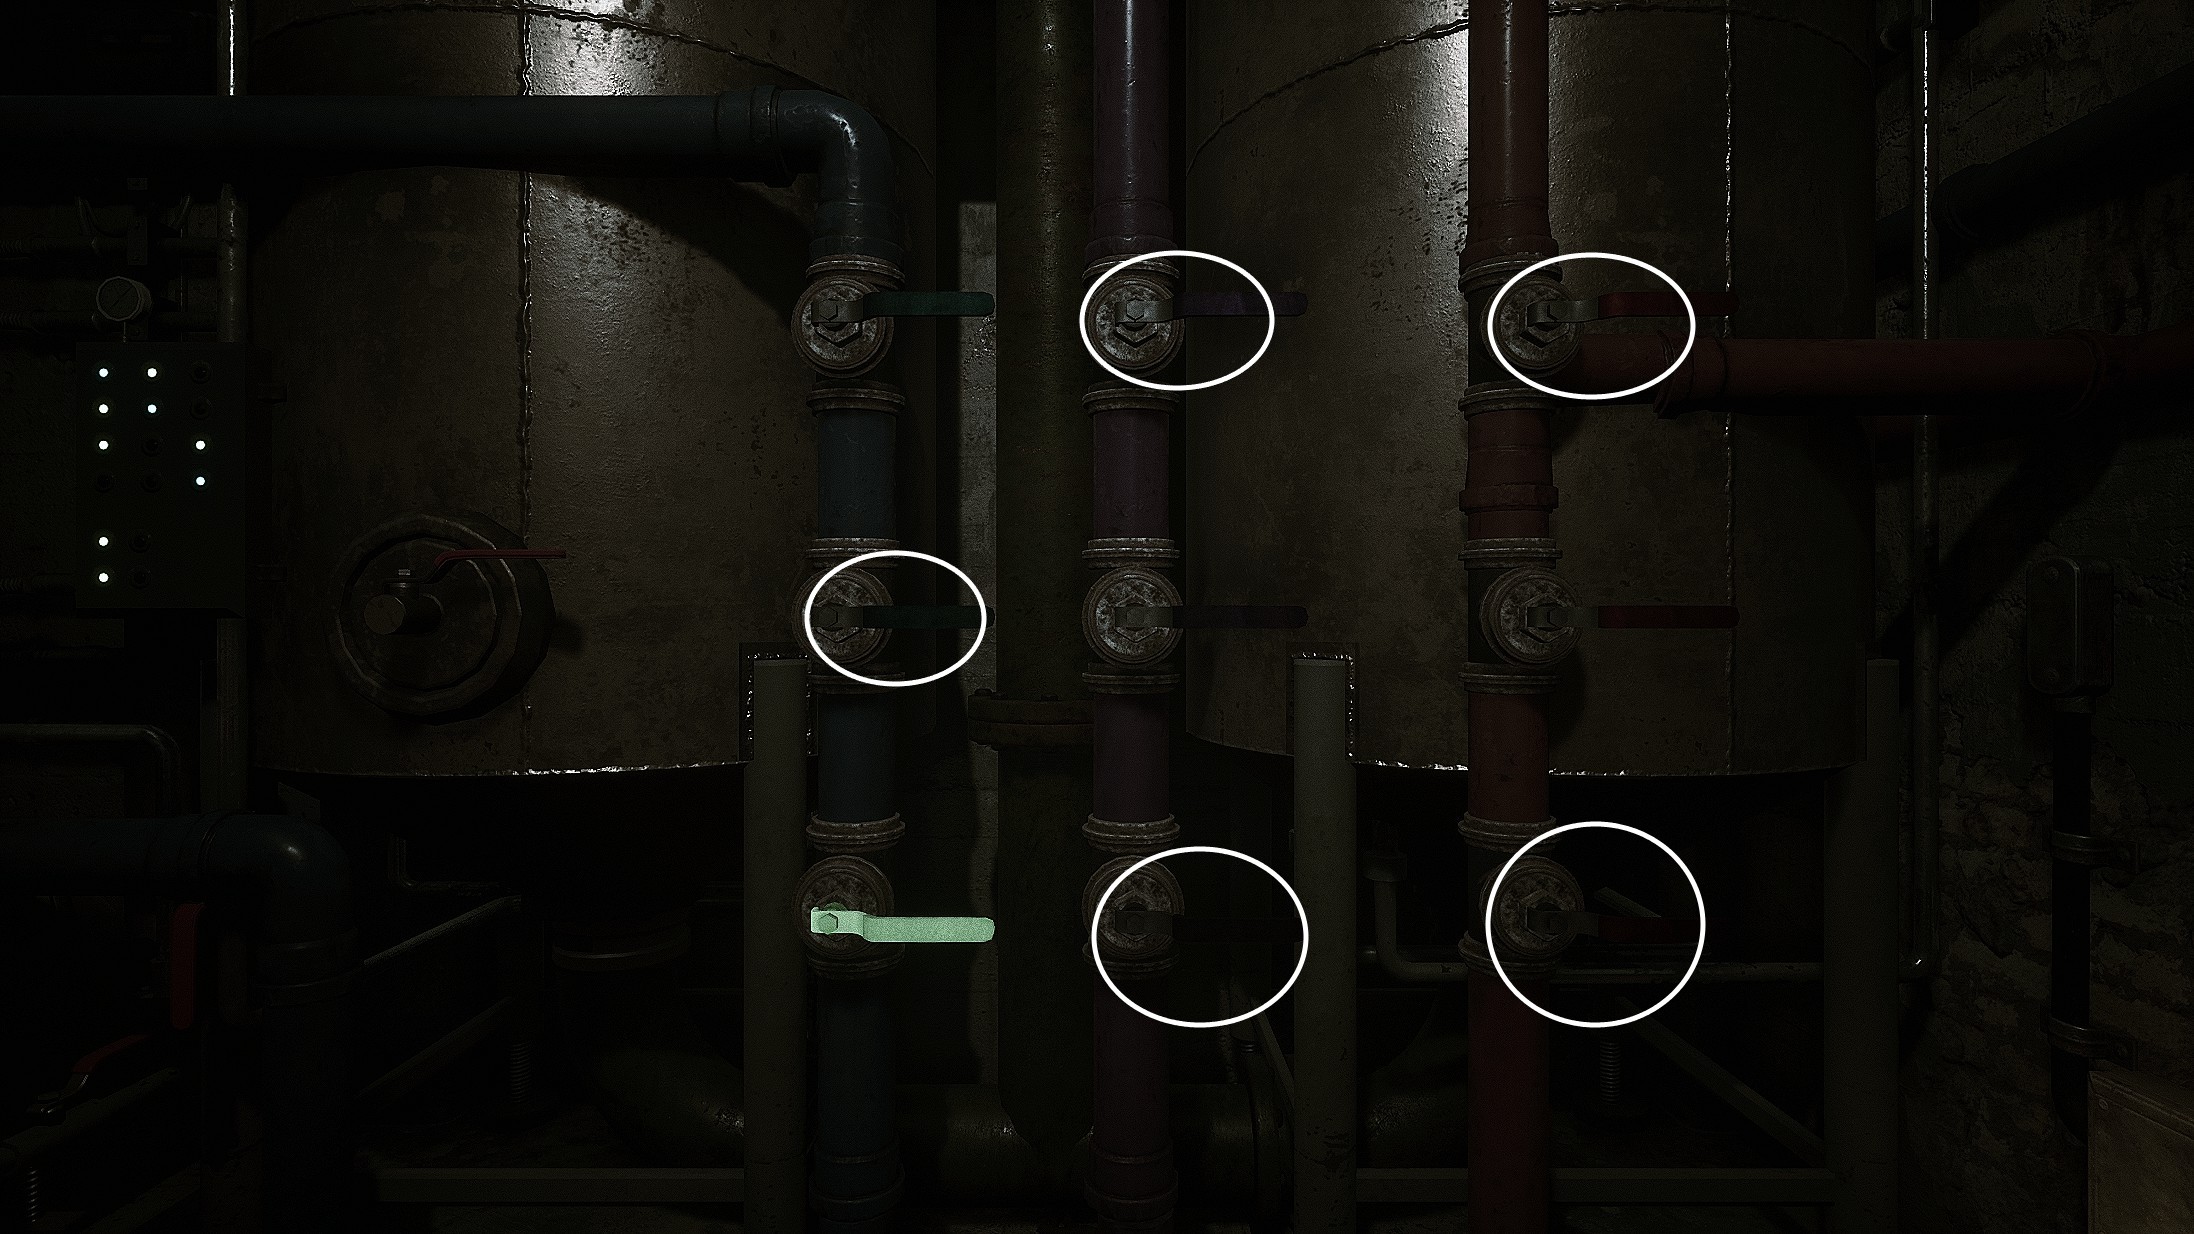
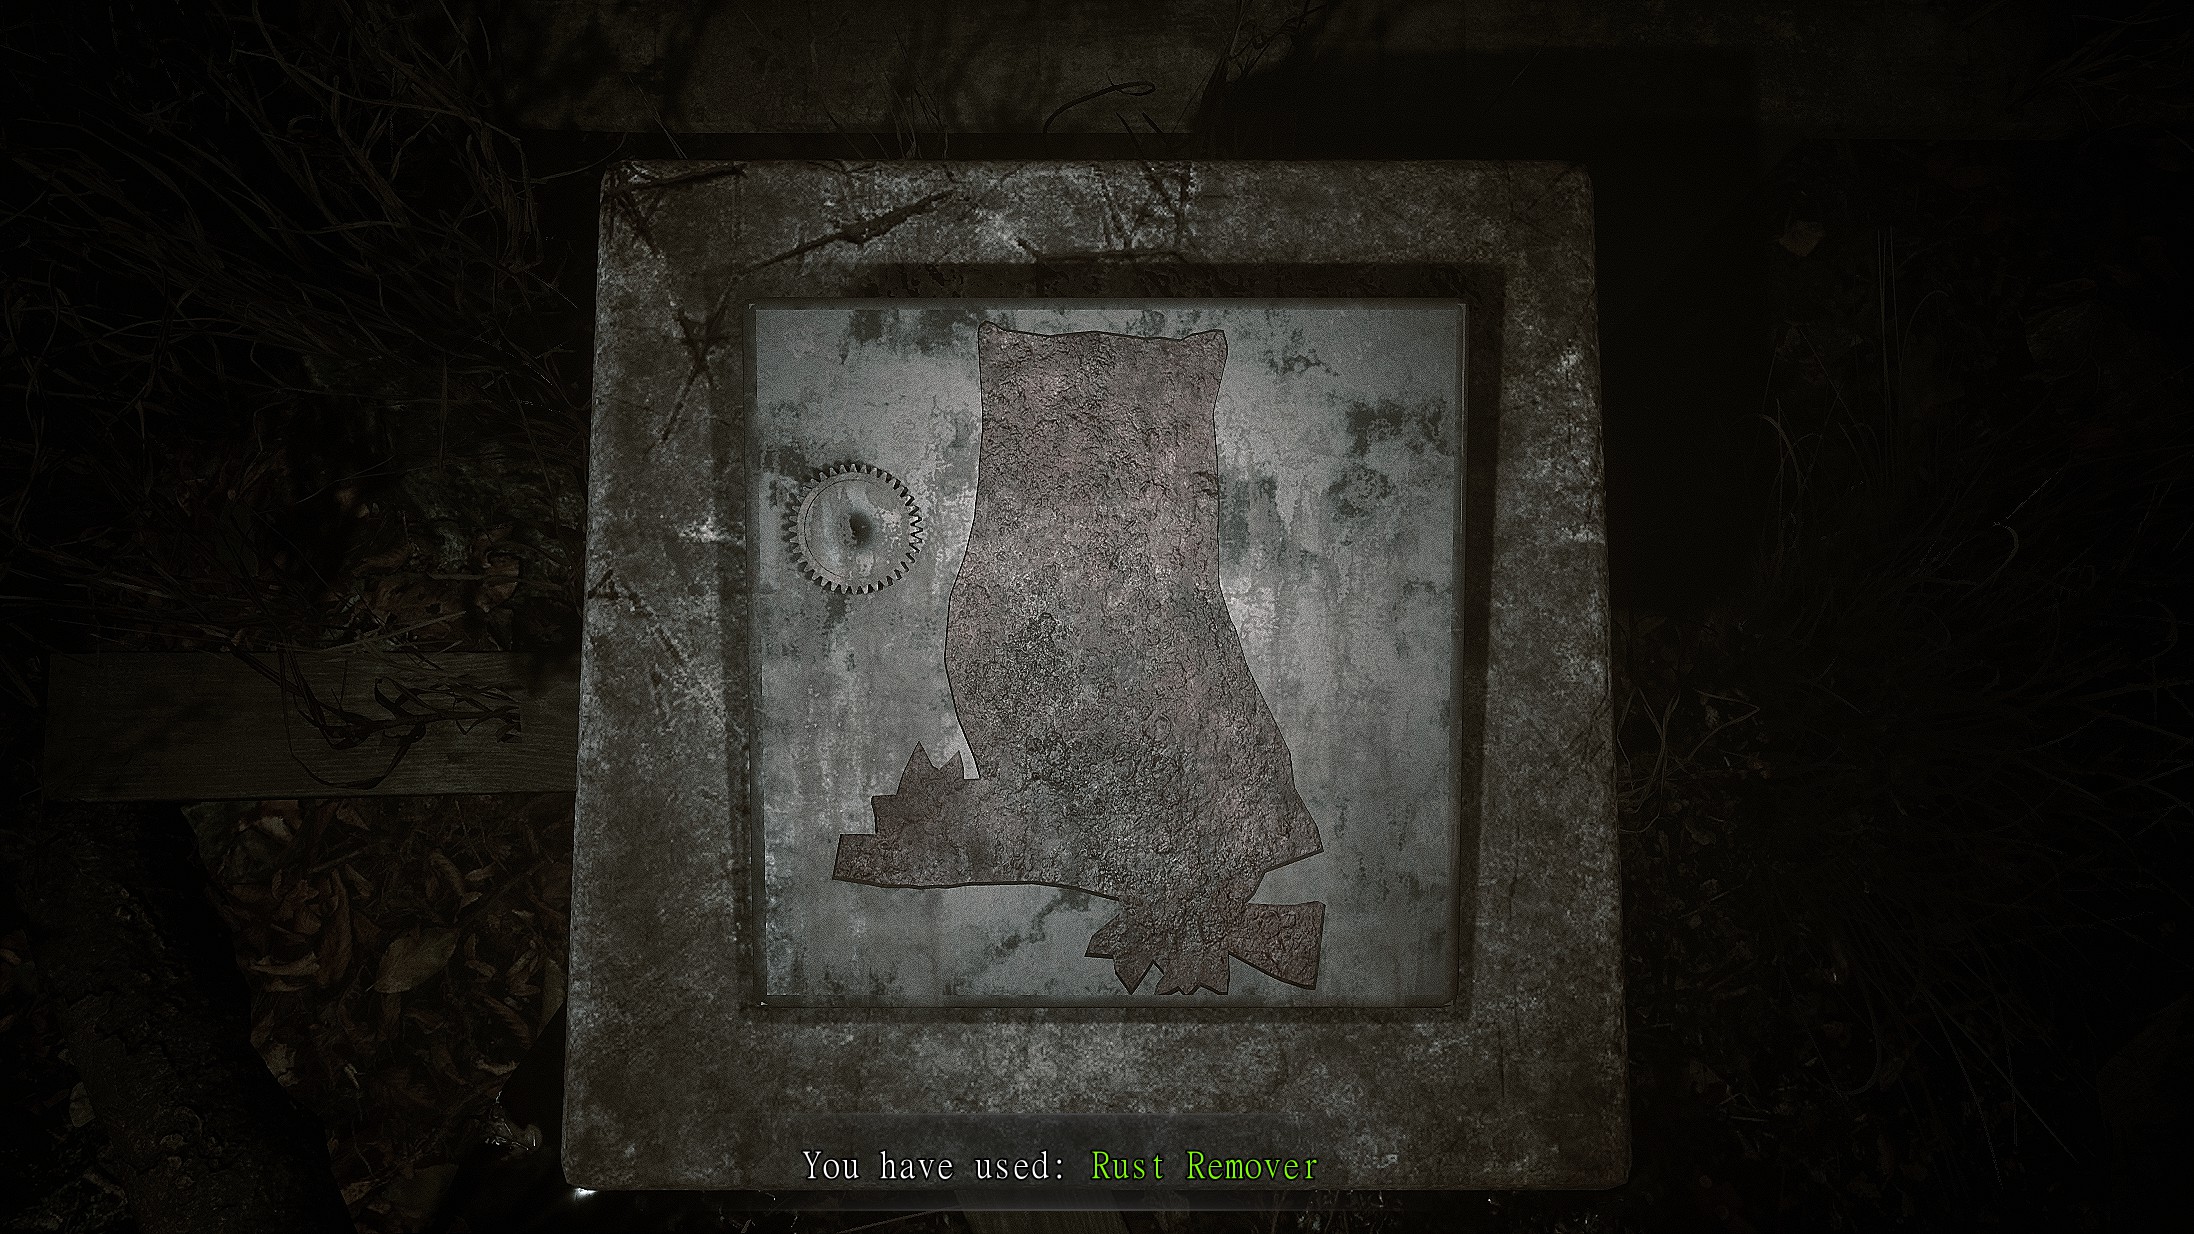
Ящик в глаза не бросился. теперь все станет намного легче;)
А вообще игра классная. Звуковая атмосфера выше всяких похвал.
Да и вообще в каждой мелочи чувствуется дань уважения первоисточнику.
Вы молодцы!
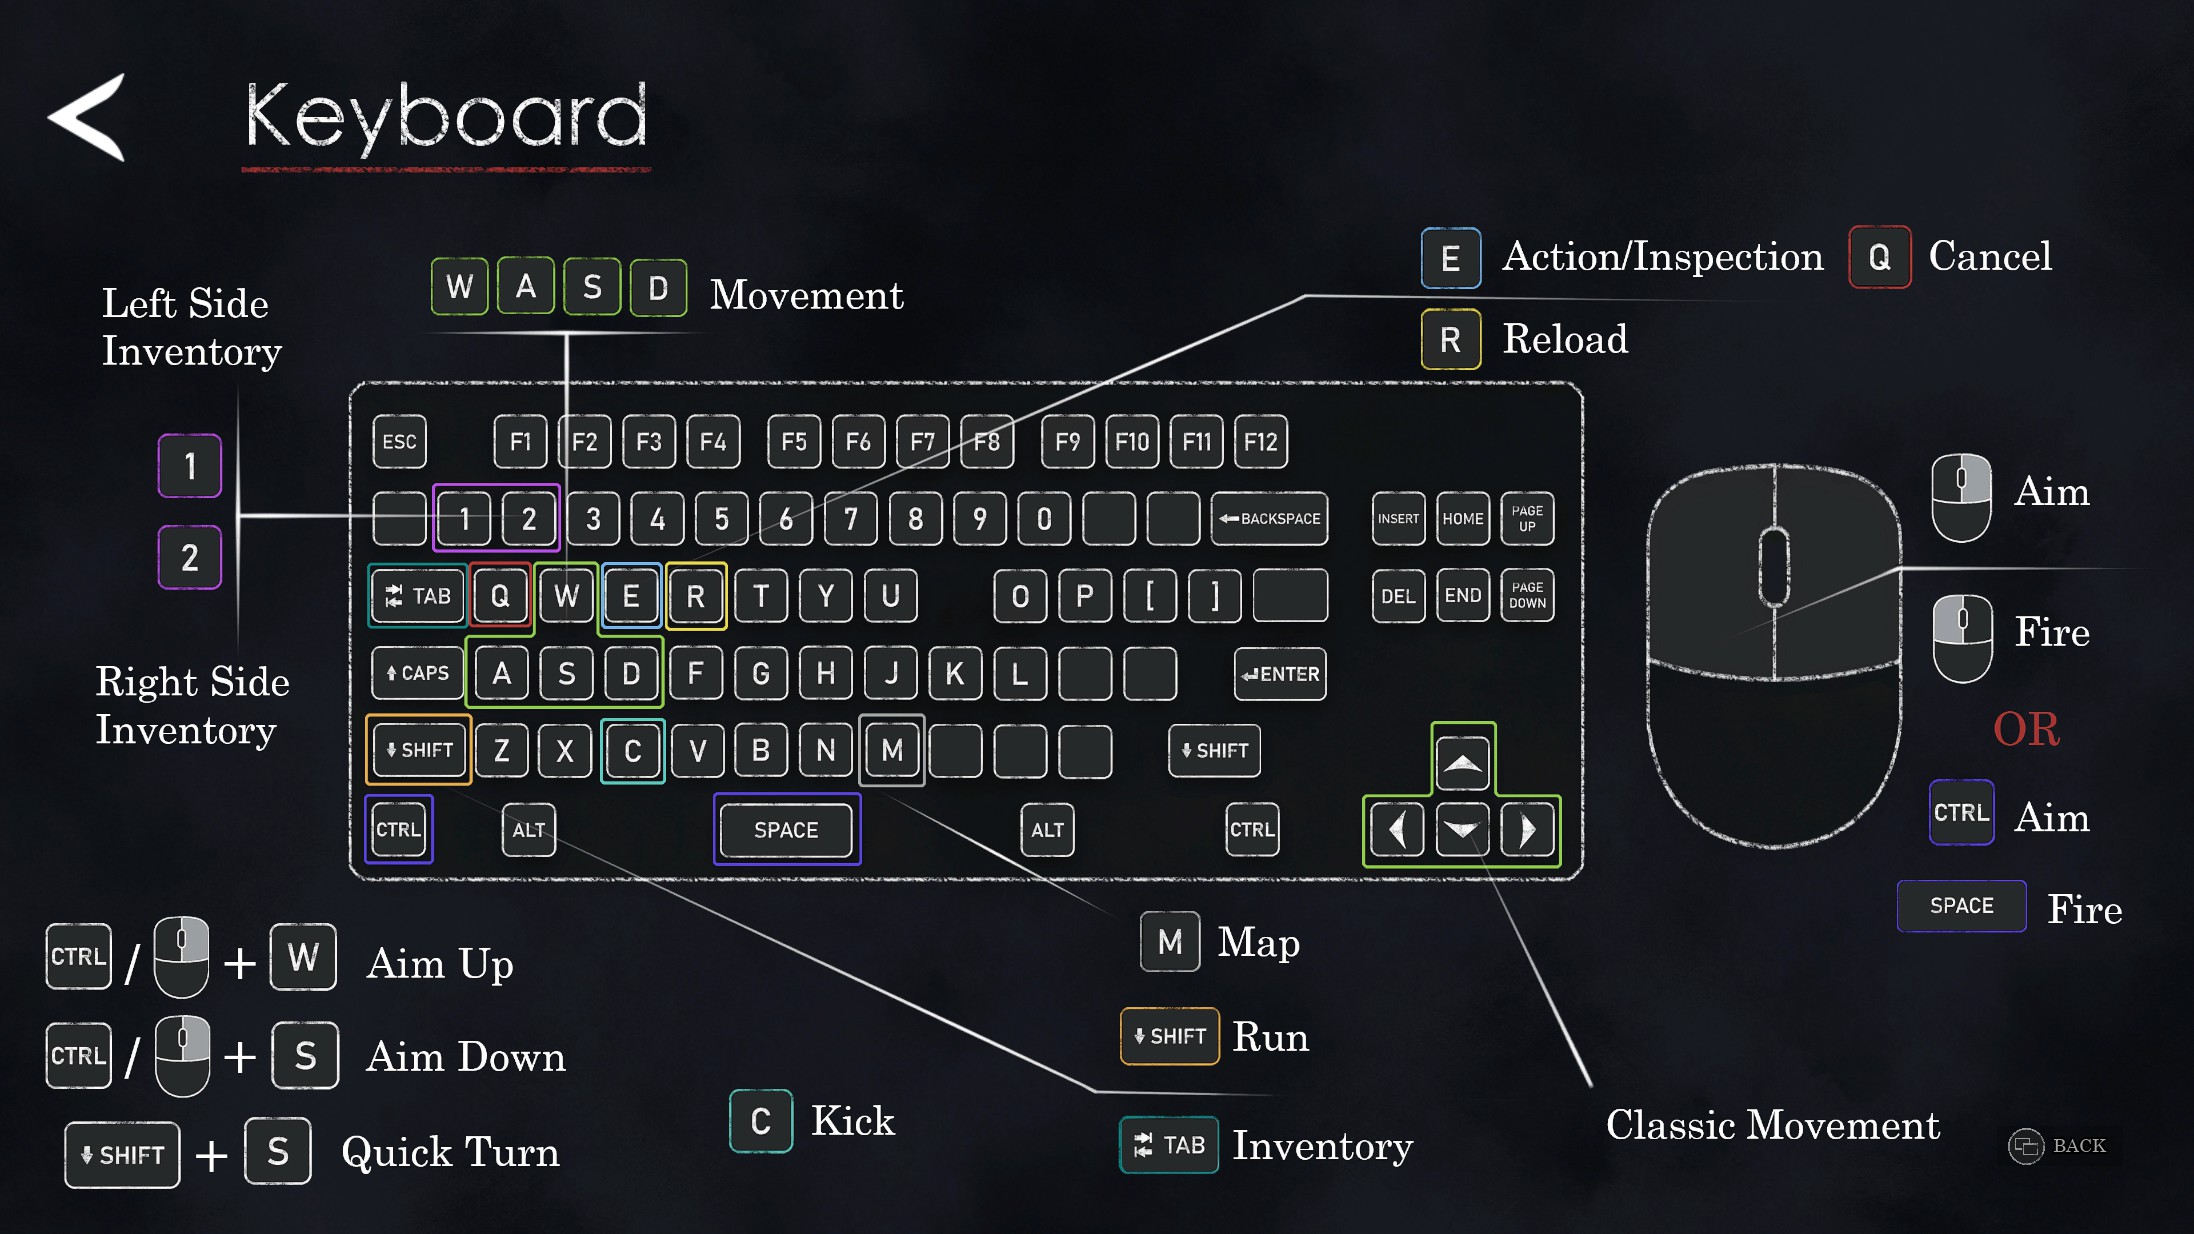
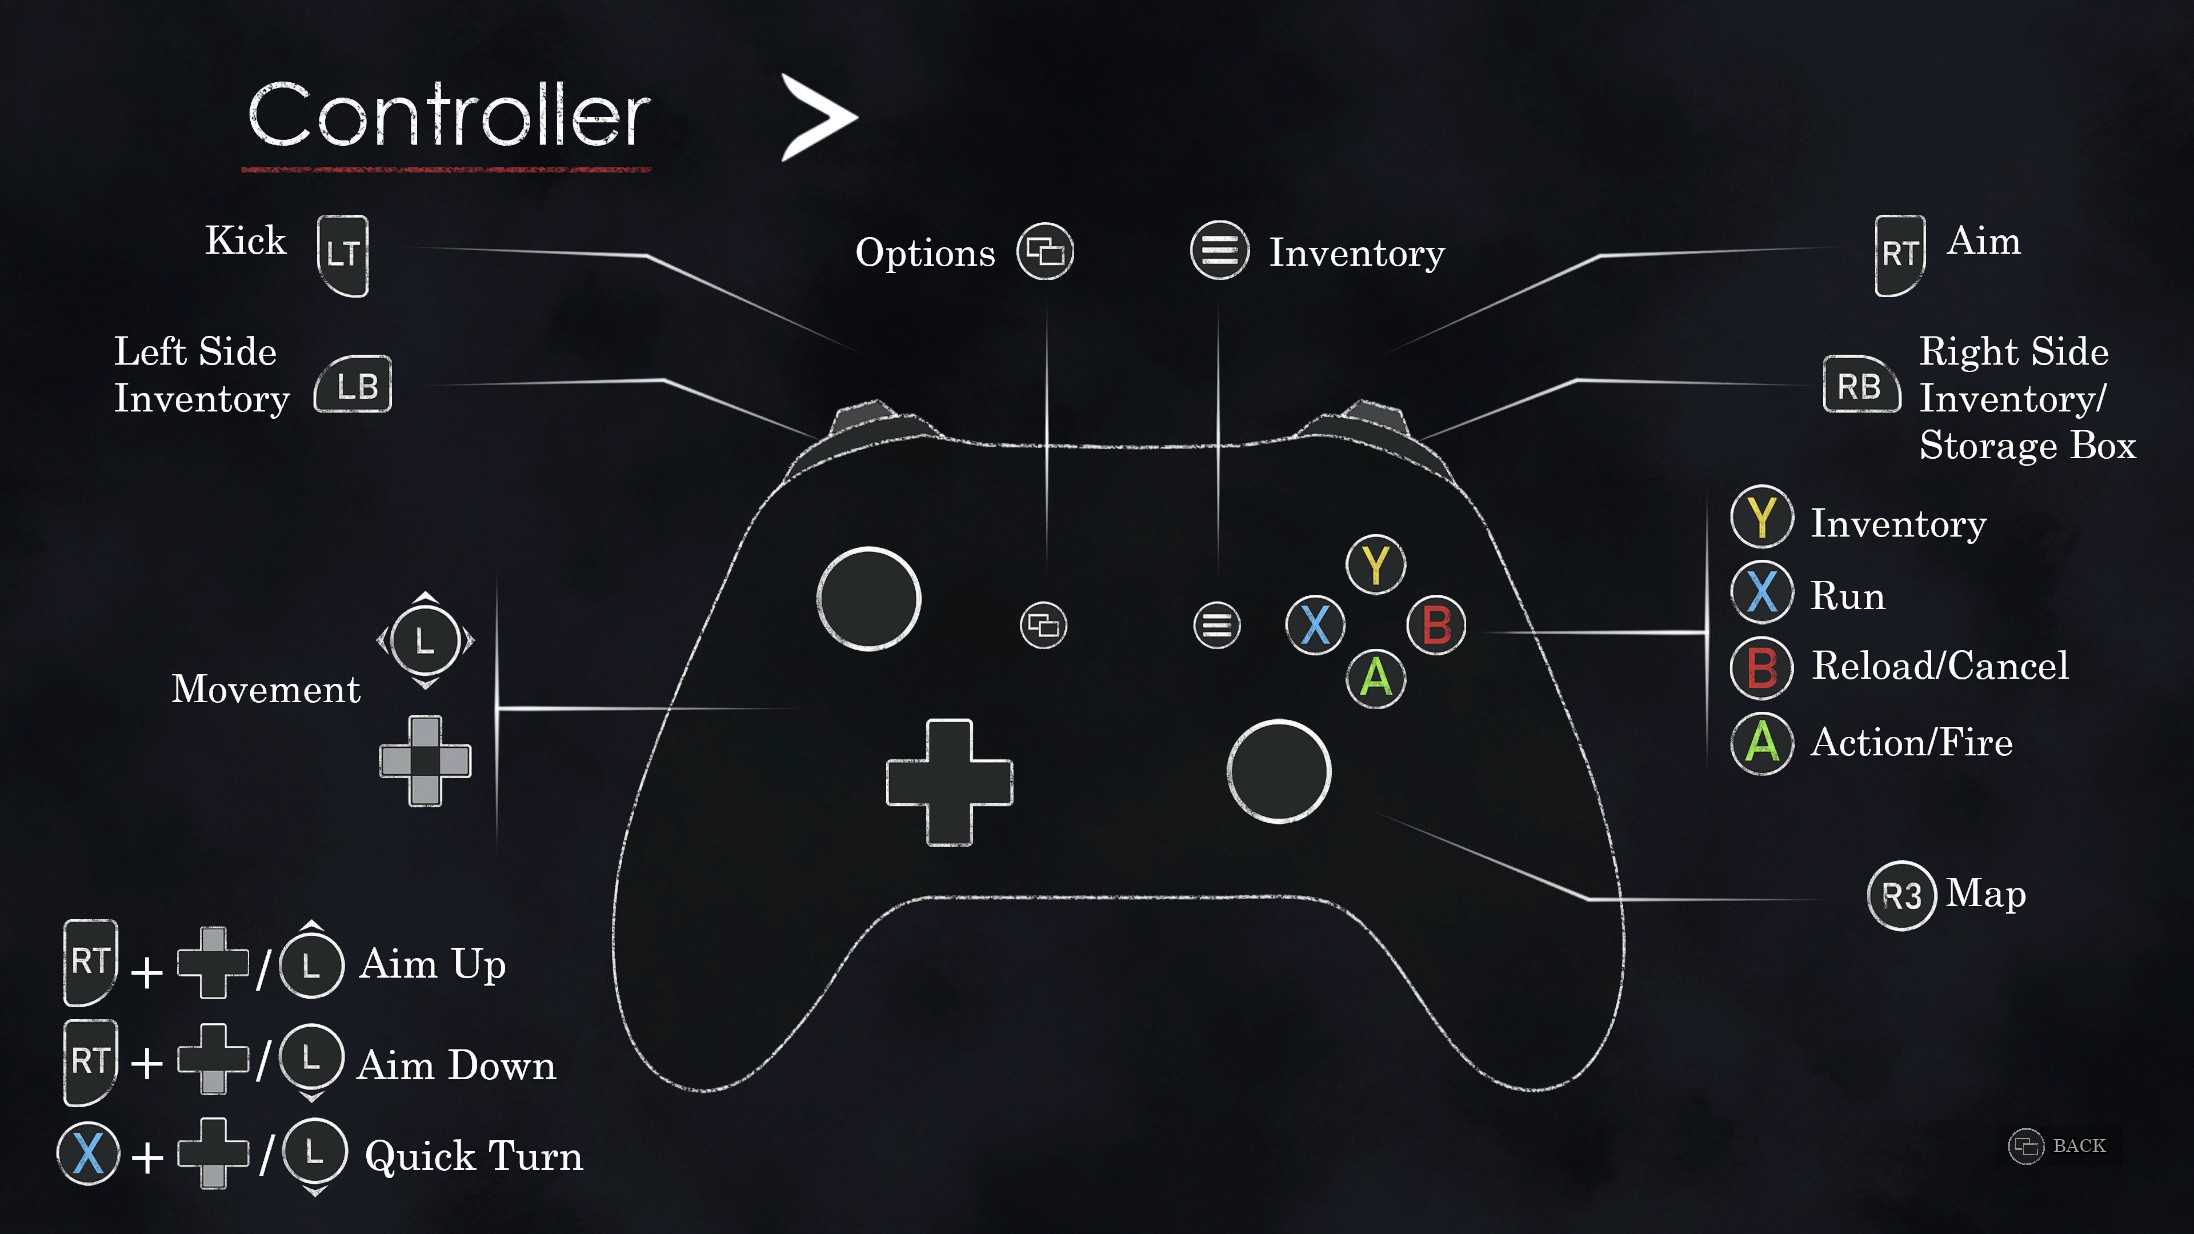
п.с. в управлении действие "пинок -kick" не работает. Либо я не понял, как его применять.
п.п.с. Если сможете локализуйте на русский язык. в РФ очень много фанатов классических Резидентов. Ребята из zone4game даже готовы сами перевести, но у них, как я понял из форума,нет файлов исходника.
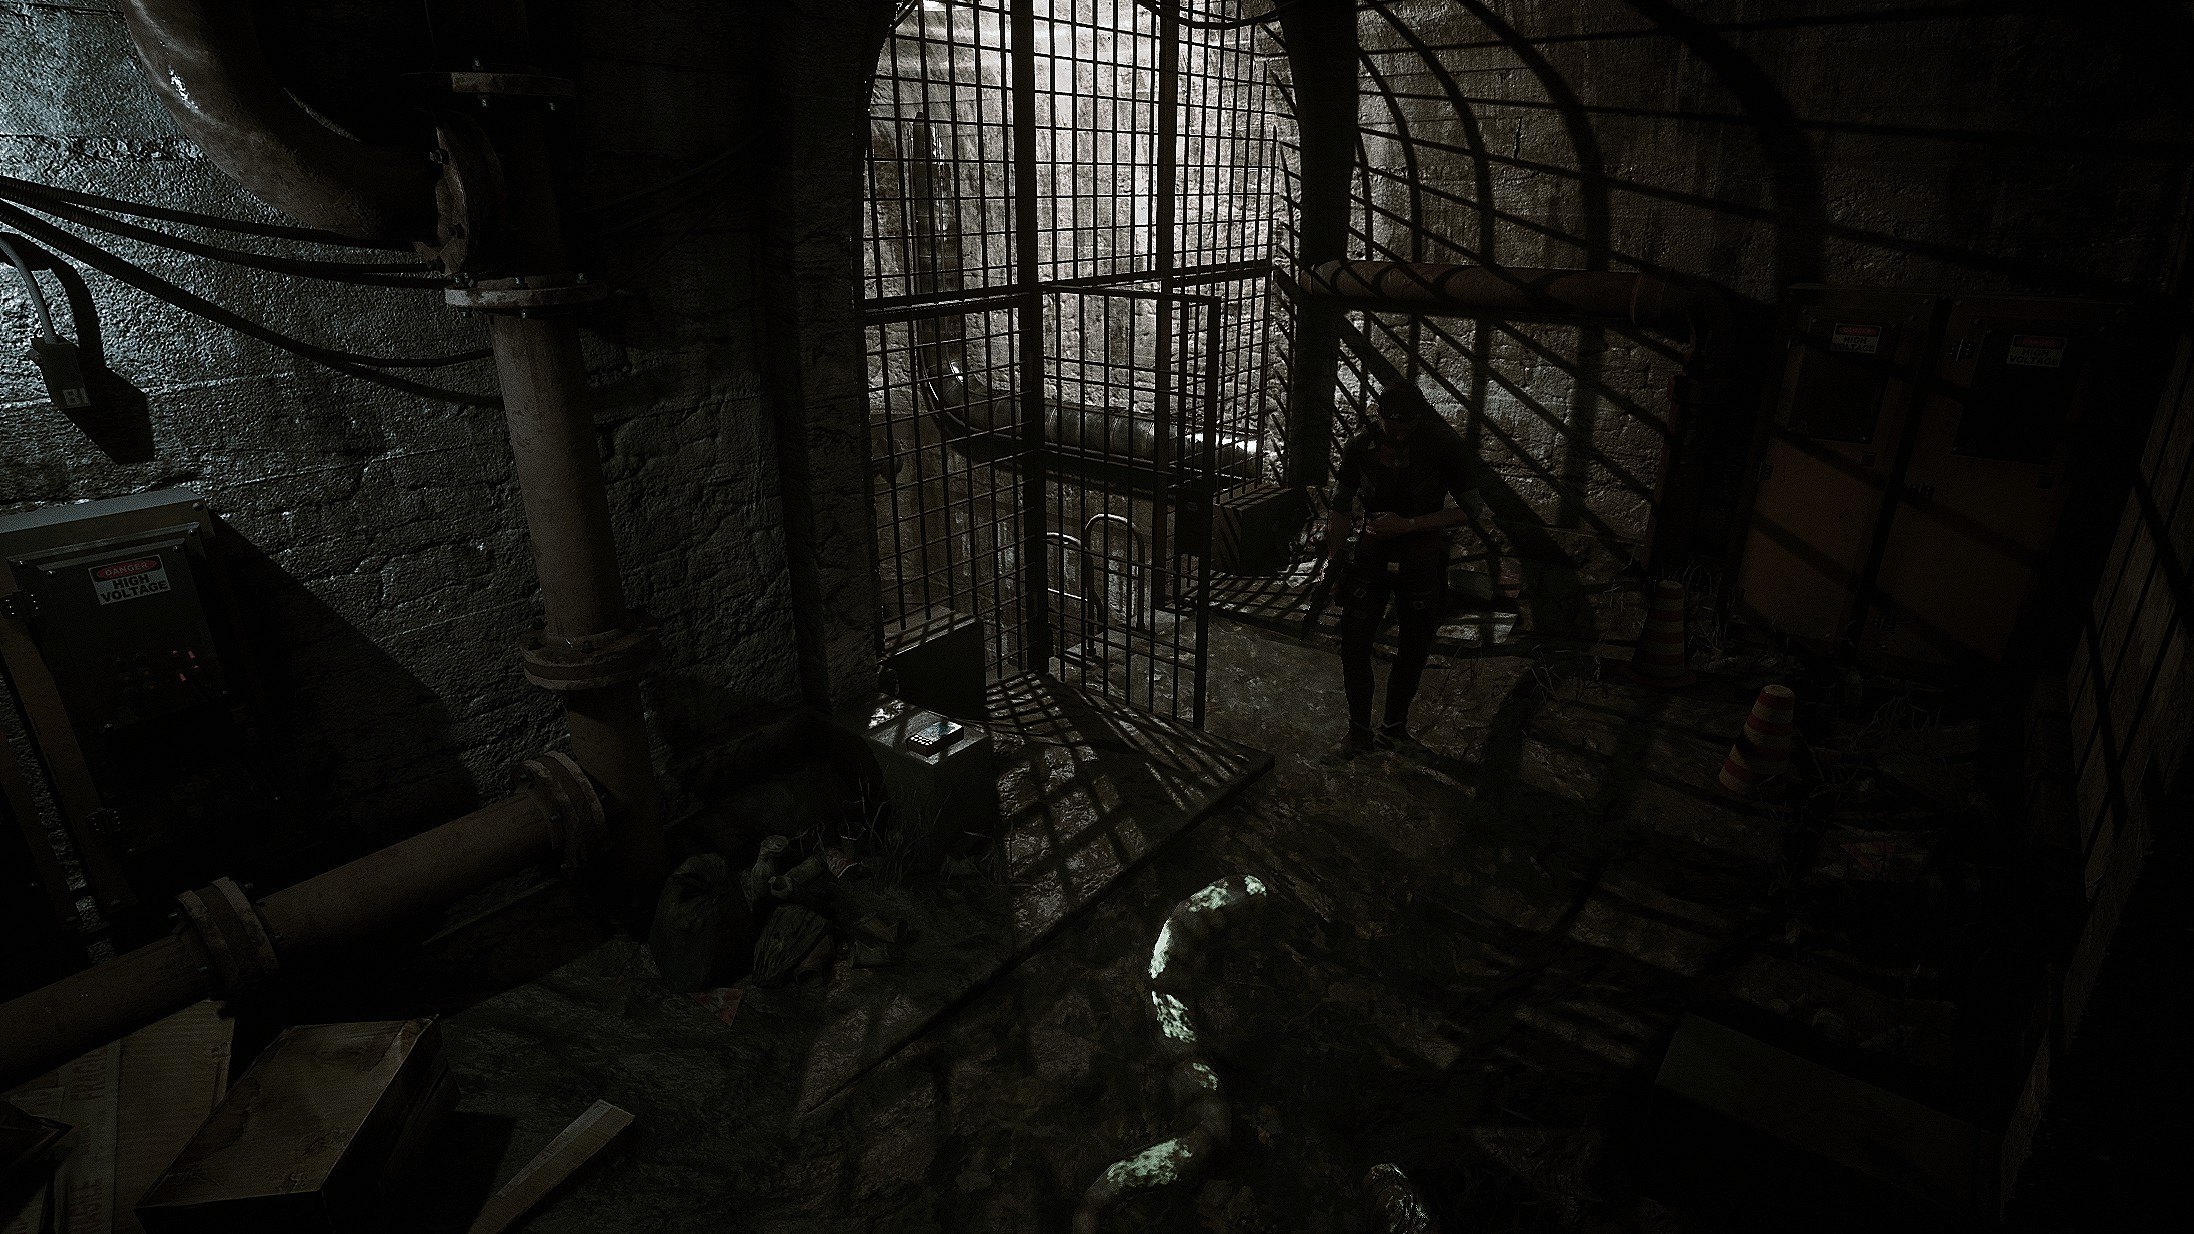
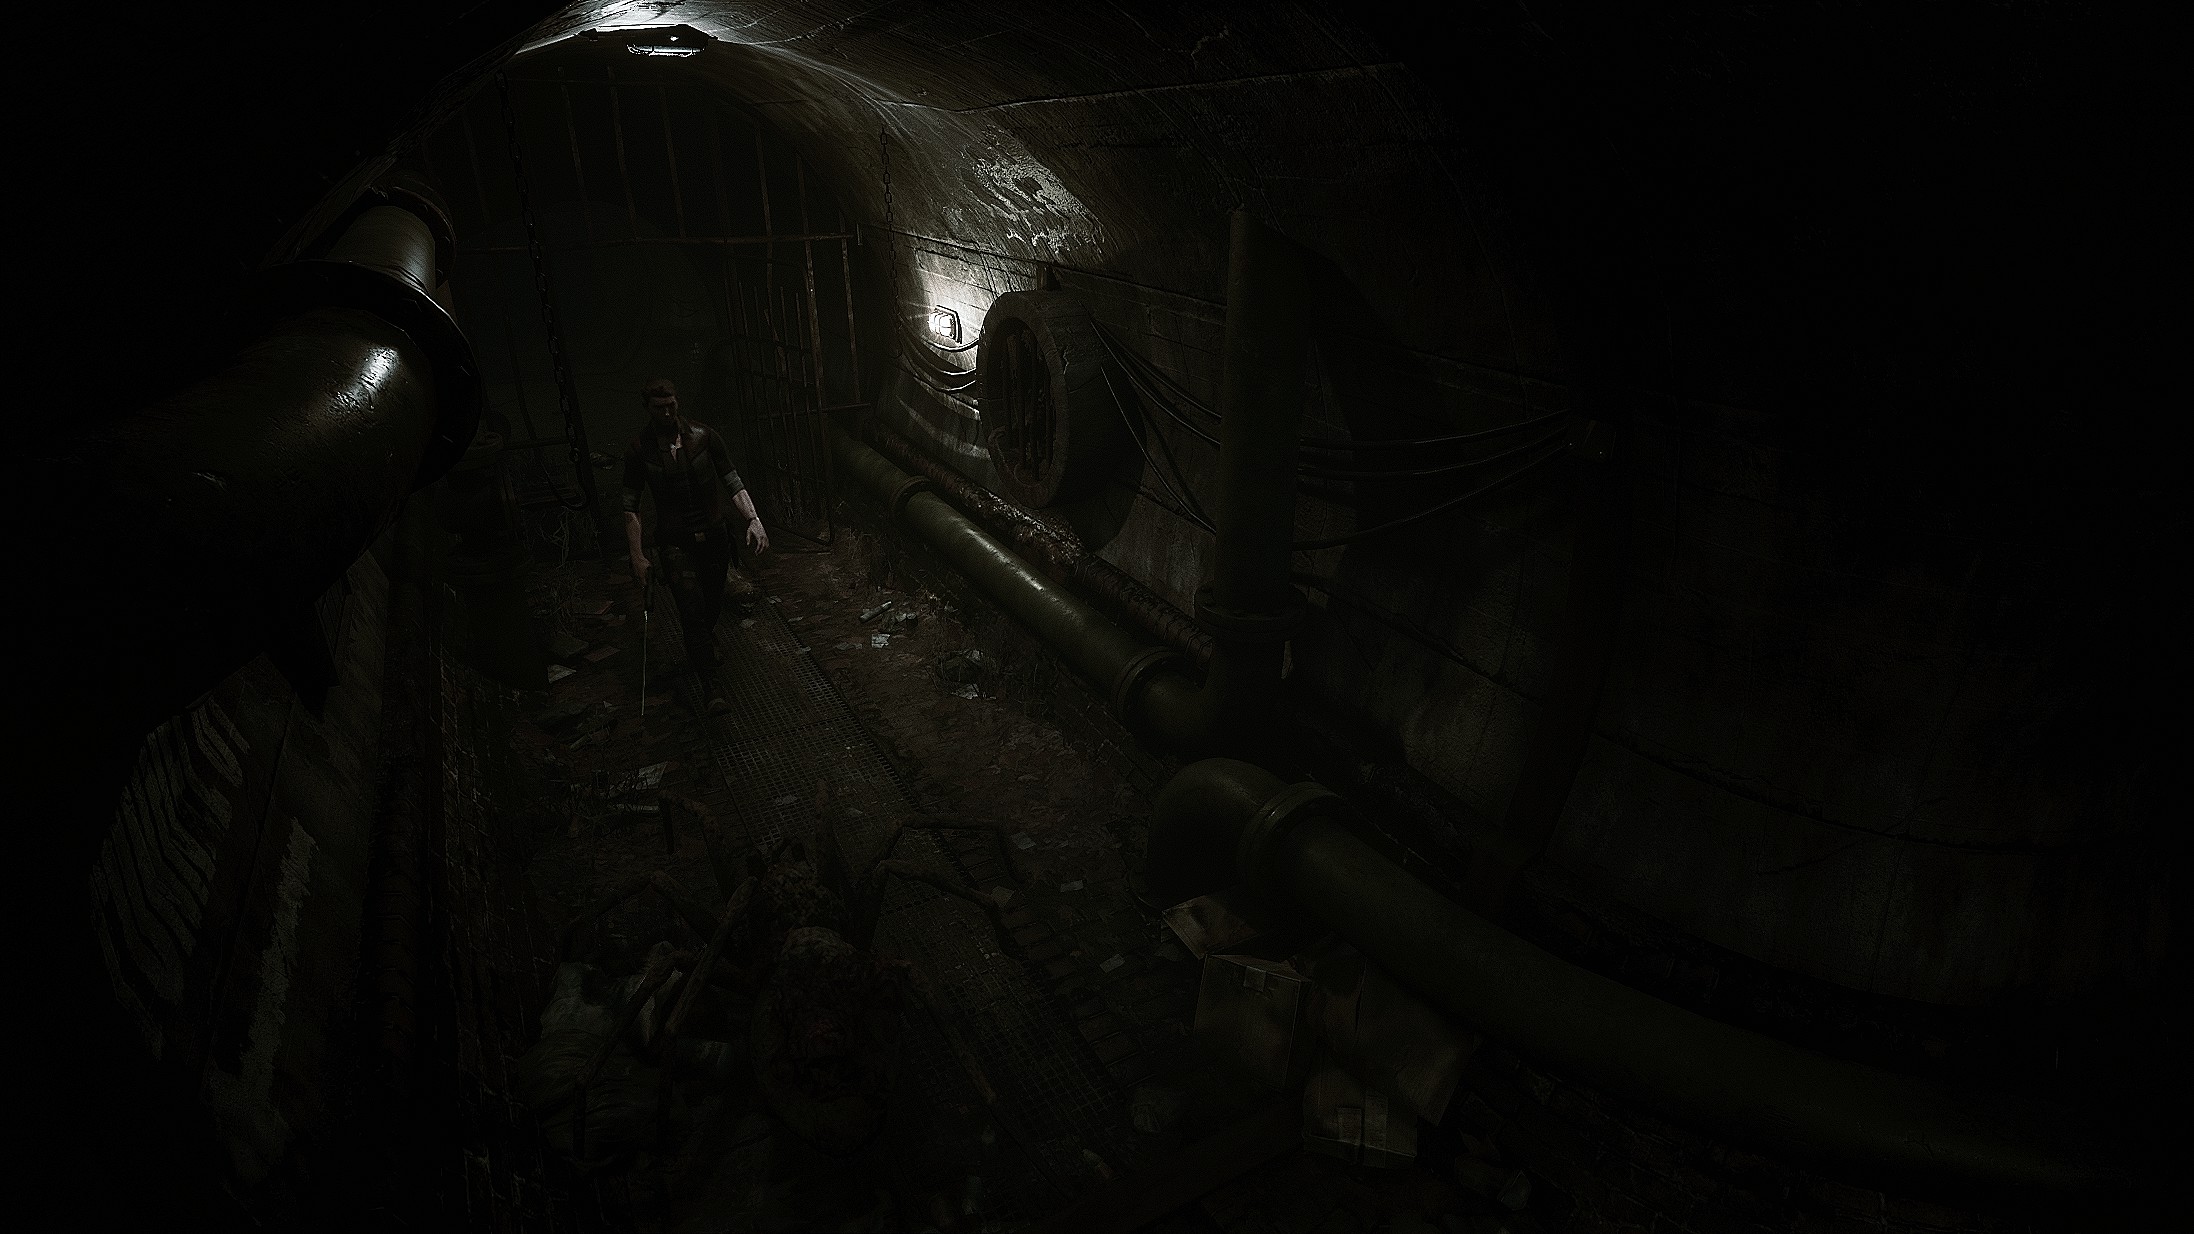
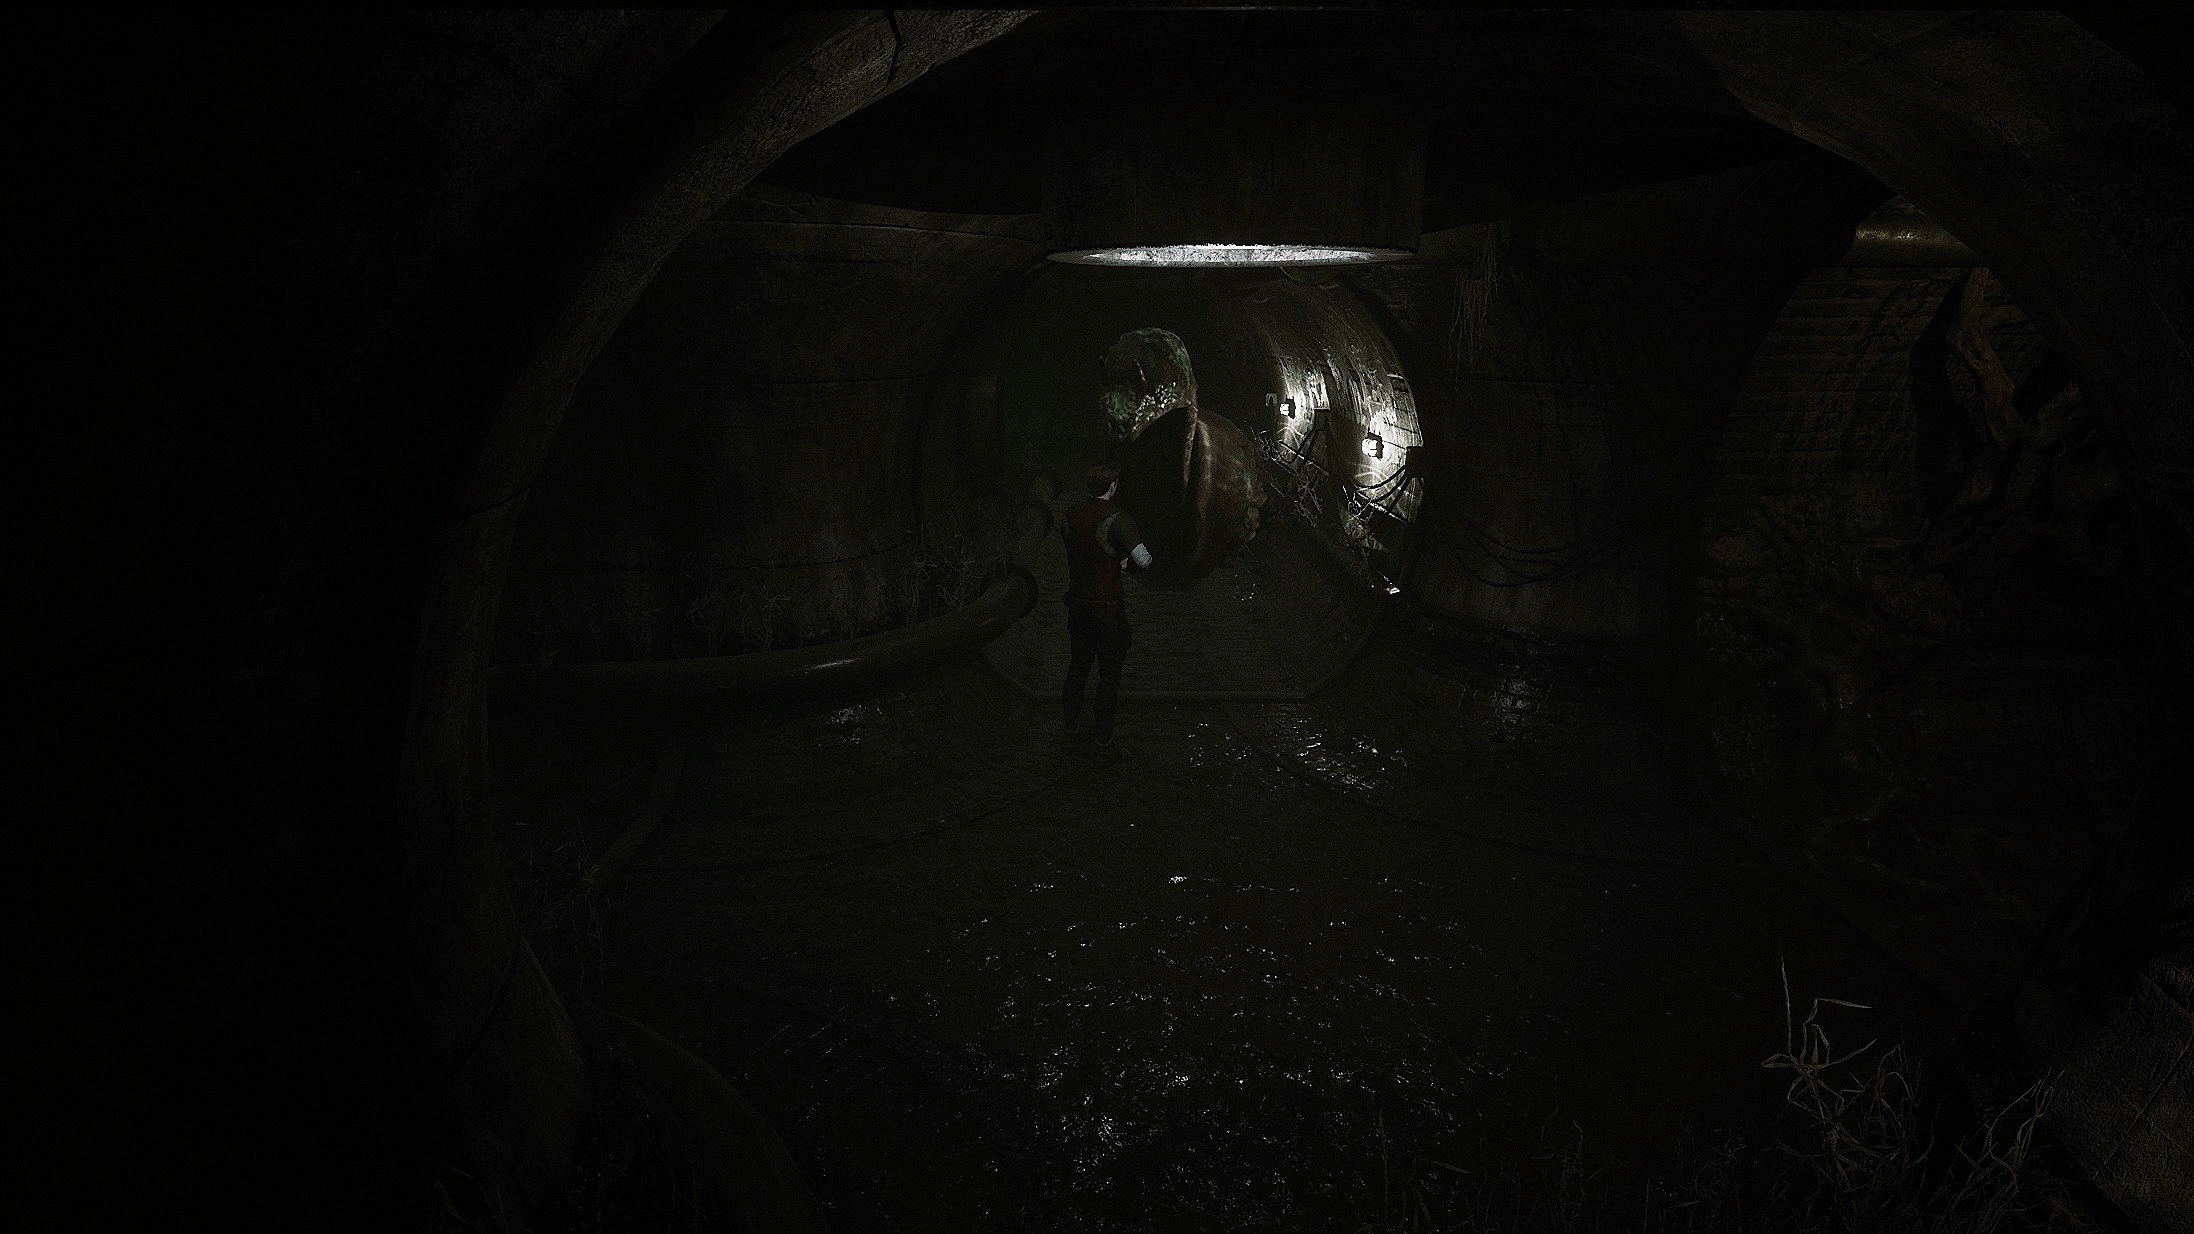
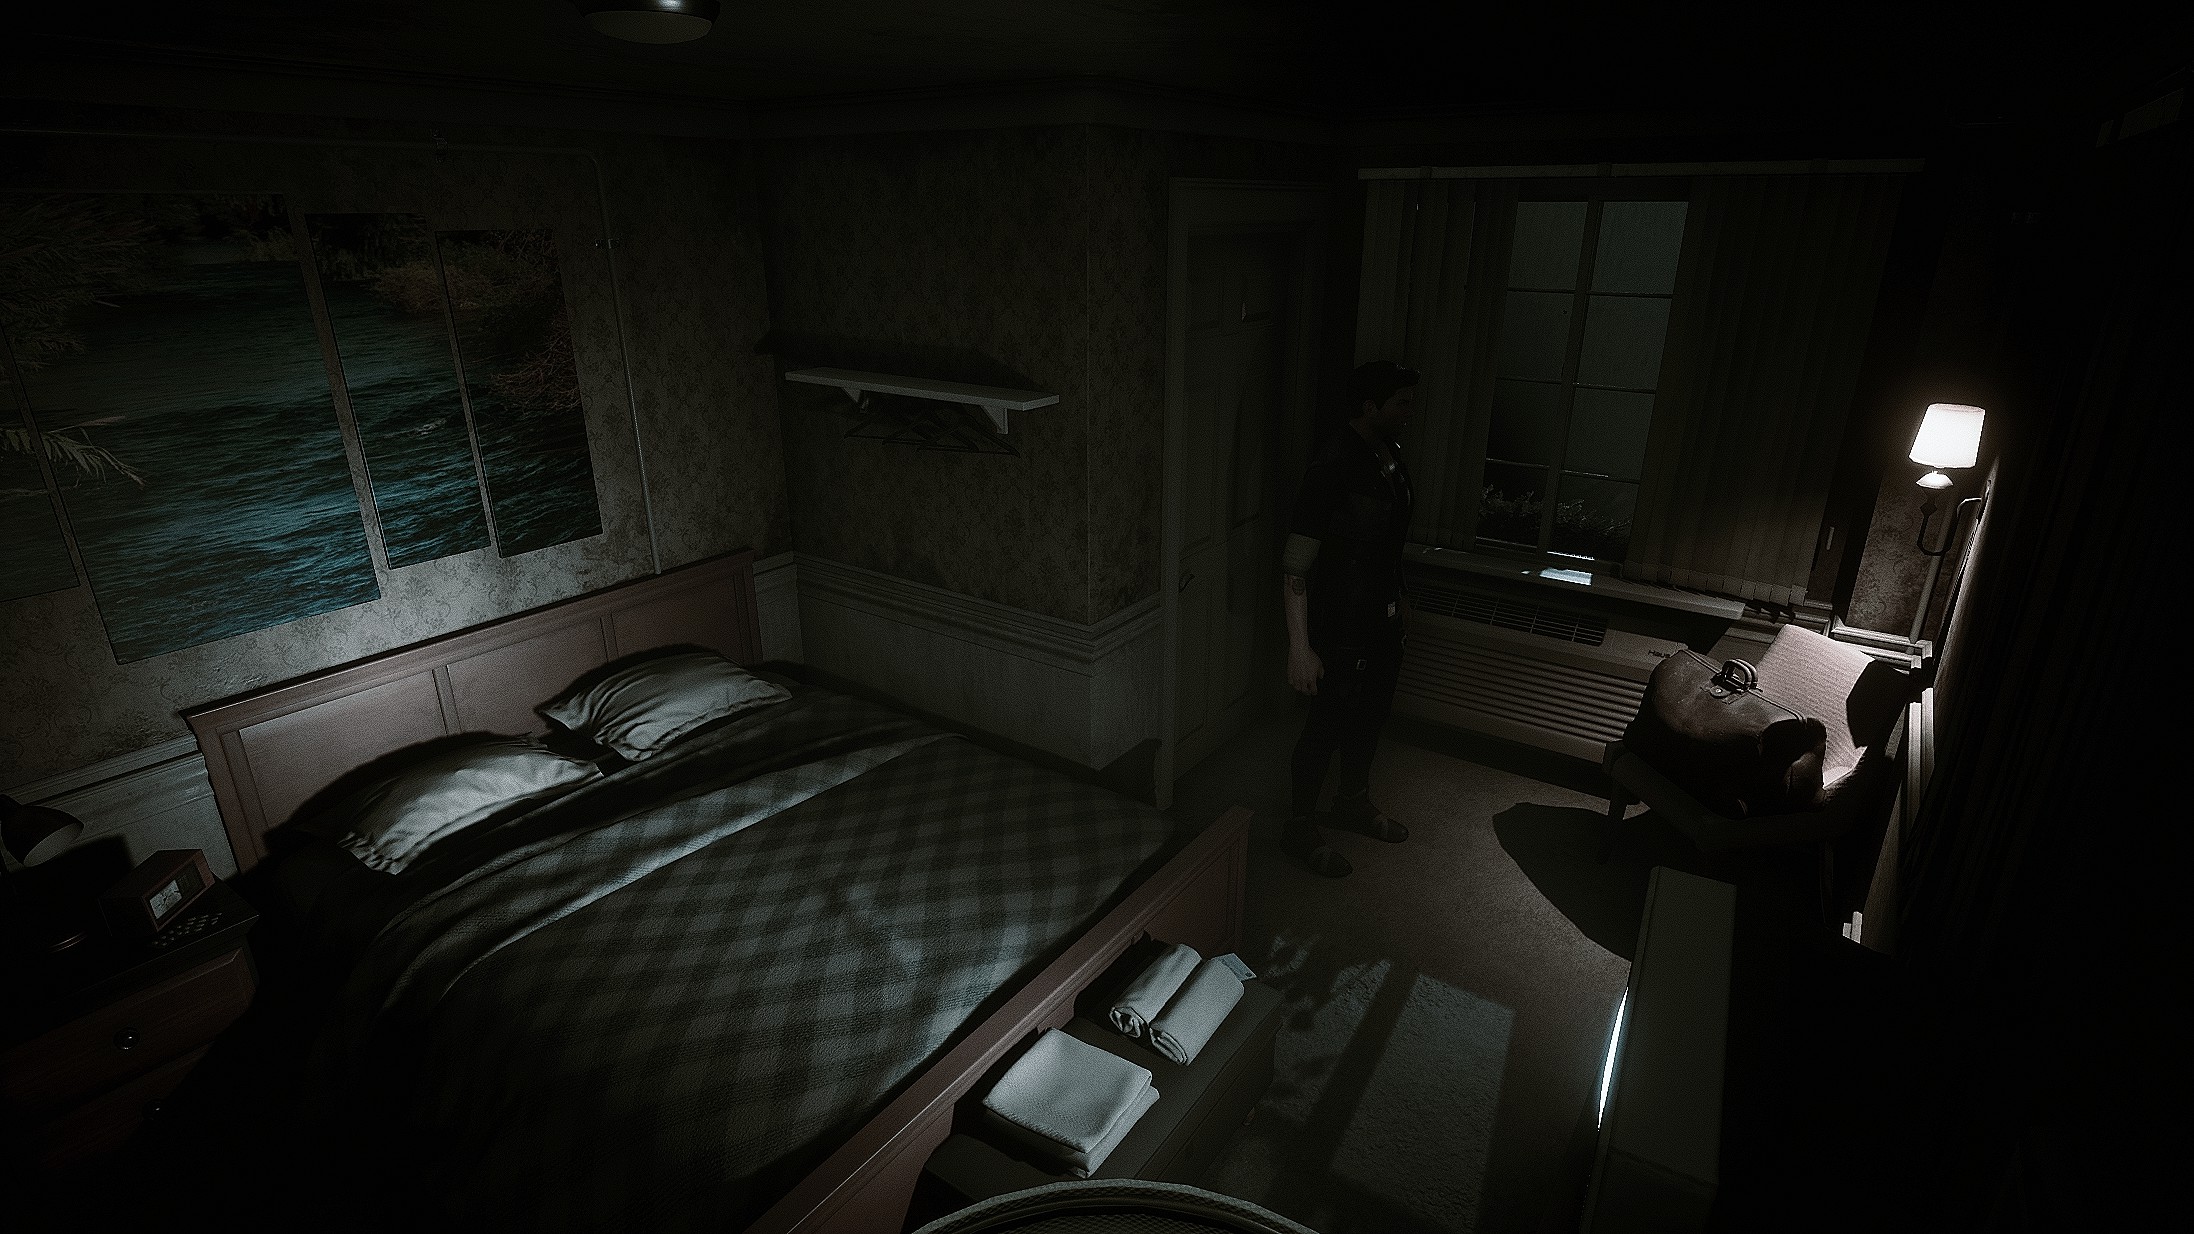
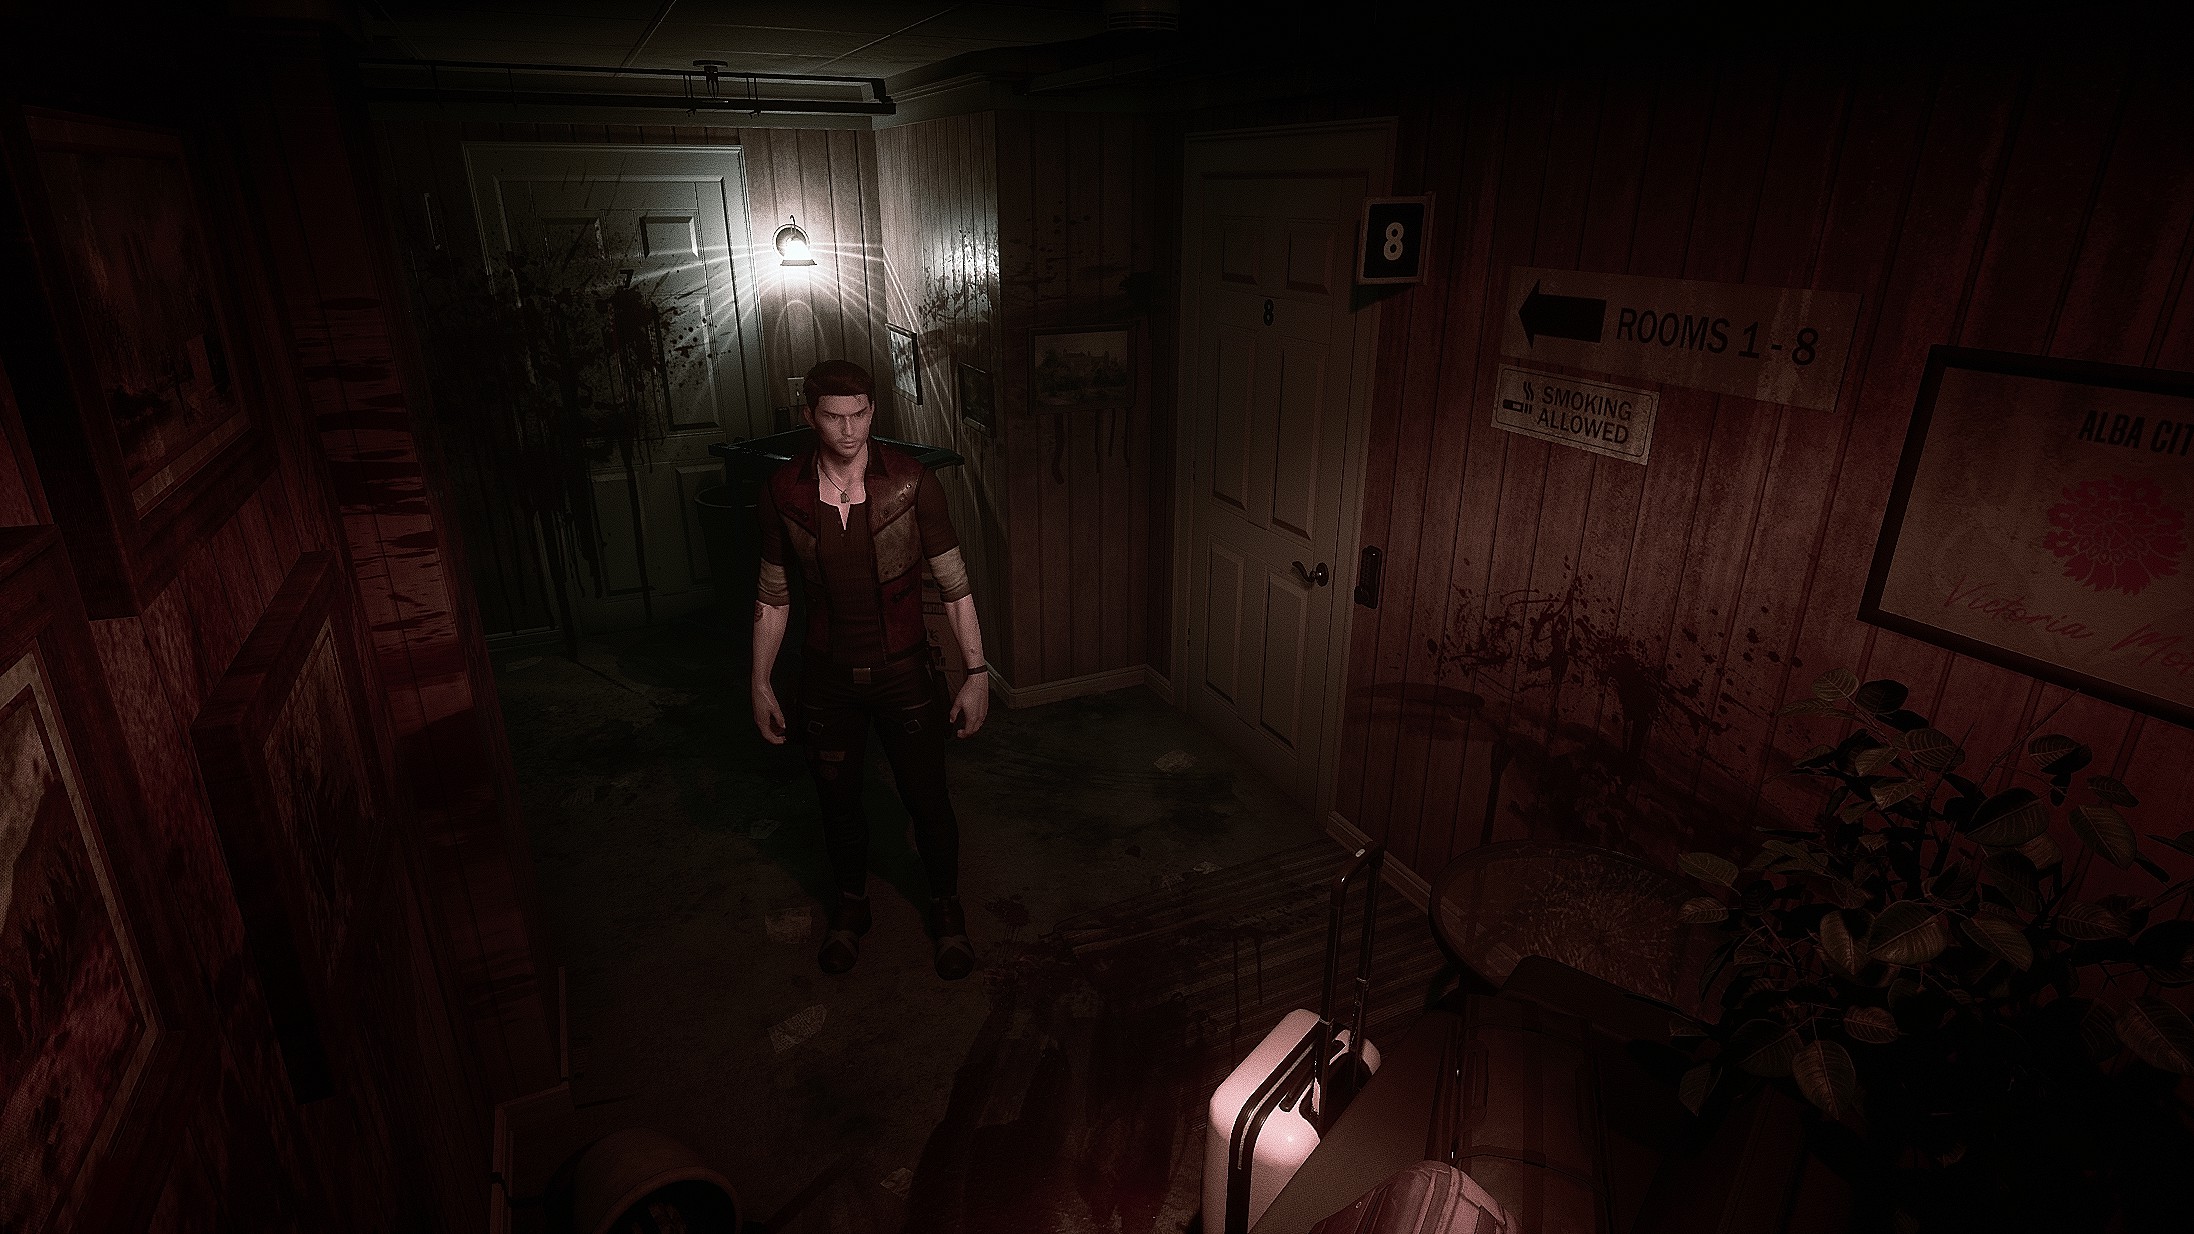
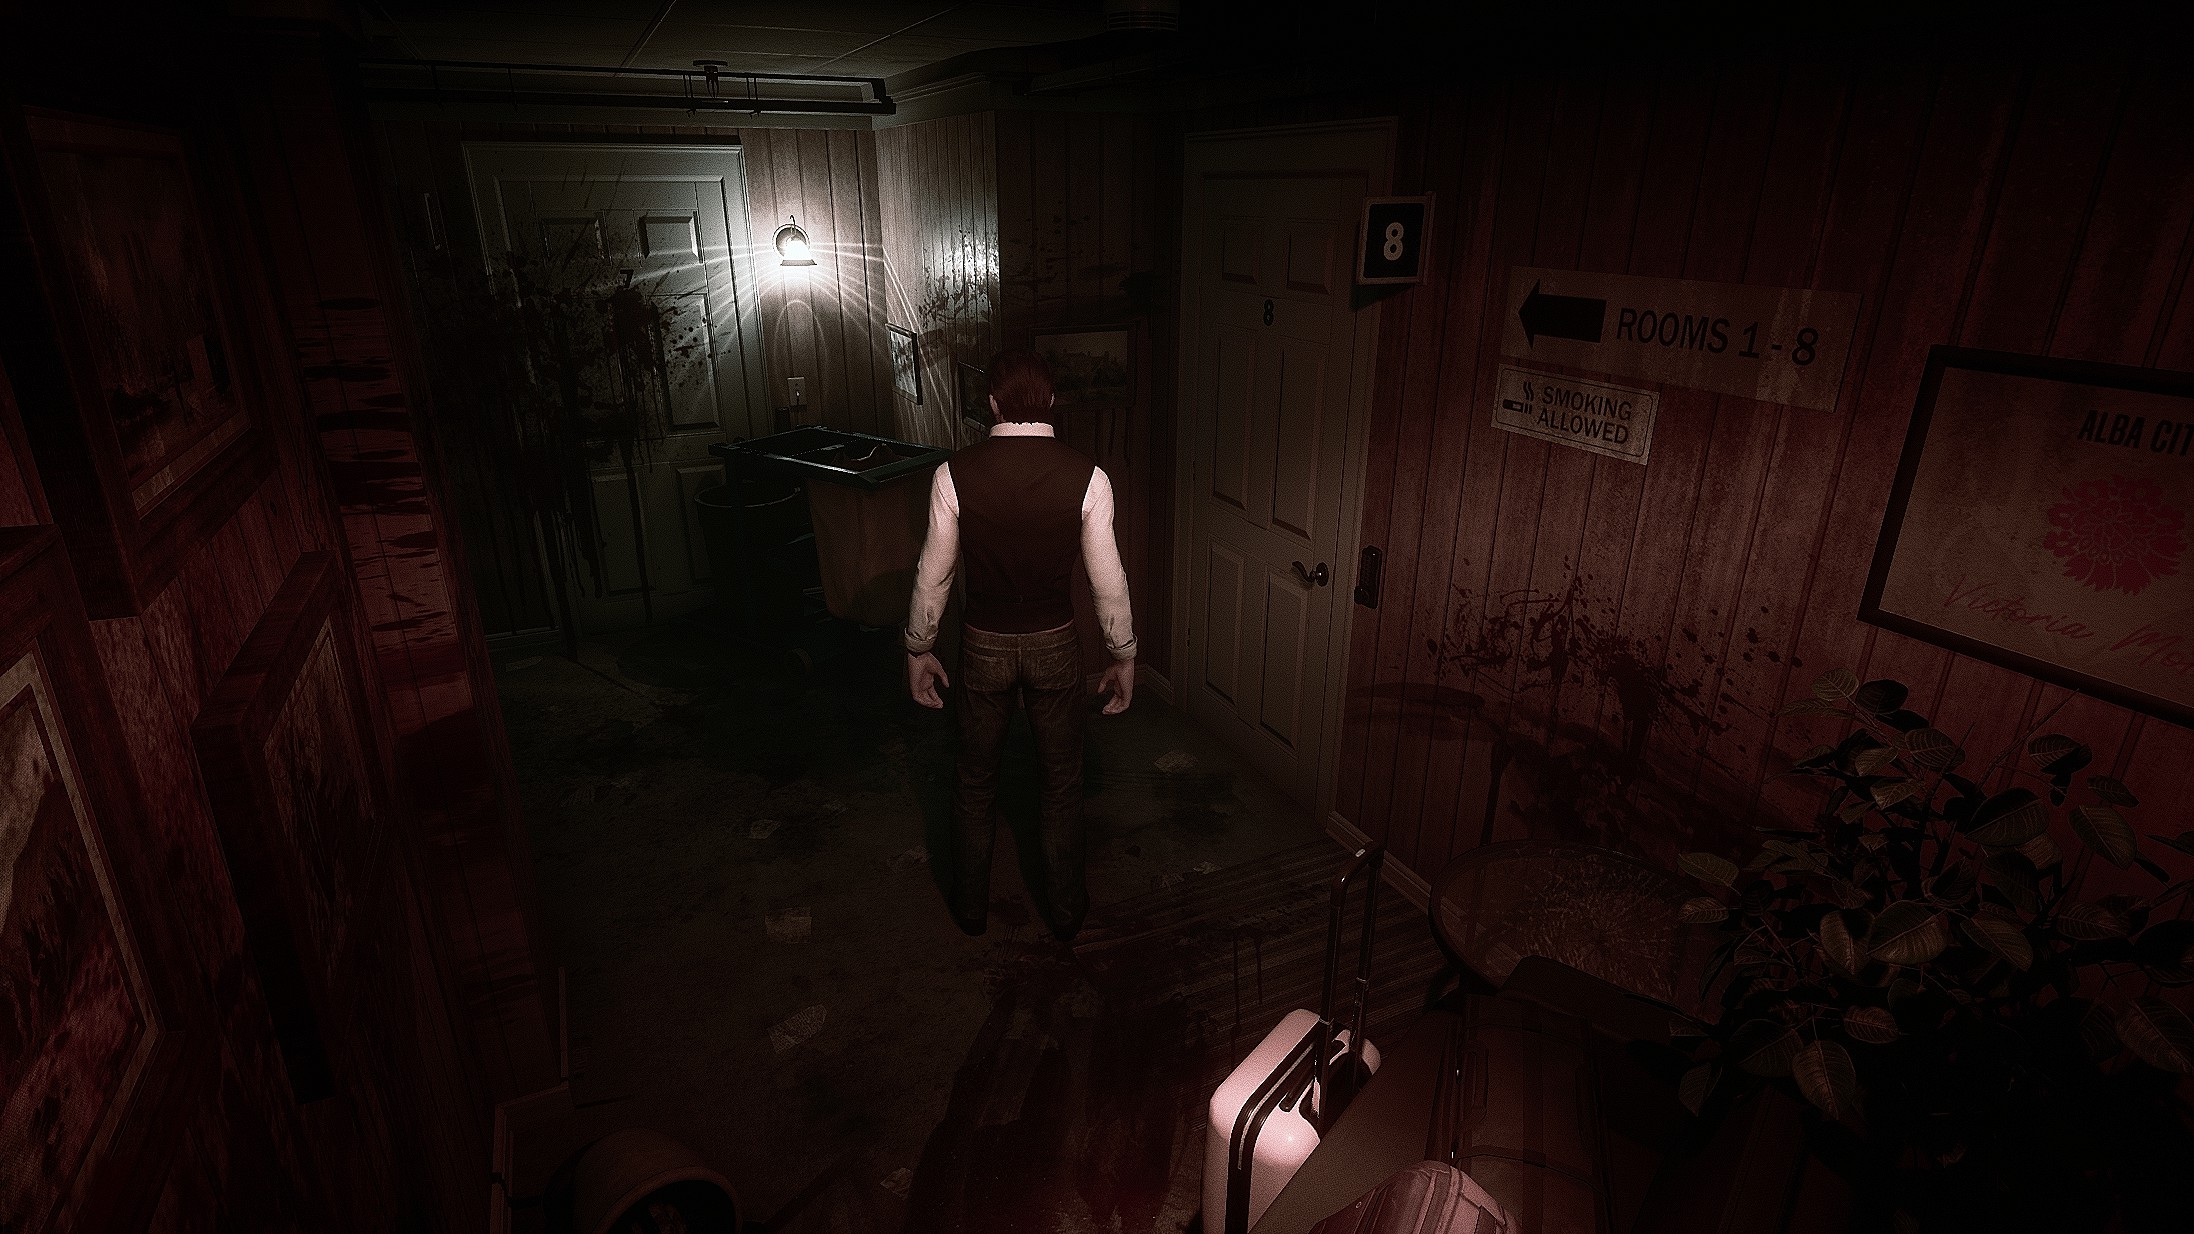
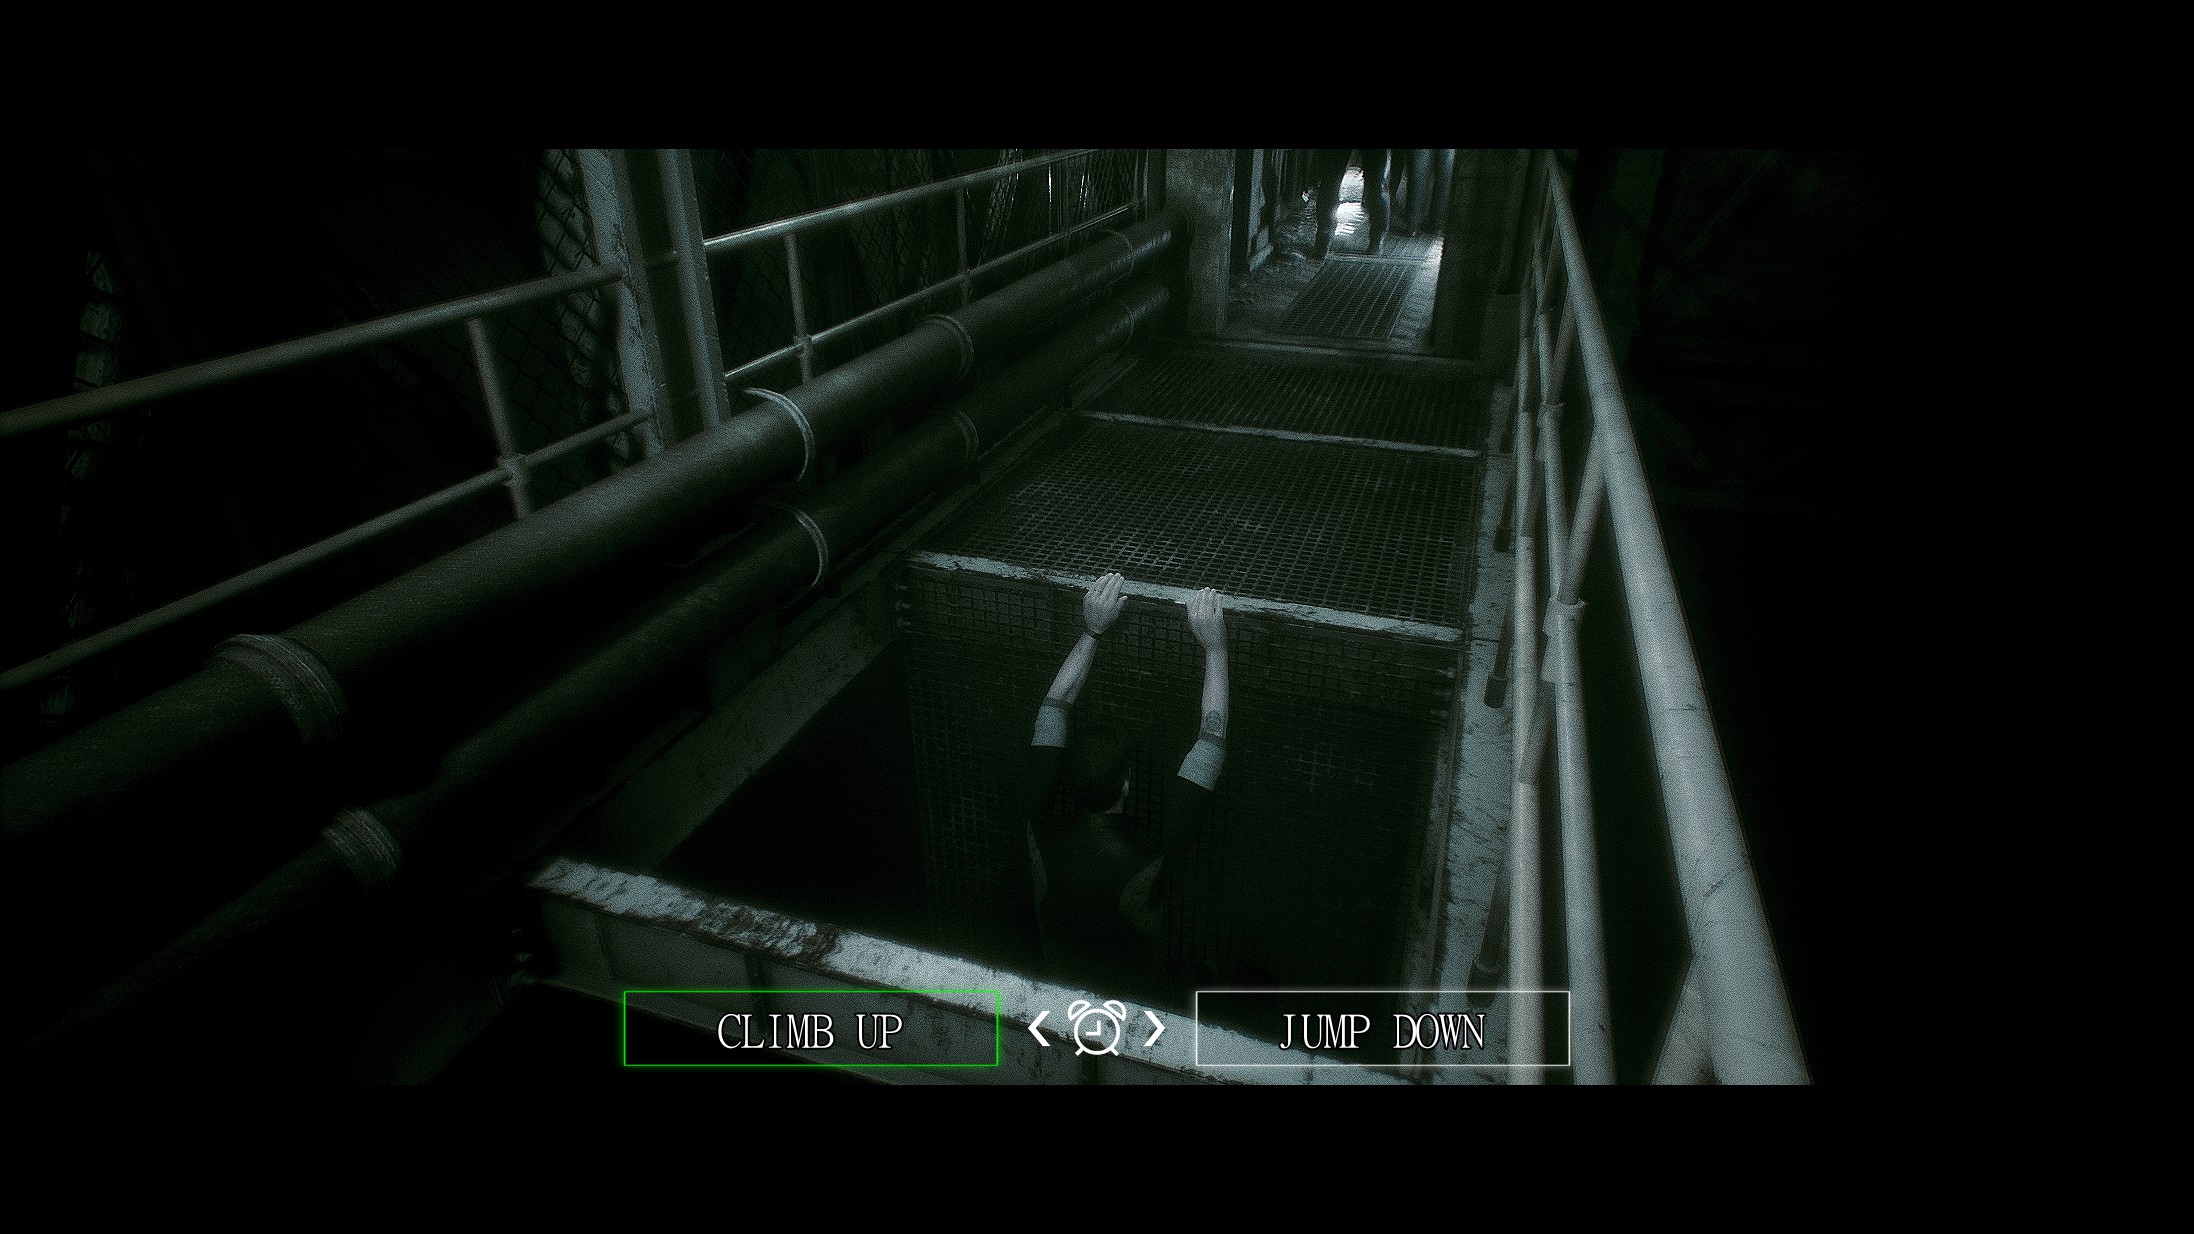
Anyway proceeded outside the motel and attempted to get to the sewers only to crash think the outfit may have crashed the game.