

安装 Steam
登录
|
语言
繁體中文(繁体中文)
日本語(日语)
한국어(韩语)
ไทย(泰语)
български(保加利亚语)
Čeština(捷克语)
Dansk(丹麦语)
Deutsch(德语)
English(英语)
Español-España(西班牙语 - 西班牙)
Español - Latinoamérica(西班牙语 - 拉丁美洲)
Ελληνικά(希腊语)
Français(法语)
Italiano(意大利语)
Bahasa Indonesia(印度尼西亚语)
Magyar(匈牙利语)
Nederlands(荷兰语)
Norsk(挪威语)
Polski(波兰语)
Português(葡萄牙语 - 葡萄牙)
Português-Brasil(葡萄牙语 - 巴西)
Română(罗马尼亚语)
Русский(俄语)
Suomi(芬兰语)
Svenska(瑞典语)
Türkçe(土耳其语)
Tiếng Việt(越南语)
Українська(乌克兰语)
报告翻译问题


Fixed it by prioritizing the YEP plugins first then the SRPG plugins in the plugin list. Hope this helps.
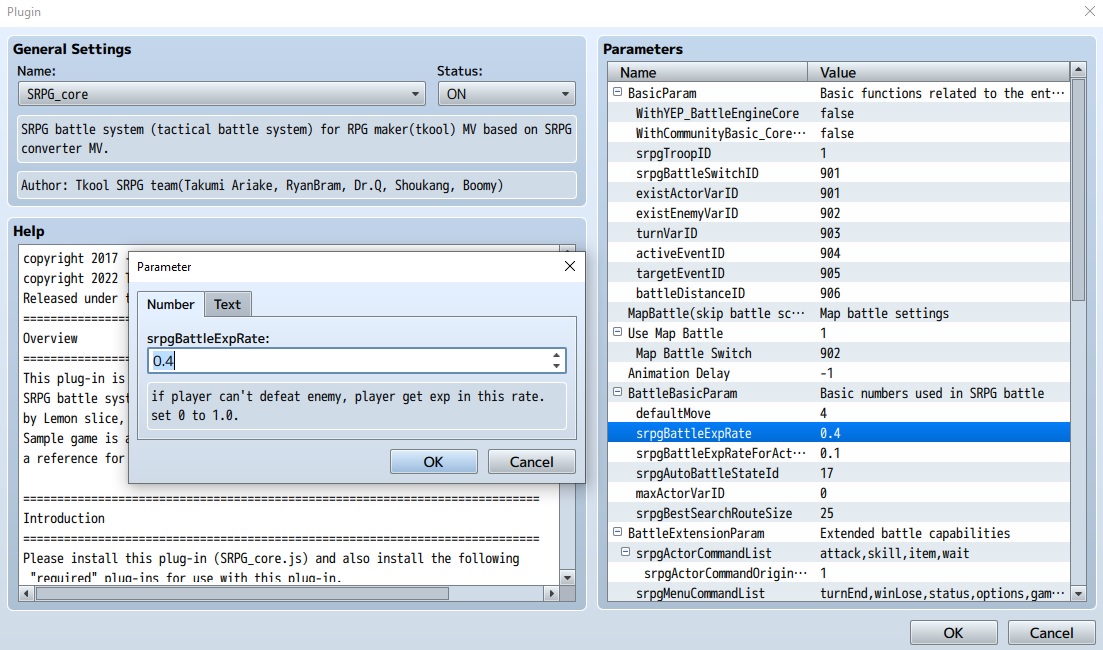
You’ll have to open up the plugin file from directly in the game's folder (MyPC/game/js/plugins/SRPG_core.js), and directly edit the code.
I’m neither smart enough nor brave enough to do this. Also don’t forget to backup the file before you do anything to it, I’ve fallen into that trap waaay to many times!
Fun fact: the reason its set up as the player always goes first is to stop the player from getting ganged up on first turn and defeated before they have a chance to defend themselves, but to also “set themselves up” for the incoming enemies.
Really just a balance/fairness thing.
I’m going to assume you’re just a nice guy looking to show off his awesome new plugin, and I’m sure it is the result of much work from yourself, but has nothing to do with what we’re trying to do with the SRPG system – other than replacing it?
We’re talking about the SRPG system, which is officially endorsed by the RPG Maker game, and your plugin is, no offence “just some guy” – I only glanced at your YouTube video (I’m the 2nd view) – so I can’t say I’m ever going to try it, nor recommend it over the SRPG system.
I’m also going to delete your comment with the youtube link in case users on here mistake it for the youtube companion of this guide (it happens), but I’ll leave your discord comment up in case others want to try your plugin.
Little more info? What does it do, what is it called, where do you implement it, who are you talking to etc.
Maybe even make a little guide of your own that shows off your plugin here on steam (it’s super easy to do!) and would allow people to leave feedback. just food for thought
I really doubt there is a short cut haha.
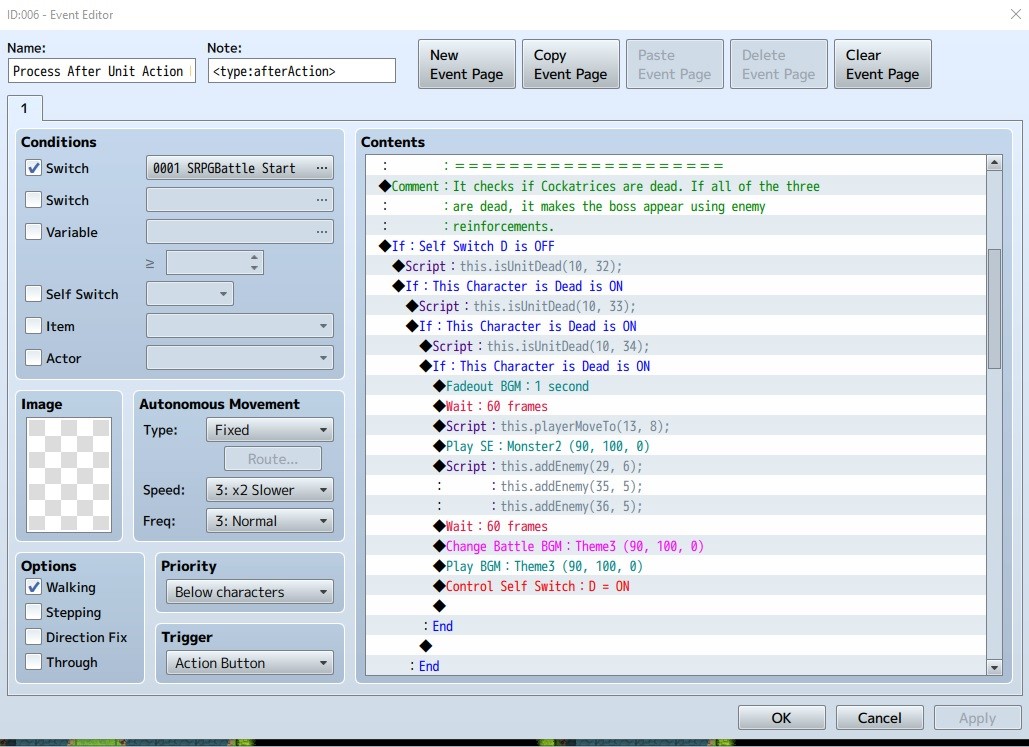
Maybe we can link it to the “Self Switch D” method?
Something like, a conditional variable (in “Enemy Turn” or “Turn End” events), looking to see if an enemy has been affected by a state? It’d look like:
Conditional Branch…>Page 4> (target.isEnemy(target.isStateAffected(STATE_ID))
If it’s true, we’d need to add: “Control Self Switch: D = On”
The idea here is that if any of Enemy 001 is affected by the state, then ALL of the other Enemy 001s will also be affected as we will turn on Self Switch D. You’ll have to manually add in the Self Switch D details for all the enemy events, adding the state to them. Make sure no player events have them.
Then you need to add in another conditional variable that “turns off” the Self Switch D for whenever the “state” isn’t affecting them anymore.
Honestly though I’m not sure if that would work or even cause you less hassle than doing it manually for each.