The Last Hero of Nostalgaia

The Last Hero of Nostalgaia

103 个评价
Lore of the Land & Forensics Achievement Guide
由 AZRA3L The Eternal 制作
This guide will show you how to remember all the relics in The Last Hero of Nostalgaia INCLUDING DLC.
There are 75 Relics in total that need to be restored for the Lore of the Land achievement.
It is possible to get the PVE achievement while doing this.
It is recommended that you do the NPC questlines as well while you get the relics.
10
2
2
4
2
6
2
2
2
   
奖励
收藏
已收藏
取消收藏
Read This First! (Easymaker Keys Locations & NPC Questlines)
I will be listing off each relic as they appear in the compendium.
However I'll be putting the Mystery section near the end for convenience and less spoilers
.

Speaking of spoilers, THIS GUIDE WILL HAVE MAJOR SPOILERS!

Now if that didn't scare you off then I'll first try to show you where to get this items then I'll reveal where you can restore them.

IMPORTANT, READ FIRST!!!
THERE ARE ITEMS THAT ARE EITHER MISSABLE OR USED IN QUESTLINES!
I WILL MARK SUCH ITEMS WITH ASTERISKS LIKE THIS ***.

UPDATE: Sections of Base Game Relics are divided based on where their memory is restored NOT when they are first obtained.

Base Relics listed from 1. ---> 75.
DLC Relics listed from #1. ---> #10.

Basically add a hashtag (#) in front of a number between 1 and 10 if you want only DLC relics.

Refer to Tay's guide on NPC Questlines if you need help with those:
https://psteamcommunity.yuanyoumao.com/sharedfiles/filedetails/?id=2885577086

You need to unlock the Merchant and give him the Easymaker Keys to get the other relics.
As long as you bought all of his stuff BEFORE you kill all the Anti-Heroes in the arena, you should be good.

To Unlock Merchant:
He is located in the building across from the ruined blacksmith building. Both buildings are near the vandalized Gnom statue in Oreshaft Village.
Be sure to kill the two NPCs attacking his door in order to talk to him. Before he'll let you in, he needs Manacles to keep himself in check. These are located at the Oreshaft Shelter anvil.
Return to him and you'll be able to access his wares.

To Gain New Items in Shop
As you explore Nostalgaia, you might come across an Easymaker Key.
You can give this to the Merchant to have more options in the store.

QUEST REWARD VAULT
WARLOCK'S WILDS
NPC CITY (Optional if you want more Fragments)
______HALL OF HEROES______
1. Welcome Uniform
HALL OF HEROES #1
Where to Get:
When you are required to confront the Narrator, you'll end up in the Start of Sequence area.
There are degraded versions of the umbrella-wielding NPCs you have fought. The Welcome Uniform is dropped by these enemies, so you'd need to farm these guys.

Memory Location:
Return to the beginning of the game where you first spawned.
You should see a NPC hanging in the air with a banner saying you to "Go Back To Where You're From!"
Remember the torso here!
2. Easy Target
HALL OF HEROES #2

Where to Get:
You can get this item very early in the game.
Get the NPC Staging Room Key by the Hall of Heroes beacon through killing the NPCs.
Use the key to open this door near the area with the huge knight on watch.
Go through the area until you're at a city section with those two annoying SCP things.
You should see this door that can be opened.
Open it but be wary of a degraded knight. Once you dealt with him, go through the left hallway and you should be by the welcoming party section. The item is on a corpse.

Memory Location:

At the NPC Staging Room through which you originally went in order to get the Easy Target.
You'll notice an unstable door to your left. You need to have Uprez and at least 500 memory.
Enter the room and you should be able to restore the Easy Target.
3. New Order's Rule
HALL OF HEROES #3

Where to Get:
As you progress through the story, you'll need to cut the plot threads in the Narrator's Study.
In order to do that, you must bypass the Anti-Heroes who stand in your way at the arena in NPC City.
You'll need to fight Brendon Merkle.

Memory Location:
Go back to the beginning of the game where you'll find a welcome desk.
Remember the torso here.
______HEARTFLOW ALTAR______
4. Locksmith's Serrated Saw
HEARTFLOW ALTAR #1

Where to Get:
It is found on the corpse near the Hall of Heroes becaon.

Memory Location:
I'm pretty sure this one is mandatory since it's used for the tutorial.
You use it near the Old Man once you've lit up the Heartflow Altar beacon.
5. Shield of Inspiration***
HEARTFLOW ALTAR #2

Where to Get:
You'll get this item after beating the Spirit of Heroism.

Memory Location:
At the Heartflow Altar, you go down the spiral stairs to the Heart of Nostalgaia.
Remember the item near the pipe.

NOTE: You'll need this item restored to advance Nameless Nhero's questline by giving it to him at Festivity Row.
______ORESHAFT VILLAGE______
6. Noble Epeen***
ORESHAFT VILLAGE #1

Where to Get:
You can buy it from the Merchant's base stock.
No Easymaker Keys needed. Costs 750 memory.
(I know that it shows the Vibrating Sword but you get the drift of it.)

Memory Location:
At the Oreshaft Village entrance, go to the left side and you should see a building like this.
Open the door and you'll see a bunch of boxes. Break them down to access the hidden ladder.
You should see an unstable door. You need to have Uprez and at least 500 memory.
Enter the room and you'll be able to restore the Noble Espeen.
7. Other Brother
ORESHAFT VILLAGE #2

Where to Get:
Venture towards the Lair of the Adversary until you reach this area.
Go to the left and you'll see a path behind the wall.
The weapon is found at the end of this path.

Memory Location
Near the Marketplace Beacon at Oreshaft Village.
Go towards the bee fetish place then make a left turn.
Remember the weapon in front of this sealed sewer tunnel.
8. Gilded Axe
ORESHAFT VILLAGE #3

Where to Get:
Found at the left side shrine on the base floor of the Narrator's Library at the beginning of the game.

Memory Location:
At the chapel area in Oreshaft Village.
You'll need to go to the podium where there are headless NPCs to restore the axe.
9. Smith's Hammer
ORESHAFT VILLAGE #4

Where to Get:
Inside the ruined Blacksmith shop near the Gnom statue at Oreshaft Village.

Memory Location:
Remember the hammer near the novice blacksmith.
10. Bucko Blade
ORESHAFT VILLAGE #5

Where to Get:
Within the Quest Reward Vault, you'll see a room with two Guard knights...and a fridge.
You'll need to pull the lever which releases NPCs but opens the doors for you.
Head for the far left cell and you should see the item inside.
Memory Location:
Bee Sting Fetish place near Marketplace Beacon in Oreshaft Village.
11. The Legeneric
ORESHAFT VILLAGE #6

Where to Get:
You get this weapon by beating The Grinder in the Depths.

Memory Location:
Return to the Tavern near the Gnom statue in Oreshaft Village.
Restore the weapon near the bar area and fireplace.
12. Covert Cultist Cover
ORESHAFT VILLAGE #7

Where to Get:
There is a snowy pathway near the Merchant and Blacksmith shops.
Go down until you reach the pile of dead NPCs. The item is on one of the corpses.

Memory Location:
It is in front of the Unassuming and Insignificant House that's guarded by a knight in Oreshaft Village.
Remember the shield in front of the house.
13. Shield Of Nostalran***
ORESHAFT VILLAGE #8

Where to Get:
You can buy it from the Merchant's base stock.
No Easymaker Keys needed. Costs 500 memory.

Memory Location:
Go to the Tavern that is near the Gnom statue in Oreshaft Village.
Continue through the Tavern until you reach the second floor.
There should be an unstable door on your left.
You'll need to have Uprez and 500 memory.
Enter the room and you'll see beds with several Memories of NPCs.
Remember the shield here.
14. Stolen Wraps
ORESHAFT VILLAGE #9
Where to Get:
It is found in front of the Unassuming and Insignificant House at Oreshaft Village.

Memory Location:
It is at the Gnom Statue at Oreshaft Village.
Remember the torso under his glorious dump.
15. Haunted Dreams
ORESHAFT VILLAGE #10

Where to Get:
You'll need to farm for this armor set at the Keep of the Stolen Crown.
The pieces are dropped from the Haunted Armor enemies.
(Yes, it includes the maid ones too.)
Memory Location:
Go through the snowy pathway between the Merchant and Blacksmith shops at Oreshaft Village.
Continue until you are at the Unbreakable Maw's entrance.
Remember the armor here!
______THE DEPTHS______
16. Iron Jimmy
THE DEPTHS #1
Where to Get:
Once you enter The Depths, you should be in a watery room with two Miners and an Overseer on top. The item is on the right side of the room.

Memory Location:
From where the Overseer was, go to the right where you see a single NPC mining his own business.
Continue down the tunnel until you see a door that's been damaged.
Remember the weapon right near this door.
17. Projector Shield
THE DEPTHS #2

Where to Get:
At Start of Sequence, there is a room with three ladders.
Left ladder is where you go for your train-ing.
Right ladder leads to a single enemy and an item.
Middle ladder that glows and leads to two degraded spiders.
Go climb up the middle ladder and fight them.
One drops the Cipher, the other will drop the Projector Shield.

Memory Location:
Return to The Depths, specifically where the elevator after defeating the The Grinder is unlocked.
You need to have Flat Traversal to reach this spot.
Remember the shield at this place brimming with fireflies.
18. Forgottenspace Armor
THE DEPTHS #3
Where to Get:
At Warlock's Wilds, you need to enter the Village area with all the Wild Ones.
Climb the ladder and traverse through the upper platforms.
The armor set should be near the end.

Memory Location:
Return back to The Depths, go through the area until you're around here.
You'd want to go through the left path.
(Path should be left of the slope you'll go up for the Primal Armor set).
This is what you should be seeing: a gold mine with void spewing everywhere.
Go down and remember the armor right at where the void is spewing from.
______FESTIVITY ROW______
19. Lute Hero's Loot
Festivity Row #1
Where to Get:
In the Keep of the Stolen Crown, you'll need to be in the room with the movable staircases.
The weapon will be near the edge of the platform that has a Haunt Armor Knight with a Shield.

Memory Location
At Festivity Row, make sure to go through the Spire and use the elevator to go up.
Continue forward until you are at the section with knive-throwing nobles and a banana tree.
You'll want to head towards the Golden Guard that's protecting the upstage.
Enter the door and you should be in the rafters.
Go to where that 4T weight is and you should be able to restore the lute.
20. Gnom's Dancing Pole
FESTIVITY ROW #2

Where to Get:
You get it after beating Gnom the Consumer.

Memory Location:
Return back to the Theater in Fesitivity Row.
The stage with the spotlight is where you can restore the pole.
21. Disgraced Defence
FESTIVITY ROW #3

Where to Get:
Farm the Disgraced Soldiers at the Quest Reward Vault or Oreshaft Village

Memory Location
Return back to the Fesitivity Row beacon.
Go to the Spire area and proceed downward all the way to the base.
You should notice this shower with a lot of brown on it, remember the armor here.
22. Golden Guard
FESTIVITY ROW #4
Where to Get:
Farm the Golden Guards at Festivity Row.
Memory Location:
Similar to restoring the Disgraced Defence, you'll want to go back to Festivity Row.
Go through the Spire until you're at the bottom floor.
Take the elevator to the top level and feast your eyes on the golden throne.
Remember the armor here.
______QUEST REWARD VAULT______
23. Arachnid's Stinger
QUEST REWARD VAULT #1

Where to Get:
Go through The Depths , the area is the same one in which you can restore the Forgottenspace Armor so check that section for directions.
There will be a Degraded Spider enemy that you'll need to kill for the weapon to drop.
Memory Location:
Go through the Quest Reward Vault until you reach a prison room with two Guard Knights.
This should be the same room in which you can get the Bucko Blade.
Pull the lever and head towards the cell with the fridge.
Remember it here.
24. Master Chef's Iron Apron
QUEST REWARD VAULT #2
Where to Get:
At Oreshaft Village, there should be a house with a basement.
There will be a Disgraced Soldier and two pixelated NPCs here.
The item should be near a pillar.

Memory Location:
You'll need to proceed through the Quest Reward Vault until you reach the Kitchen beacon.
Go towards the stove at the right that has the Irrelevant Appendage item.
Remember the armor here.
______PATH OF THE GOOD MONARCH______
25. Shellter
PATH OF THE GOOD MONARCH

Where to Get:
Start at The Depths beacon.
Continue until you reach a room full of gold like this and go for path on the right.
Progress forward until you reach a room full of donkeys and NPCs.
There will be a pile of boxes. Smash them and grab the Shellter.

Memory Location:
After beating Gnom the Consumer, advance forward until the Narrator creates a rainbow bridge of hope. This is where you need to restore the shield.
______WARLOCK'S WILDS______
26. Chrysalis Tooth***
WARLOCK'S WILDS #1
NOTE: You'll need to restore this to remember the Edge of Entropy which is needed to restore the Stern Glare for the Resurrection ending.
Where to Get:
Similar to how the Lute Hero's Loot is restored, we must first go to Festivity Row.
Traverse through the level until we reach the Banana Tree.
Instead of going left to the rafters, we'll go to the right down the spiral stairs where there is a Vampire Abomination perched.
The item will be on the shrubs near the upper entrance to the Theater.

Memory Location:
Progress through the Warlock's Wilds area.
You should have activated the Crystal Rod #2 in the tower near the campfire of skeletons.
Once the path is lit, you should see a lemonade stand on the left side of the path.
Be wary of the patrolling Skeleton Knight and remember the weapon here.
27. Sword of Service
WARLOCK'S WILDS #2
(Ignore the Sourcerous and +5, I wanted to make it strong)
Where to Get:
Upon entering the Warlock's Wilds, the sword should be near the right side of the first Crystal Rod.

Memory Location:
First, you should've activated the 2nd Crystal Rod and light up the path.
Along the right side of the path, you should see a log with two torches.
Enter the log and go for the path that leads upwards.
You'll be in some stone-henge area with a fairy lady in the middle.
Remember the sword here, but watch out for her attacks.
28. My Crafter
WARLOCK'S WILDS #3
Where to Get:
At The Depths, starting from where The Grinder elevator is, head towards the room with the two purple pickaxe NPCS and a Giant Knight.
The item will be by one of the two pickaxe NPCS near the glowing crystals.

Memory Location:
Starting from where you would need to restore the Sword of Service at Warlock's Wilds.
There should be a bridge leading to the third Crystal Rod tower.
Go down the tower and you should eventually find a beacon.
There is also an anvil you can strike to summon the Blacksmith.
Remember the axe here.
29. Predator's Putter***
WARLOCK'S WILDS #4
Where to Get:
You need to buy it from the Merchant.
Easymaker Key found in Quest Reward Vault.
Costs 1000 memory.


Memory Location:
In Warlock's Wilds, follow the lit path until you reach this spot.
Now follow the glowing red mushroom to another path.
Be wary of skeletons!
You should see this golf area where you can restore the putter.
30. Crown of the Undone
WARLOCK'S WILDS #5

Where to Get:
When you first arrive in the Quest Reward Vault, go to the right.
There should be an office desk where the item should be on.

Memory Location:
Okay this one is going to be a rough ride but it starts at the Warlock's Wilds.
At the Sword of Service's memory location, there should have been a fairy NPC.
Kill her and she'll give you a item; This lets us navigate through the foggy maze below us.
Go through the log and go to the downward path towards the foggy maze.
FOLLOW THE GLIMMERING WISPS THROUGH THE MAZE
Now you should end up at this location.
Advance towards the right side to see a grave.
This is where you can restore the Crown, but don't forget to kick down the grave for a shortcut!
31. Lost One's Visage
WARLOCK'S WILDS #6
Where to Get:
Farm these impish enemies known as Wild Ones.
Memory Location:
Start at the Warlock's Wilds beacon with the Blacksmith.
At the Sword of Service's memory location, there should have been a fairy NPC.
Kill her and she'll give you a item; This lets us navigate through the foggy maze below us.
Go through the log and go to the downward path towards the foggy maze.
FOLLOW THE GLIMMERING WISPS THROUGH THE MAZE
Now you should end up at this location.
You should go left which will lead you down to a house.
Go inside of this house and restore the visage.
______KEEP OF THE STOLEN CROWN______
32. Wunderful Point Maker
KEEP OF THE STOLEN CROWN #1
Where to Get:
Obtained after defeating Wunderschoenenberg.

Memory Location:
Within the pink civilized section of Keep of the Stolen Crown, follow the bridge with the Mermen & Werewolves.
Soon you'll notice an unstable pink door on the left.
You will need to have Uprez and 7500 memory.
Once opened, continue up towards the chapel building.
When you get inside, you should see a Security Code spell and a table with a whip on it.
Remember the weapon here.
33. Usurped Usurper's Bloodletter
KEEP OF THE STOLEN CROWN #2
Where to Get:
Near the end of the Rehabilitation Pits.
There will be two accessible empty cells right before the spiral staircase that leads into the castle.
One of them will have a hole in a wall with this item.

Memory Location:
Progress through the Keep of the Stolen Crown until you reach the beacon.
You should see a coffin with a slain vampire in it nearby the beacon.
Remember the weapon here.
34. Hero Stumper
KEEP OF THE STOLEN CROWN #3
Where to Get:
At the Keep of the Stolen Crown, go to the beginning of the blood waterfall staircase room.
Go towards the left side and enter through the door with a Werewolf above it.
The weapon should be within the hallway.

Memory Location:
Literally outside of the Keep of the Stolen Crown.
Just go to where the beacon in the moat is and remember the weapon.
35. Laid Pipe
KEEP OF THE STOLEN CROWN #4
Where to Get:
Obtained after defeating Mercucio the Pipelayer
Memory Location:
After getting this weapon, you'll want to return to the Keep of the Stolen Crown.
Make your way back to the top where The Monarch turned to dust.
You'll want to remember the weapon at this balcony.
36. Tunic's Tunic
KEEP OF THE STOLEN CROWN #5
Where to Get:
At the beginning of the Rehabilation Pits.
It should be near the first cell room that players would walk into after going through a wall.
Memory Location:
After exiting out of the Chapel of Conviction at the Keep of the Stolen Crown,
notice how there is a broken railing on the right of the walkway.
Walk off of it and into the building with the broken roof.
Collect the Chapel of Humility Key!
Next, you should go back to the Chapel of Humility.
You will see a statue of The Puritan, this is where you restore the tunic!
37. Bold Blade's Bulwark***
KEEP OF THE STOLEN CROWN #6
Where to Get:
Okay for this one, you have to progress Nhero's quest in order to complete Blade the Bold's.
I'll give a quick summary of what to do for these two.

For Nhero:
1) Find Nhero and Sco in The Depths before beating The Grinder.
2) Help them kill the spider monster before beating The Grinder (Try to not let them die).
3) Find Nhero at Festivity Row and give him the restored Shield of Inspiration before beating Gnom.

For Blade the Bold:
1) Find him in a cell within the Quest Reward Vault.
2) Find his Withered Icon in the shortcut between Oreshaft Shelter and Warlock Wilds.
3) Give it back to him (Do not use it and give before beating Wunder lady!)

If done correctly,
you should see these two arguing at the moving staircase room at the Keep of the Stolen Crown.

After that, you should be set to get his gear.
Progress through the story until you confront the Narrator.
Blade the Bold will be waiting for you and be willing to help you fight the boss.
The gear should drop upon the defeat of the boss.

Memory Location:
Return back to the Keep of the Stolen Crown.
You'll want to go to the area where you "meet" the Monarch.
Next you should ascend the nearby staircase that's adorned in pink.
This will lead you to the Heir's Bedroom.
Remember the set in honor of Blade.
38. Civilization's Form***
KEEP OF THE STOLEN CROWN #7
Where to Get:
At the Keep of the Stolen Crown, go through the moving staircase room as shown below.
(Or you can go through the same room where the Lute Hero's Loot was to get there.)
Fight through enemies until you reach a ledge that has the armor set in the middle.

Memory Location:
Progress through the Keep of the Stolen Crown until you reach the Chapel of Purity.
You can restore the armor set here!
*If you've been following Sco's questline then you need to give the restored Civilization's Form back to her before you beat Wunderschoenenberg.
______REHABILITATION PITS______
39. Devourer of Strife***
REHABILITATION PITS #1
Where to Get:
You need to buy it from the Merchant.
Easymaker Key found in Warlock's Wilds.
Costs 2500 memory.


Memory Location:
At the Rehabilitation Pits, progress through the area until you reach a hallway of open rooms.
This hallway will have torchpoles and enemies in between.
Go into the third room on the right.
You should be able to restore the item in this room.
40. Run Home
REHABILITATION PITS #2

Where to Get:
At the Keep of the Stolen Crown, head towards the Chapel of Purity.
Turn towards the left when you enter the chapel, the item should be near the door.

Memory Location:
It is literally at the Rehabilitation Pits Beacon with the Blacksmith.
Remember the weapon here.
______NPC CITY______
41. Plot Thread Scissors
NPC CITY #1

Where to Get:
Obtained after defeating The Narrator.
(I'm really tired of censoring his name plus if you read this far then you already knew.)

Memory Location:
The Narrator will urge you to go to his Study via the tunnel near the NPC Staging Room at the Hall of Heroes.
Eventually you'll make your way into this arena in NPC City.
Prepare to fight the Potheads.
After dealing with the Potheads, you'll soon fight Brendon Merkle.
Kick his butt and continue.
Now you've arrived at the Narrator's Study!
42. Memory Saber
NPC CITY #2
Where to Get:
At the start of NPC City.
Heads towards the open building on the left.
The weapon will be on the pile of corpses.
Memory Location:
Go through the NPC Staging Room at the Hall of Heroes.
Progress until you reach this section of NPC City.
Look to the right and you'll notice a flat wall.
You will need to have Flat Traversal to get this memory.
Do it and enter the glitched door into this odd room.
Remember the weapon here.
43. Perfect Fit
NPC CITY #3
Where to Get:
The process is fairly the same as getting the Tunic's memory location.
After exiting out of the Chapel of Conviction at the Keep of the Stolen Crown,
notice how there is a broken railing on the right of the walkway.
Walk off of it and into the building with the broken roof.
Collect the Chapel of Humility Key!
Next, you should go back to the Chapel of Humility.
You will see a statue of The Puritan inside!
You will be given the option to "humble" yourself by kneeling behind the statue.
So kneel and wait for a few seconds until the pressure plate activates the door.
Ascend the staircase and the item will be waiting on the edge.

Memory Location:
Explore NPC City until you need to climb a ladder onto the top floor of a building.
The floor should be infested with NPCs wielding axes and umbrellas while there's one dude with a crossbow.
Towards the right side, you should see a flat wall. You'll need to use Flat Traversal here.
You should be on top of the building where the Reservoir of Pain is.
There is a noticably neat stack of bricks here, remember the shield here.
44. Anti-Hero Establishment
NPC CITY #4

Where to Get:
You should get it normally as the story progresses since these NPCs block crucial parts.
Oreshaft Village:
Festivity Row:
Warlock's Wilds:
Keep of the Stolen Crown:
Memory Location:
Progress through NPC City until you reach an elevator
(Which will lead you down to Start of Sequence)
Do not go yet and turn around.
You should see the last anvil with Anti-Hero gear in a room.
Enter the room and restore the armor.
______START OF SEQUENCE______
45. Dagger of Cycles
START OF SEQUENCE #1
Where to Get:
In the beginning of the game at the Narrator's Library.
When you are on the level that is bridged by bookshelves,
the item will be on one of the shrines.

Memory Location:
At Start of Sequence.
When you ride the elevator to confront the Narrator, it is actually a clocktower.
Once you reach the top, remember the dagger here.
46. Heirloom***
START OF SEQUENCE #2
Where to Get:
I'm not sure if you actually need to do this but I'll tell you how to start Vengeance's questline:
(UPDATE: It may or may not be necessary to have started Nero and Sco's questlines earlier in the Depths but I suggest you do them anyway just in case.)
1) At Festivity Row, ride the elevator in the Spire to the top floor. She should appear.
2) Follow her up to the top of the Spire and battle her. Make sure to do this before beating Gnom.
3) After beating Gnom, she'll ask to parley with you.
4) Upon reaching the Keep of the Stolen Crown, she'll be anxious to save the Monarch.
5) After beating Wunderschoenenberg and witnessing the death of the Monarch, the Old Man tries to console her near the entrance.
At this point, she'll give you the Heirloom while she slips into depression.
Memory Location:
At Start of Sequence, in the section with the elevator that takes you to The Narrator.
Go through Start of Sequence until you're at this area before the clocktower elevator.
Look to the left and you should see a door.
Open it and you should be able to remember the weapon here.
NOTE: Before defeating Mercucio, you should find a sulking Vengeance at the Heartflow Altar.
If you give a restored Heirloom to her and say that you won't rule then she'll be willing to help you fight Mercucio. You'll complete her questline after killing Mercucio. Be wary that you won't be able to get the weapon back but it should still count towards your remembered relics


47. Heart of a Hero
START OF SEQUENCE #3
Where to Get:
At Heartflow Altar to the right of this locked door that leads back to the Lair of the Adversary
Memory Location:
Once you reached the Start of Sequence, make your way through the degraded enemies and stages.
Eventually you should reach this door labeled "Giving Back"
Enter it and you'll see a glorious beacon on top of a heart-shaped platform.
Remember the armor here, Hero!
______LAIR OF THE ADVERSARY______
48. Cipher
LAIR OF THE ADVERSARY #1
Where to Get:
At Start of Sequence, there is a room with three ladders.
Left ladder is where you go for your train-ing.
Right ladder leads to a single enemy and an item.
Middle ladder that glows and leads to two degraded spiders.
Go climb up the middle ladder and fight them.
One drops the Cipher, the other will drop the Projector Shield.
Memory Location:
At the Lair of the Adversary beacon.
You'll know that you're at the right beacon if you see this incomplete statute of Mercucio.
49. Savior's Raiment
LAIR OF THE ADVERSARY #3
Where to Get:
Obtained after beating Mercucio the Pipelayer

Memory Location:
At the Lair of the Adversary, you'll want to backtrack to the spiral staircase that is before the "fun bar" area. So around here as shown in this picture.
On your right, you should see a prison area with patrolling Cultists and Deranged Damsels.
Enter and look for an open cell at the end of the hallway.
There will be a hidden stairway that leads to the Adversary's former office.
Remember the Savior's Raiment here.
50. Chainmail Bikini
LAIR OF THE ADVERSARY #4
(It doesn't show up on the Compendium, but it's still a Relic)
Where to Get:
In the Strip Club Area preceding the Mercucio boss room in the Lair of the Adversary.
It'll be near one of these curtained couches.
Memory Location:
Fairly near where you'd restore the Savior's Raiment.
At the Lair of the Adversary, you'll want to backtrack to the spiral staircase that is before the "fun bar" area. So around here as shown in this picture.
Now look to your left and you should see an entrance.
Go through it
You'll be at The Heir's Hideout and look towards the edge with the abandoned umbrella.
This is where you'll be able to remember this armor.
______COSTS MEMORY ONLY______
51. Datum Digging Dagger
COSTS MEMORY #1
Where to Get:
At the Rehabilitation Pits.
Go to this section with the miners and a single overseer as shown.
If you're still confused, it should be near the ladder shortcut.
Go to this door where an Abomination will jump out at you.
Continue through the room and the weapon should be at the end.

Memory Requirement:
You need to spend 6000 memory to restore the weapon.
52. Brain Piercer
COST MEMORY #2
Where to Get:
At Festivity Row.
It should be on a sitting corpse near the entrance to the Spire.

Memory Requirement:
You need to spend 1500 memory to restore this weapon.
53. Vibrating Sword***
COST MEMORY #3
Where to Get:
You can buy it from the Merchant's base stock.
No Easymaker Keys needed. Costs 750 memory.
Memory Requirement:
You need to spend 1000 memory to restore this weapon.
54. Drake Sabre
COST MEMORY #4
Where to Get:
You can either go through NPC City or through the Depths.
In my opinion, it's easier to go through NPC City because it's near where the Easymaker Key is as shown here.
(It should be behind the building that has you climb a ladder into a room full of NPCs.)
All you'll have to do is go through the door that will lead you to the item and into The Depths.
Alternatively you could go through The Depths and use Flat Traversal.
Memory Requirement:
You'll need 8000 memory to restore this weapon.
55. Crucible
COST MEMORY #5
Where to Get:
At the Quest Reward Vault, literally right before the Kitchen beacon.
It will be the chest on your left.
Requires Uprez and 1000 memory to obtain.

Memory Requirement:
You'll need to spend 3000 memory to restore this weapon.
56. Crash of Thunder***
COST MEMORY #6
Where to Get:
You need to buy it from the Merchant.
Easymaker Key found in Warlock's Wilds.
Costs 1000 memory.

Memory Requirement:
You'll need 1250 memory to restore this weapon.
57. Quaker's Strut
COST MEMORY #7
Where to Get:
At Festivity Row.
In the rafters above the Theater area.

Memory Requirement:
You need 1500 memory to restore this weapon.
58. Tempest Lance
COST MEMORY #8
Where to Get:
In the Unbreachable Maw.
Start at the beacon that's after the gauntlet of swinging axes.
Walk off the edge into the water below.
Then you should explore the area until you're in a room with a circle of items.
Climb onto the conveniently placed elevator.
You should be carried into a place where you see fiery boulders rolling onto a path.
Go onto this path and the Tempest Lance should be in the middle.

Memory Requirements:
You need to spend 10000 memory to restore this weapon.
59. Caliber of Memory
COST MEMORY #9
Where to Get:
At Oreshaft Village.
Right before the barn that leads up to Oreshaft Shelter.
Hidden in a building with NPCs lying in ambush as shown here.
Memory Requirement:
You'll need 1250 memory to restore this weapon.
60. Udder Annihilator
COST MEMORY #10
Where to Get:
At NPC City.
Requires Flat Traversal to access.
It is right where the memory location is for the Perfect Fit.

Memory Requirement:
You need 8000 memory to restore this weapon.
61. Foreign Queen's Chill
COST MEMORY #11
Where to Get:
At Keep of the Stolen Crown.
In the frilly, civilized area that precedes the Wunderschoenenberg fight.
It should be near a chair that is next to a Civilized Werewolf and a patrolling Civilized Merman.
Memory Requirement:
You need 7000 memory to restore this weapon.
62. Demon Tear Jerker
COST MEMORY #12
Where to Get:
At Oreshaft Village.
Go through the snowy pathway near the Merchant.
Continue until you're right in front of the Entrance to the Unbreakable Maw.
Item should be right here.
Memory Requirement:
You need 2500 memory to restore this weapon.
63. Way Lighter
COST MEMORY #13
Where to Get:
At the start of NPC City.
You should see a patrolling Giant NPC with a Way Lighter weapon.
Kill the NPC and the weapon should drop.
Memory Requirement:
You need 8500 memory to restore this weapon.
64. Heaven's Rim***
COST MEMORY #14
Where to Get:
You need to buy it from the Merchant.
Easymaker Key found in Quest Reward Vault.
Costs 1500 memory.

Memory Requirement:
You need 1000 memory to restore this item.
65. Unlikely Lenses
COST MEMORY #15
Where to Get:
At Start of Sequence.
After the Train-ing section, you should be in the broken streets section.
There should be a Degraded Knight patrolling, but look towards the building on the left.
You will need to use Flat Traversal.
It will be in a chest at the end which requires Uprez and 2000 memory.
Memory Requirement:
You'll need to spend 8500 memory to restore these bad boys.
66. Red Racers
COST MEMORY #16
Where to Get:
At Warlock's Wilds.
Before going up to the gates of the Keep of the Stolen Crown, there is another path that leads downward on the right.
You should see a Skeleton Knight and a Degraded Spider enemy sitting by a campfire.
Kill the Spider to get the shoes.
Memory Requirement:
You need to spend 4000 memory for these babies.
67. Primal Pelts
COST MEMORY #17
Where to Get:
In The Depths.
Progress through the Depths until you reach this area where you'd want to take the left path.
Now you'll see three different paths.
Hard left leads to an area with a Degraded Spider.
Middle leads you up to the armor and back onto the main path.
Then the main path itself.
Take the middle path and you should get the armor.
Memory Requirements:
You'll need to spend 2000 memory to restore the armor set.
______MYSTERY / SPOILERS______
68. Edge of Entropy***
MYSTERY #1
NOTE: Restoring this weapon is needed for advancing the Innocent and Reservoir of Pain's questlines aka the Resurrection Ending.
Where to Get:
In Oreshaft Village.
It should be right across the Gnom Statue.
Located near rubble under the bridge.

Memory Location:
***First, you need to restore the Chrysalis Tooth.
The memory is located in Oreshaft Village for the Edge of Entropy.
Make your way to the Oreshaft Shelter beacon.
You'll need to use Flat Traversal on the bridge behind it.
Once you've crossed over to the other side, you should notice this dark cave.
Enter it and you should notice void erupting from a circle of candles.
Remember the weapon right in this void.
69. Irrelevant Appendage
MYSTERY #2
Where to Get:
At the Quest Reward Vault.
It should be on the stove in the Kitchen area.
(The same stove that you can restore Master Chef's armour at)
Memory Location:
***First, you must restore the Projector Shield.
At the Unbreachable Maw.
You can restore this item at the Validation Banner beacon.

SIDENOTE: You can use this item to get an armor set near Heartflow Altar!
70. Stern Glare***
MYSTERY #3
NOTE: You'll need to restore this weapon in order to face the Reservoir of Pain to unlock the Resurrection ending.
Where to Get:
At NPC City.
This item is located near the elevator that brings you down to the Start of Sequence.
It should be to the left of the elevator but you'll need to navigate your way over there.
Once over there, the hammer should be near the trash.
Memory Location:
***You will need to have restored the Edge of Entropy.
Head back to the Heartflow Altar.
Remember it near the Heart of Nostalgaia.
71. Bad Dream
MYSTERY #4
Where to Get:
In the Unbreachable Maw.
Proceed through the area until you're out of the darts section.
You'll be in a room with slamming tentacles and Cultists with poisonous gases on the ground.
Proceed until you reach this spot in the picture.
You should see that glimmering item just off to the side of the path.
Continue on the path and you should be able to drop down onto the ledge on the left.

Memory Location:
***First, you'll need to restore the Caliber of Memory which is easy enough.
The Bad Dream's memory is in the Unbreachable Maw.
Go back to the hazardous section with the darts.
Stay on the right and proceed downwards where you'll see this path.
Proceed through the path and keep going right.
Eventually you'll reach this ominous dark portal.
(That you can't actually go through.)
Remember the weapon right in front of this landmark.
72. Vincible Hammer
MYSTERIES #5
Where to Get:
Obtained after killing Brendon Merkle at NPC City.
Memory Location:
***First, you would need to restore the New Order's Rule armor.
The location to restore this weapon is in Festivity Row.
Look for this Banana Tree and restore the weapon.
73. Servant's Shield
MYSTERY #6
Where to Get:
In Warlock's Wilds.
Found near the Tower of the Second Crystal Rod to the bottom right.
It should be right next to an opening curtained with vines.
(Look at where I put that small glittering coin)
Memory Location:
***First, you need to restore the Sword of Service.
After that, the memory location is found in Oreshaft Village.
Traverse through the snowy pathway that's near the Merchant.
You should see piles of dead NPCs near the edge of the cliff.
Restore the shield here.
74. Amnesiac's Hope
MYSTERY #7
Where to Get:
At Quest Reward Vault.
Within one of the cells, you'll need to pull the lever.
(It should be the same room where Blade the Bold is imprisoned.)

Memory Location:
***You'll need to have restored the Cipher first.
At the Lair of the Adversary.
Specifically at the Chasm Beacon room.
(This is the beacon that is right before the Mercucio fight)
You should be able to restore the armor in this room.
75. Leonard's Lounge Shorts
MYSTERY #8
Where to Get:
At the Depths.
Start at the Depths- Staging Room Beacon.
Go out into this area.
Head to the left and you should notice this broken bridge.
Go down to that bridge and claim your shorts.

Memory Location:
***You would first need to restore the Servant's Shield.
At Fesitivity Row.
Before reaching the entrance to the Spire, there will be a bridge like this.
You'll need to have Flat Traversal to get to the spot.
Once you make it, you'll be able to restore the glorious shorts.
______DLC RELICS!!!______
The Rise of Evil DLC brings 10 Relics in total that you can restore to get the Forensics achievement.

**The DLC adds two new bosses and a secret boss that can be unlocked if you have done the Innocent questline and a few tasks.**

Keep in mind that the new areas, Builder's Sanctuary and Leisure Lake, can be accessed only after cutting the Narrator's threads of fate.

Oreshaft Village Entrance
Found near the Marketplace beacon.
Warlock's Wilds Entrance
Found near the Discarded Traditions beacon.

#1. Spirit's Sword
ORESHAFT VILLAGE DLC
This item is most likely missable because it references an event in the Innocent's questline that can easily be missed. I'll double check in another playthrough, but assume that you need to defeat the Spirit of Heroism for this one. I got the sword on my Unburdened run, so it's not missable.

Where to Get:
Go to Leisure Lake and visit the entrance of The Bungalows area.

The weapon should be to the right near a staircase leading up to the two lounge chairs and umbrellas seen in the earlier image.

Memory Location:
Visit the Easymaker shop located at Oreshaft Village.
This is where you'll be able to restore the Spirit's Sword. Poor Guy.
#2. Abominable Spear
BUILDER'S SANCTUARY #1
Where to Get:
Go to Easymaker's Retreat which is accessible from the DLC entrance at Oreshaft Village.
Progress through the area until you reach this area shown that has a few Miner Knights.
It's hard to miss since you need to pass through here to get to Leisure Lake.
Grab the Abominable Spear that is in the center of the room.

Memory Location:
Visit the Builder's Sanctuary which is accessible from the DLC entrance at Warlock's Wilds.
The blocky fountain can be found near the bridge with wandering Bronze NPCs not too far off from where you first entered the area.
#3. Norm Smasher
BUILDER'S SANCTUARY #2
Where to Get:
At Builder's Sanctuary near the block fountain on a dead NPC being eaten by a Flying Abomination.
Memory Location:
At Builder's Sanctuary, advance through the area until you reach the bloody area of dead NPCs.
Remember the weapon here.
#4. Abominable Shield
BUILDER'S SANCTUARY #3
Where to Get:
At Builder's Sanctuary after the underground section full of Bronze NPCs, you should see this building. Go up and enter it.
You should be on a small bridge. You'll notice this large streetlight on the right corner.
Go towards it and the shield will be at the corner.

Memory Location:
At Builder's Sanctuary, return to the large pipe with a ladder that leads to the underground lava area.
Restore the shield here.
#5. Bronze God's Perfection
BUILDER'S SANCTUARY #4
Where to Get:
Farm the Bronze NPCs in the Builder's Sanctuary.
Good luck farming these guys because they are such an annoyance.
You can circle around these guys for a backstab that'll take their armor off.
Use the Lofty Ideas liberally to quickly move through the area, they'll drop more anyway.


Memory Location:
Go to the classroom beacon at Builder's Sanctuary.
Remember the glorious muscles here.
#6. Bodacious Blade
EASYMAKER'S RETREAT #1
Where to Get:
At the Oreshaft Sewer entrance where you access the DLC area.
I'll just navigate you through the area since it's a bit confusing at first.

Start at the green arrow but go to the path on the left.

Take the first left path then take the next immediate left again. Watch out for an ambush.
You should be at an intersection.
The right will drop you into an enemy ambush.
The middle continues onward to Easymaker's Retreat.
The left is where you'll be able to get this Relic.

In the left room you should see a 3D Ninja enemy in this room. Kill him to get it.

Memory Location:
At Easymaker's Retreat, it is the paradise sign that is at the end of the area.
#7. LHoasntd- OSnoel dTireurnkJacket
LEISURE LAKE #1
Where to Get:
Farm the Lost Ones wearing gas masks at the Oreshaft Sewers & Leisure Lake.

Memory Location:
Go to the wooden maze-like area that is right after The Bungalows in Leisure Lake.
Remember the torso here. I hope this saved you all a lot of trouble.
#8. Brother's Love
LEISURE LAKE #2
Where to Get:
Defeat Luivanni's Anger at Leisure Lake.
Memory Location:
Visit the Reliquary Beacon at Leisure Lake.
Remember the Brother's Love here. Rip Luivanni
#9. Evil's Terror***
SECRET #1
In order to restore this armor, you need to do The Innocent's questline or else you cannot get the required materials to reforge it.

Where to Get:
1. Evil's Grip (Arms)
The gauntlets can be found at the Oreshaft Sewers entrance.
Start at the green arrow after unlocking the sewer gate and go to the left.
Continue going until you encounter two ninjas blocking your path.
After dealing with them, turn to the left to see this room. Watch out for ambushing ninjas.
Go up the wooden ramp and the Evil's Grip should be at the top.
2. Evil's Pursuit (Legs)
The armor leggings can be found at Easymaker's Retreat.
Progress through the area until you drop down into this tunnel with a wandering Miner Knight.
Enter the room on the left and go up the wooden ramp on the right wall.
Once you reach the top, walk on the wooden bridge to enter a small cave.
Within this cave lies the Evil's Pursuit which is hard to miss.
3. Evil's Terror (Torso)
The chest piece can be found at Leisure Lake.
Progress through the Leisure Lake from the entrance until you reach this building.
I recommend going up the stairs to the second floor to activate the Reliquary beacon first.
To reach to the item, enter the first floor of the building either through the door or the other side.
It should be this room full of barrels, Lost Ones, and an Evil being.
Go towards the pile of barrels near the corner of the room.
Break them to find a ladder then go down.
You'll find another pile of barrels that you'll need to break to enter the next room.
You should be in a planning room with a fragment of Luivanni and two enemy NPCs.
The Evil's Terror is found at the left corner of the room.
4. Evil's Gaze (Helm)
The helmet can be found at Builder's Sanctuary.
Starting near the beginning of the area, you'll see a building next to the block fountain.
Traverse the water to get closer to the fountain on the left.
Once you are near the fountain, look towards the lone lit streetlight and go there.
The Evil's Gaze will be to the right of this street light.

Memory Location:
First, you need to have progressed through the Innocent questline to when you defeat the Spirit of Heroism and changed the statue into a stick figure. Otherwise you cannot restore the virtue.

Second, you must defeat Luivanni's Anger at Leisure Lake to receive the Twisted Virtue of Tradition. This special item is needed to reforge the Evil armor set but it must be restored first.

Once you have the Twisted Virtue of Tradition, return to the altered Statue of Heroism and remember the item here. You should receive a new item called Hatred of the Future.

Visit the Blacksmith and there should be a new option called Reforge that appears when you have the Evil's Terror (Torso) in your inventory.
(You might need to make the blacksmith gain more confidence by unlocking the anvils throughout Nostalgaia.)

You can reforge the Evil Armor set with the Hatred of the Future for 1000 memory.
#10. Evil's Wrath***
SECRET #2
Similarly to the Evil Armor set, you need to do The Innocent's questline or else you cannot get the required materials to reforge the Evil Sword.

Where to Get:
You can get the sword at the Builder's Sanctuary.
Go to the end of the bridge near the Deprogramming Room beacon.
Once you are at the end with the broken vein, turn towards the right side.
You should see a glimpse of a club and bloodied NPCs.
Head in that direction but take the path on the left instead of going into the bloodied area.
You should see a tree at the end of the path.
The Evil's Wrath is right under this tree.

Memory Location:
First, you need to have progressed through the Innocent questline to when you defeat the Spirit of Heroism and changed the statue into a stick figure. Otherwise you cannot restore the virtue.

Second, you must defeat Eve at Builder's Sanctuary to receive the Twisted Virtue of Progress. This special item is needed to reforge the Evil Sword but it must be restored first.

Once you have the Twisted Virtue of Progress, return to the altered Statue of Heroism and remember the item here. You should receive a new item called Hatred of the Past.

Visit your old buddy, the Blacksmith, and you'll see an option to Reforge if the Evil Sword is in your inventory which I assume you do if you've read this far.
(Like Evil's Terror, you'll need to make the blacksmith become a master craftsman by restoring the anvils throughout Nostalgaia.)

You can reforge the Evil's Wrath with the Hatred of the Past for 1000 memory.
Afterthoughts
I hope this guide has helped you.
It took me a solid week of backtracking to figure out questlines and item locations.
I also would like to give credit to Yama for this guide:
https://psteamcommunity.yuanyoumao.com/sharedfiles/filedetails/?id=2879247821

My Remembered Relics total is 75, so that is how much you should expect to have.
FYI, this may be bugged. I think the total number of Relics should be 76 or maybe I counted something that shouldn't have been counted.
It's confirmed that the achievement requires you to restore 75 relics.

Check out my other guides for The Last Hero of Nostalgaia:
https://psteamcommunity.yuanyoumao.com/sharedfiles/filedetails/?id=2885456124
https://psteamcommunity.yuanyoumao.com/sharedfiles/filedetails/?id=2986780184

Please let me know if there's something wrong with the guide and I'll update it!
Good luck getting those memories, heroes!
47 条留言
Lighty San 2024 年 9 月 19 日 上午 6:10 
man we remember the evil armor and sword and we dont get it back after we beat him?
AZRA3L The Eternal  [作者] 2024 年 8 月 22 日 上午 2:38 
For the blacksmith npc if I can recall, you need to restore the anvils at:

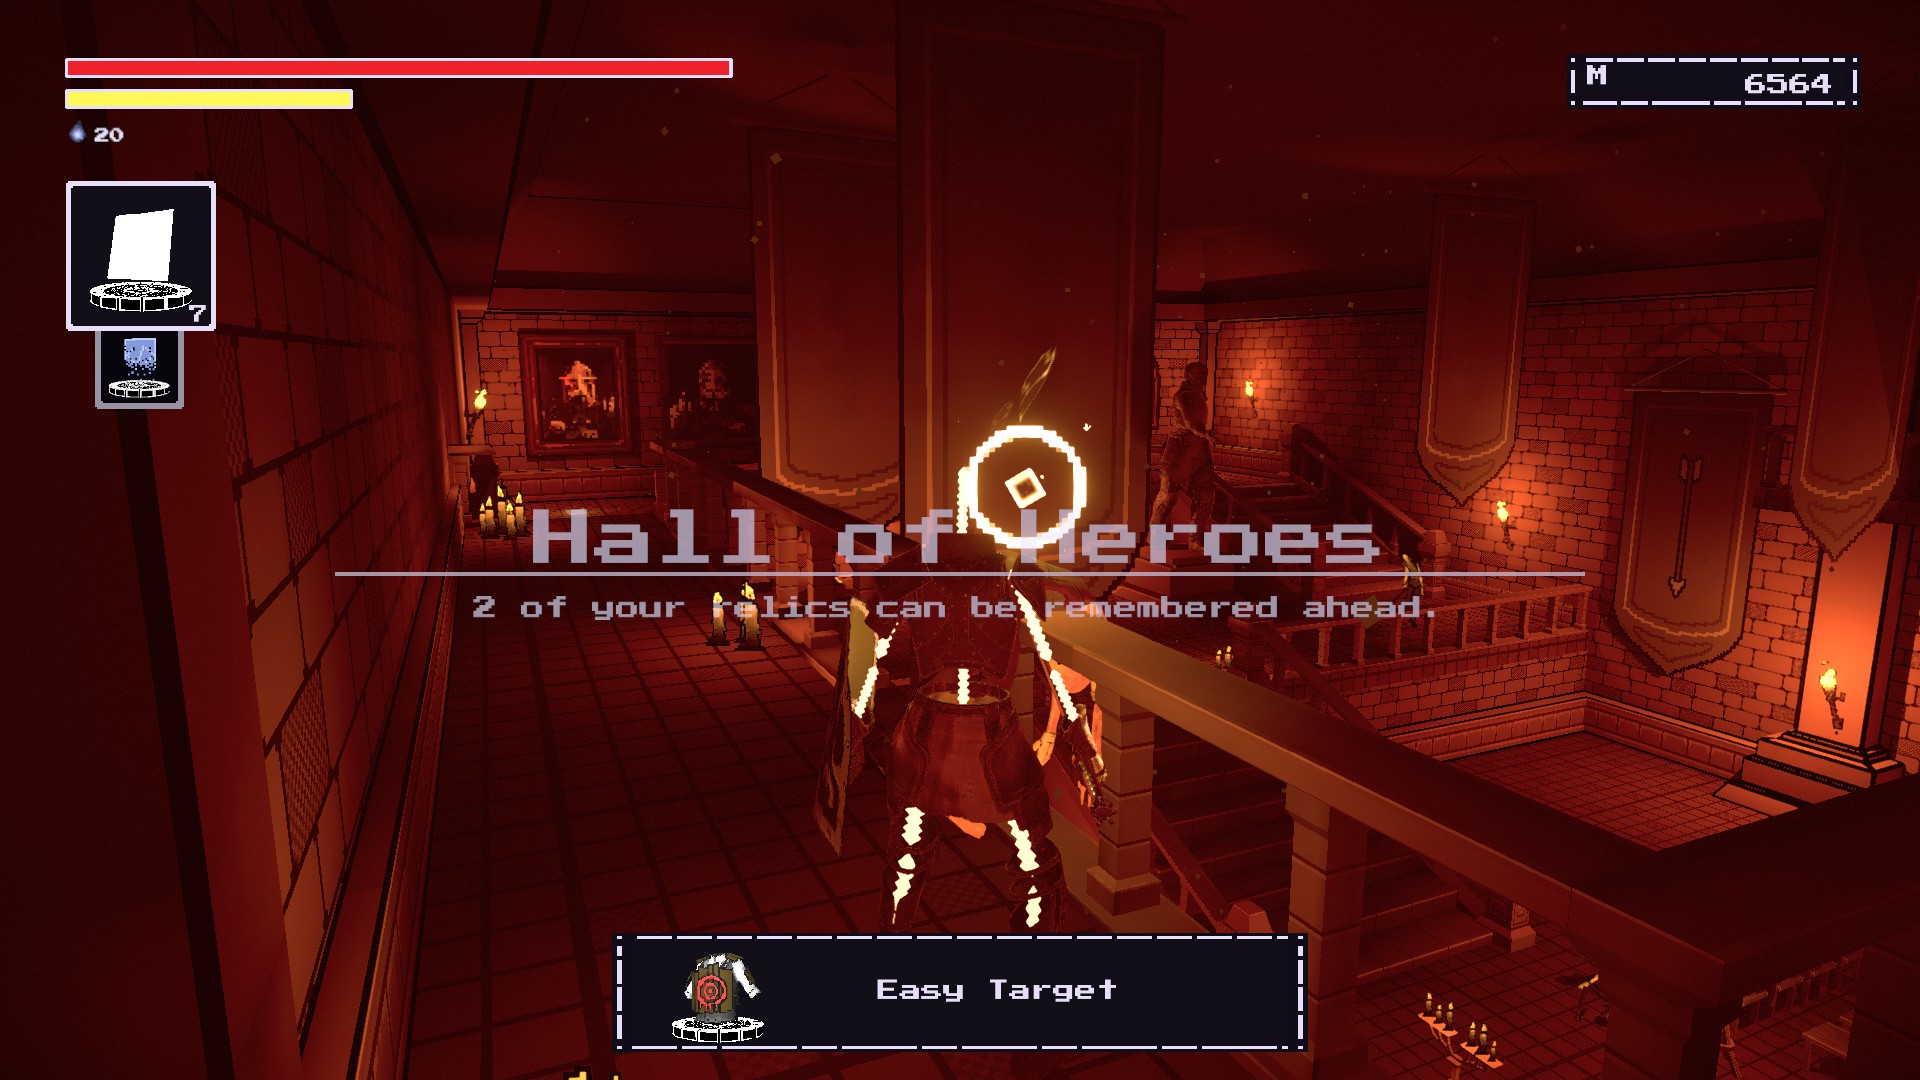
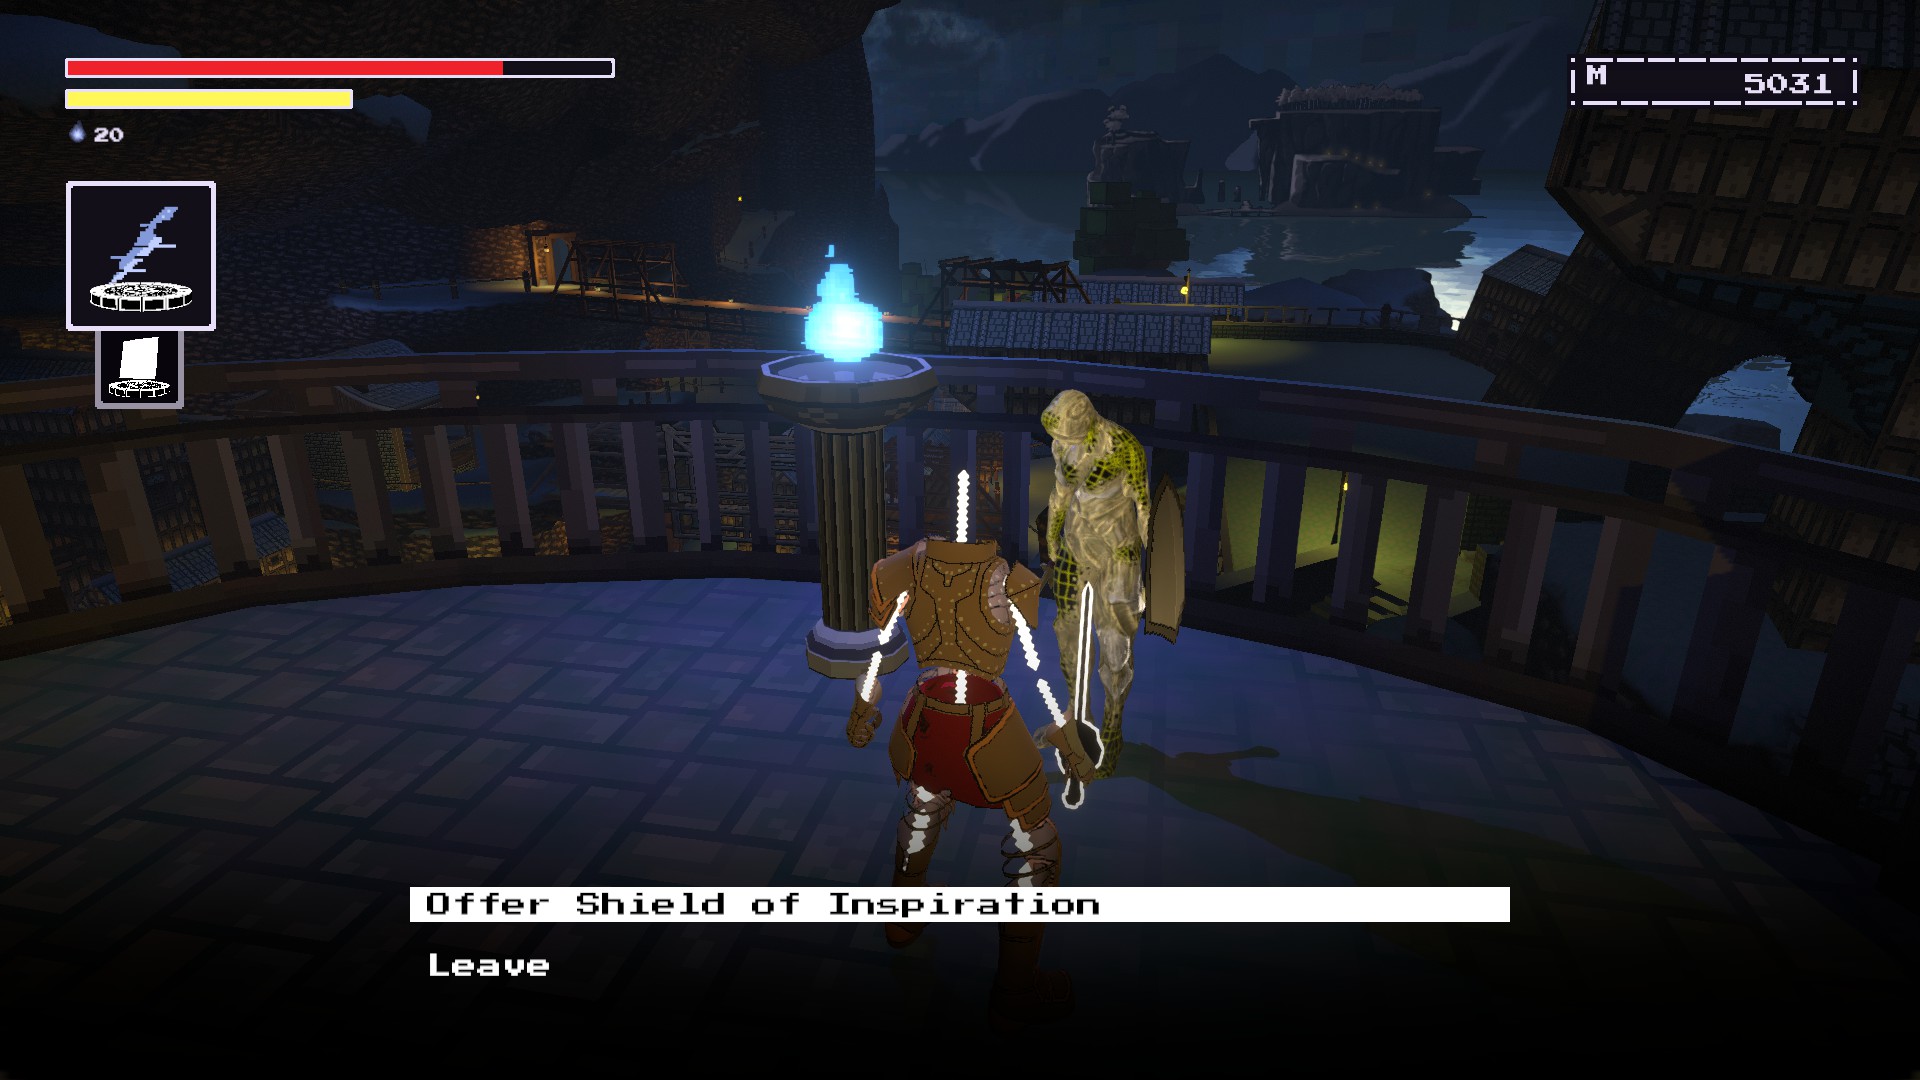
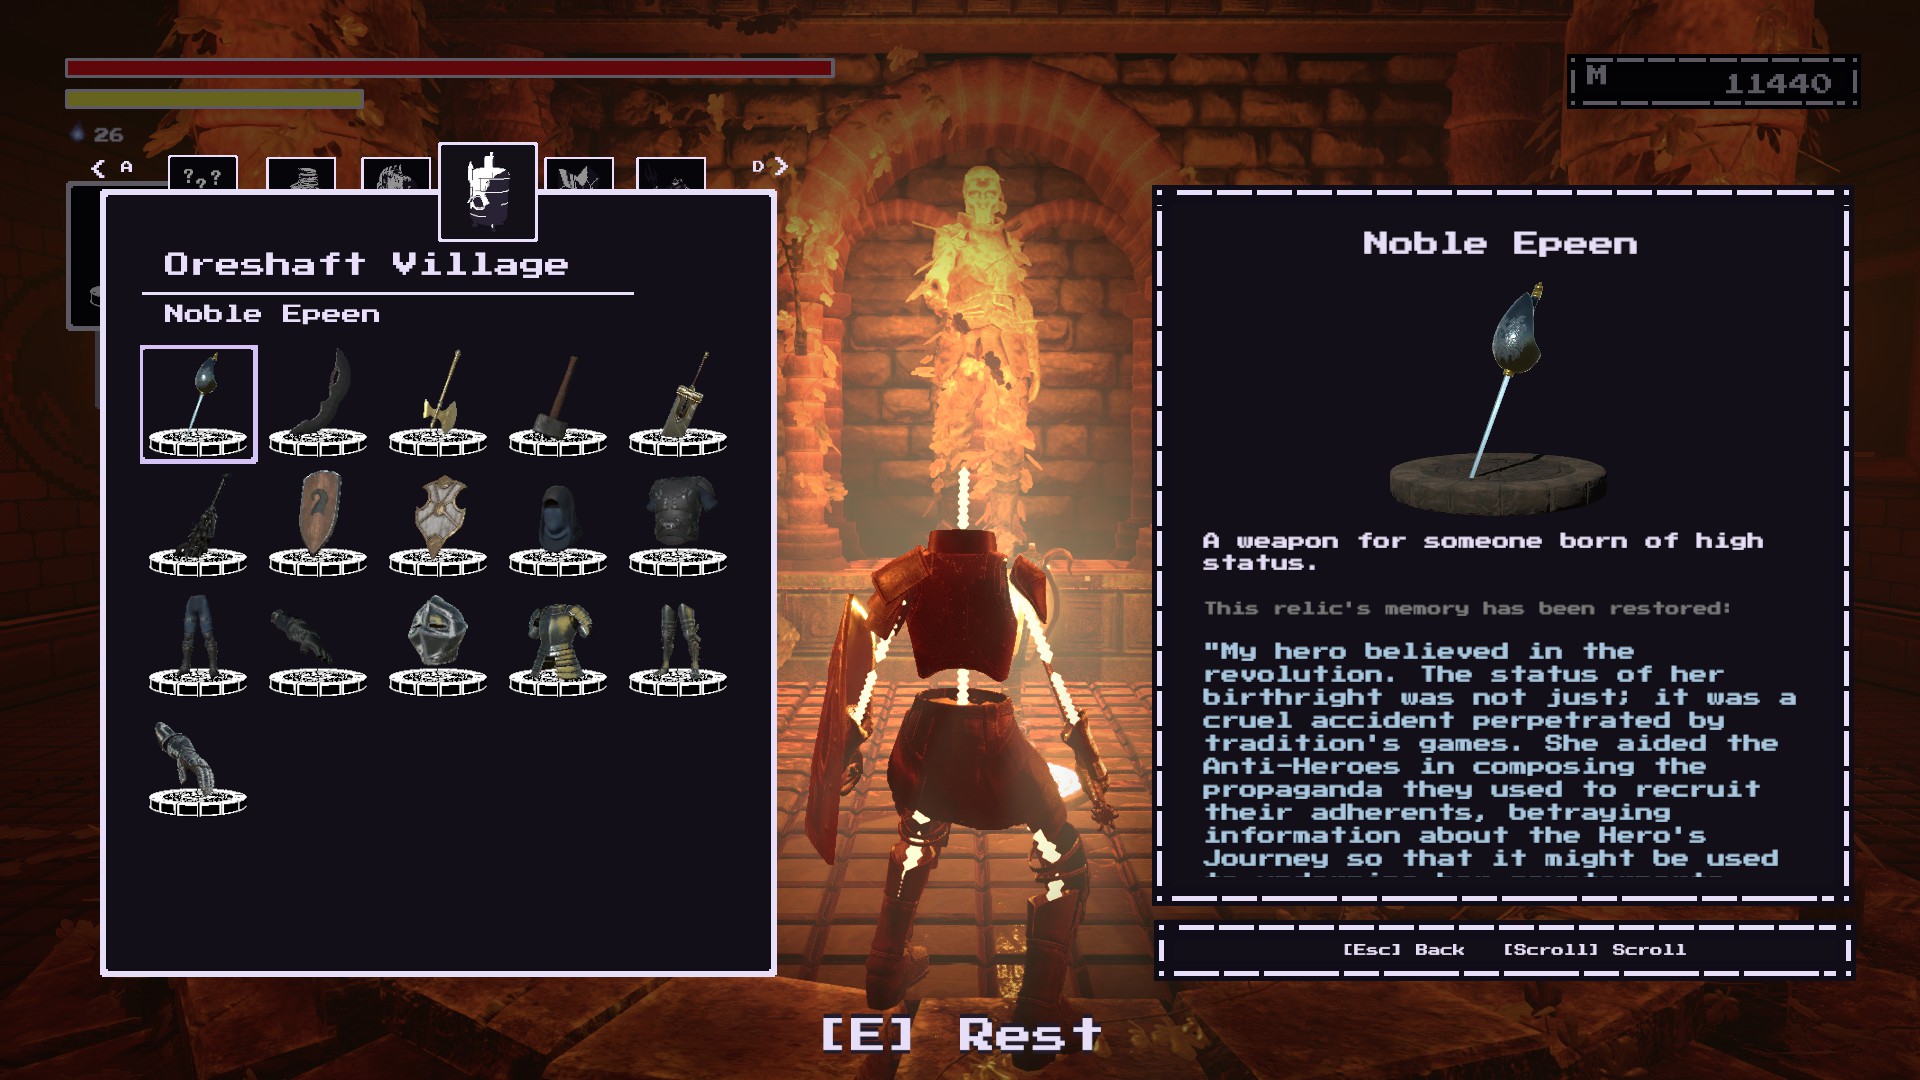
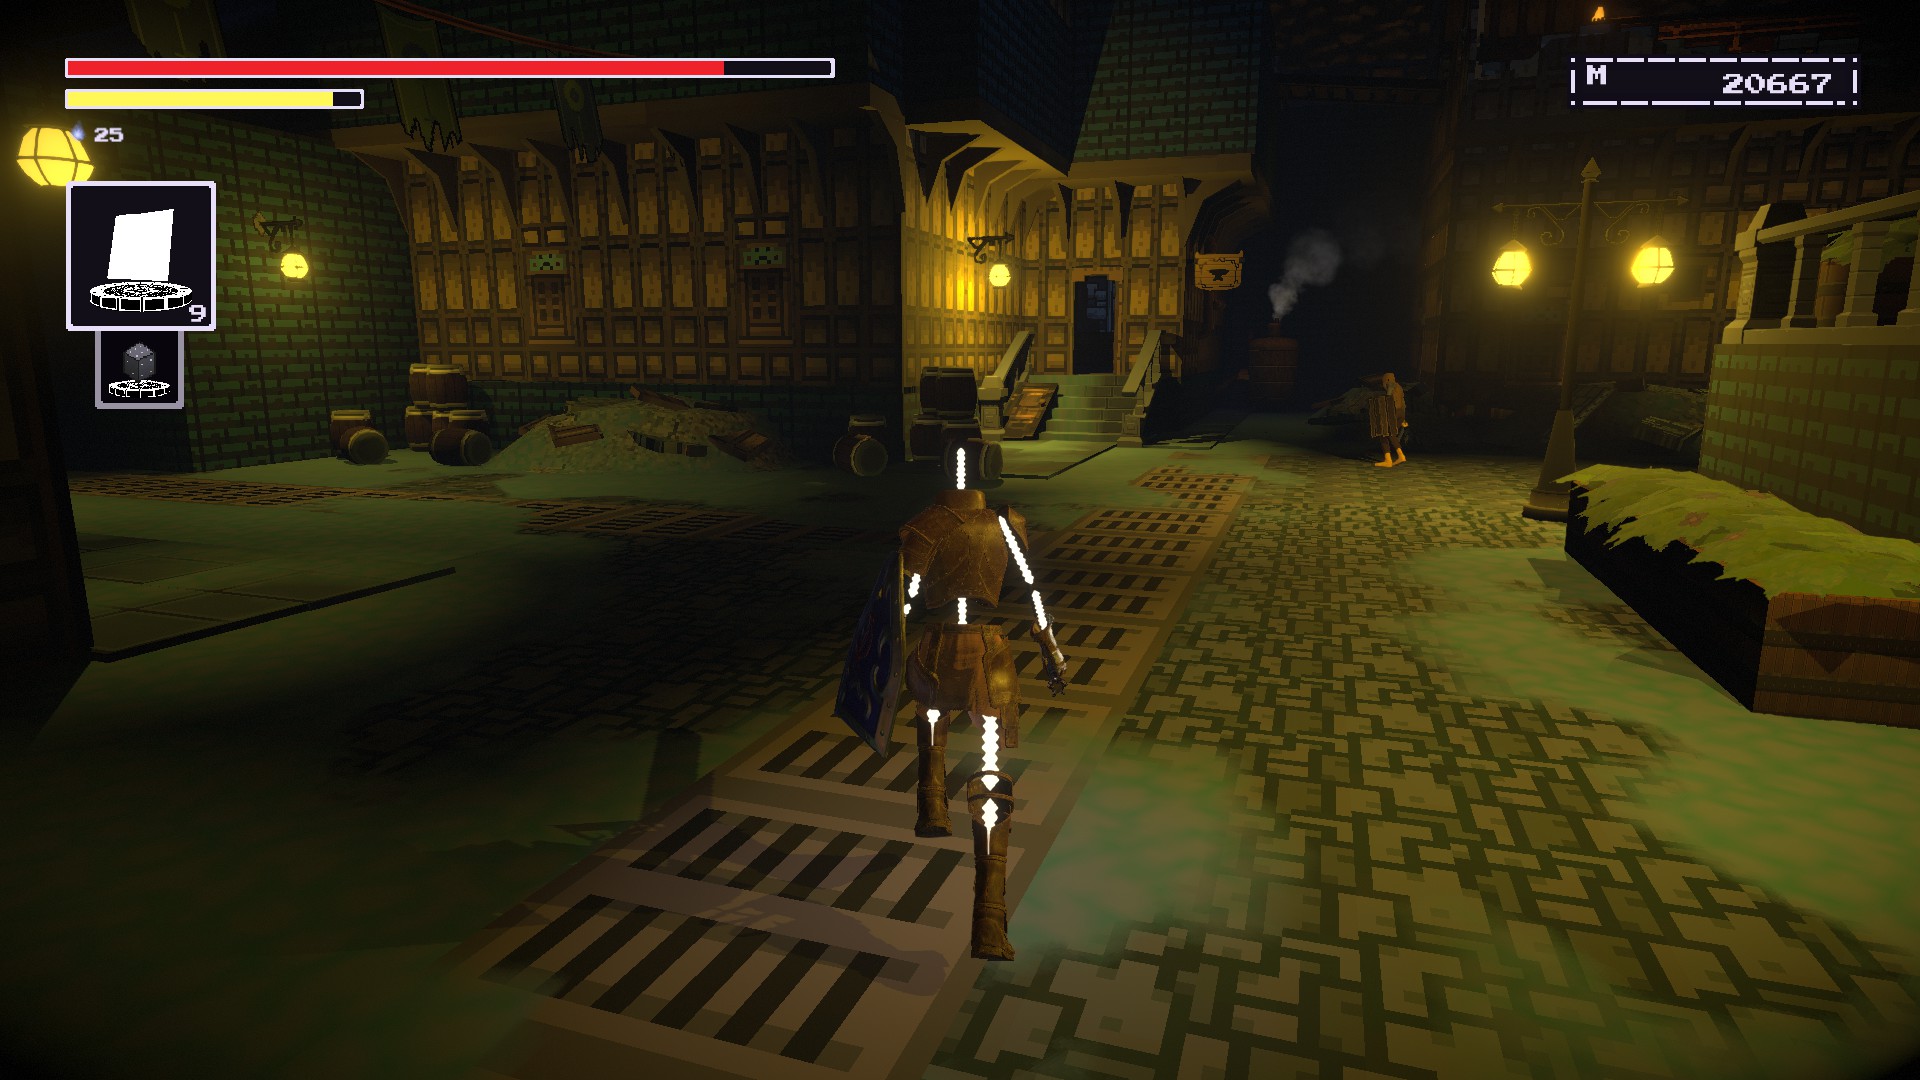
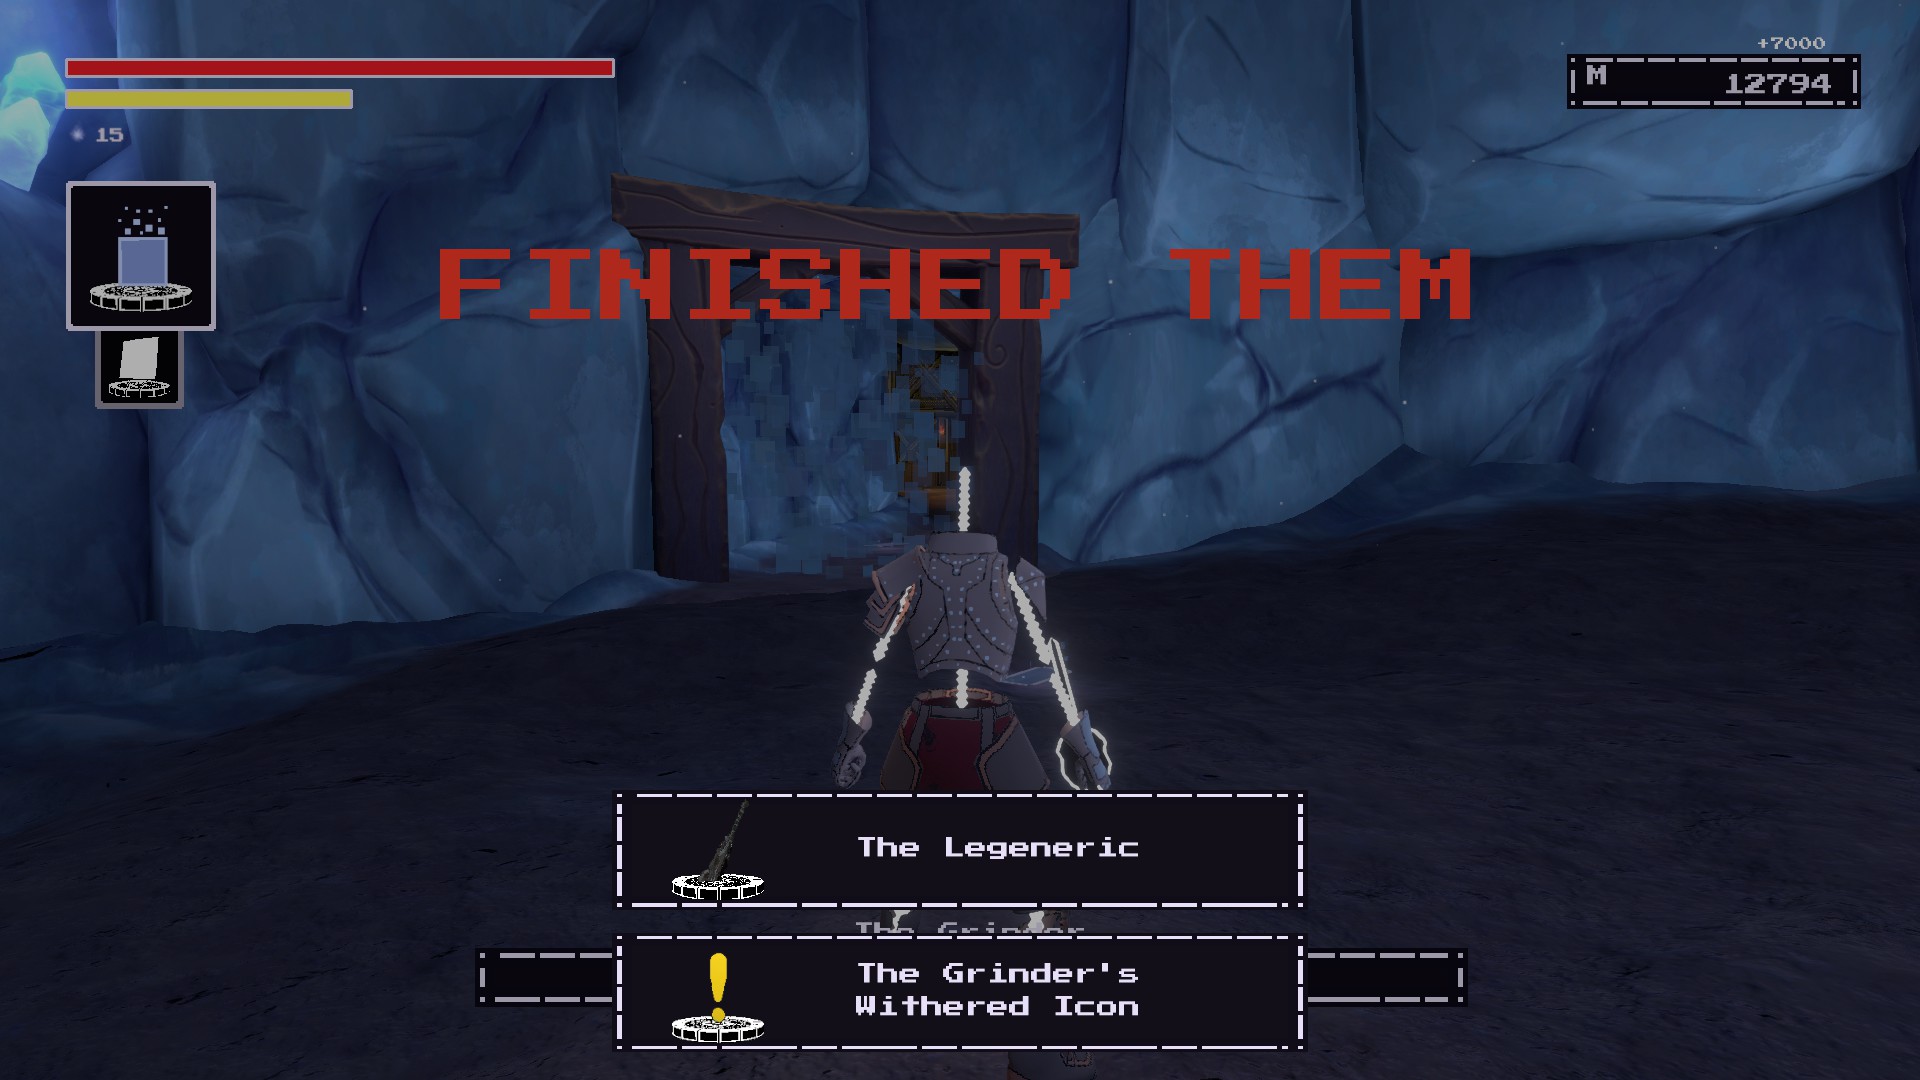
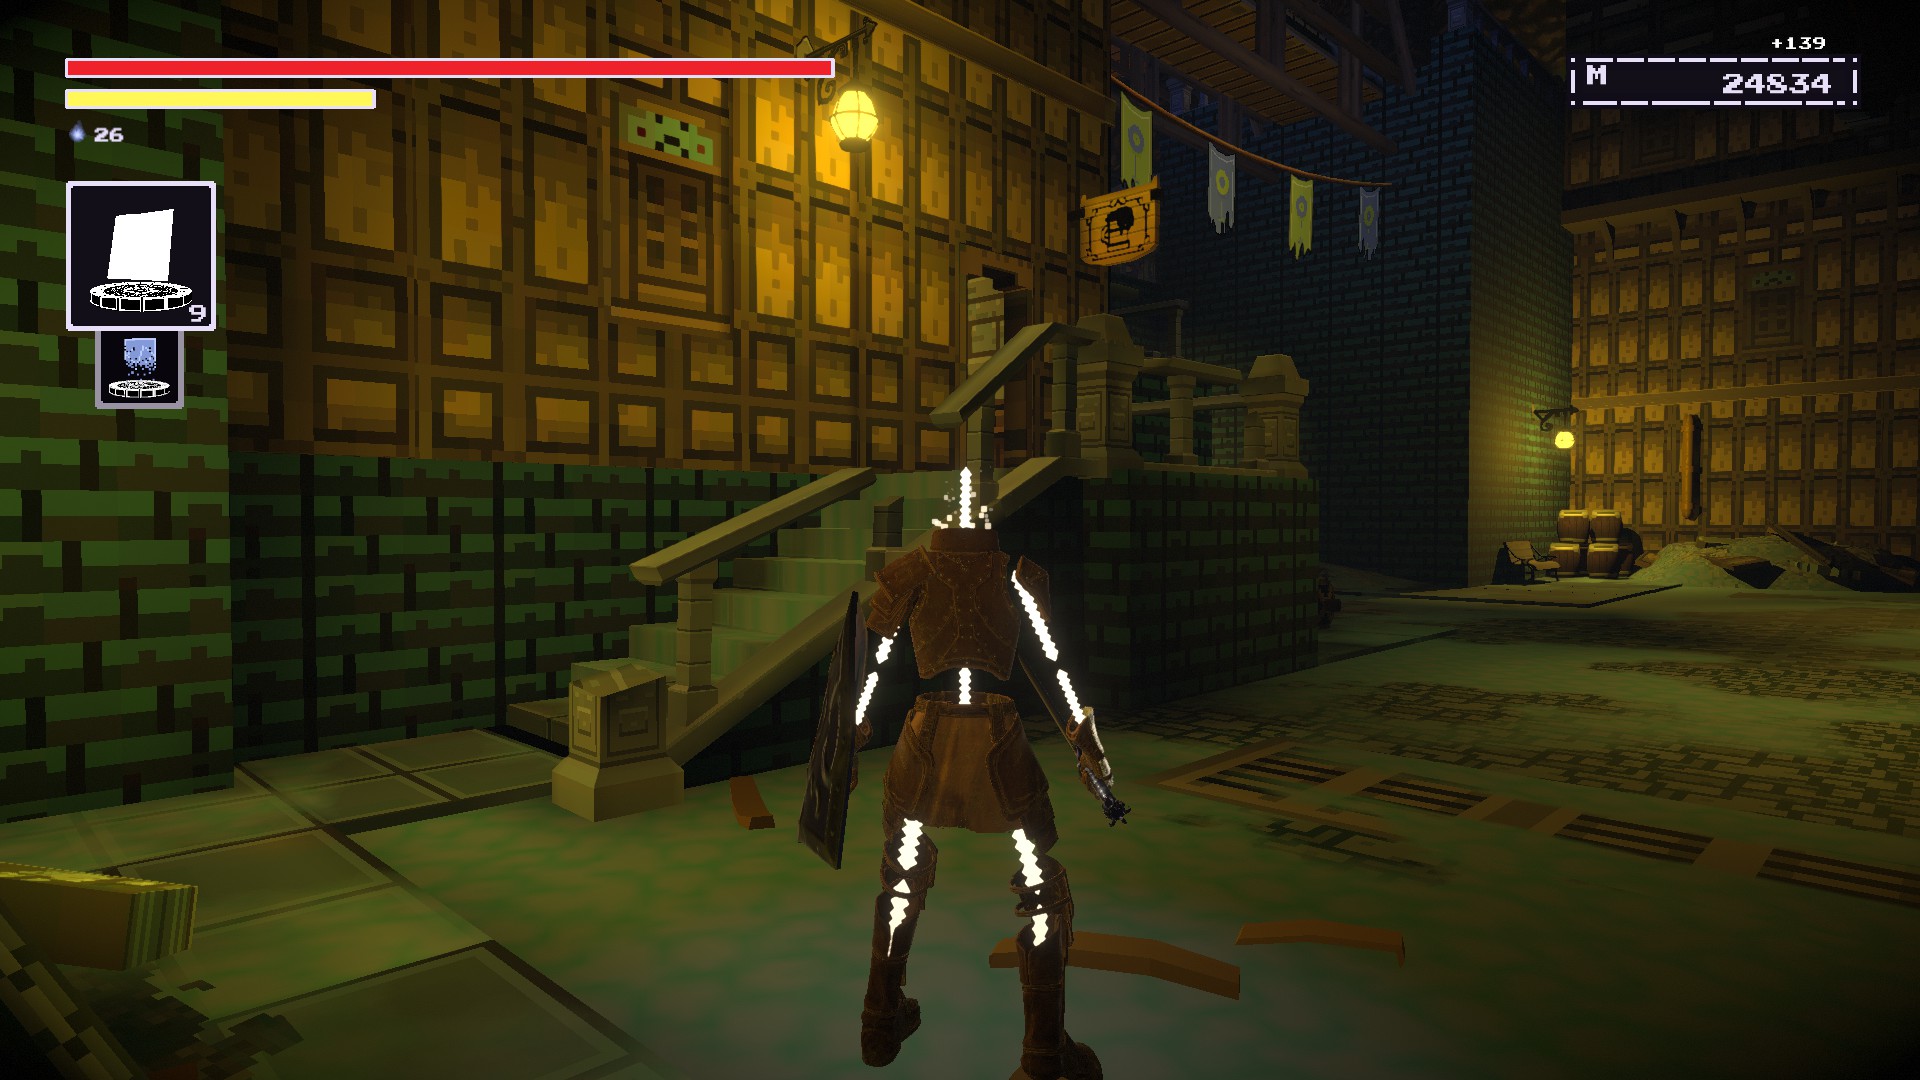
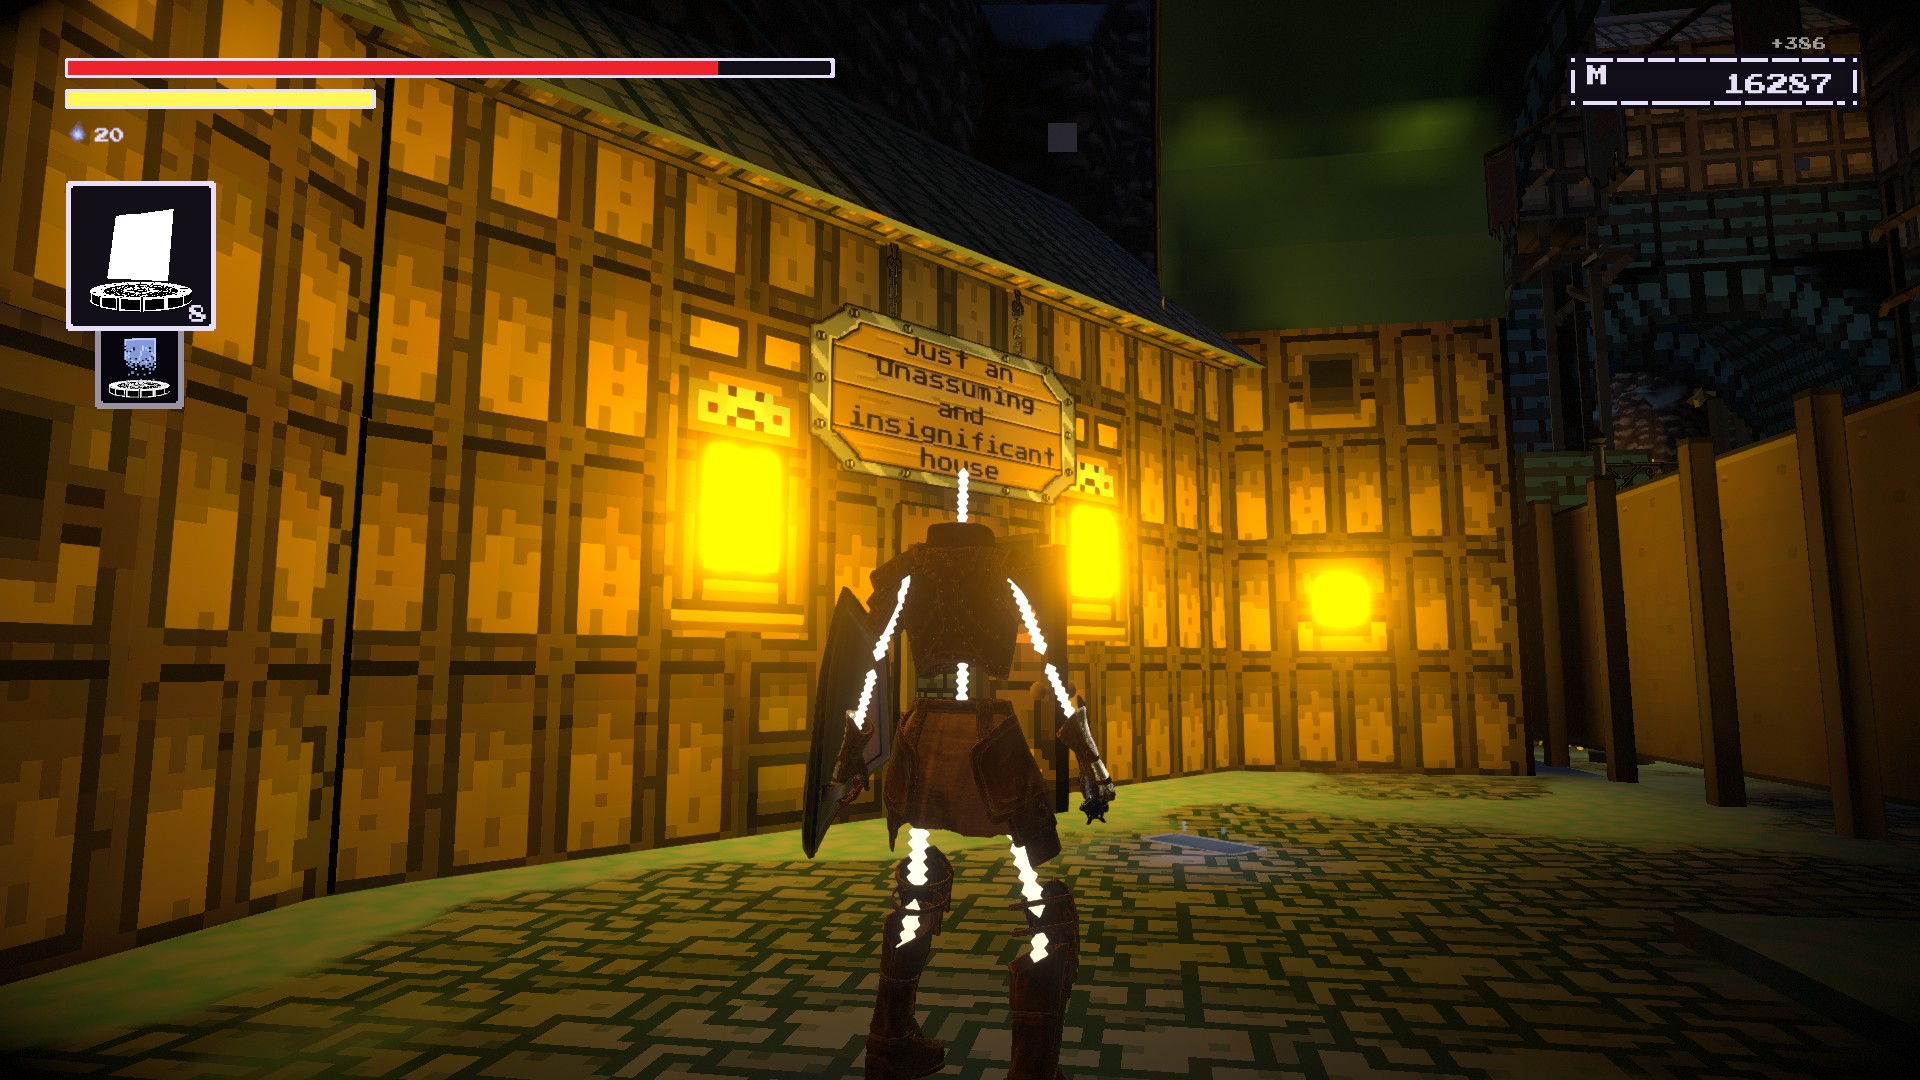
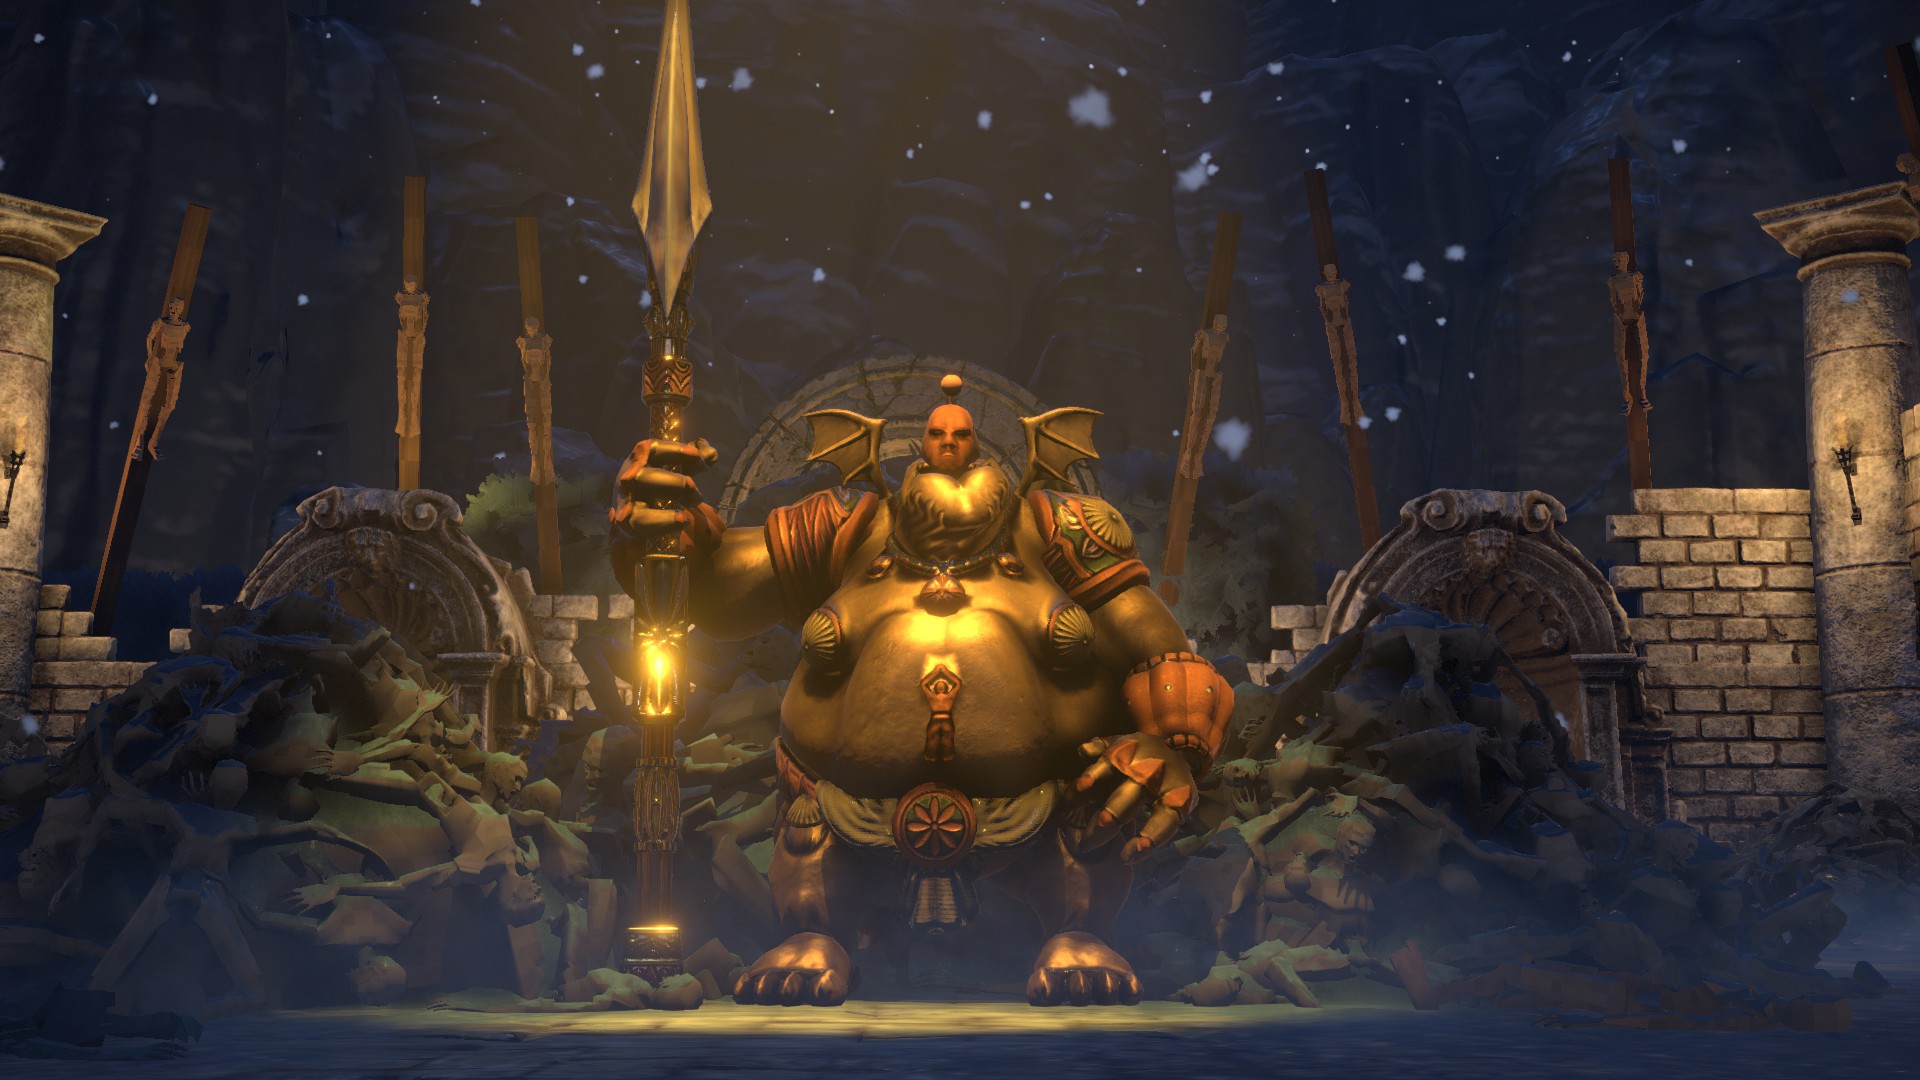
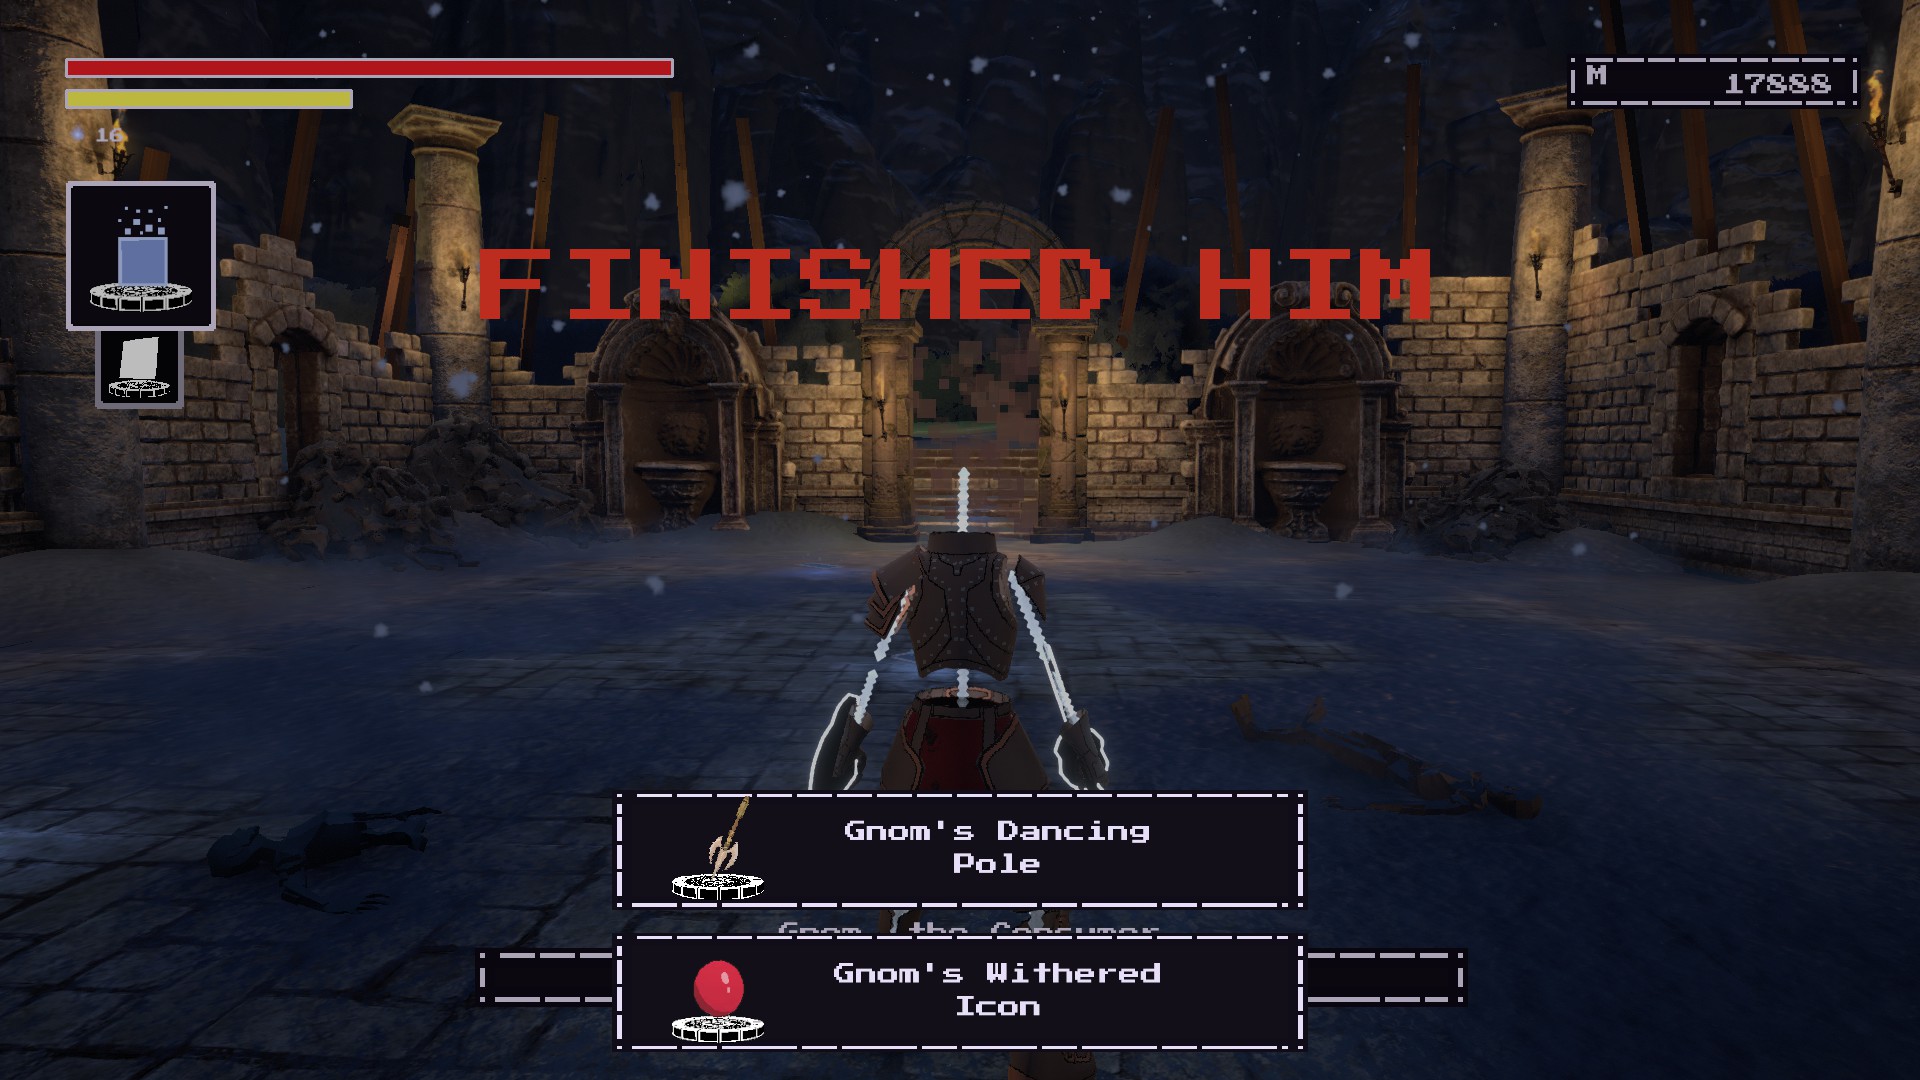
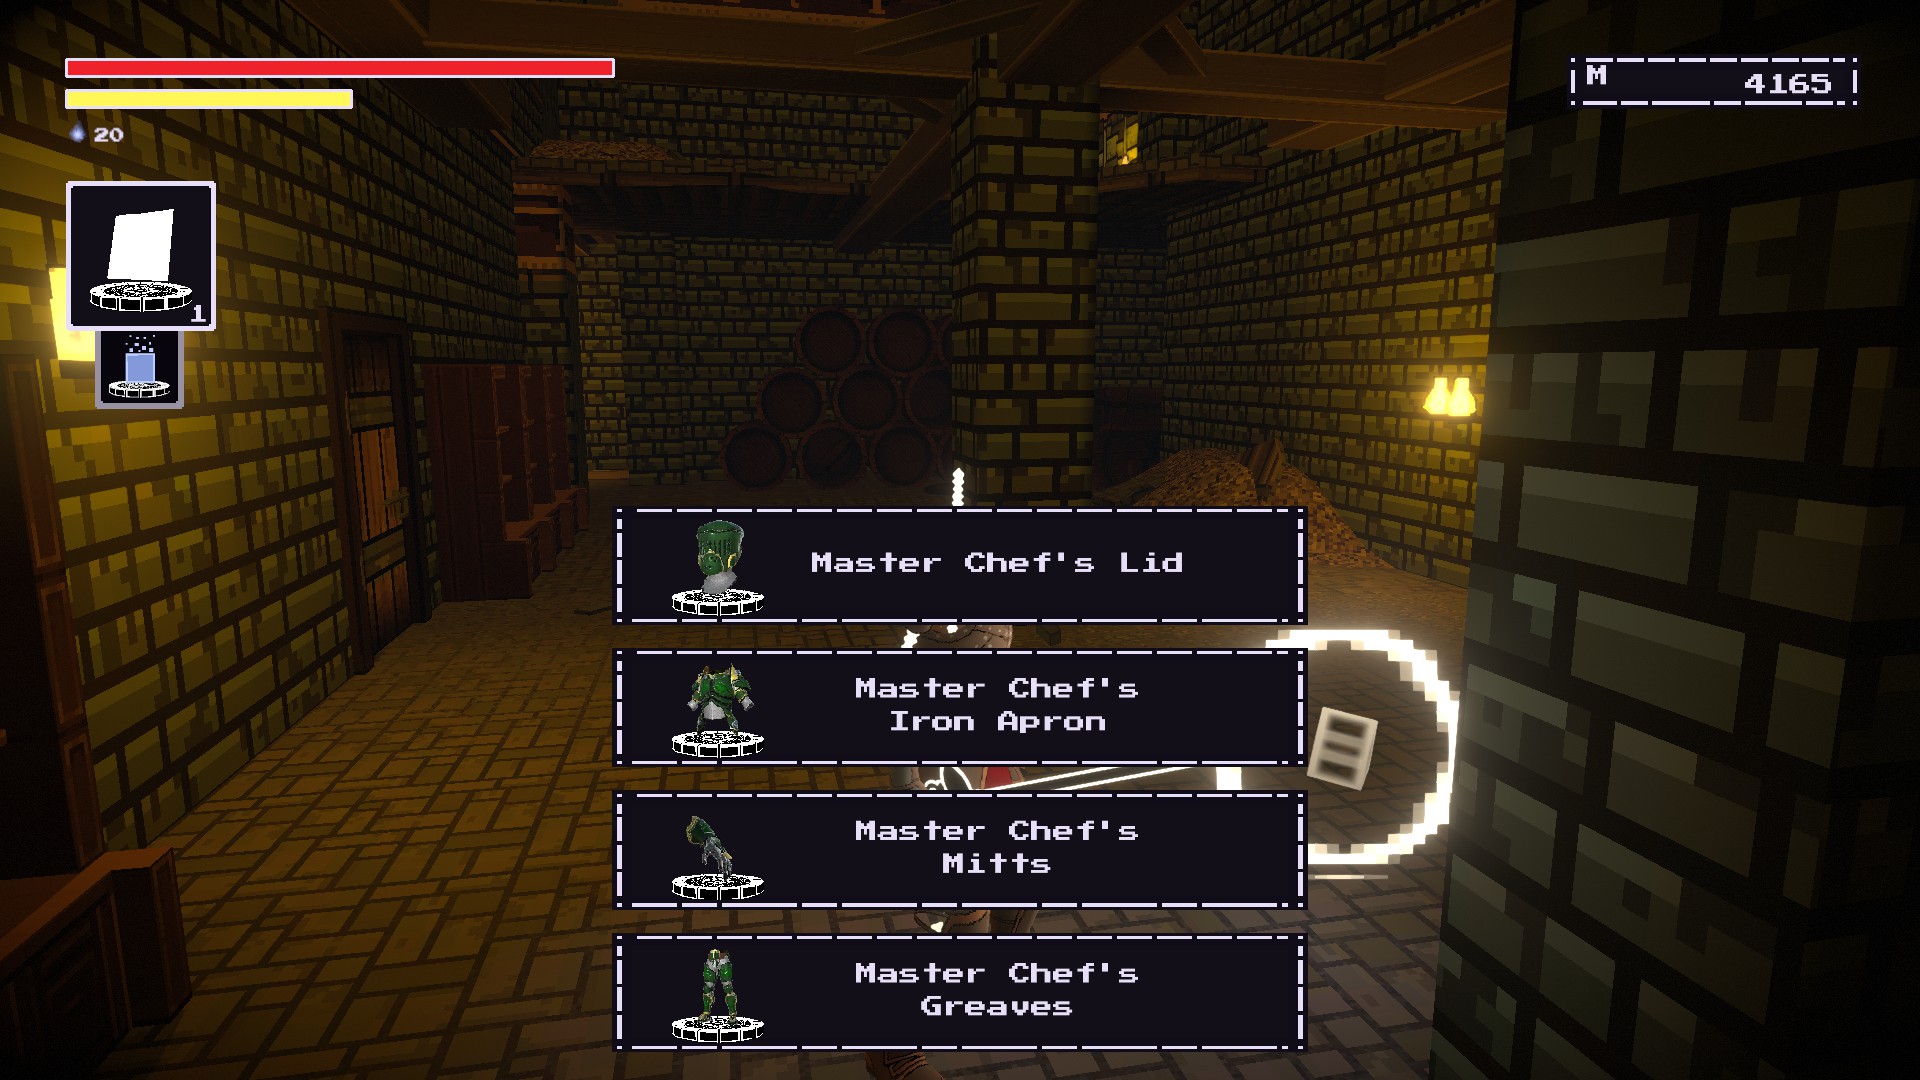
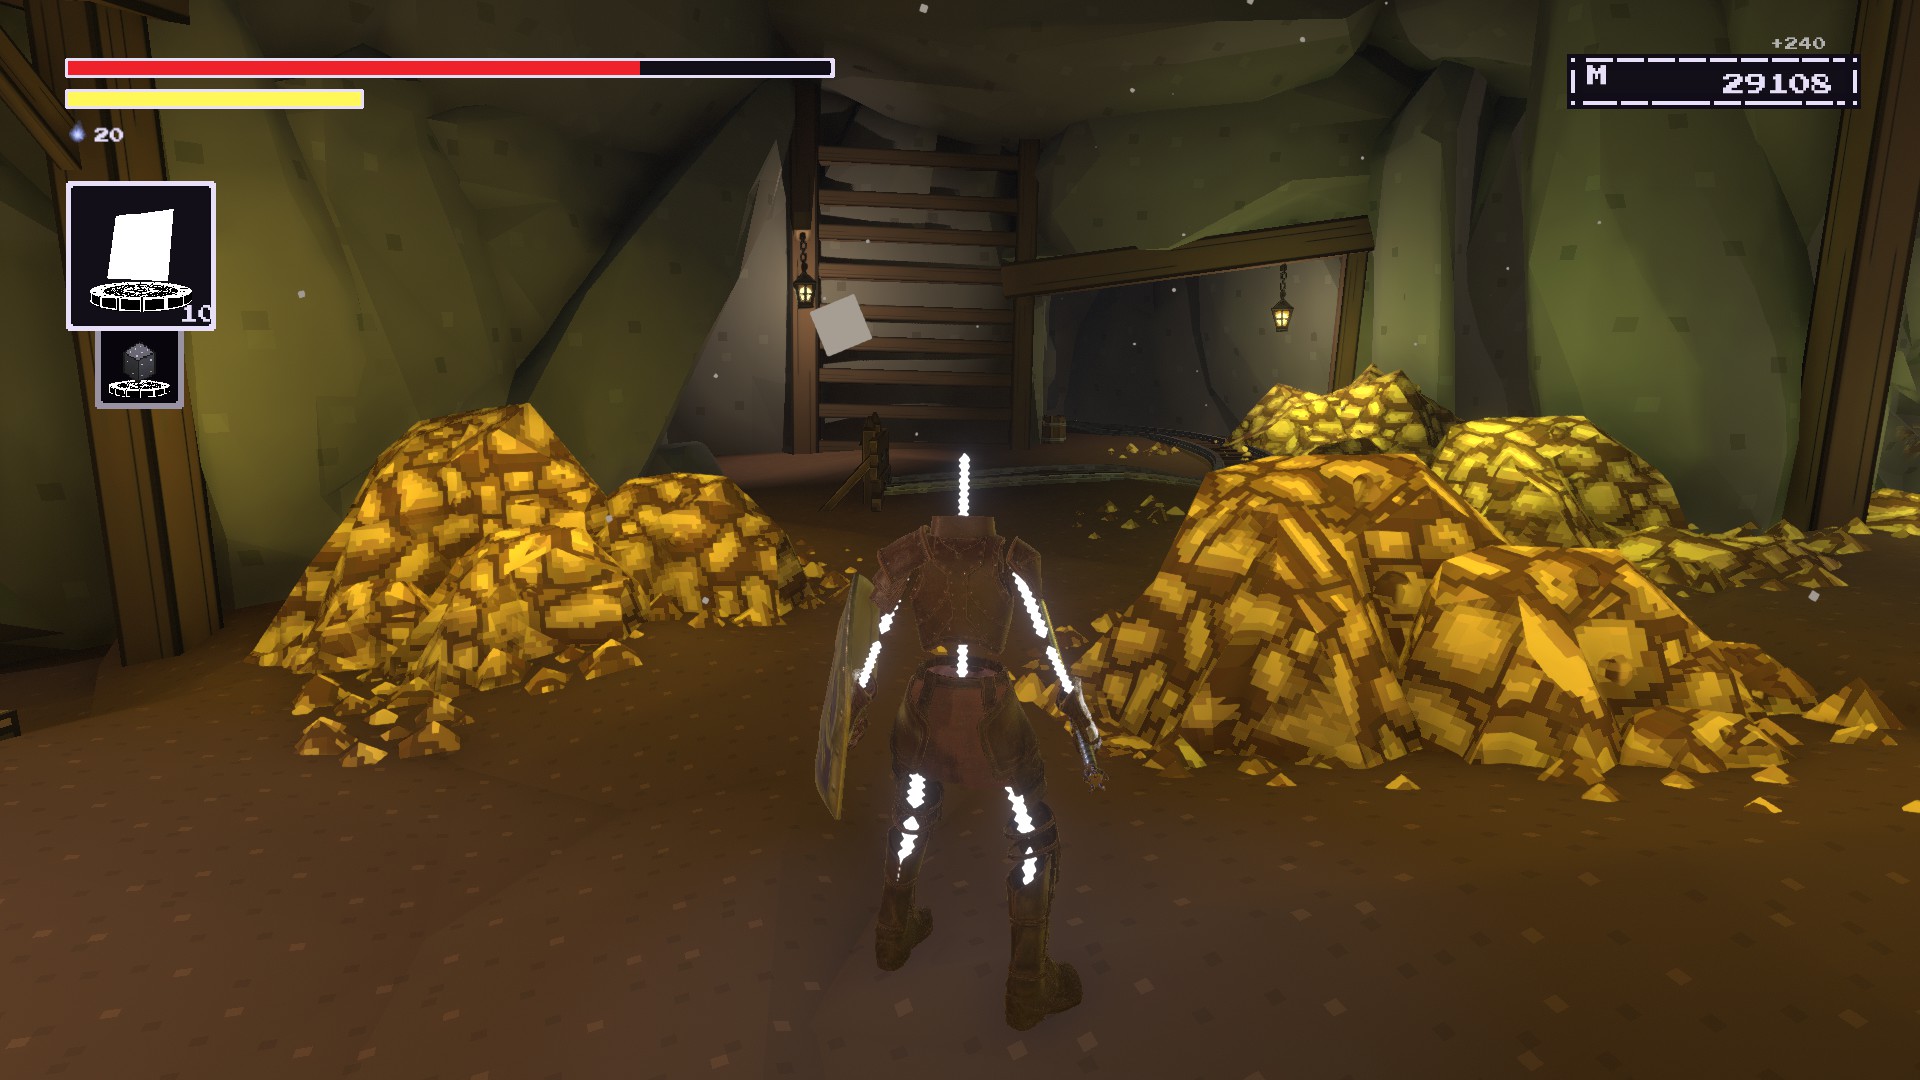
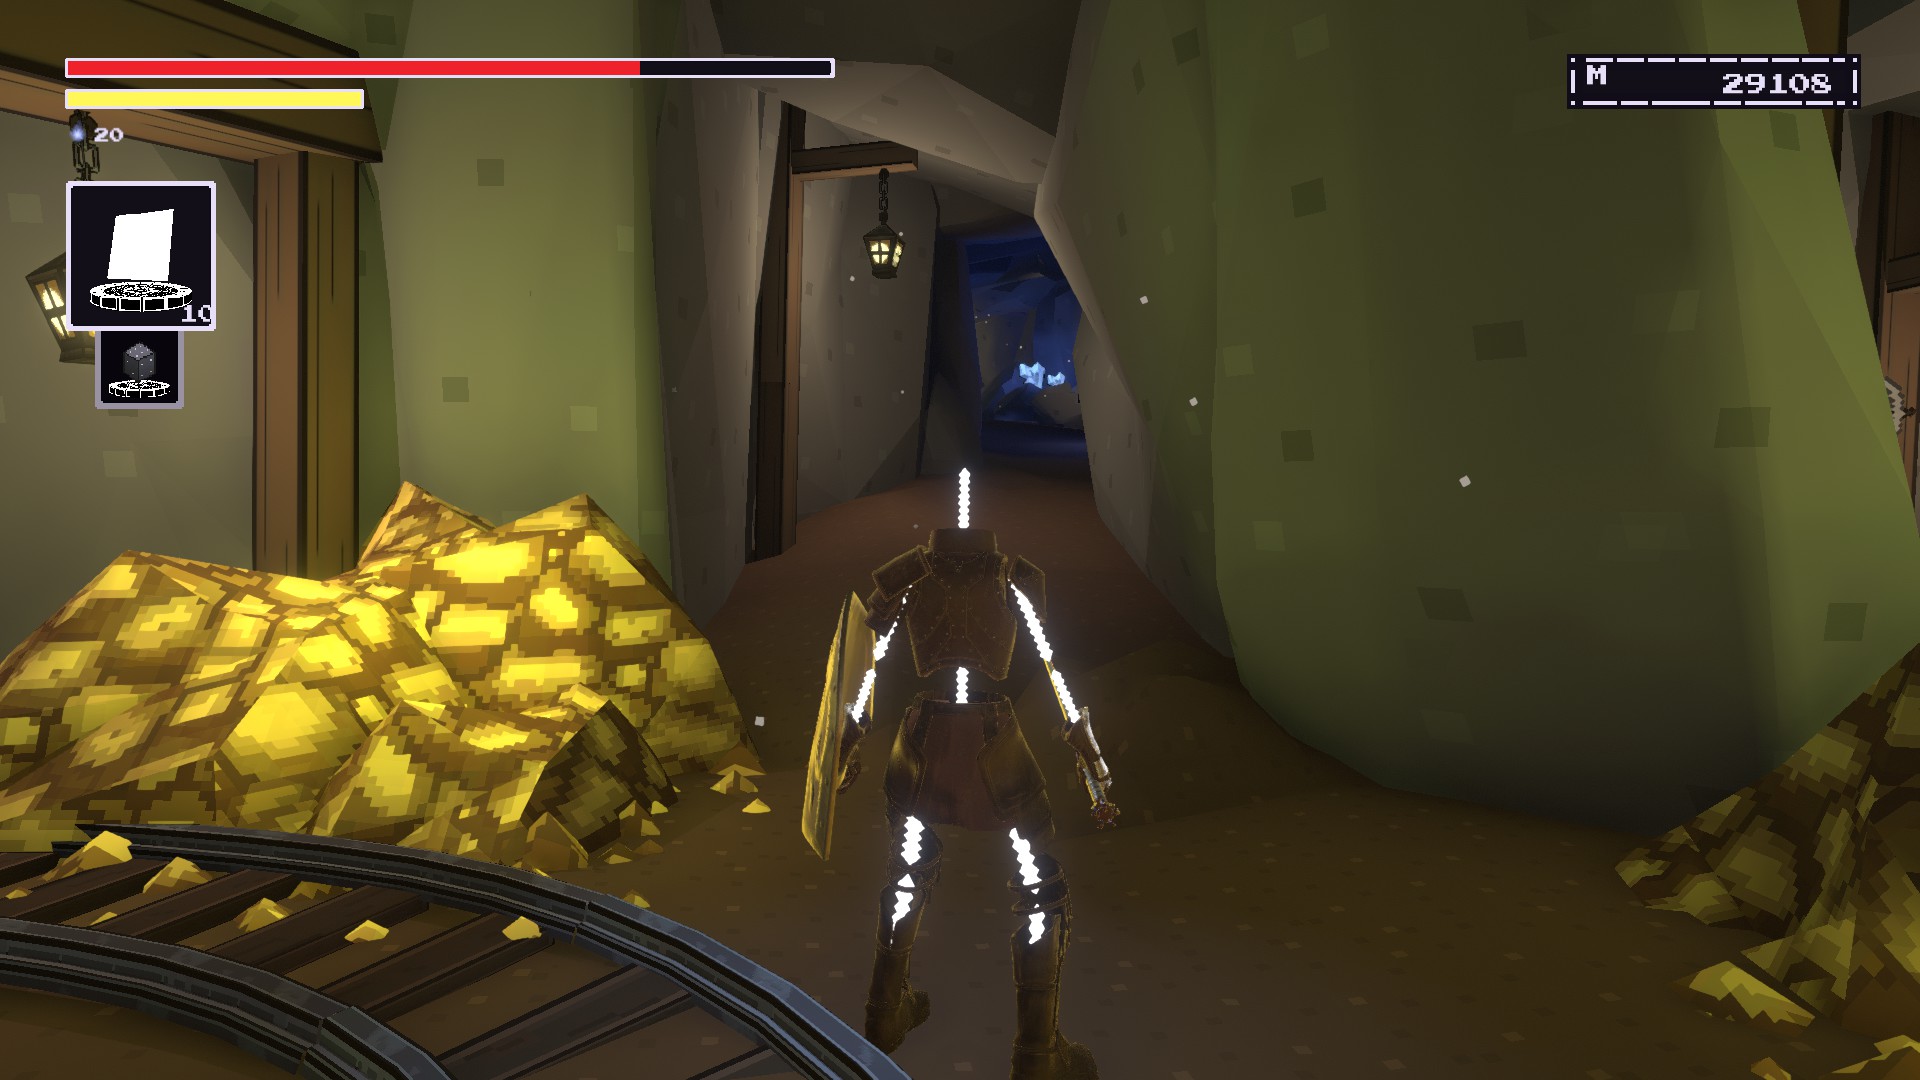
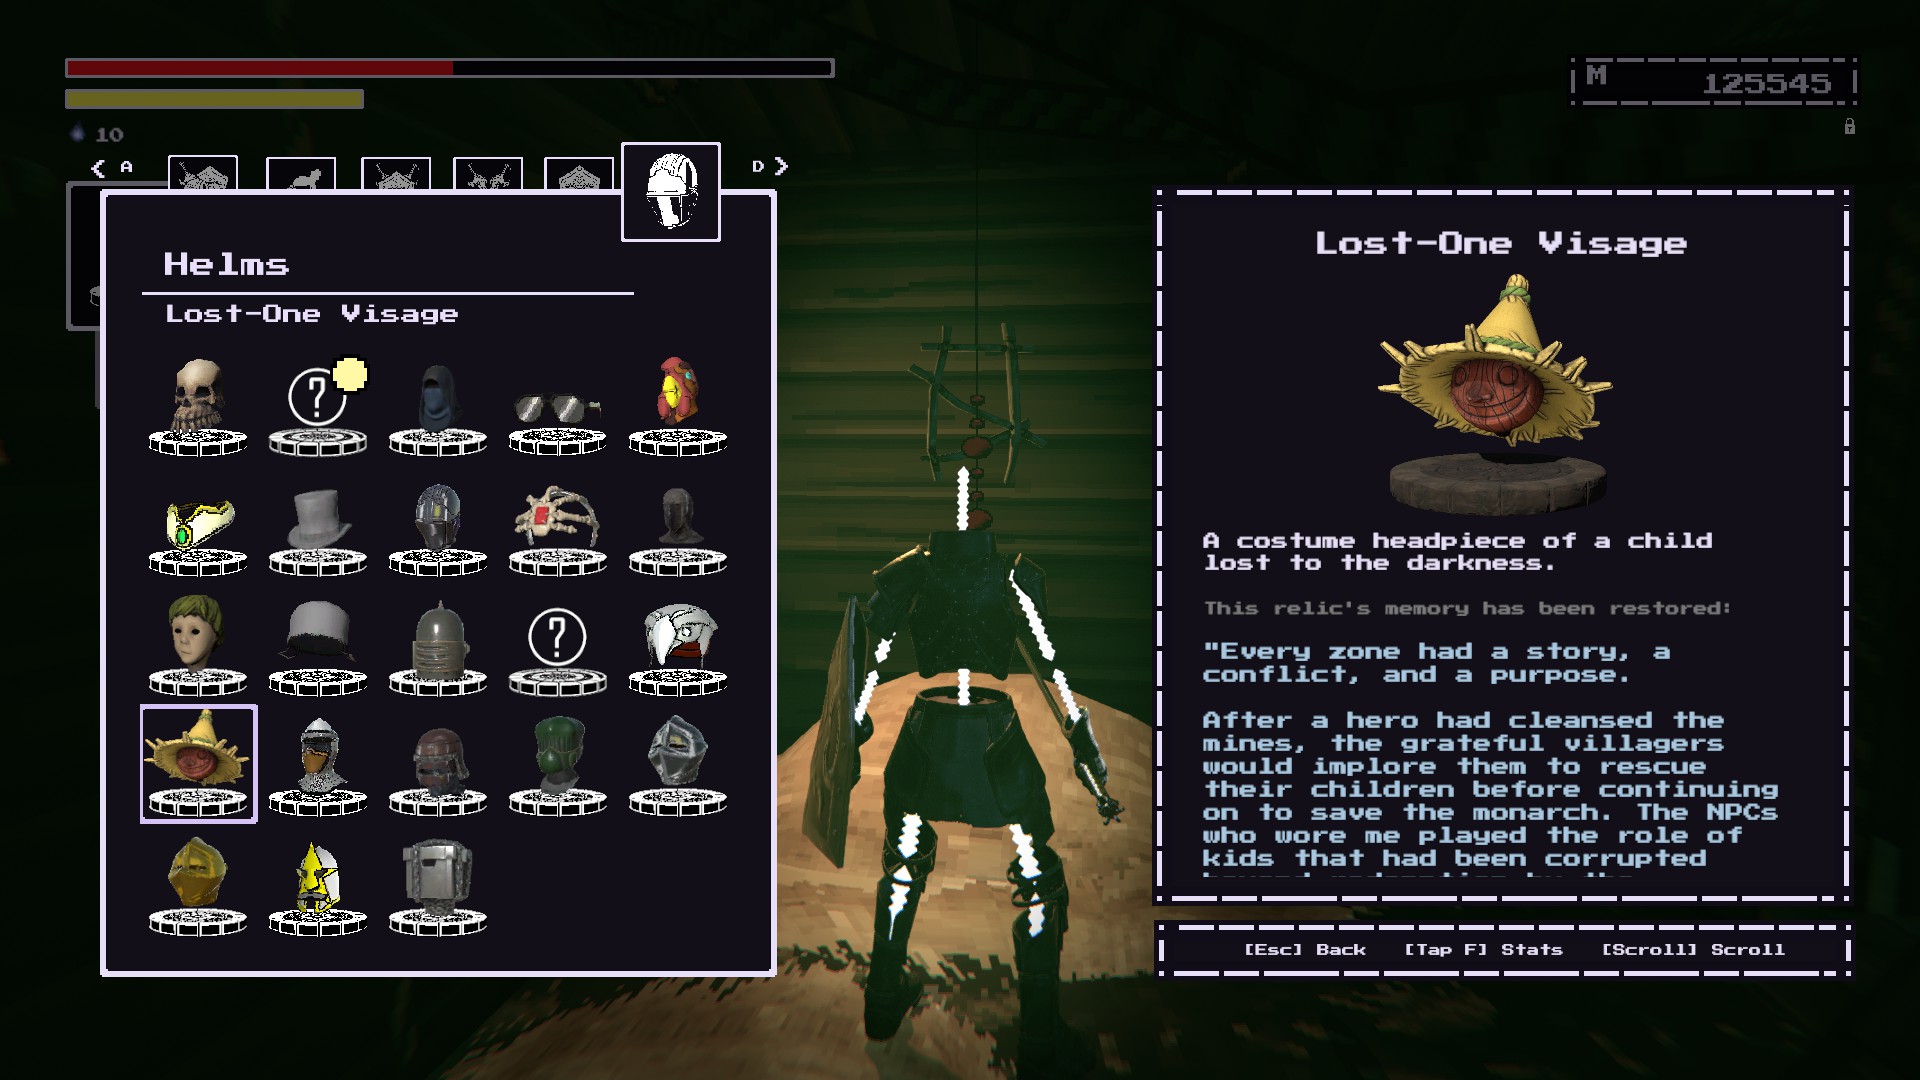
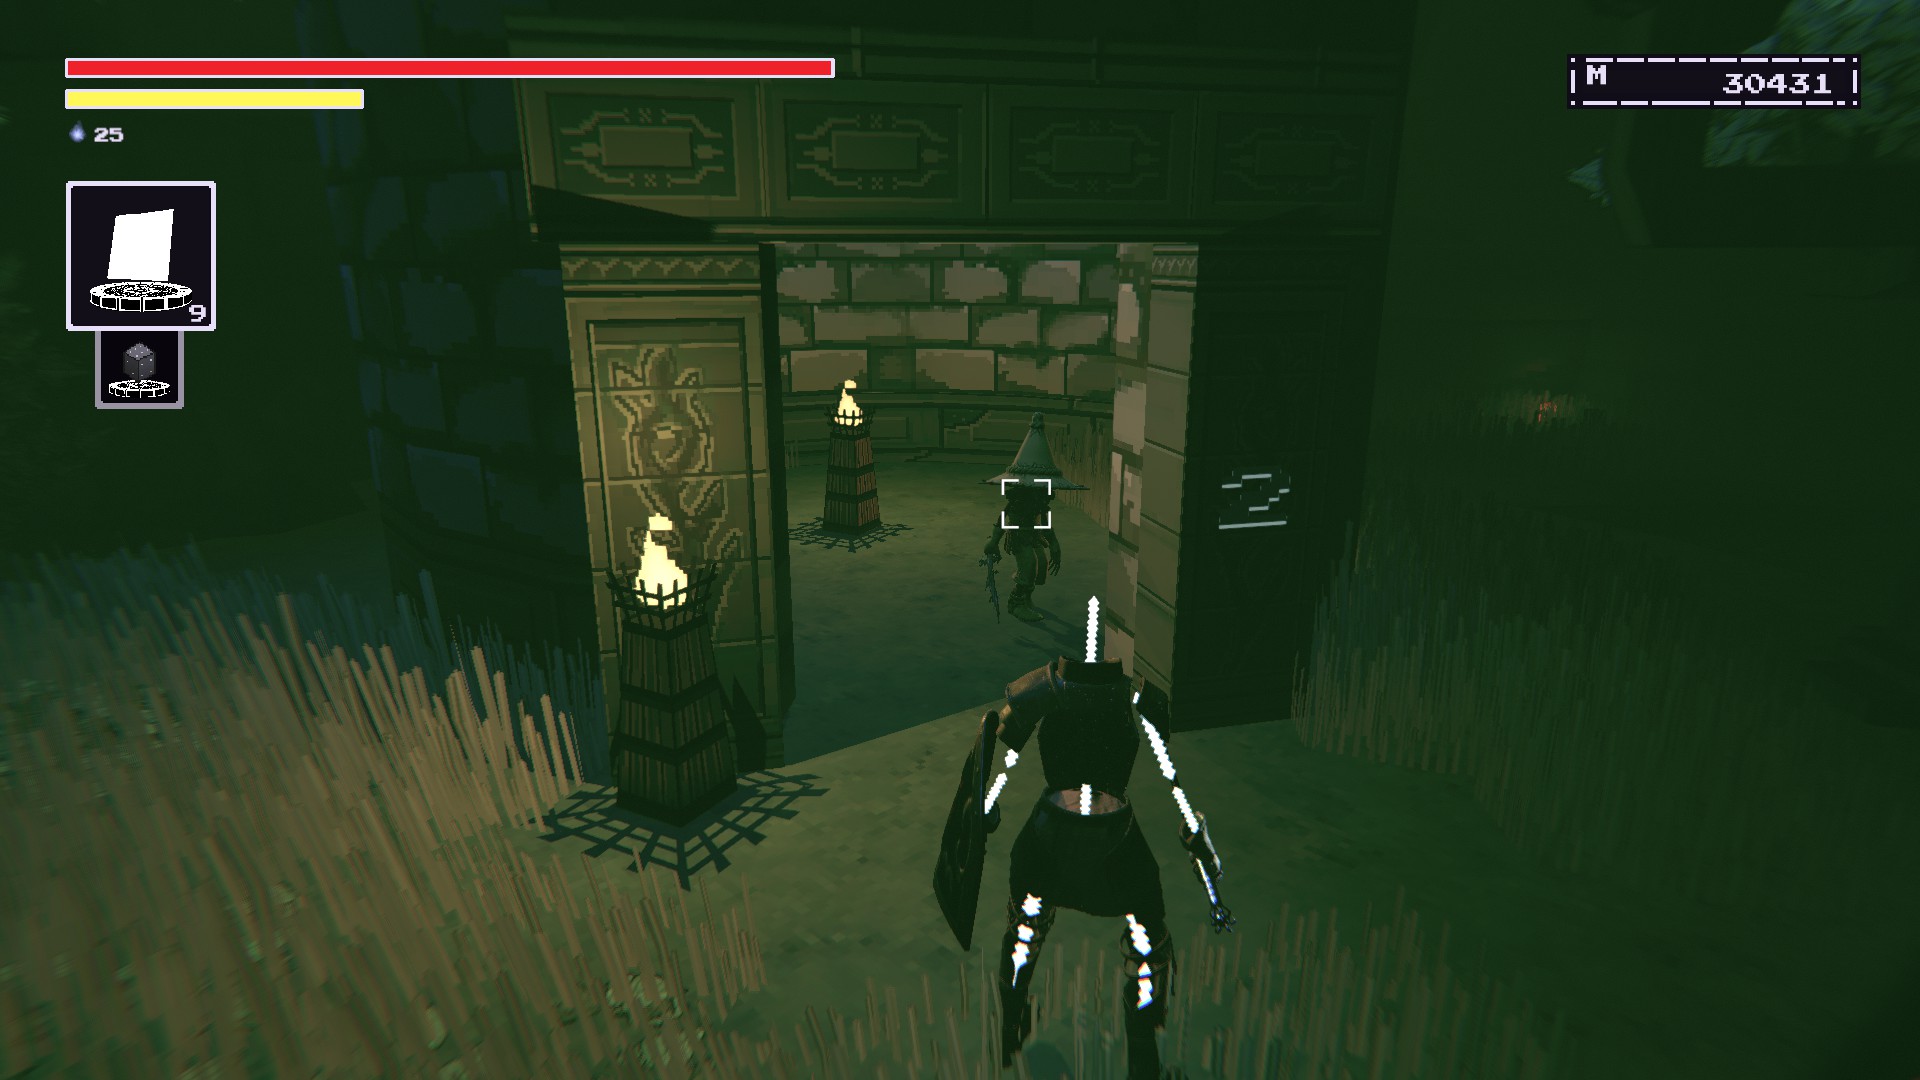
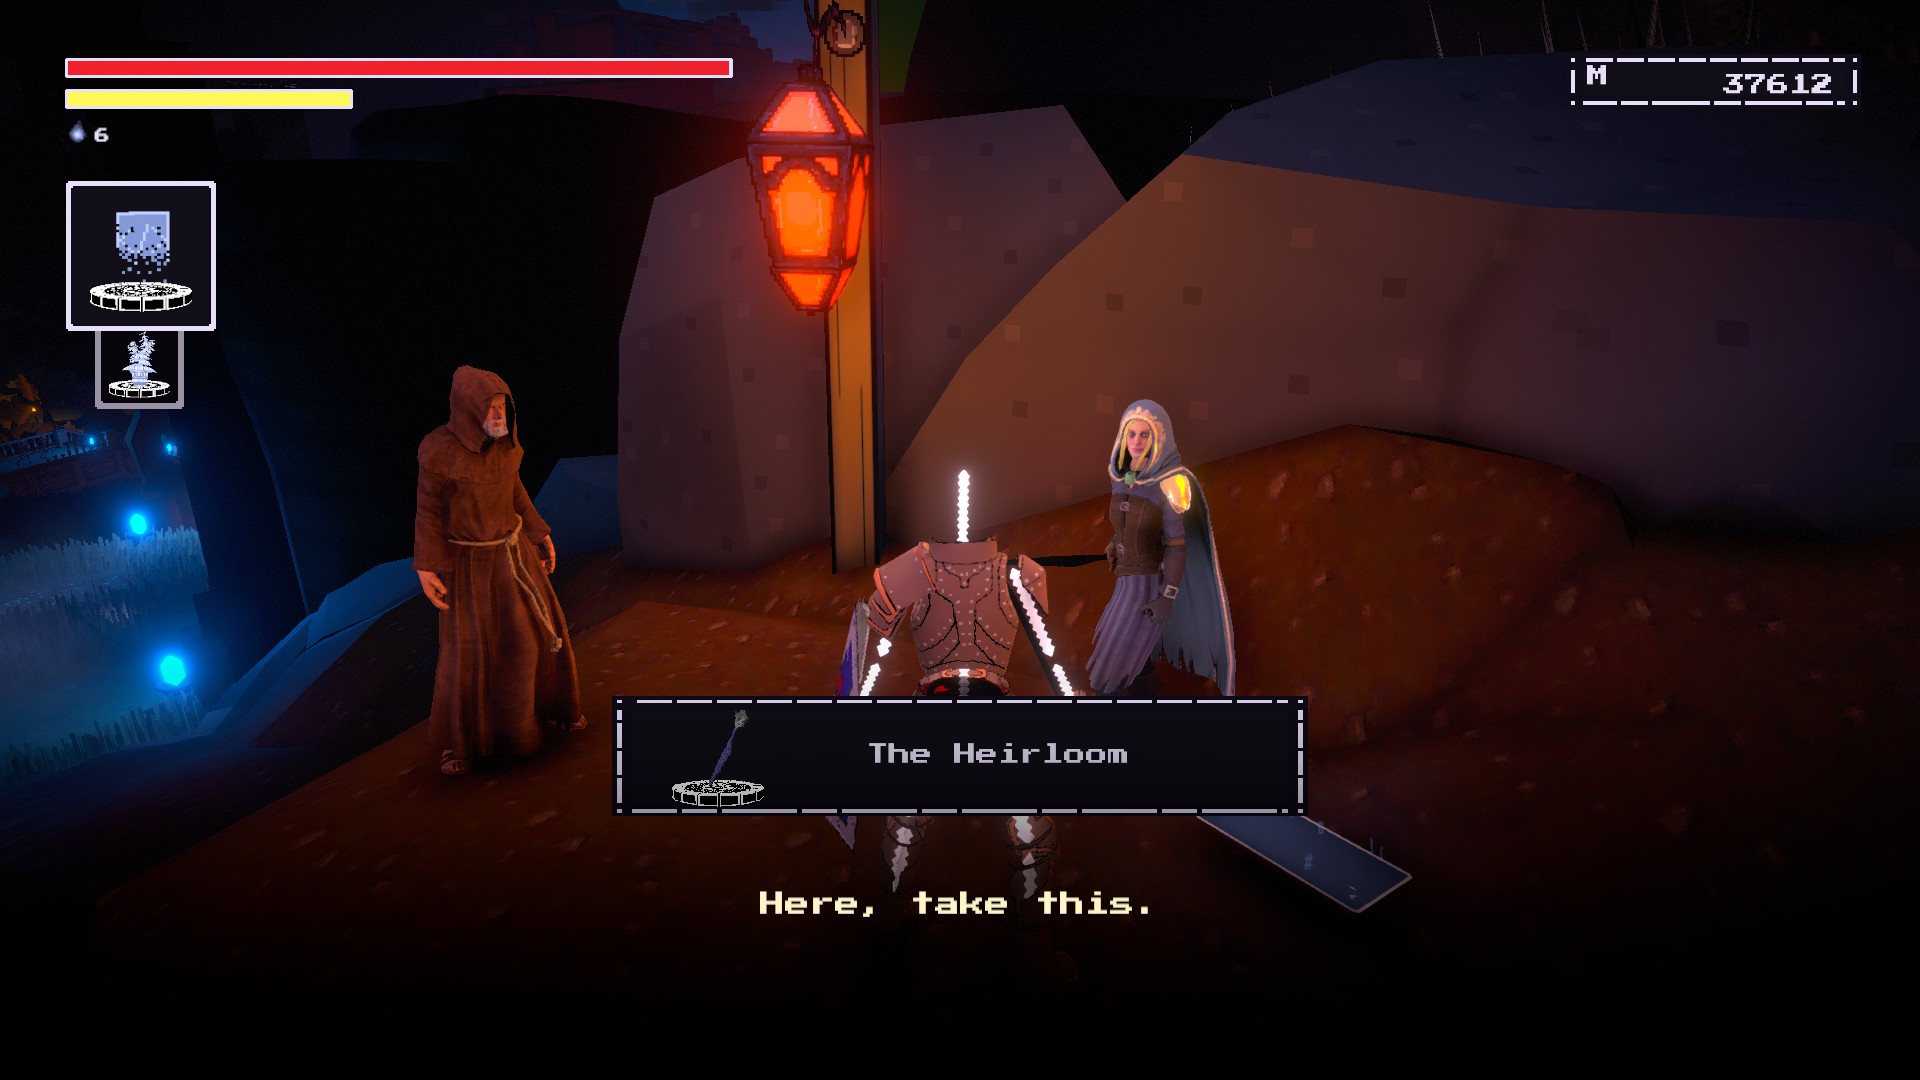
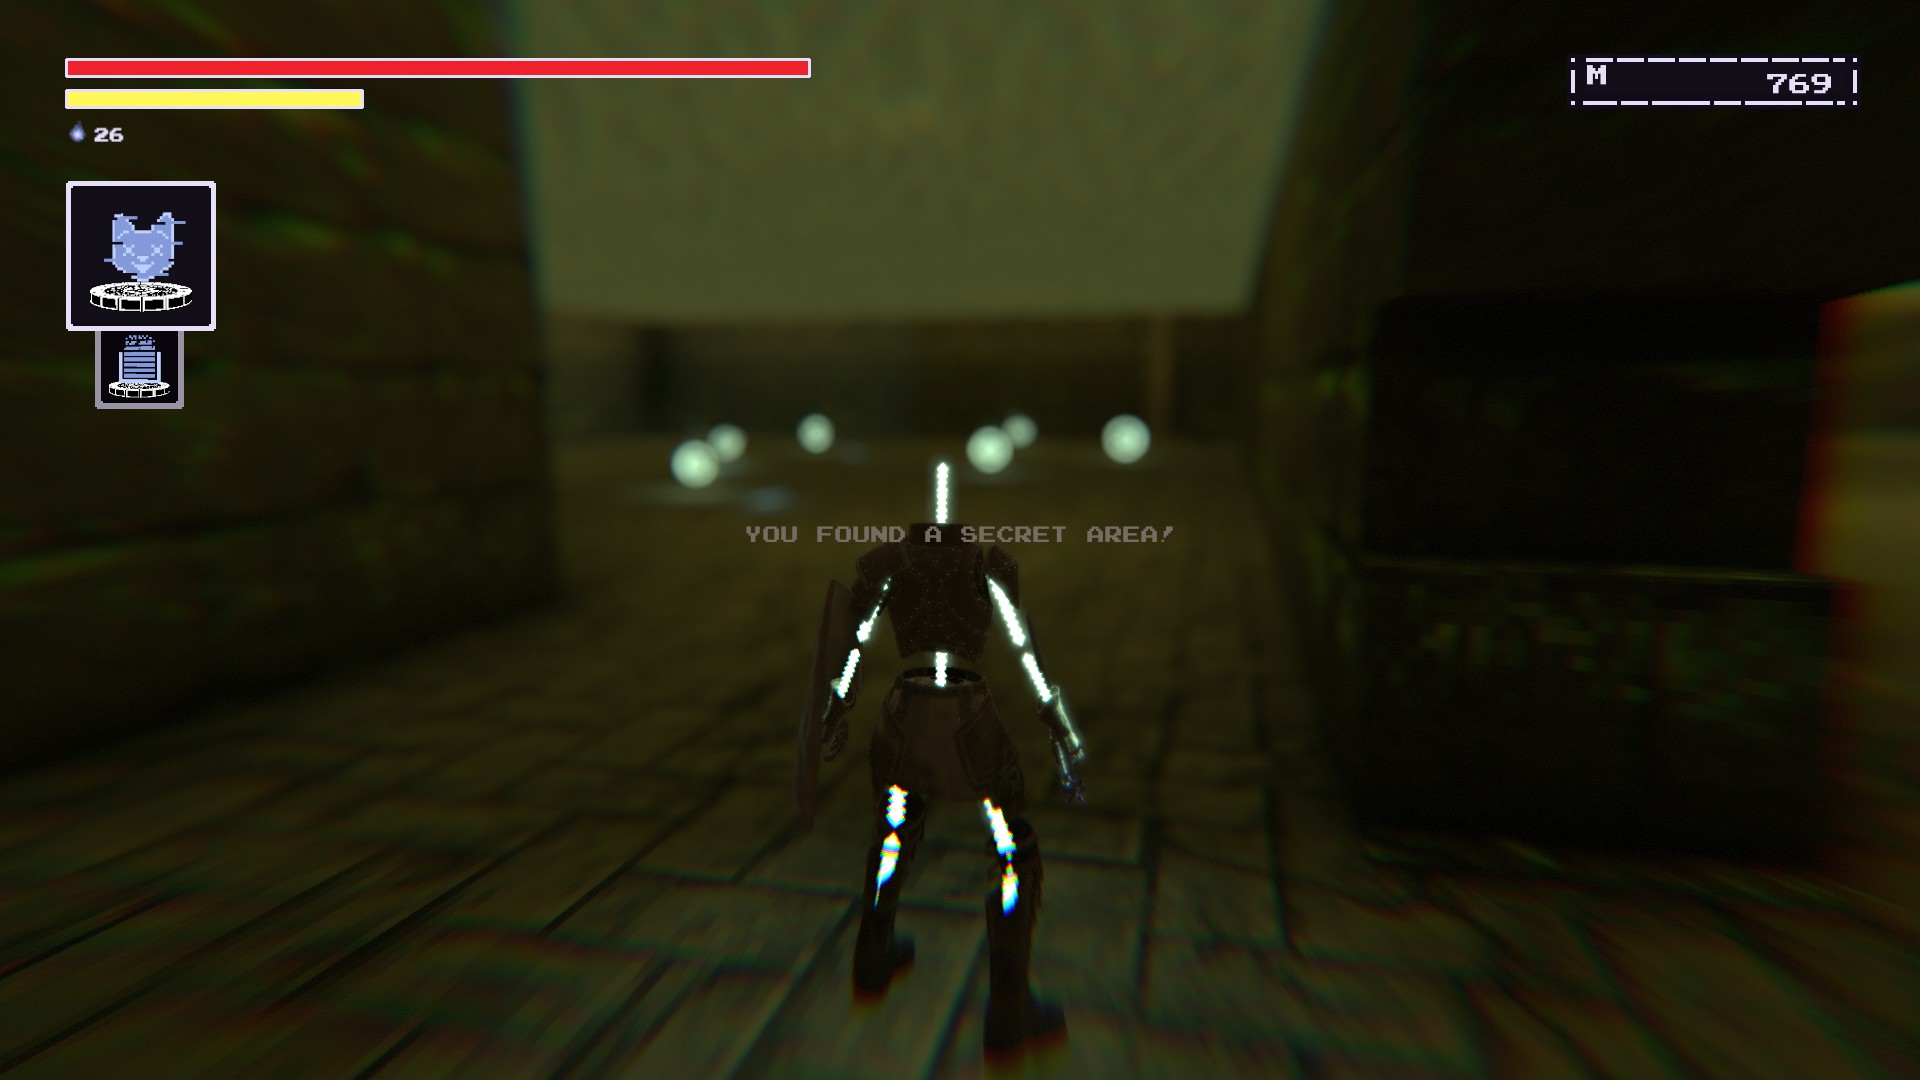
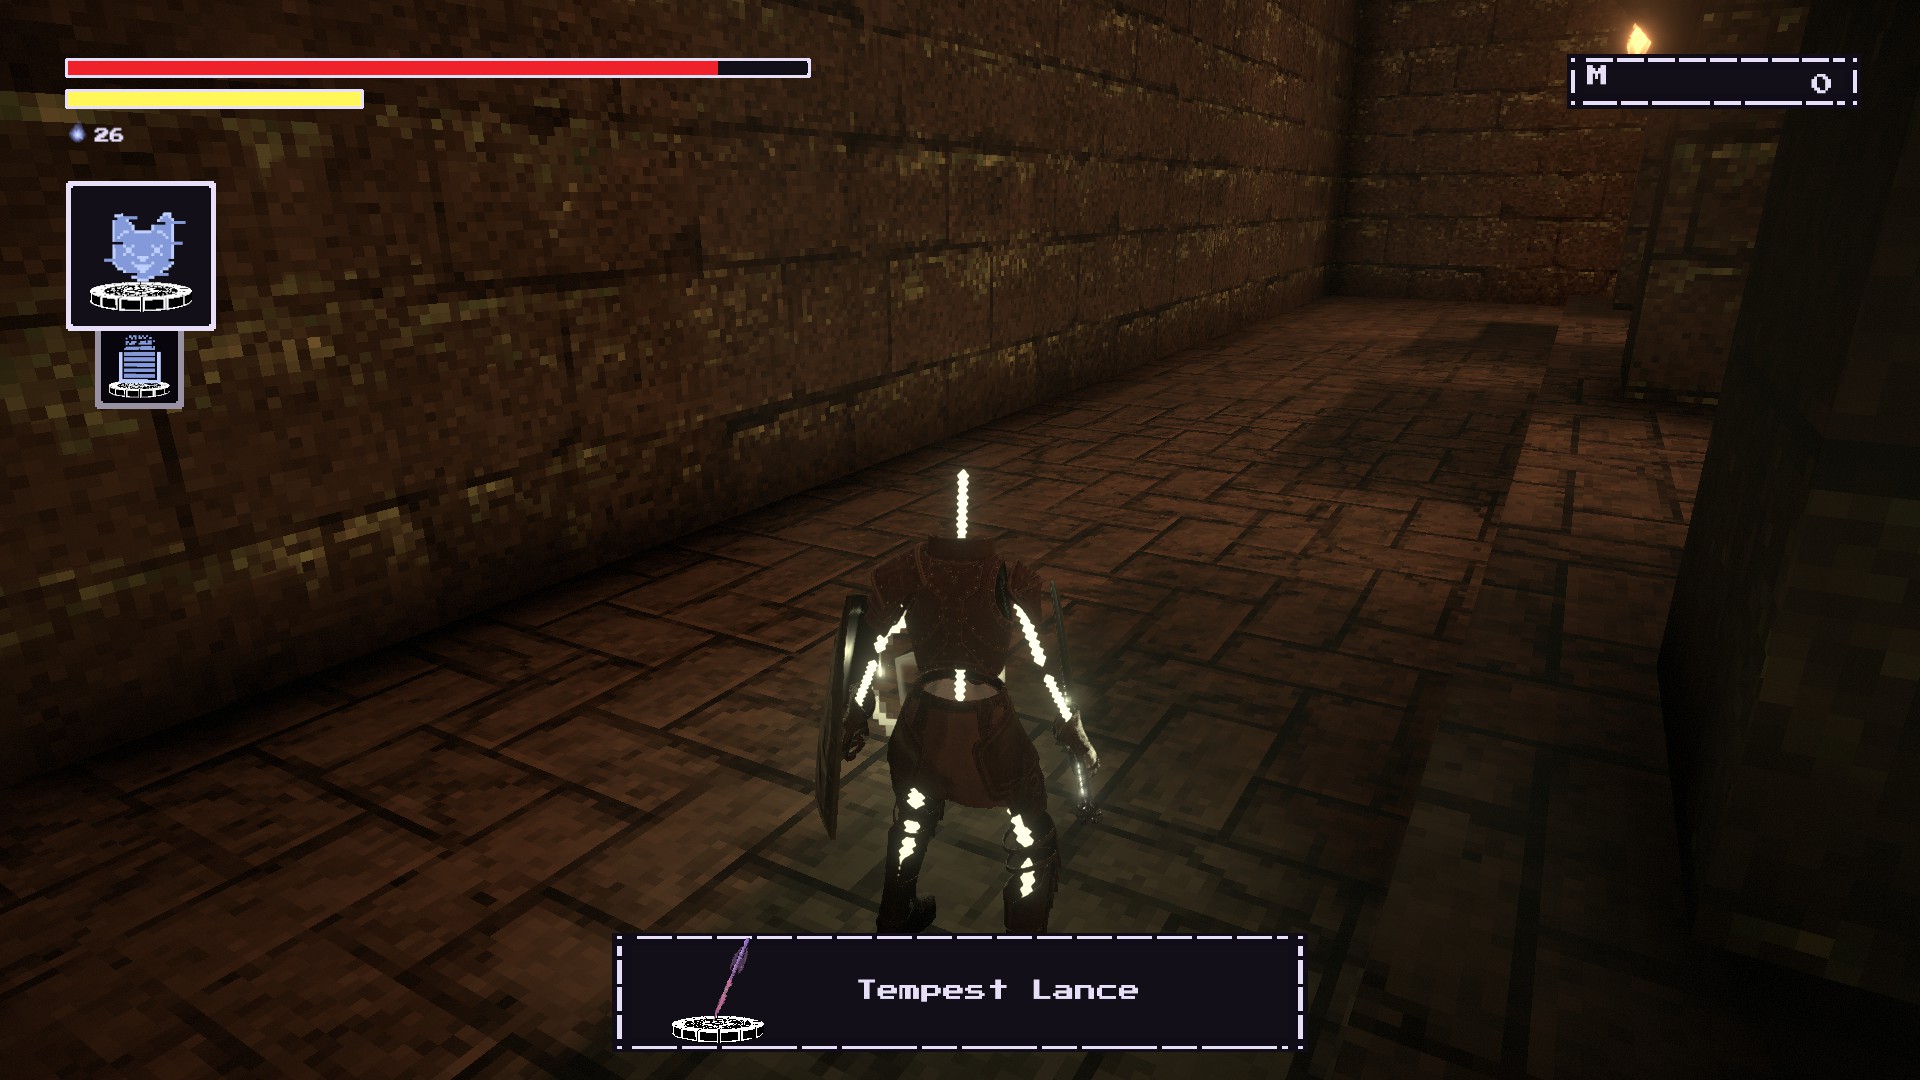
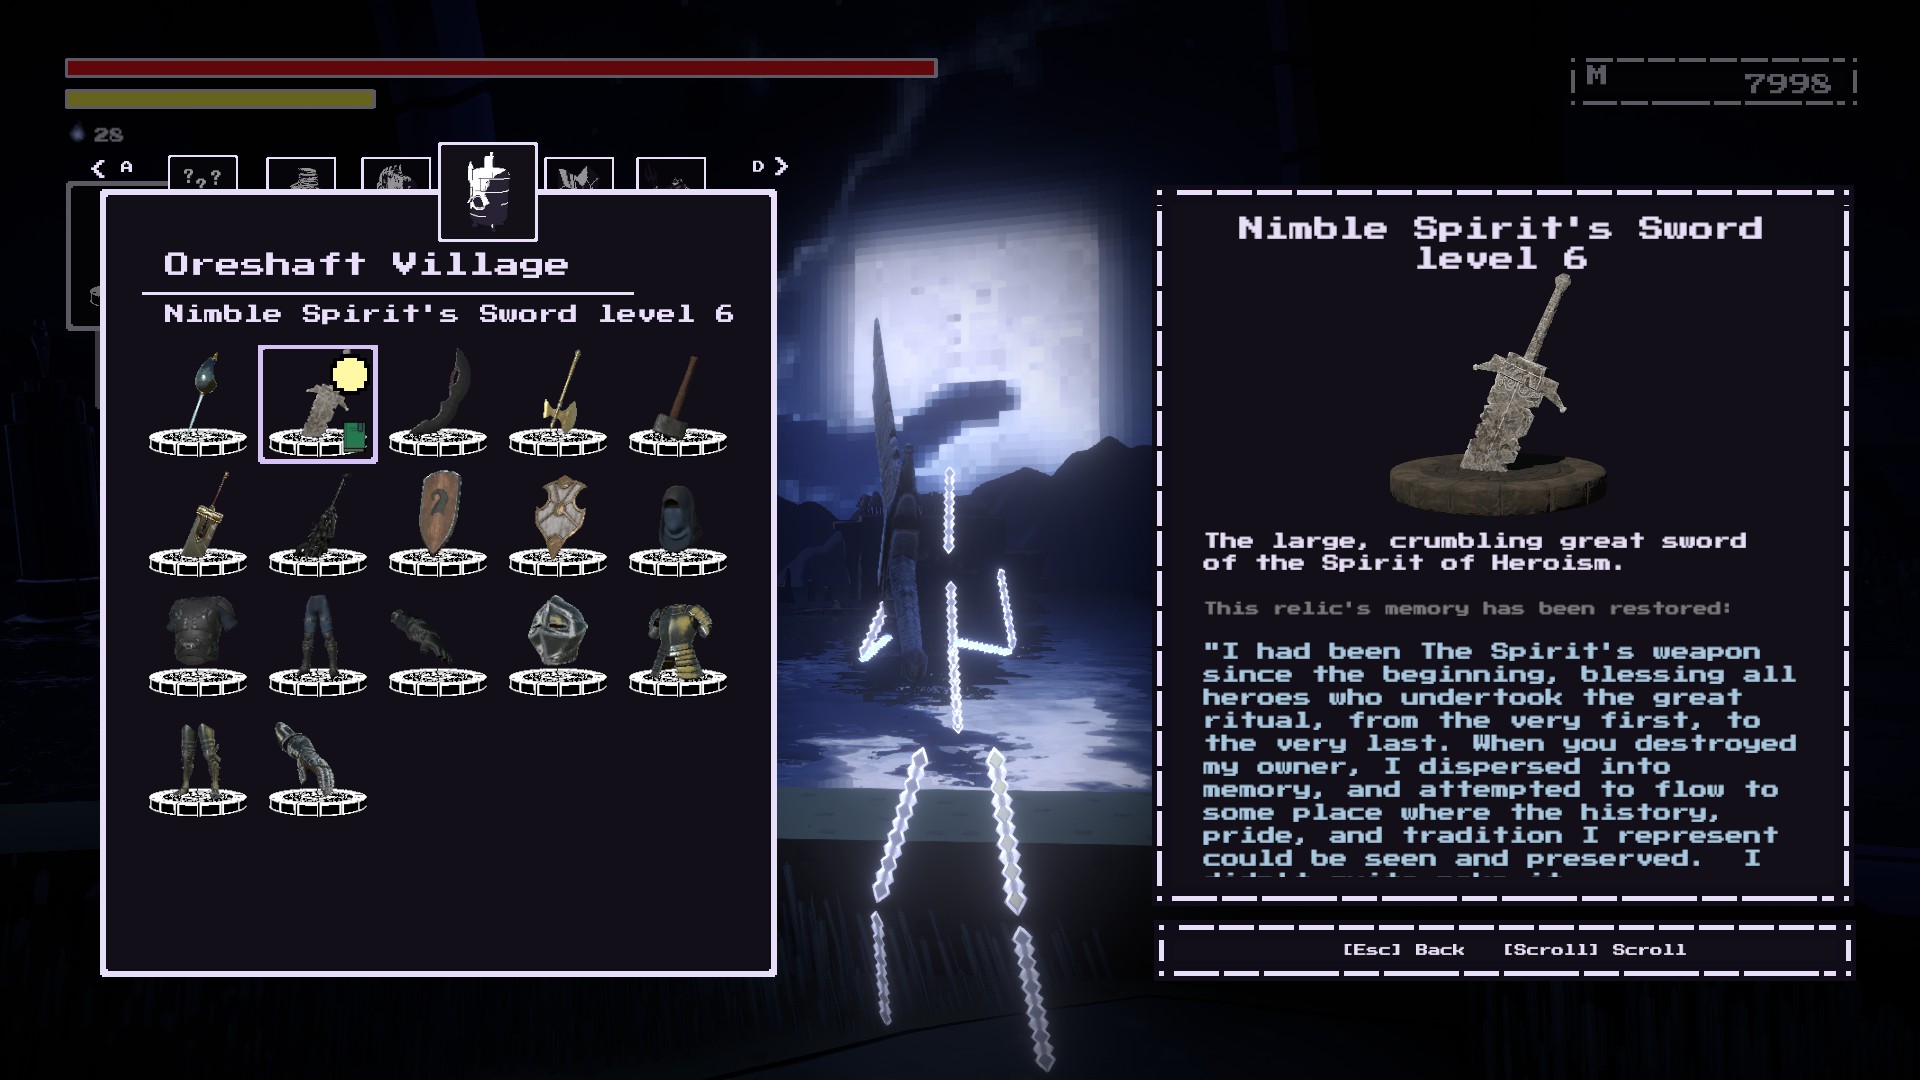
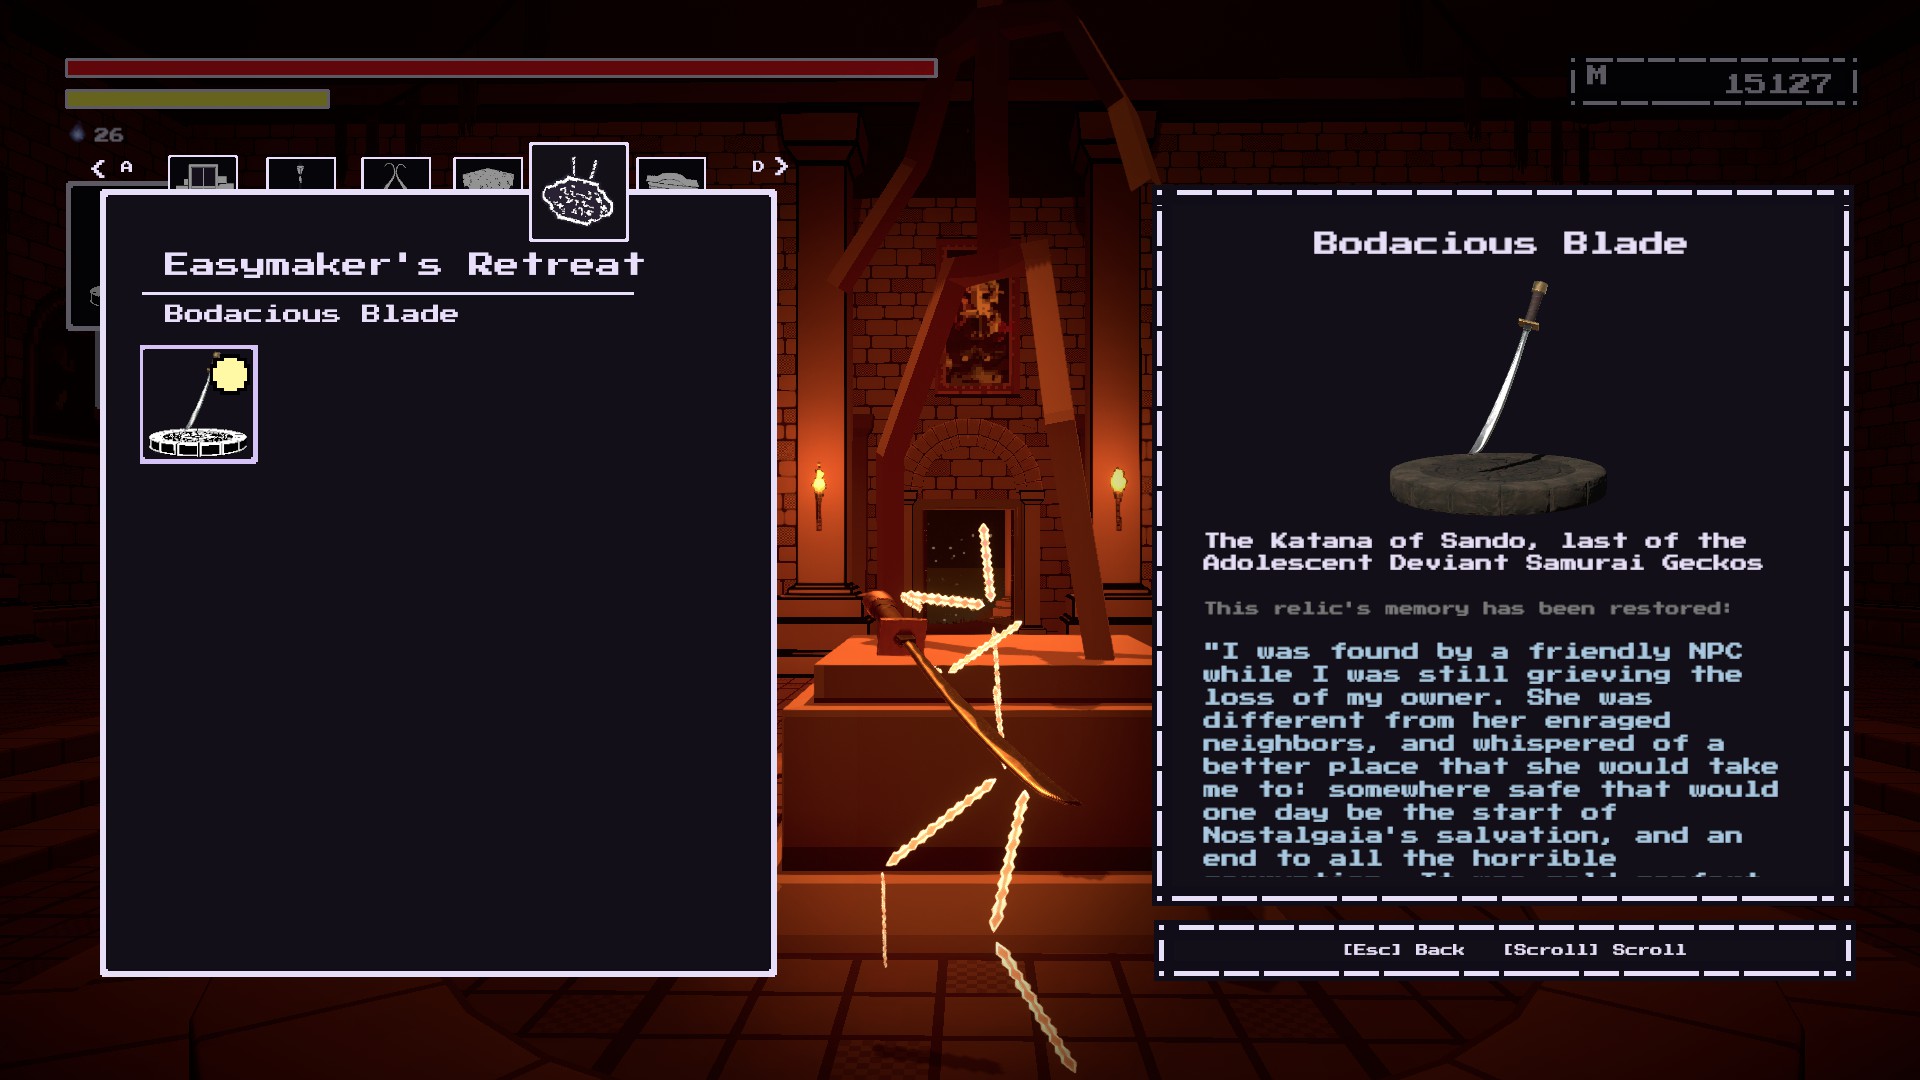
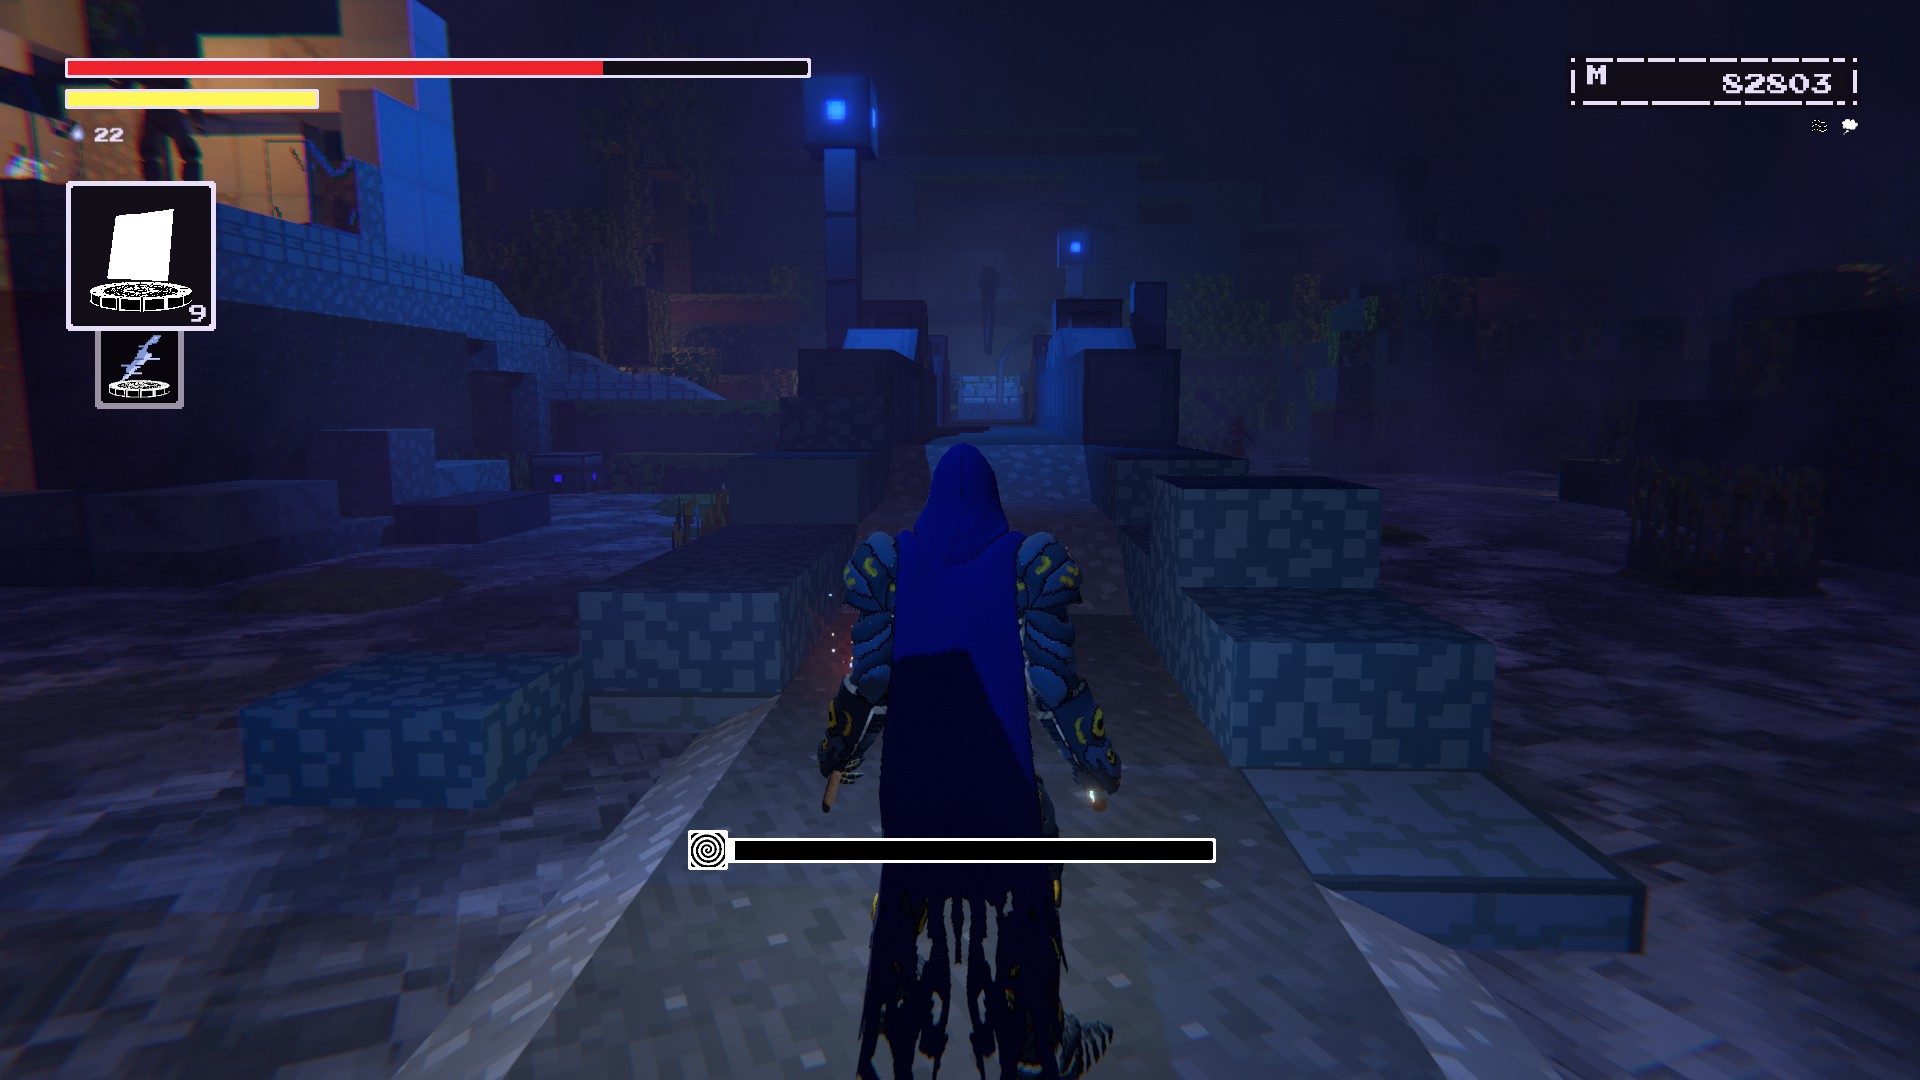
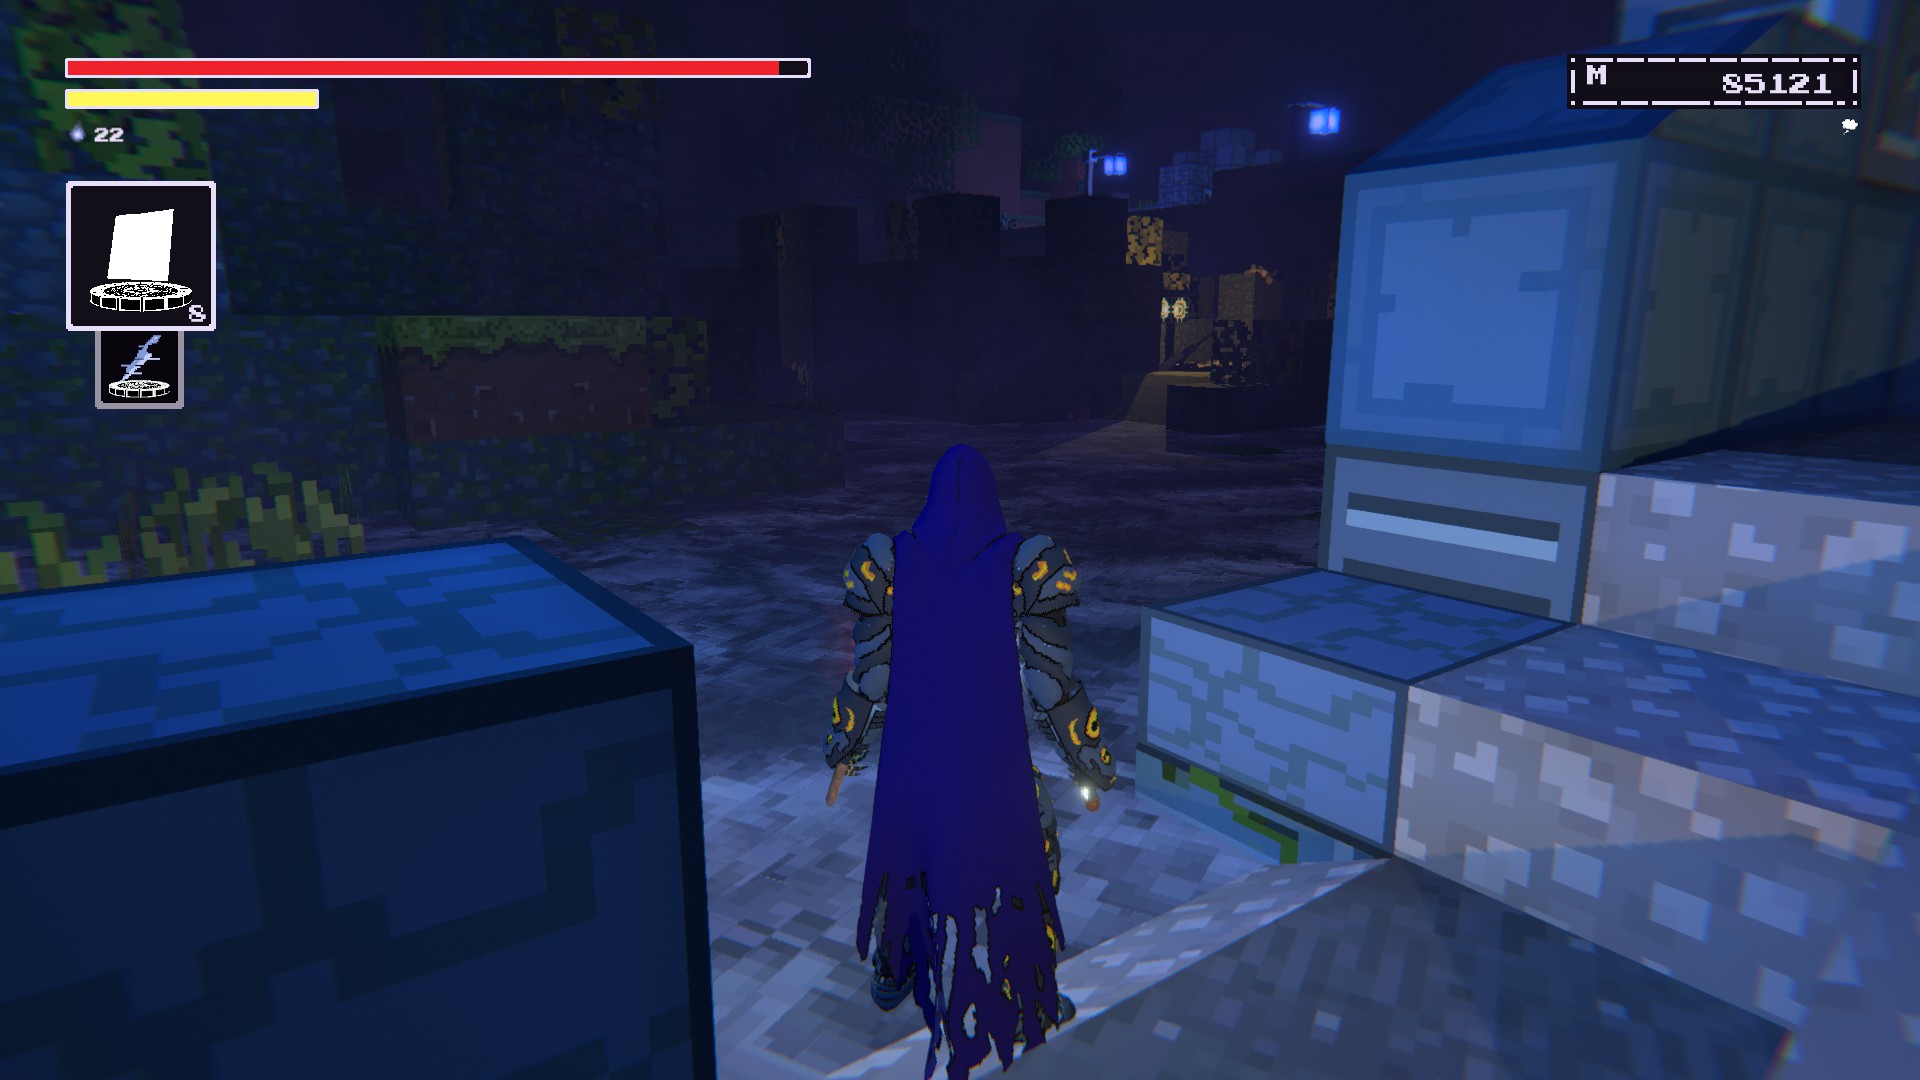
1. Oreshaft Village (Right before the Depths entrance)

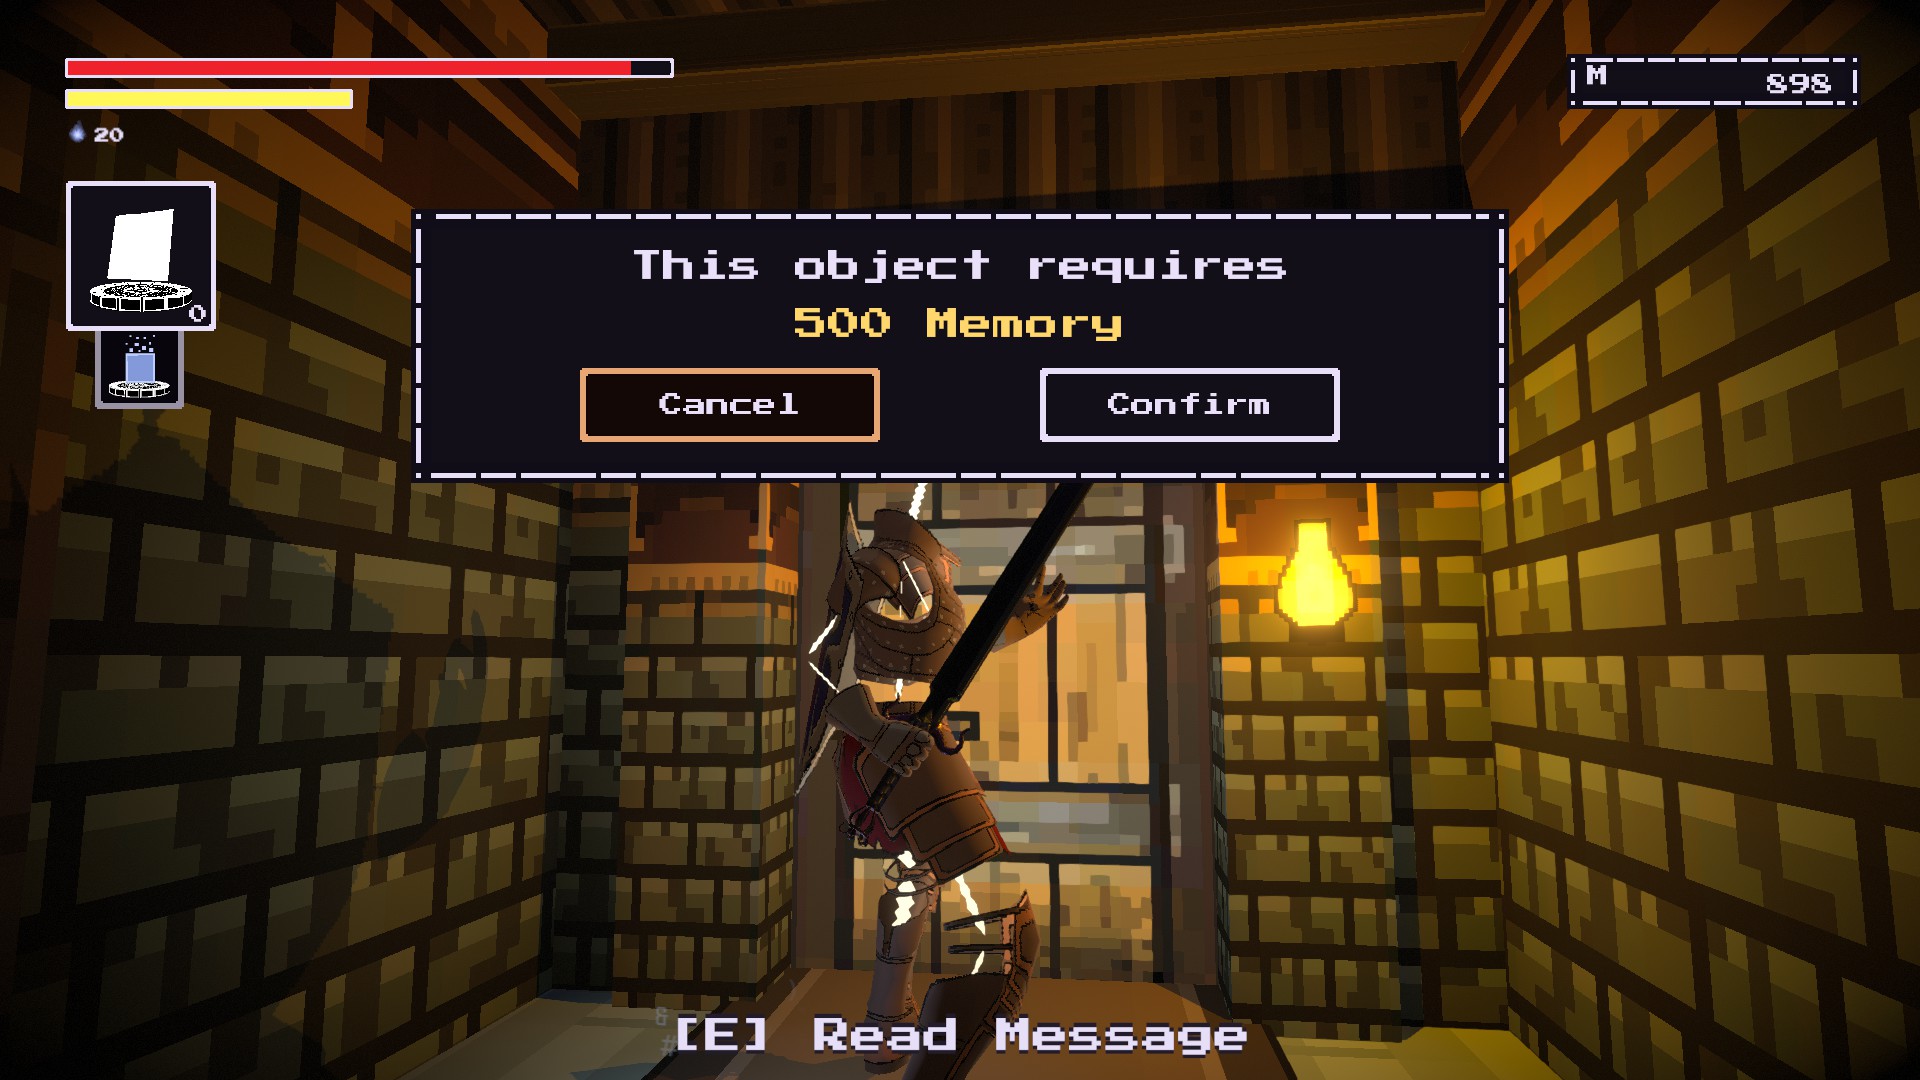
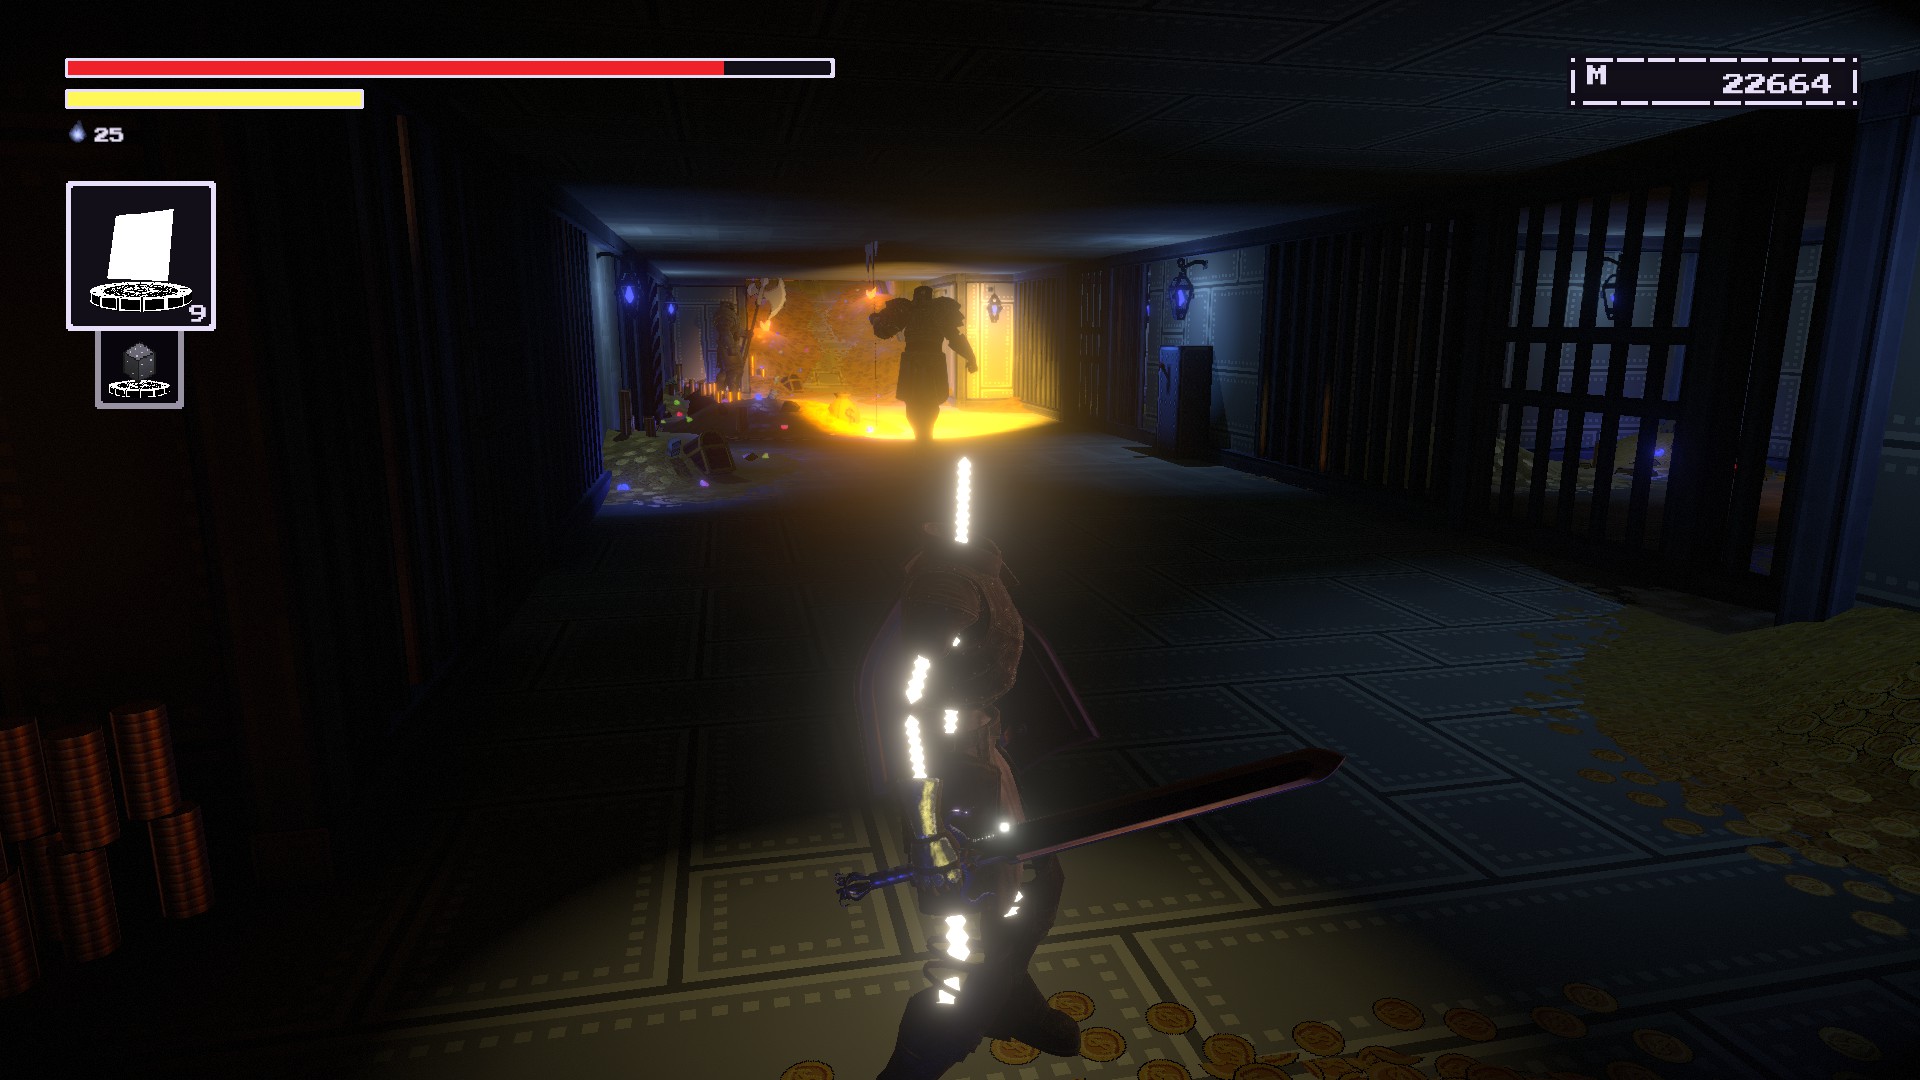
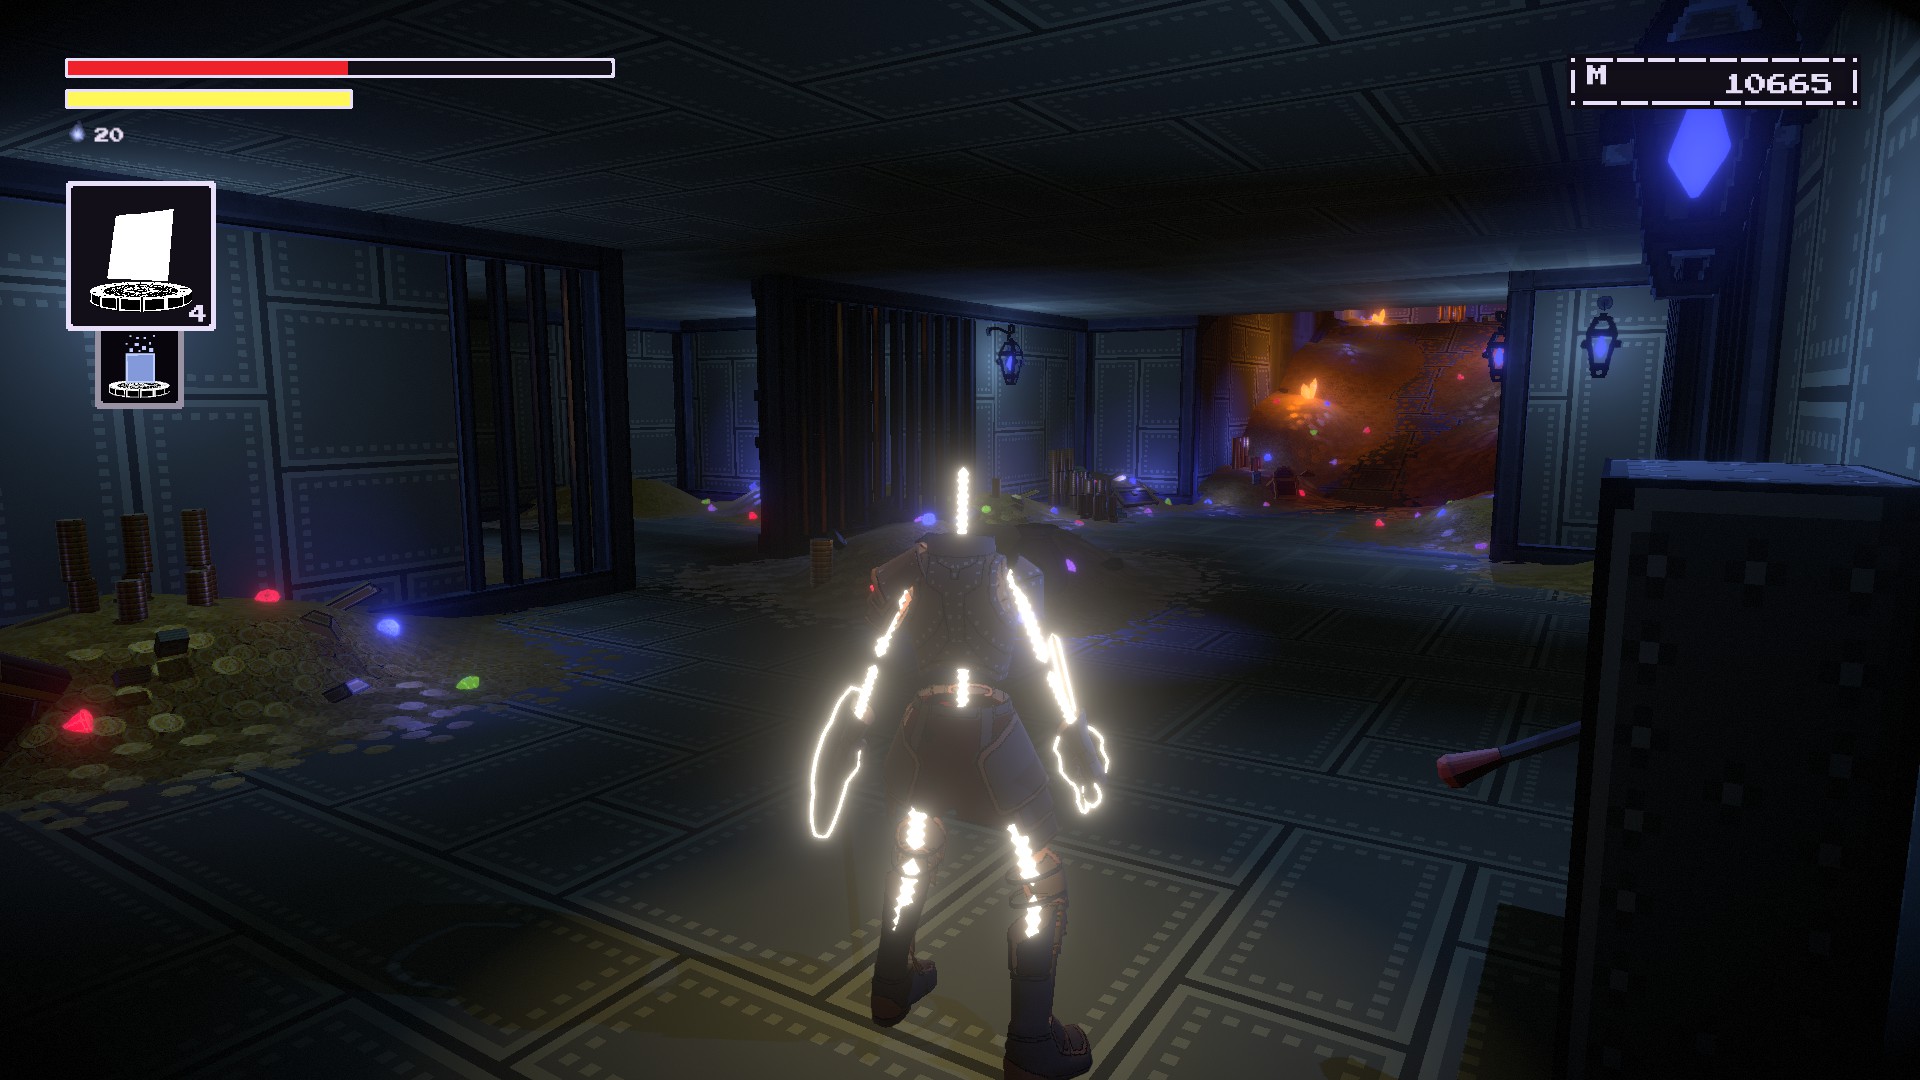
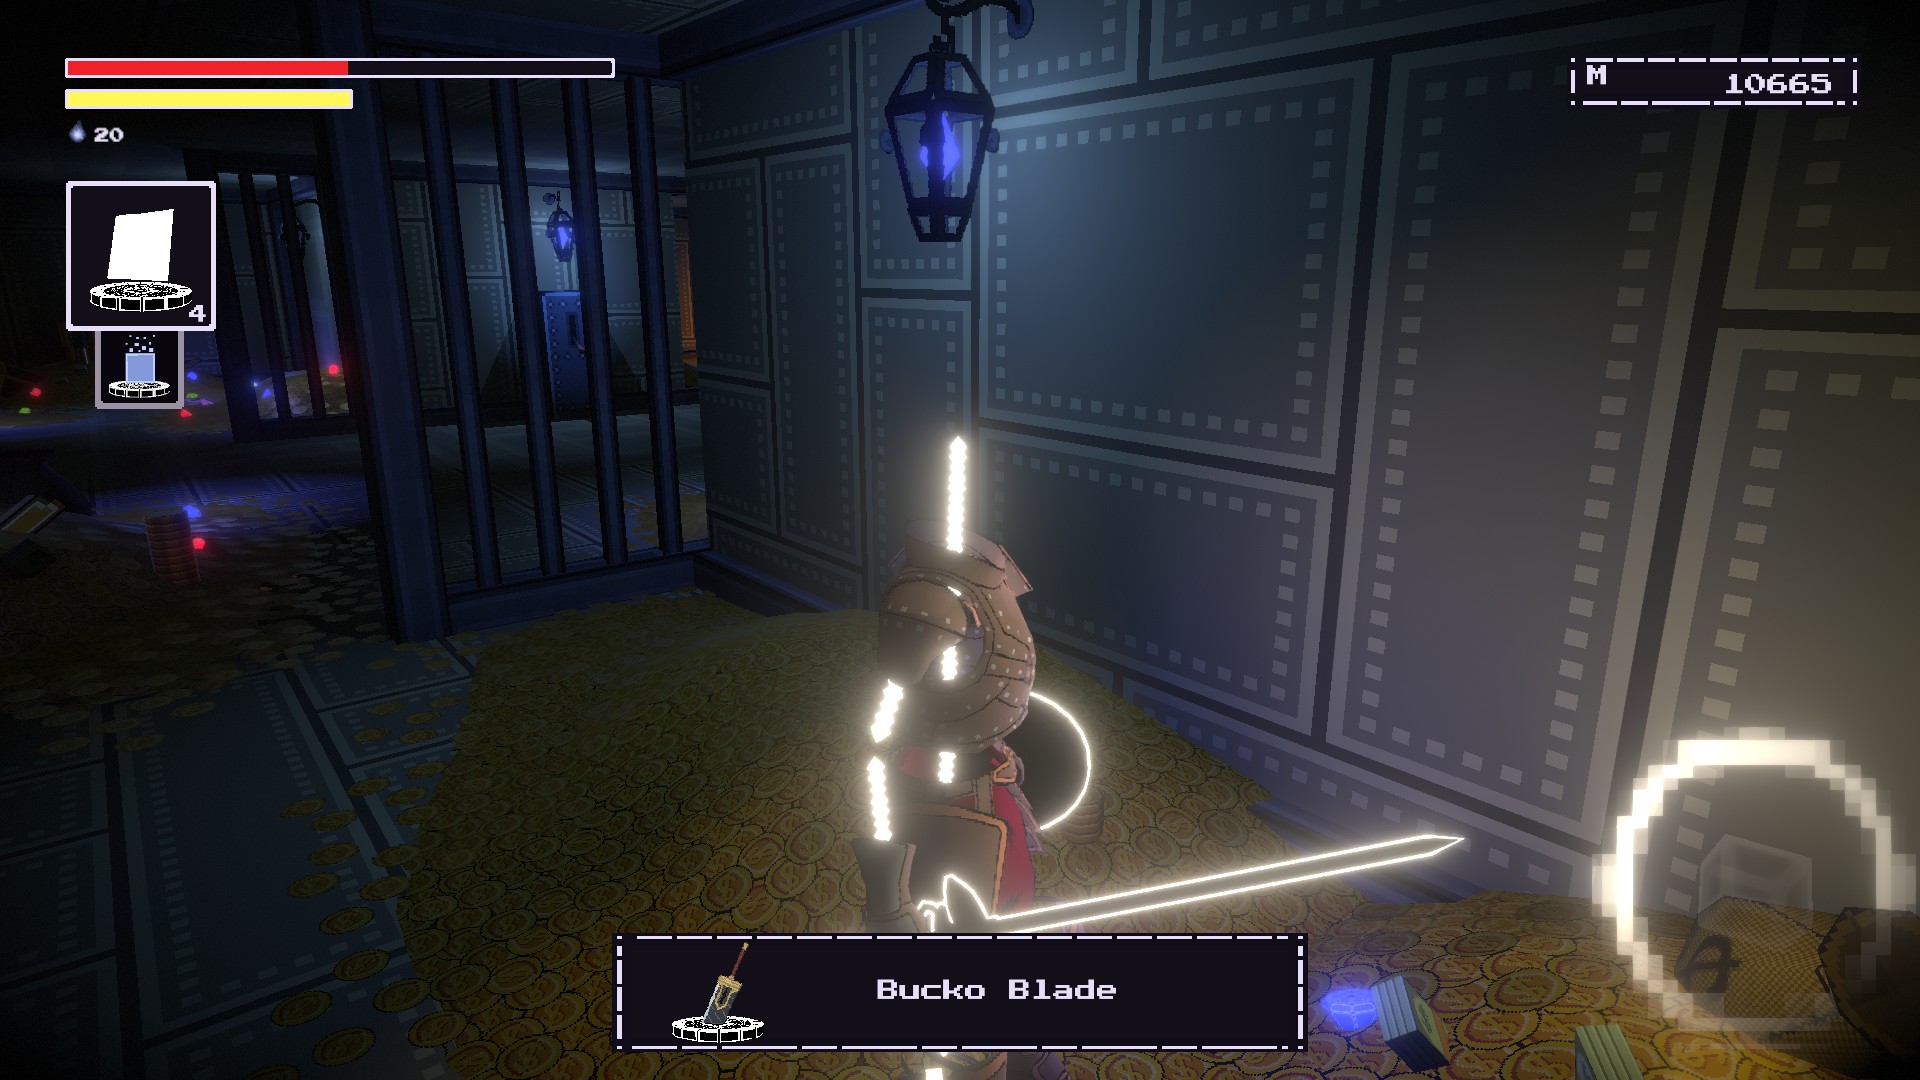
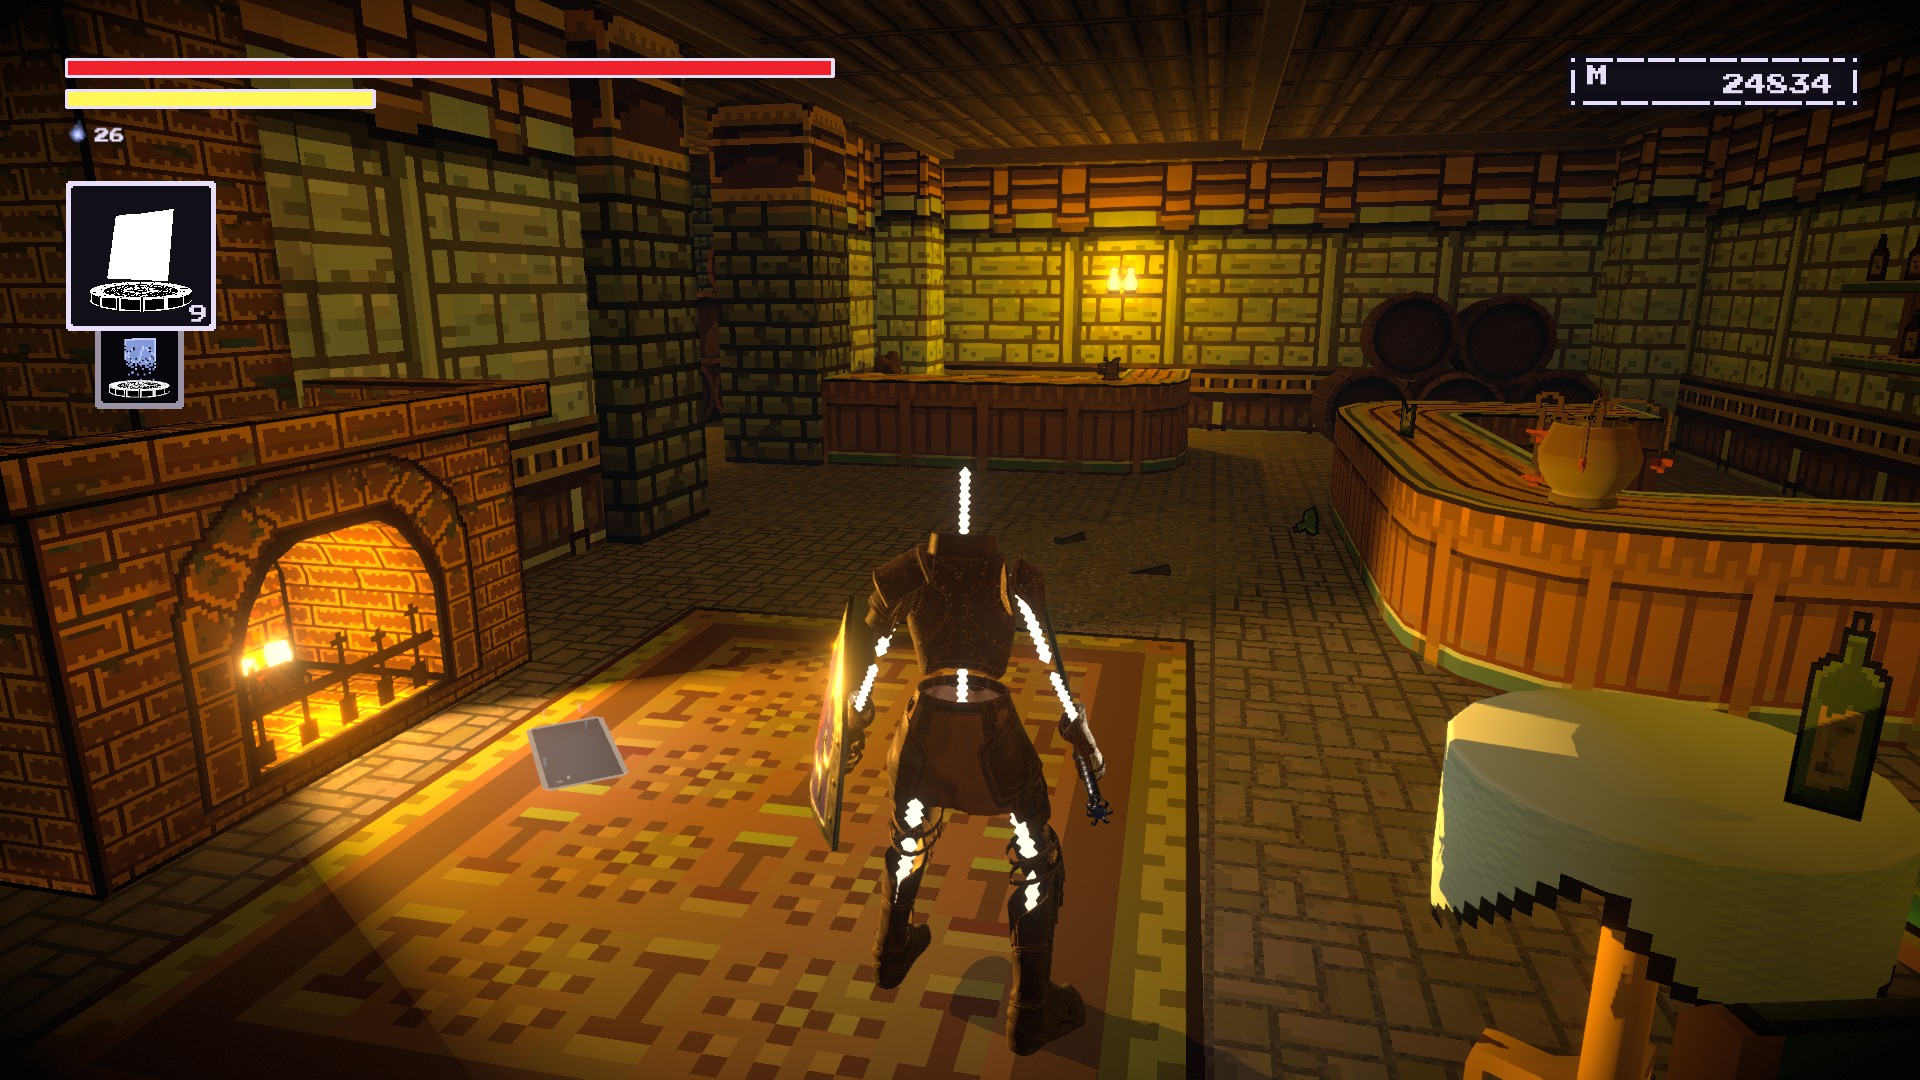
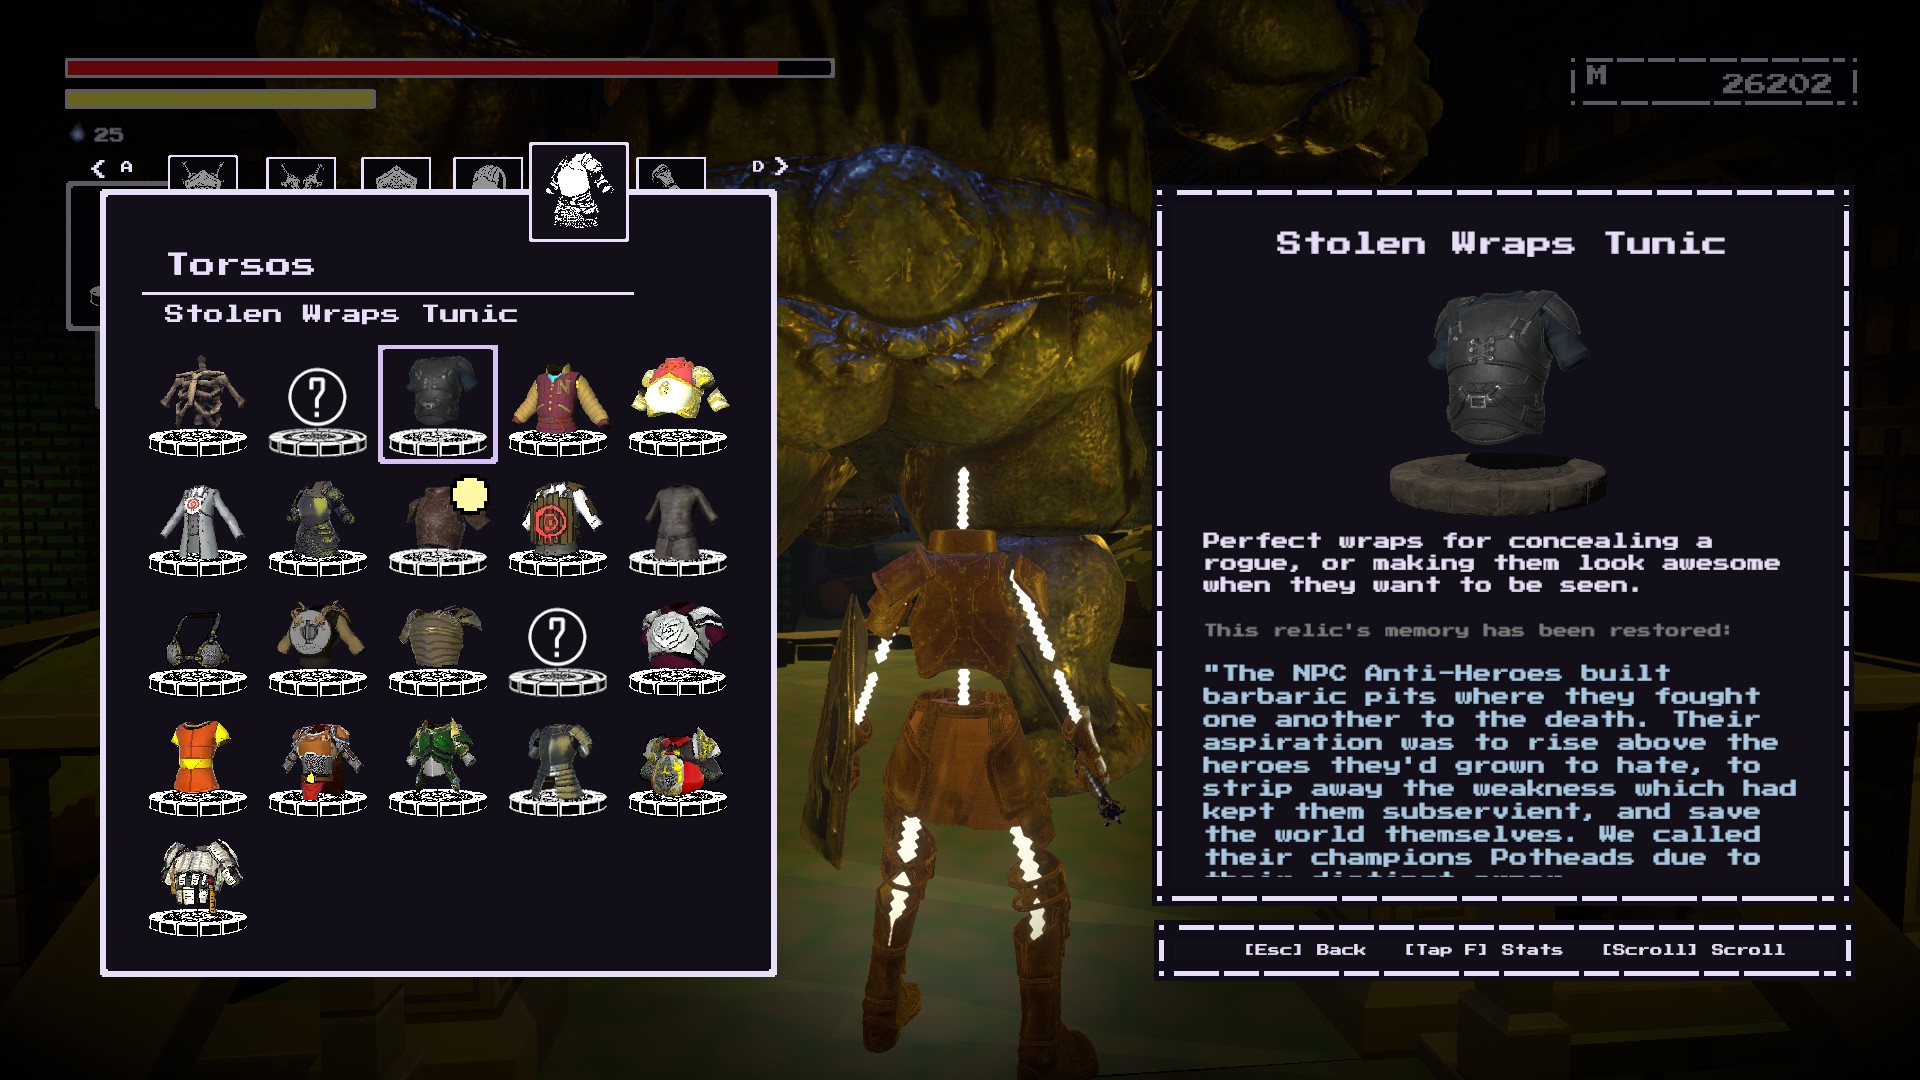
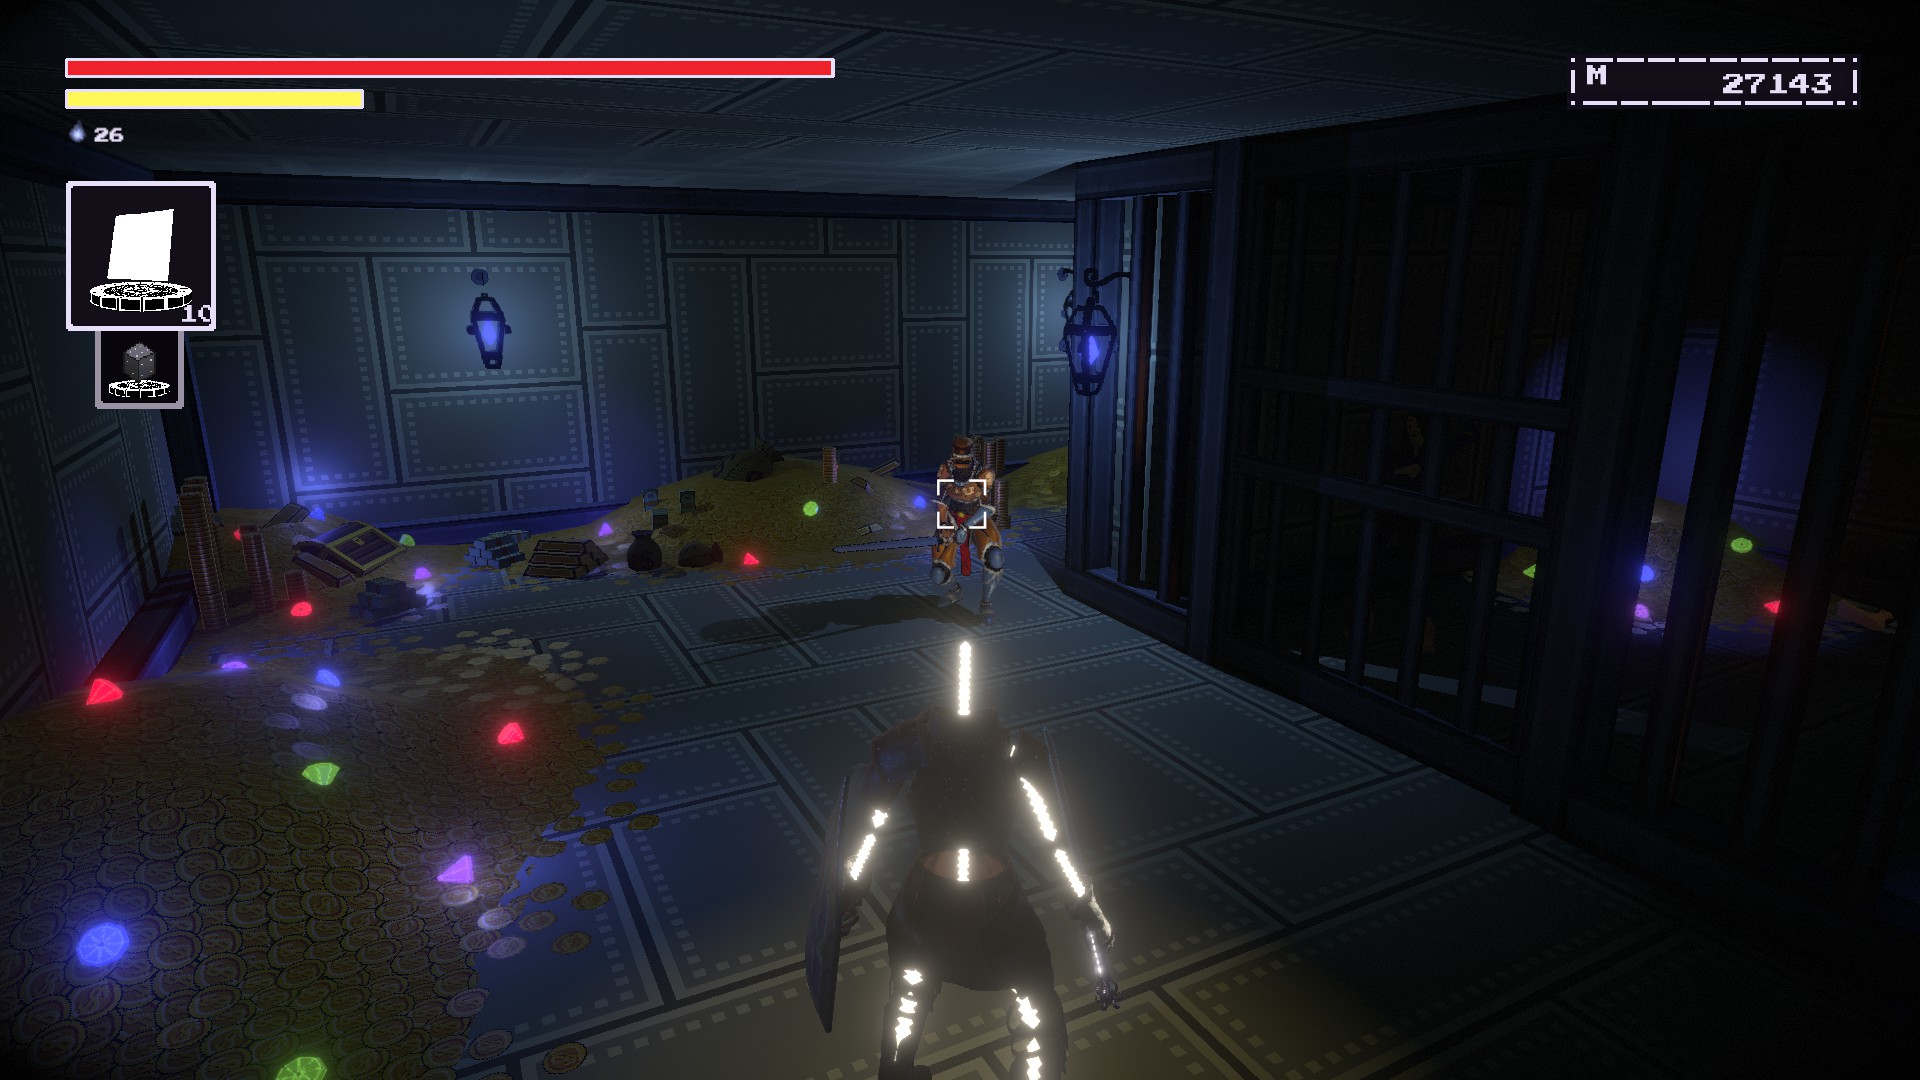
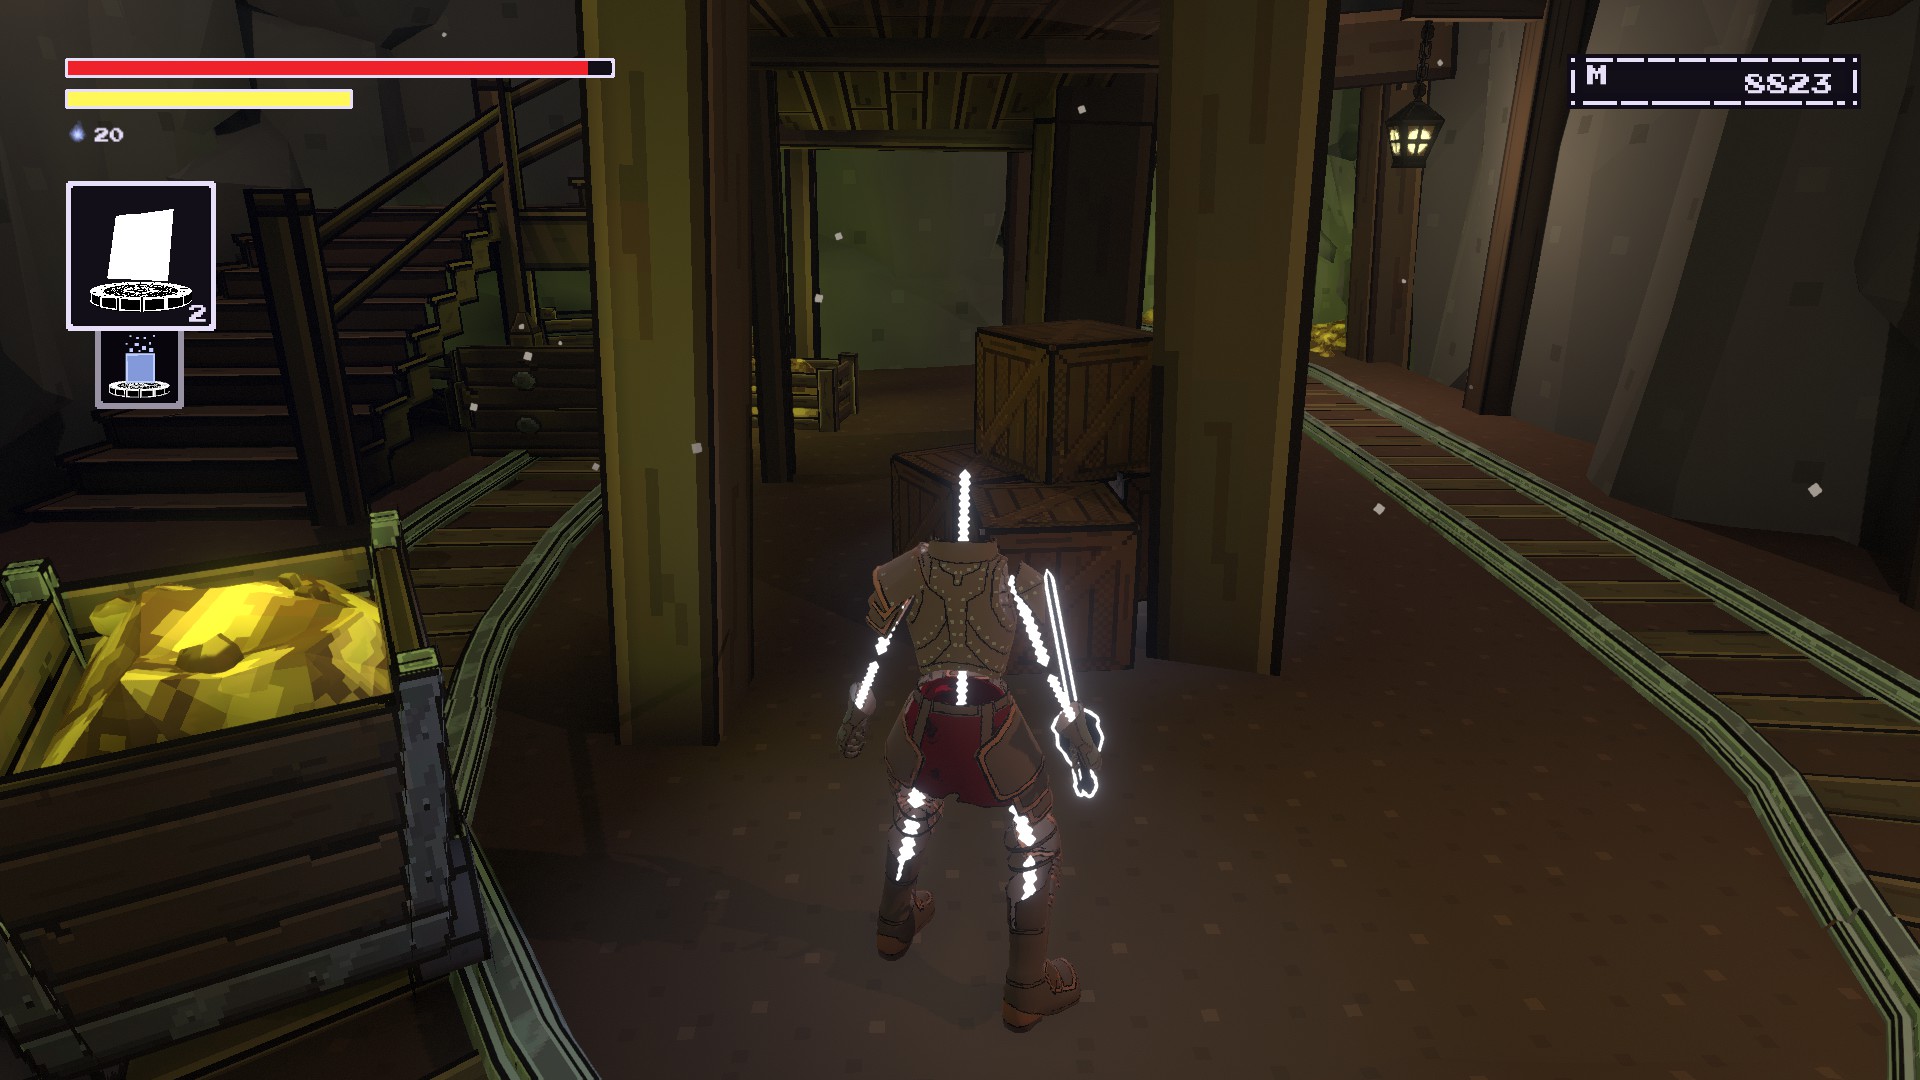
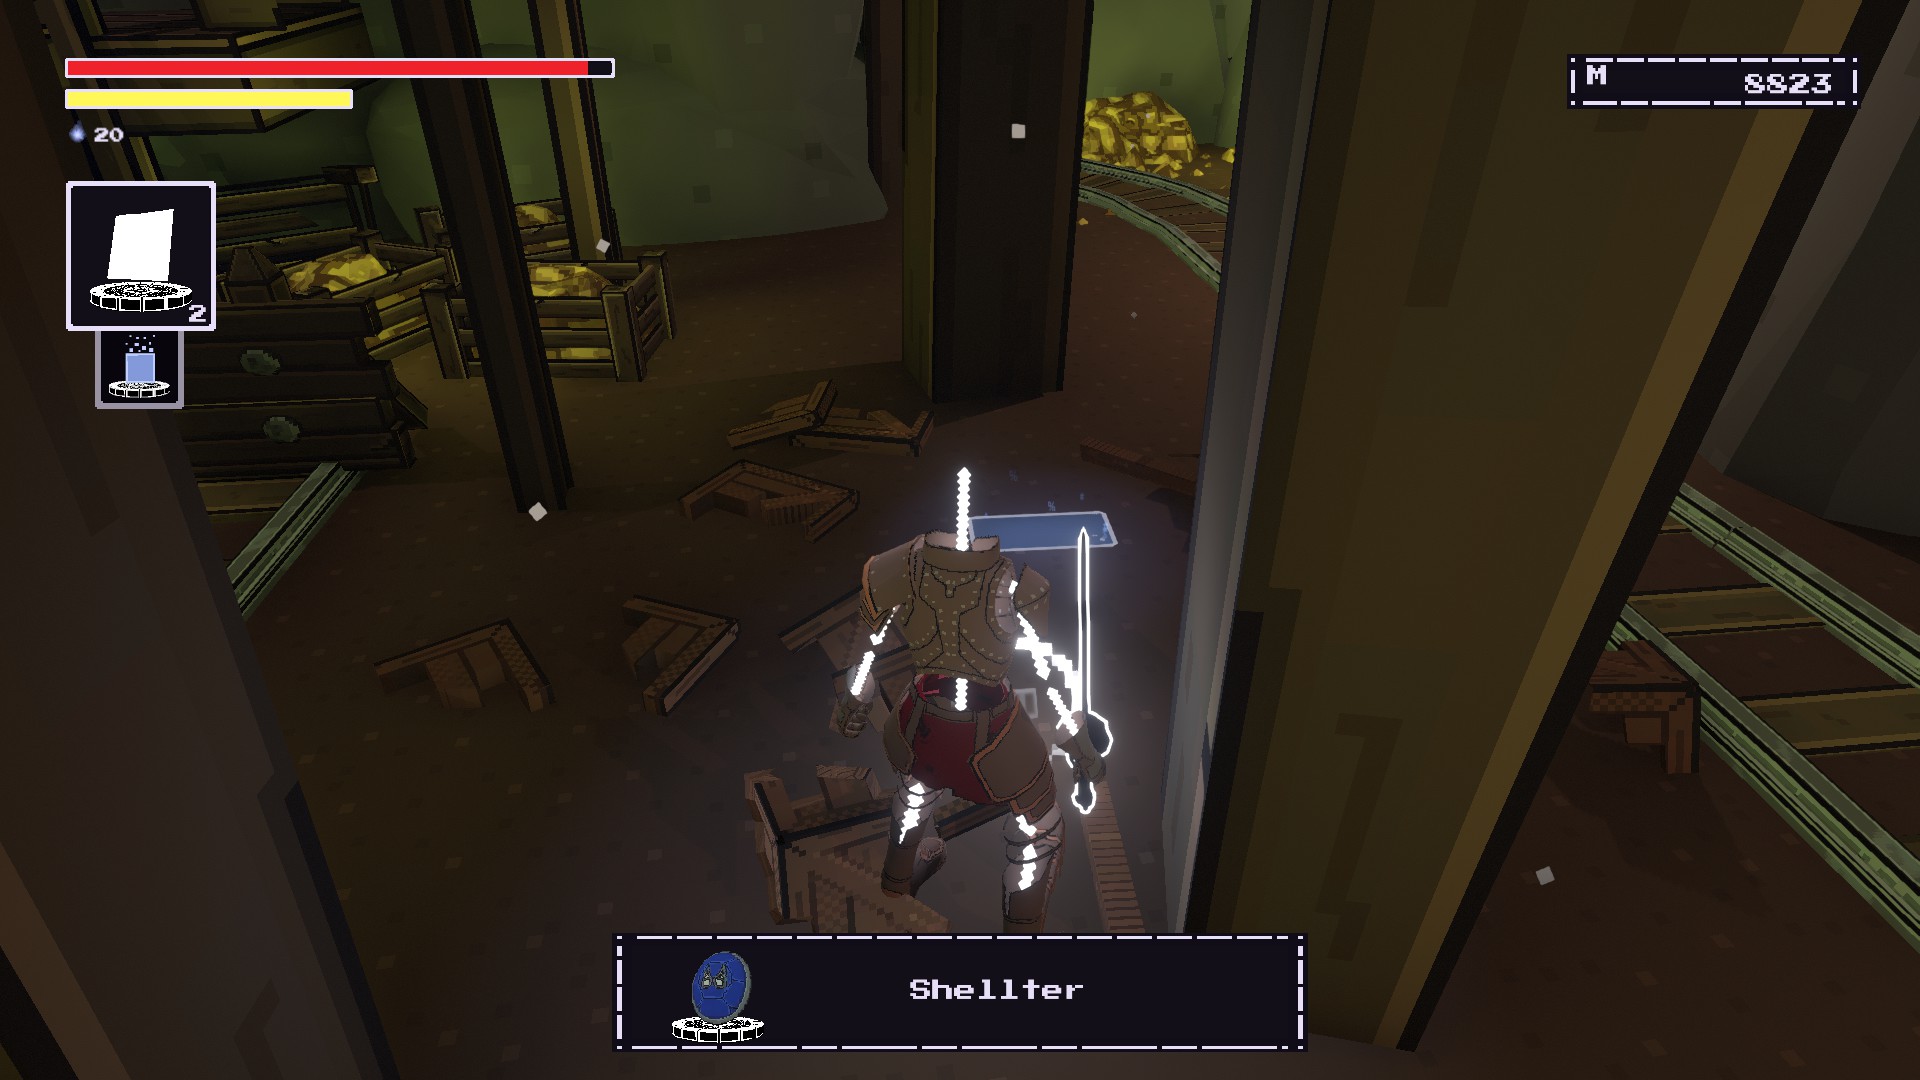
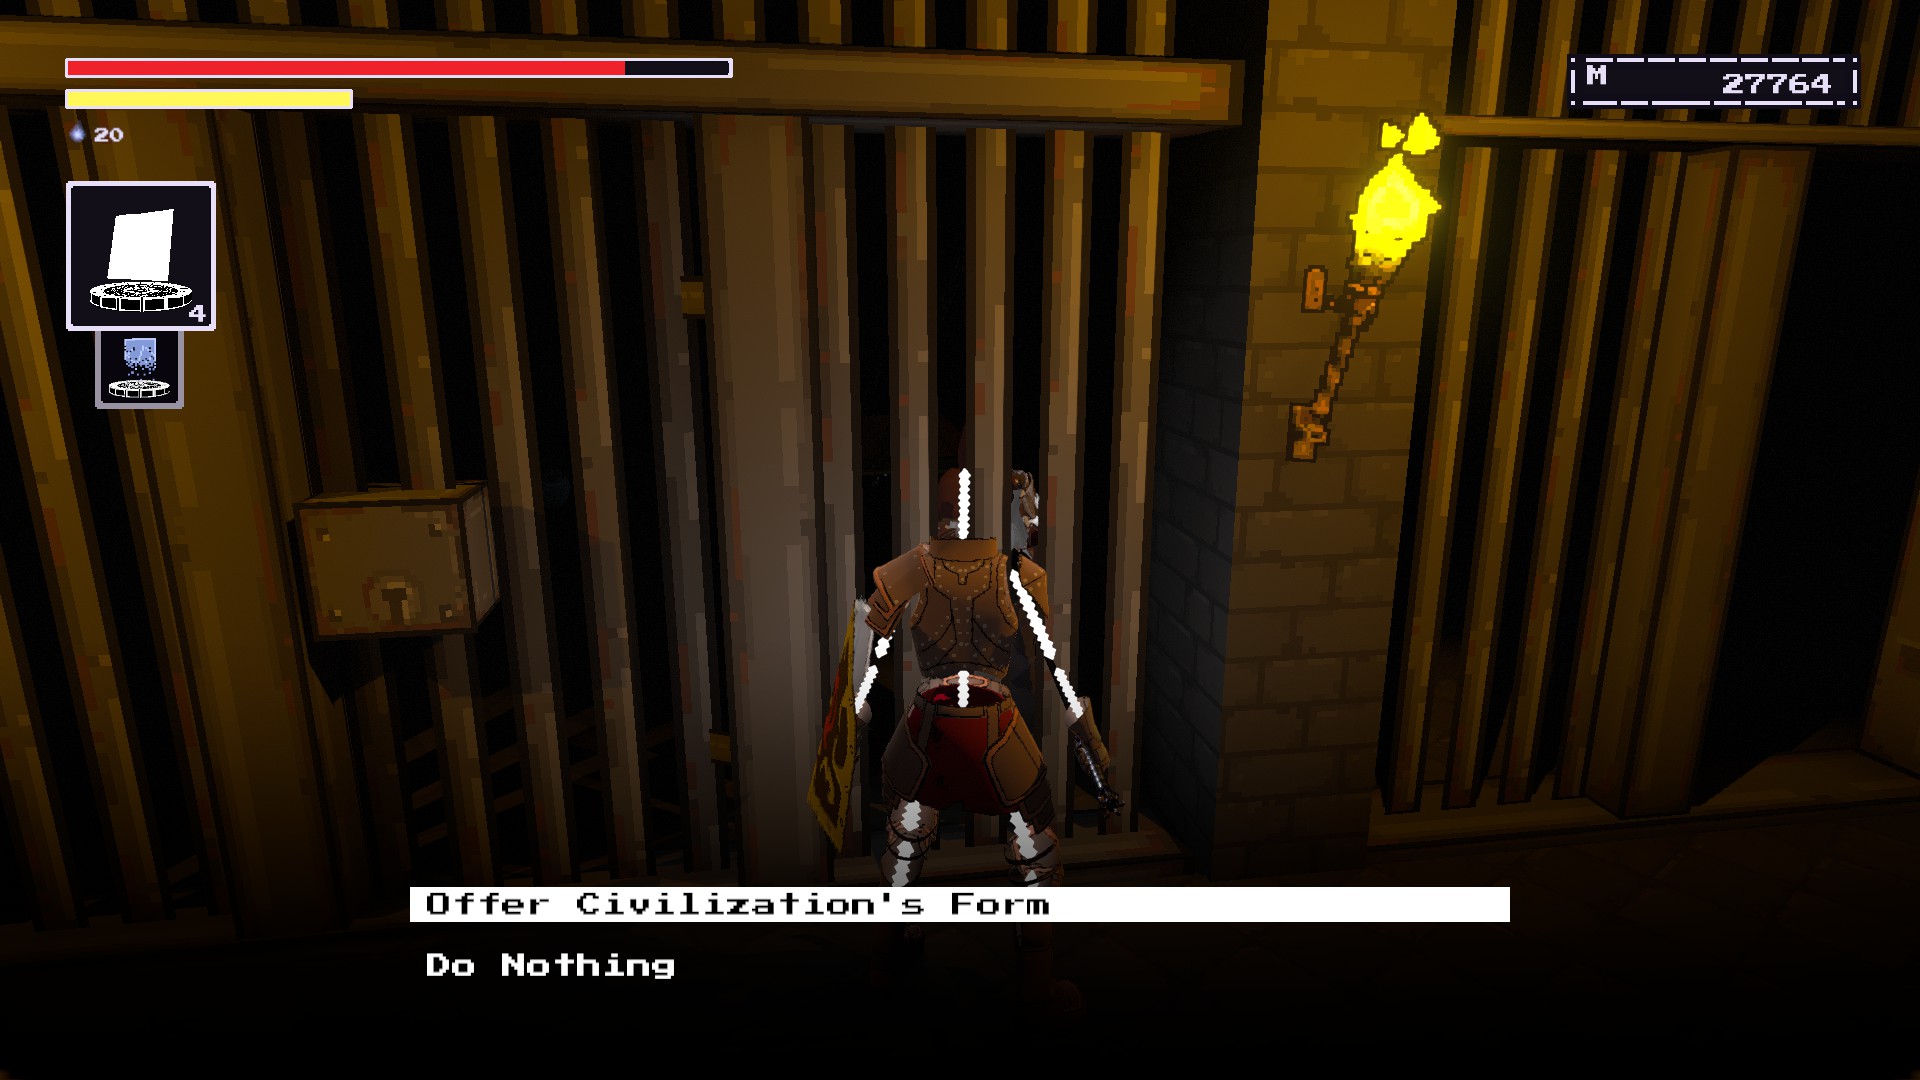
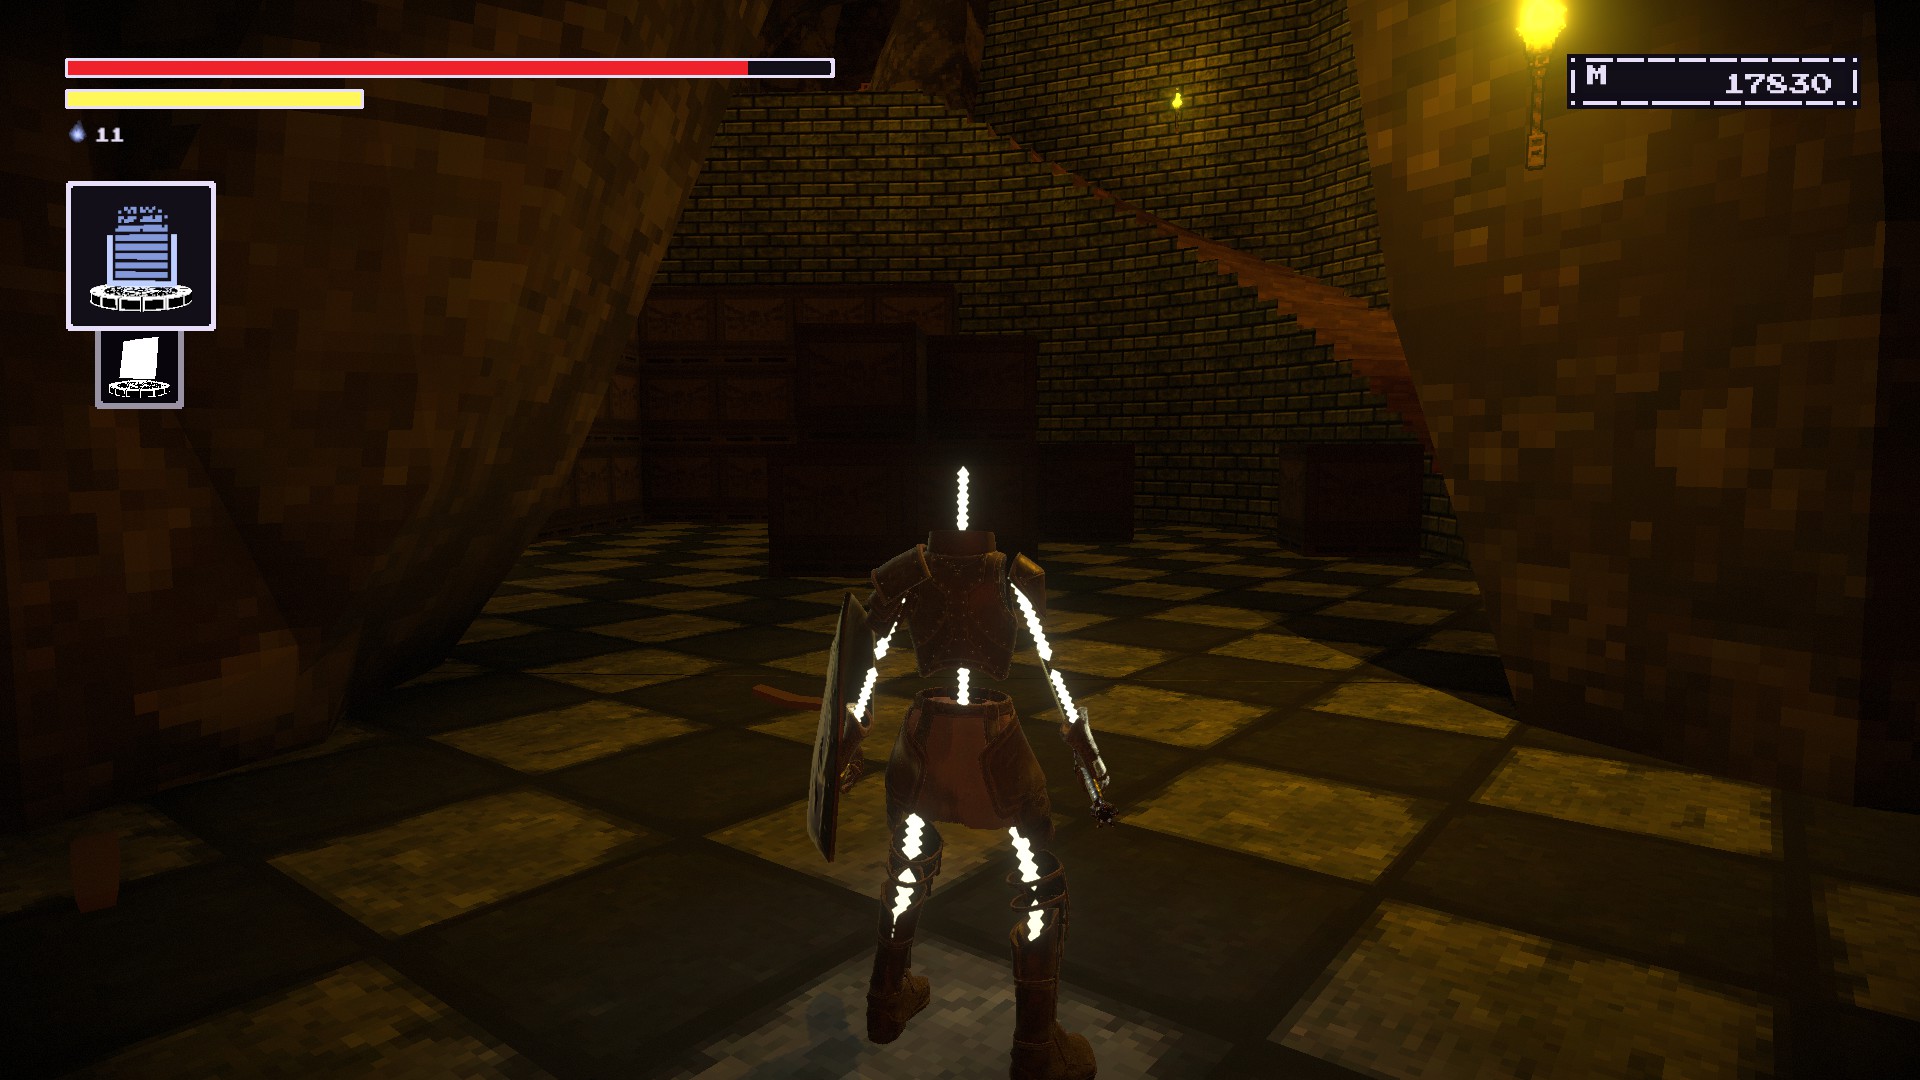
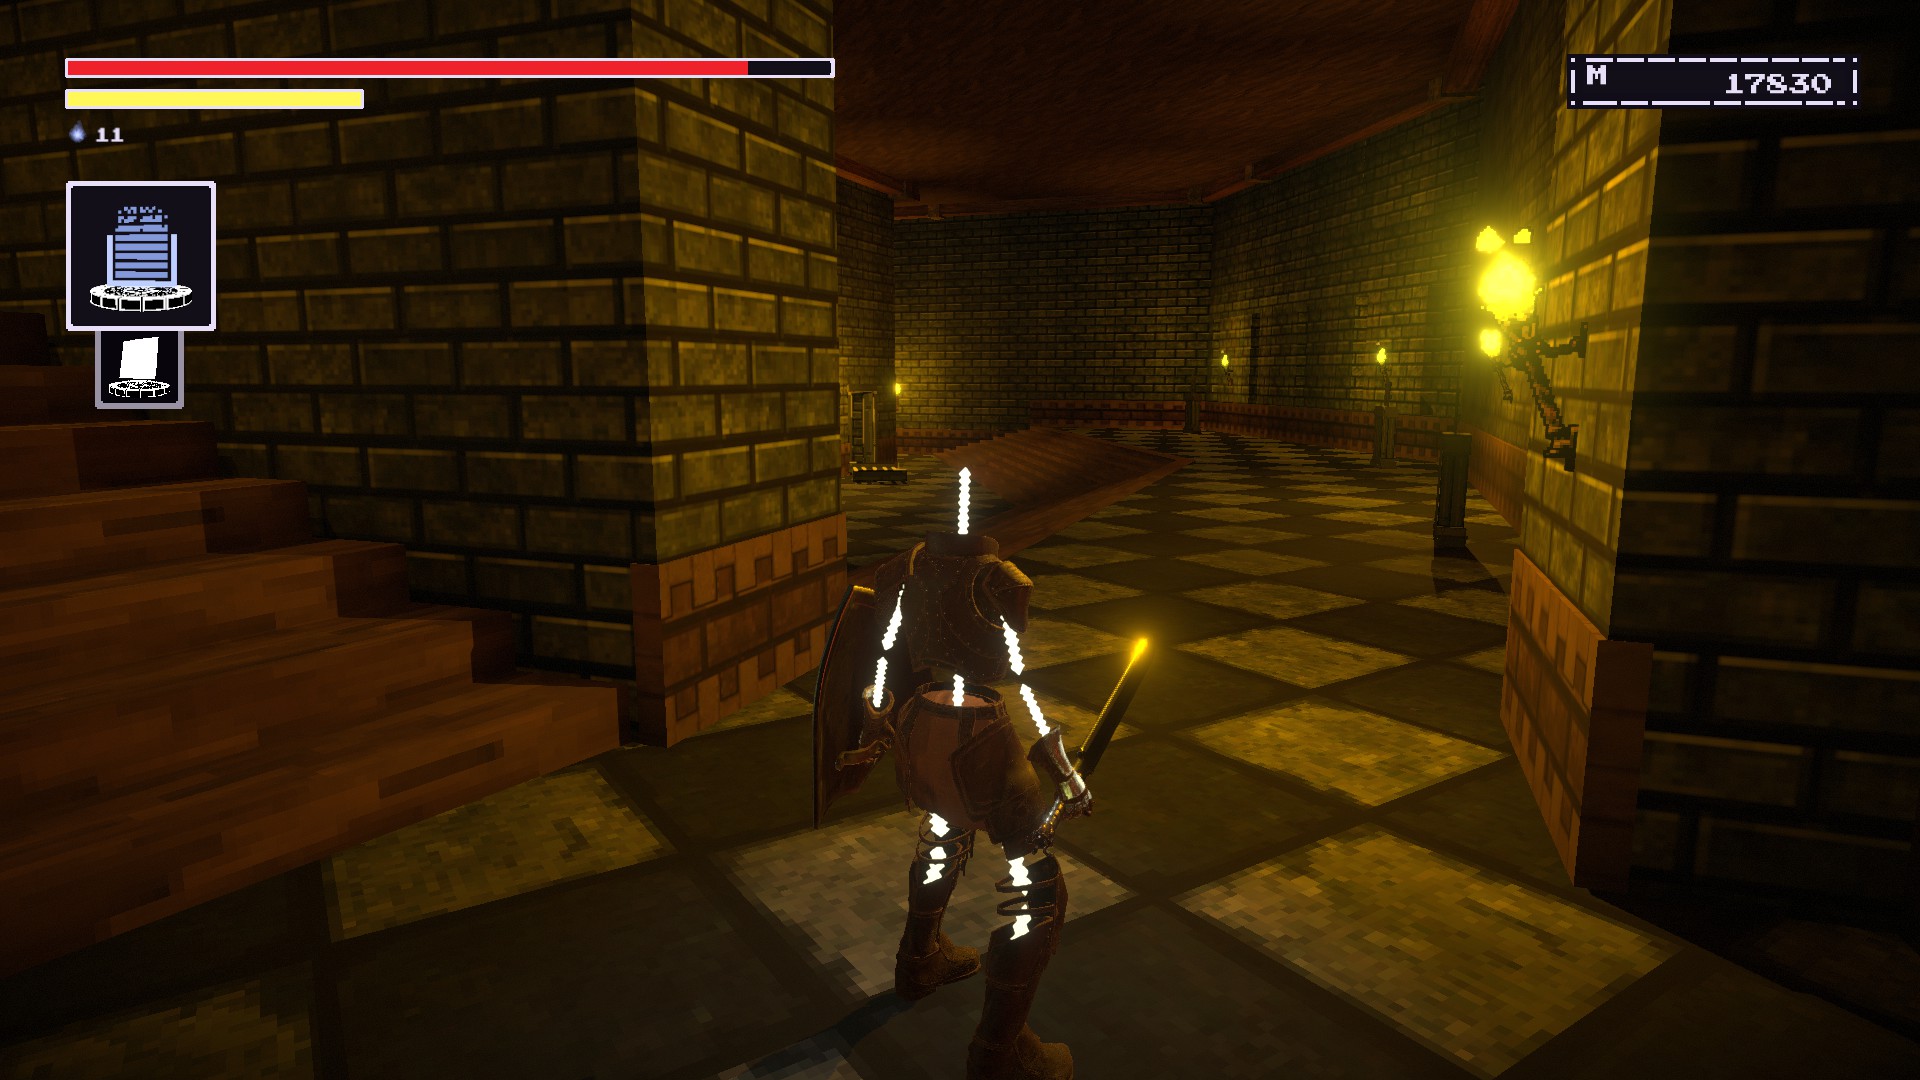
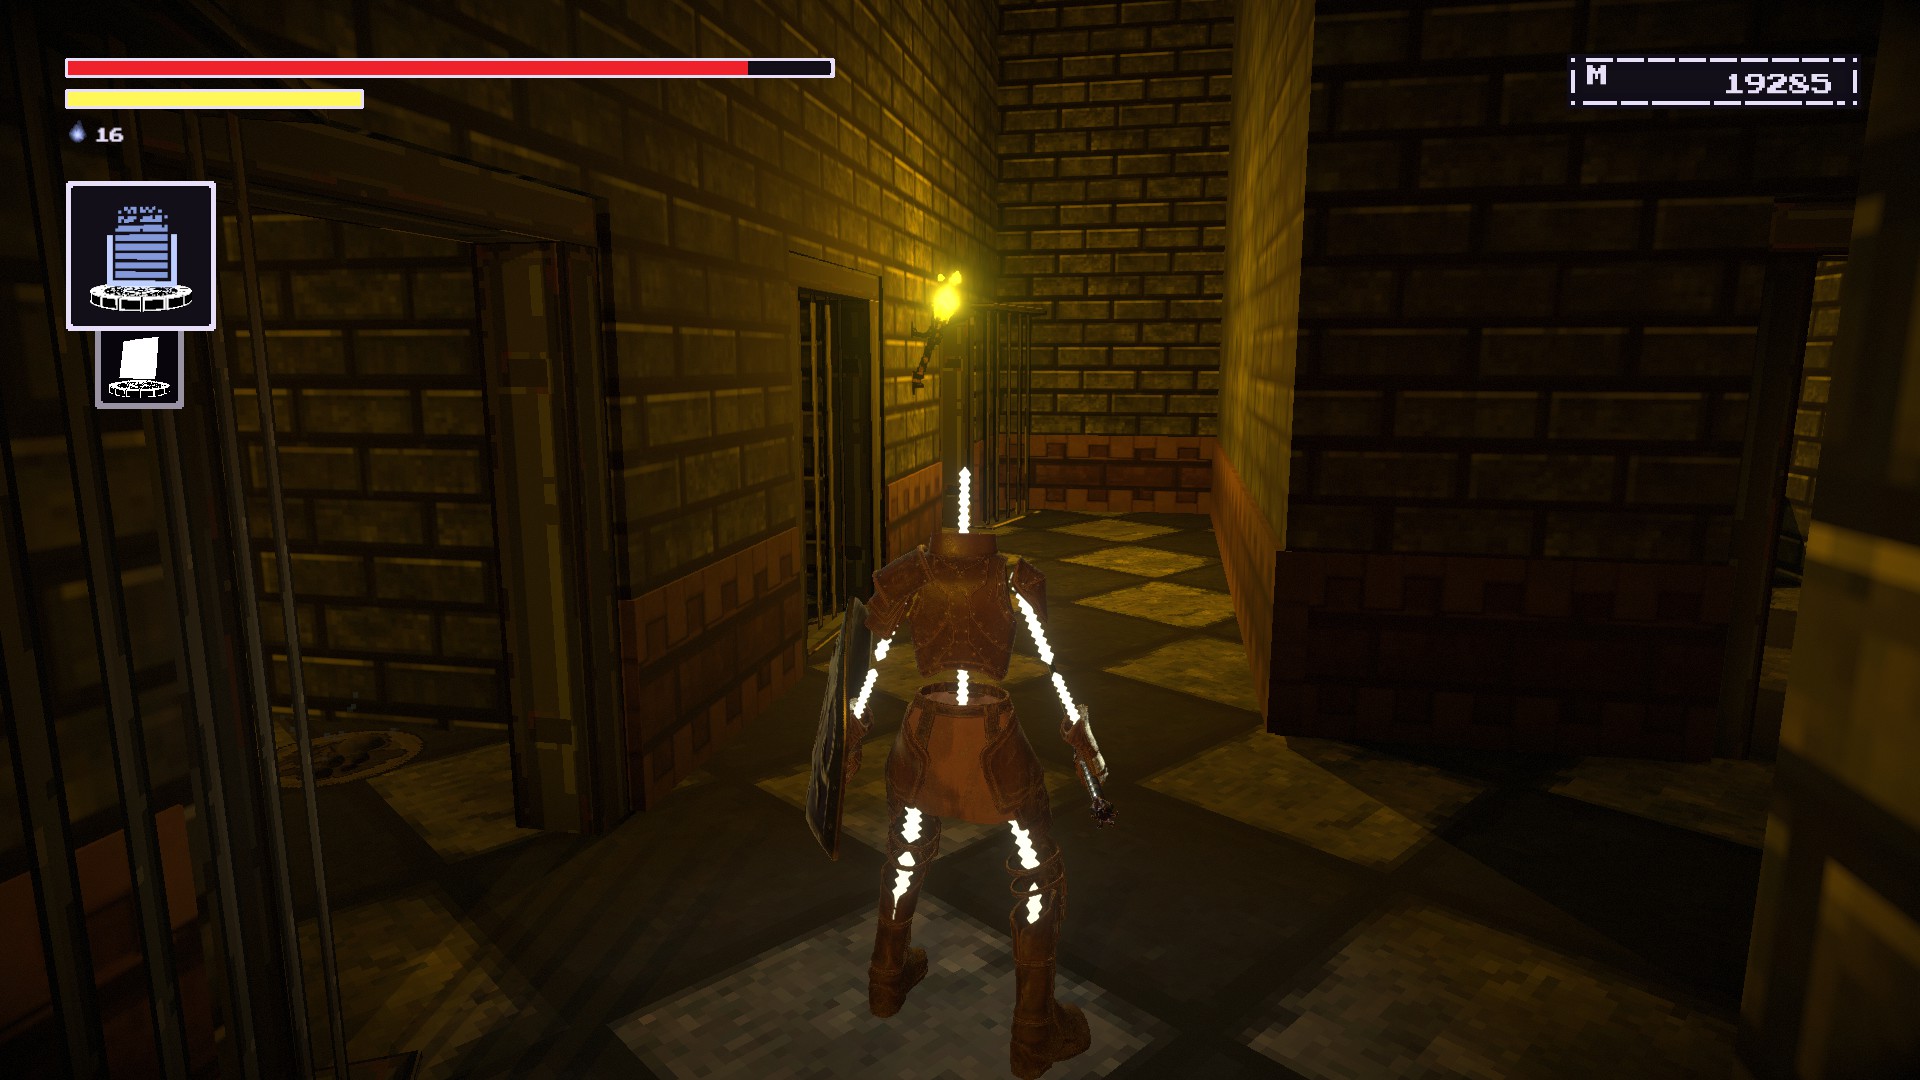
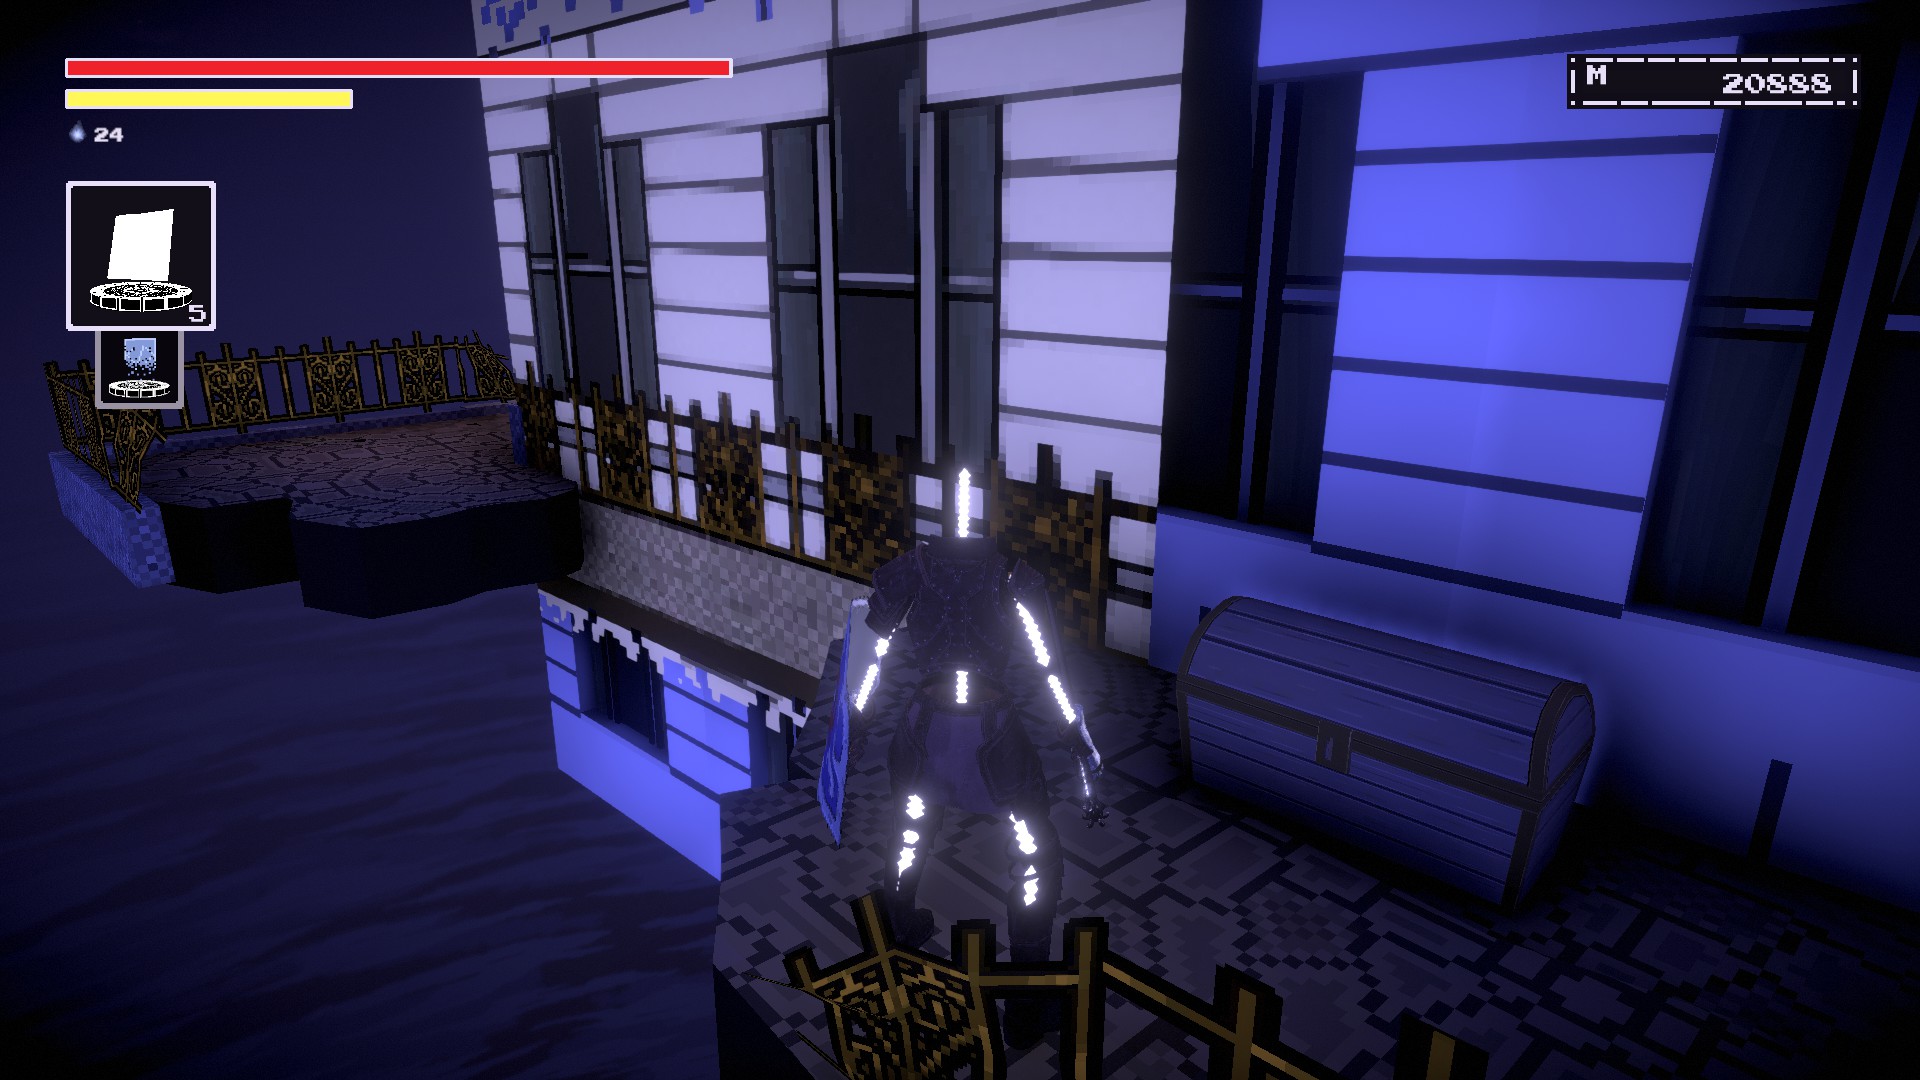
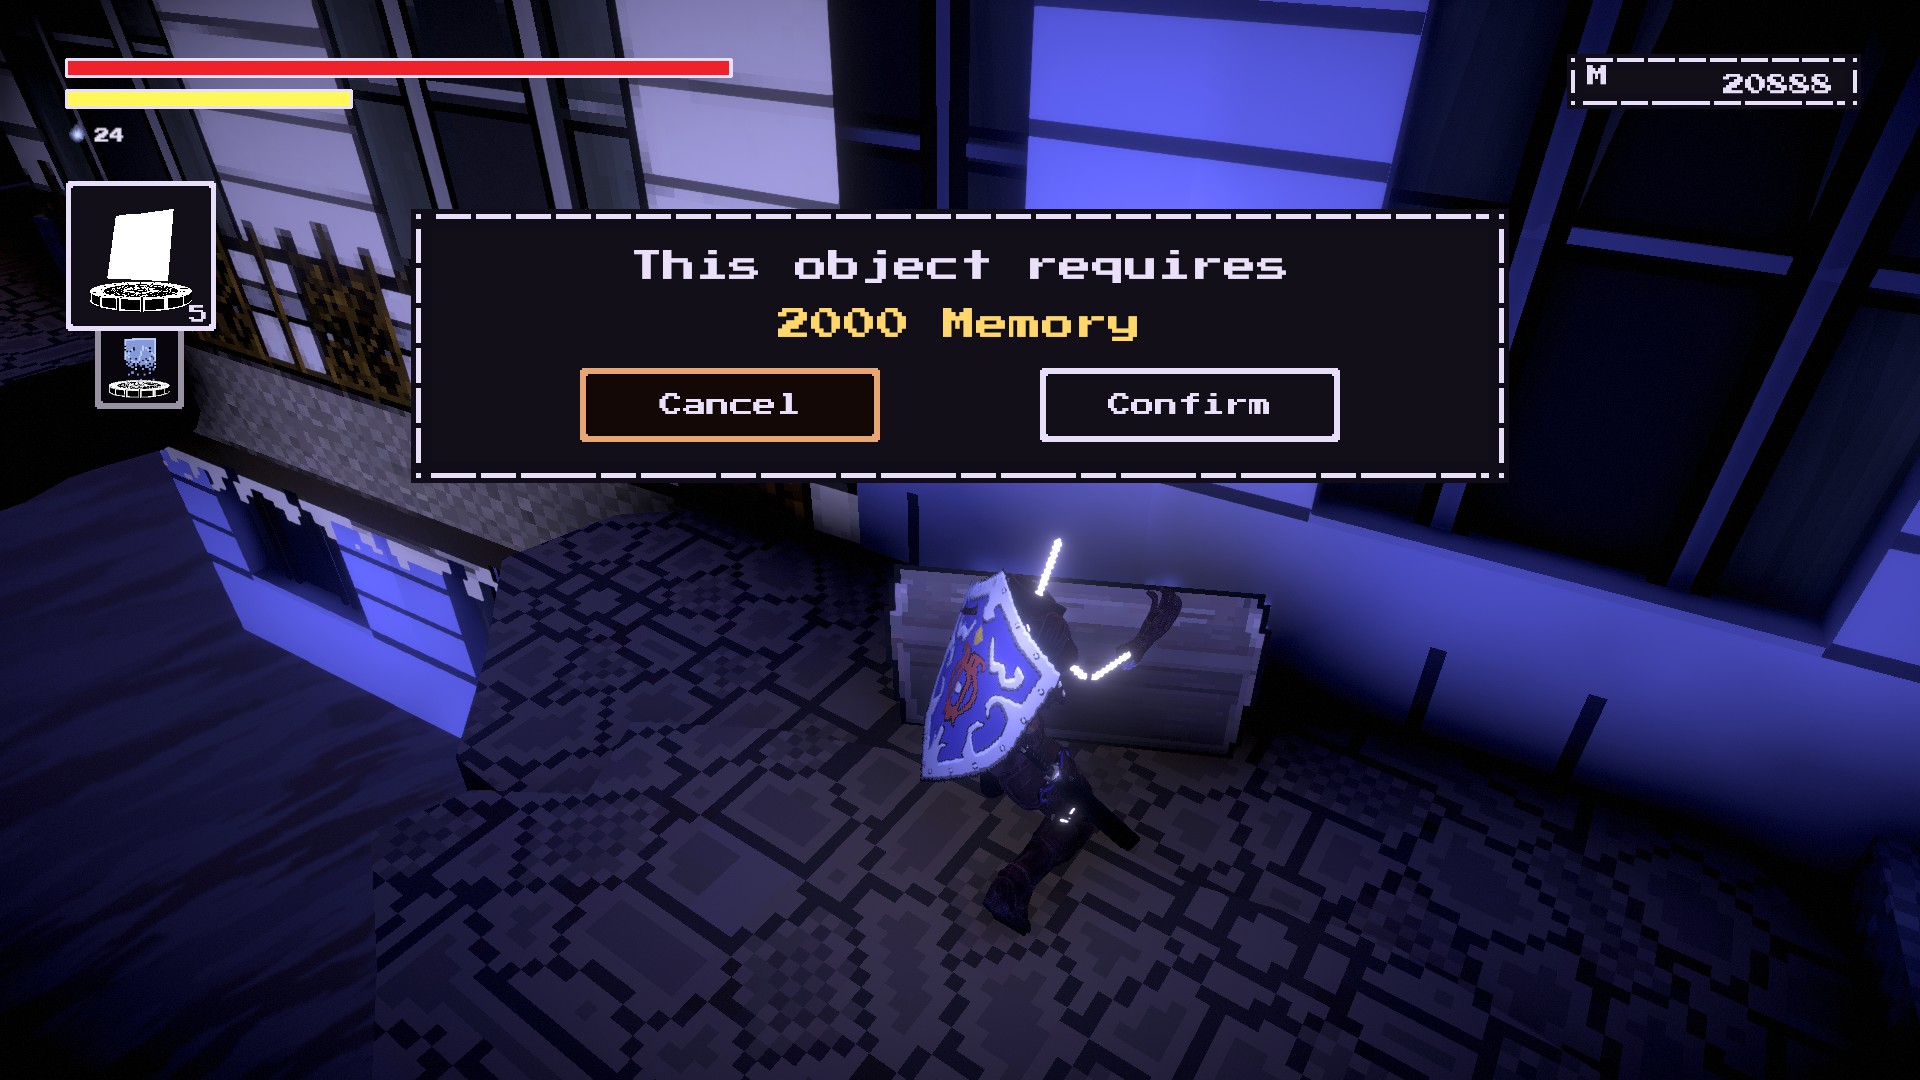
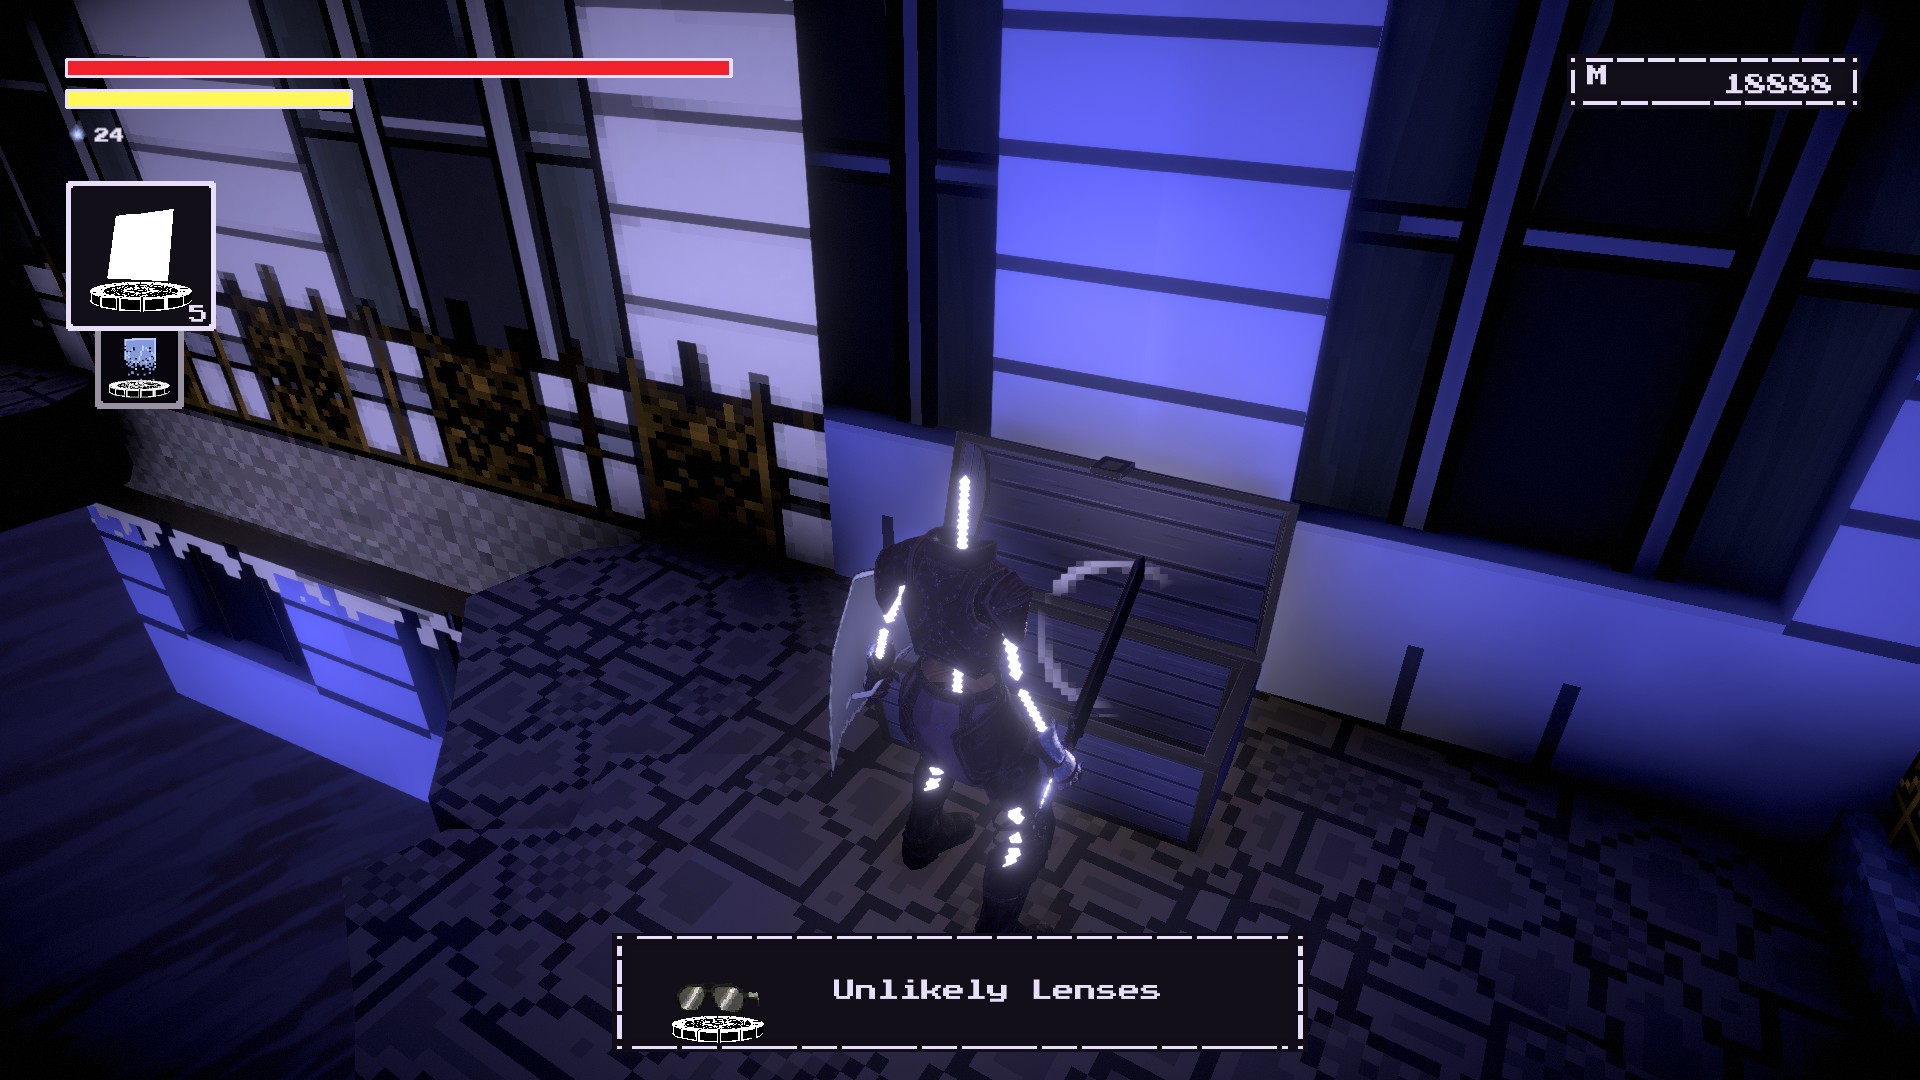
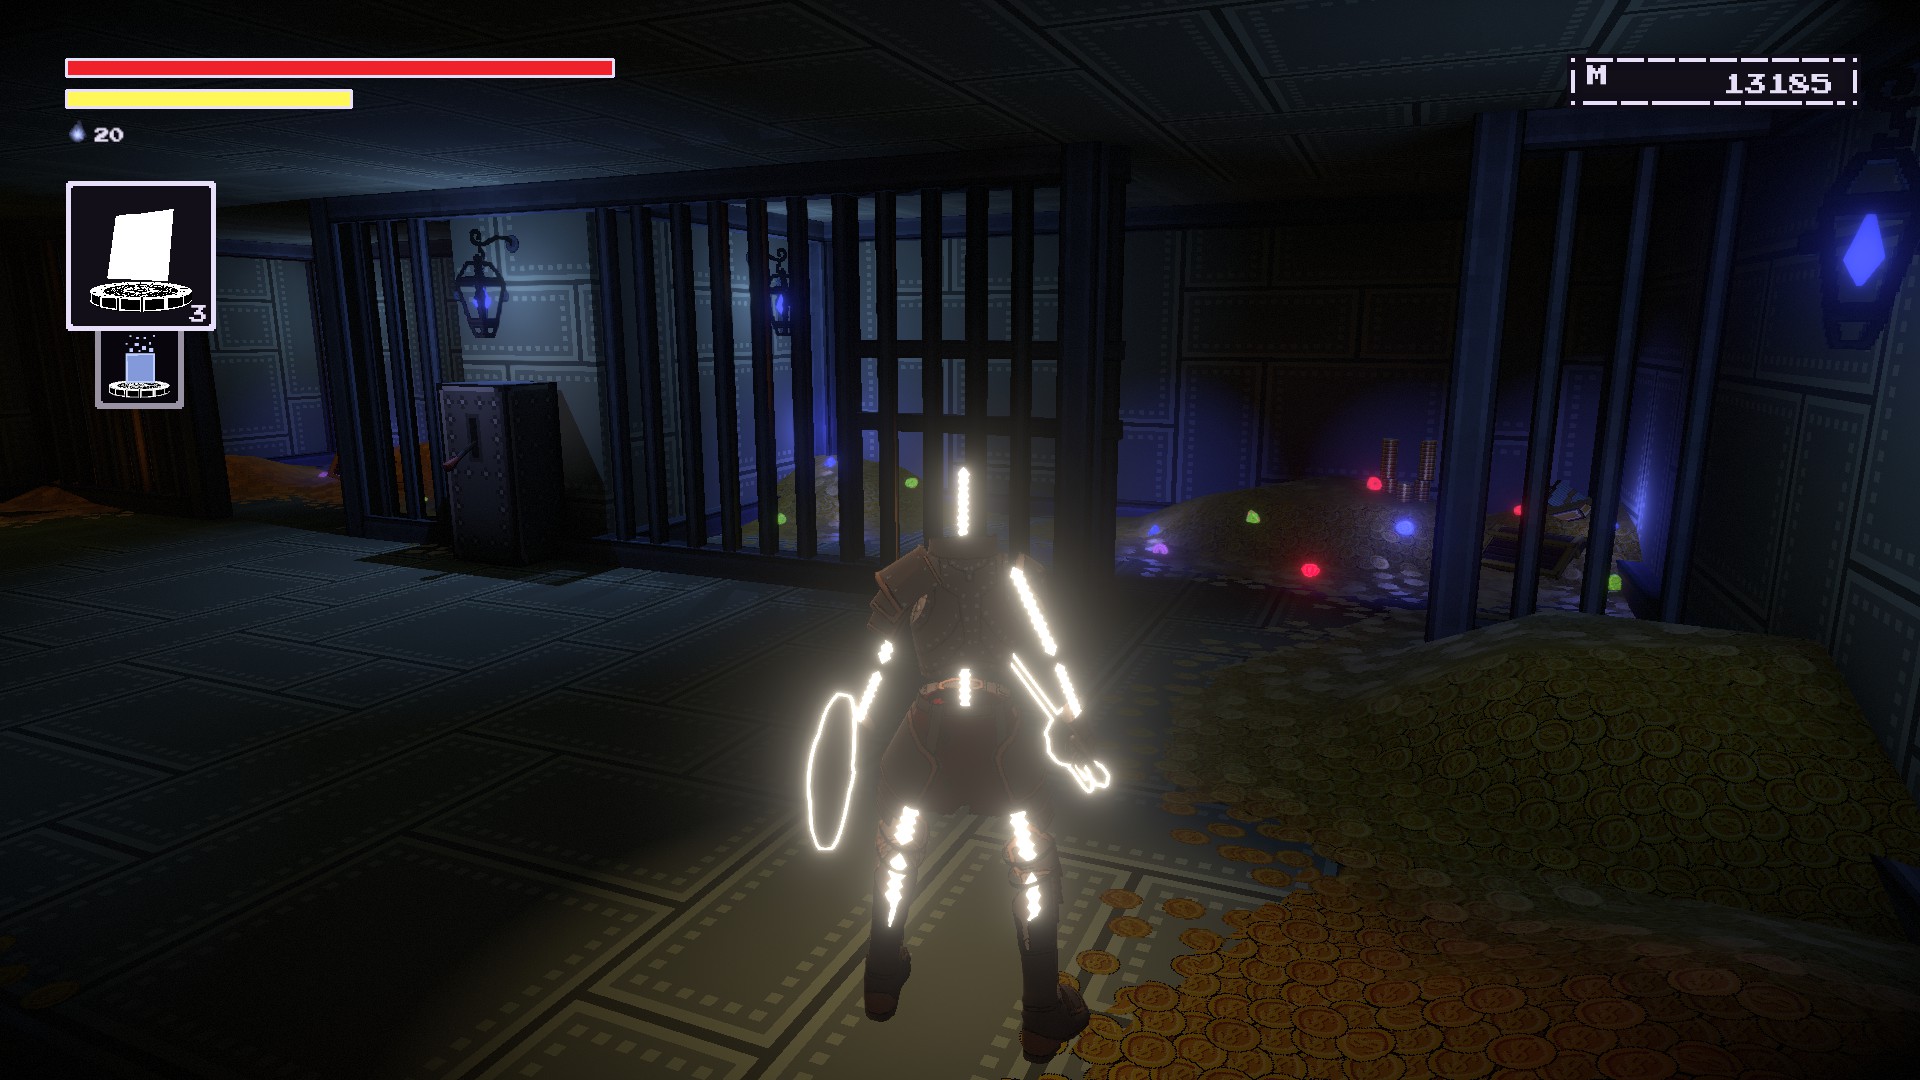
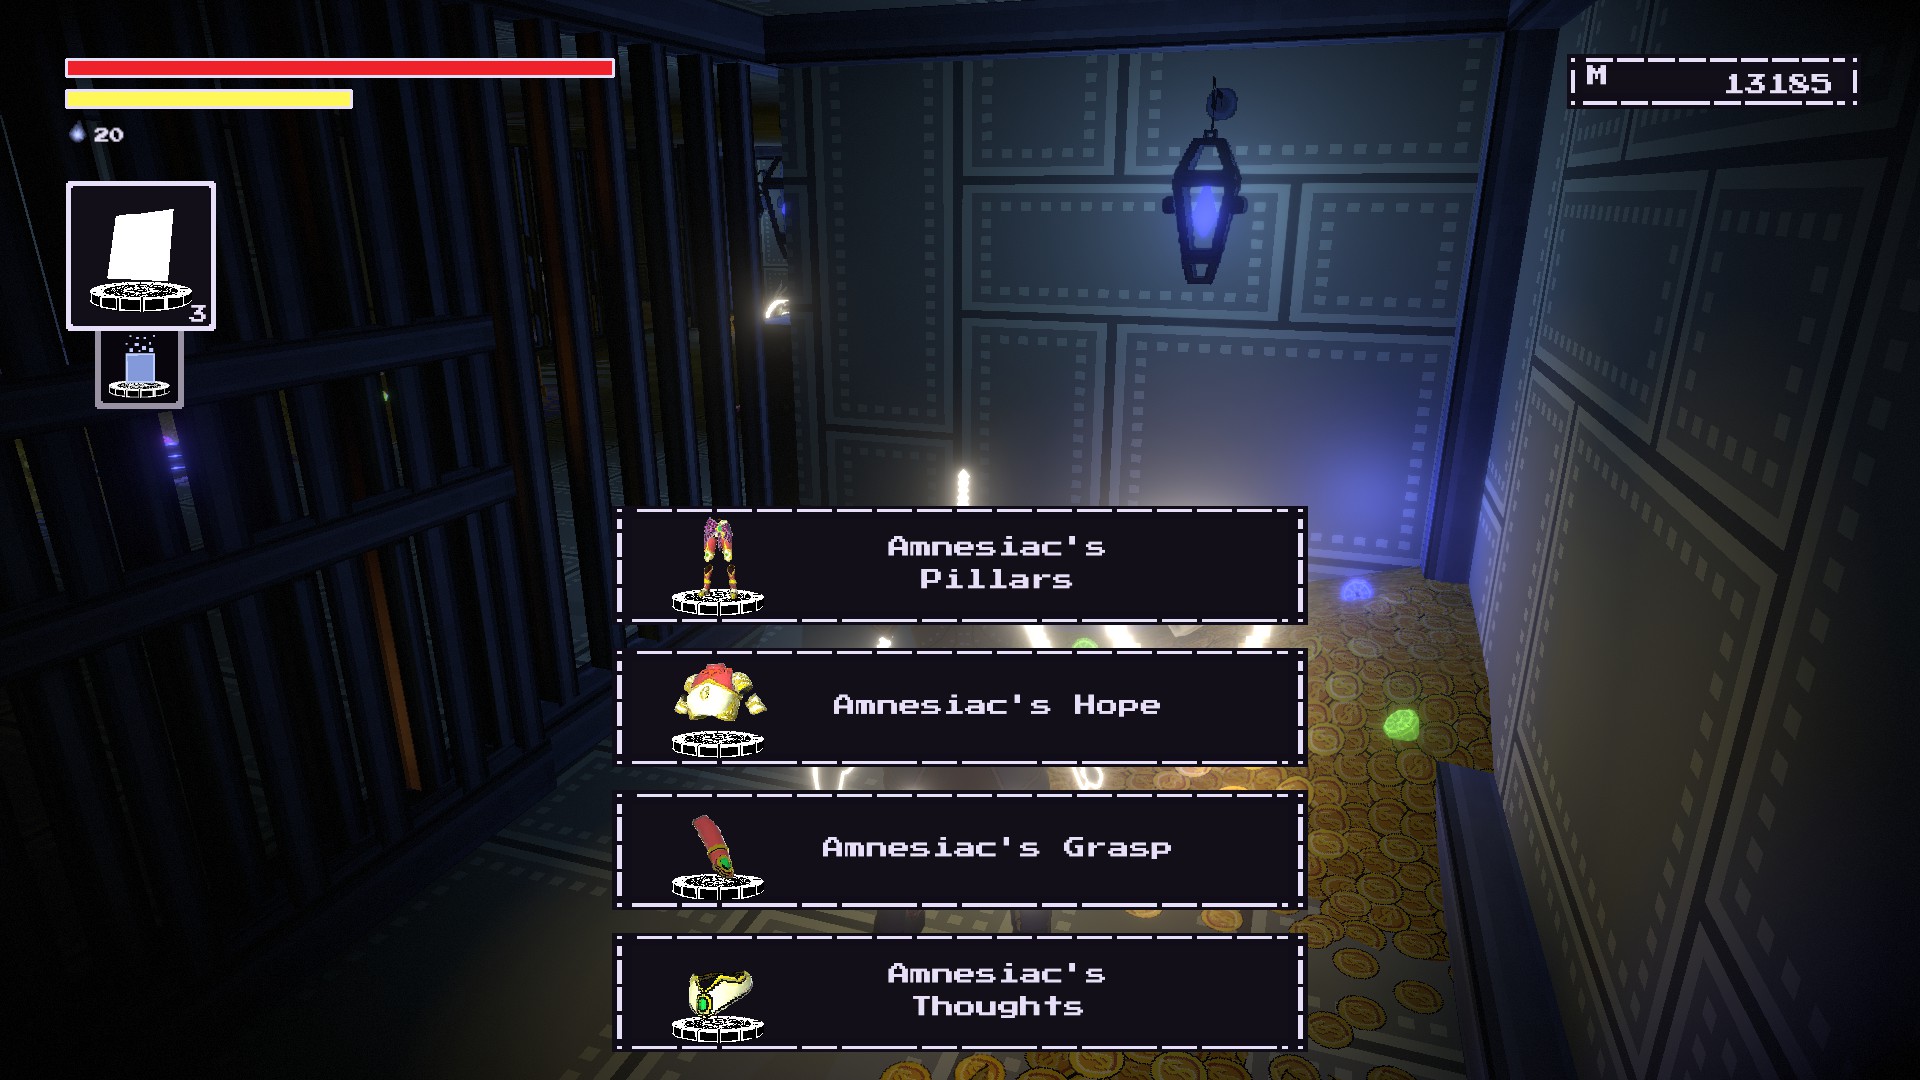
2. Quest Reward Vault (In a room before you start seeing the cells)

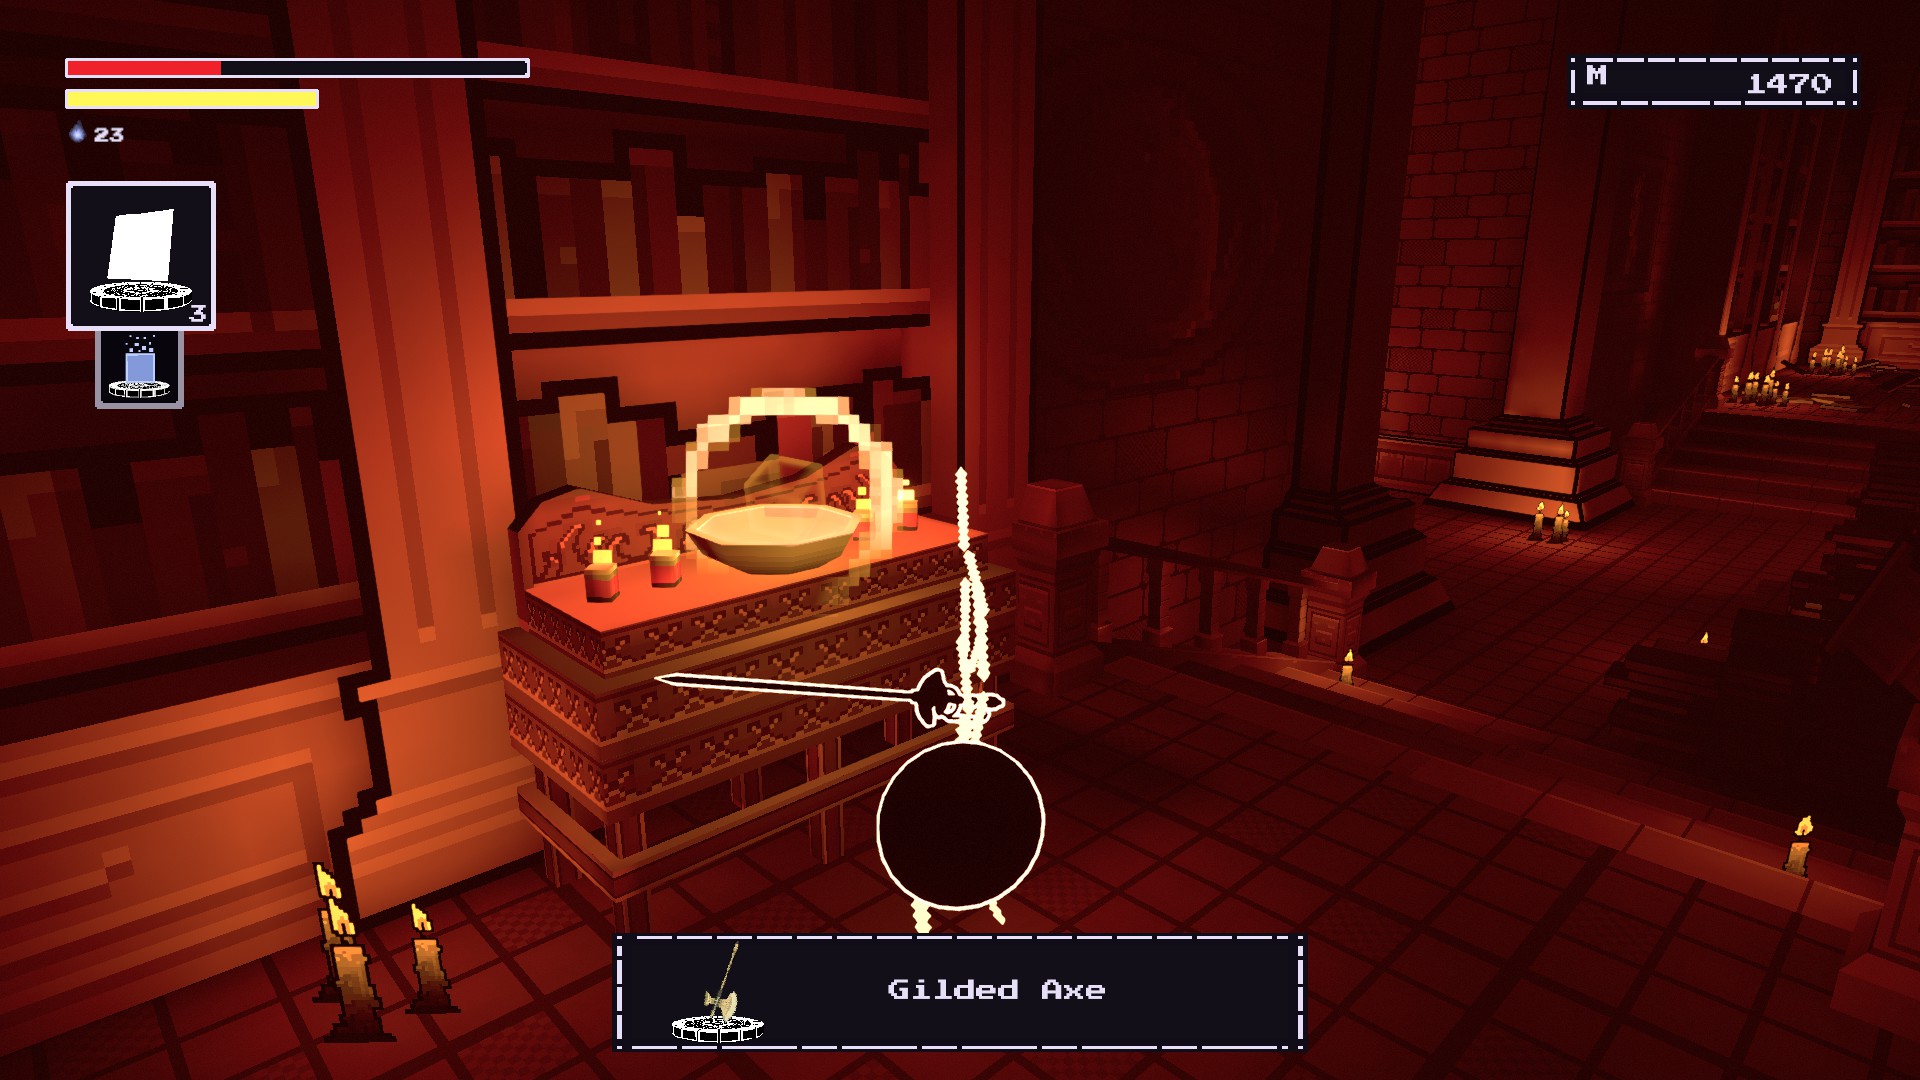
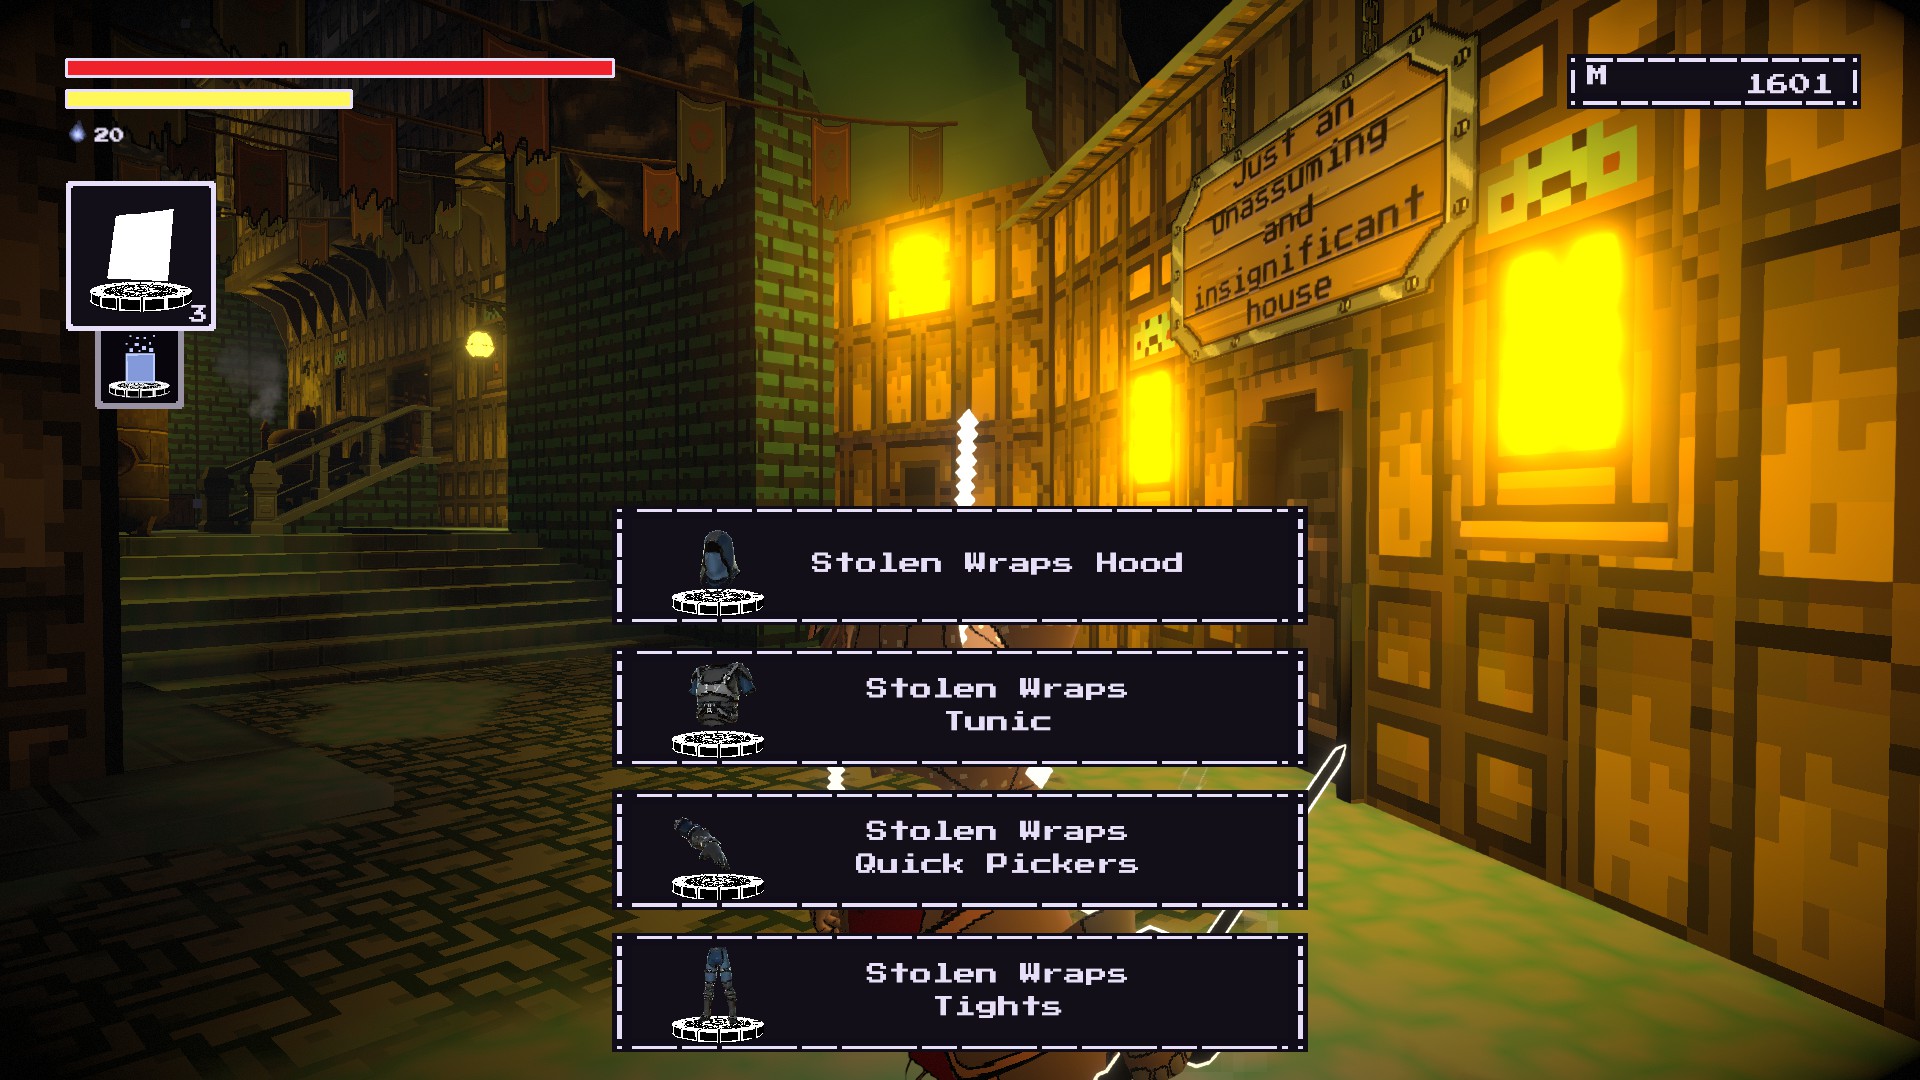
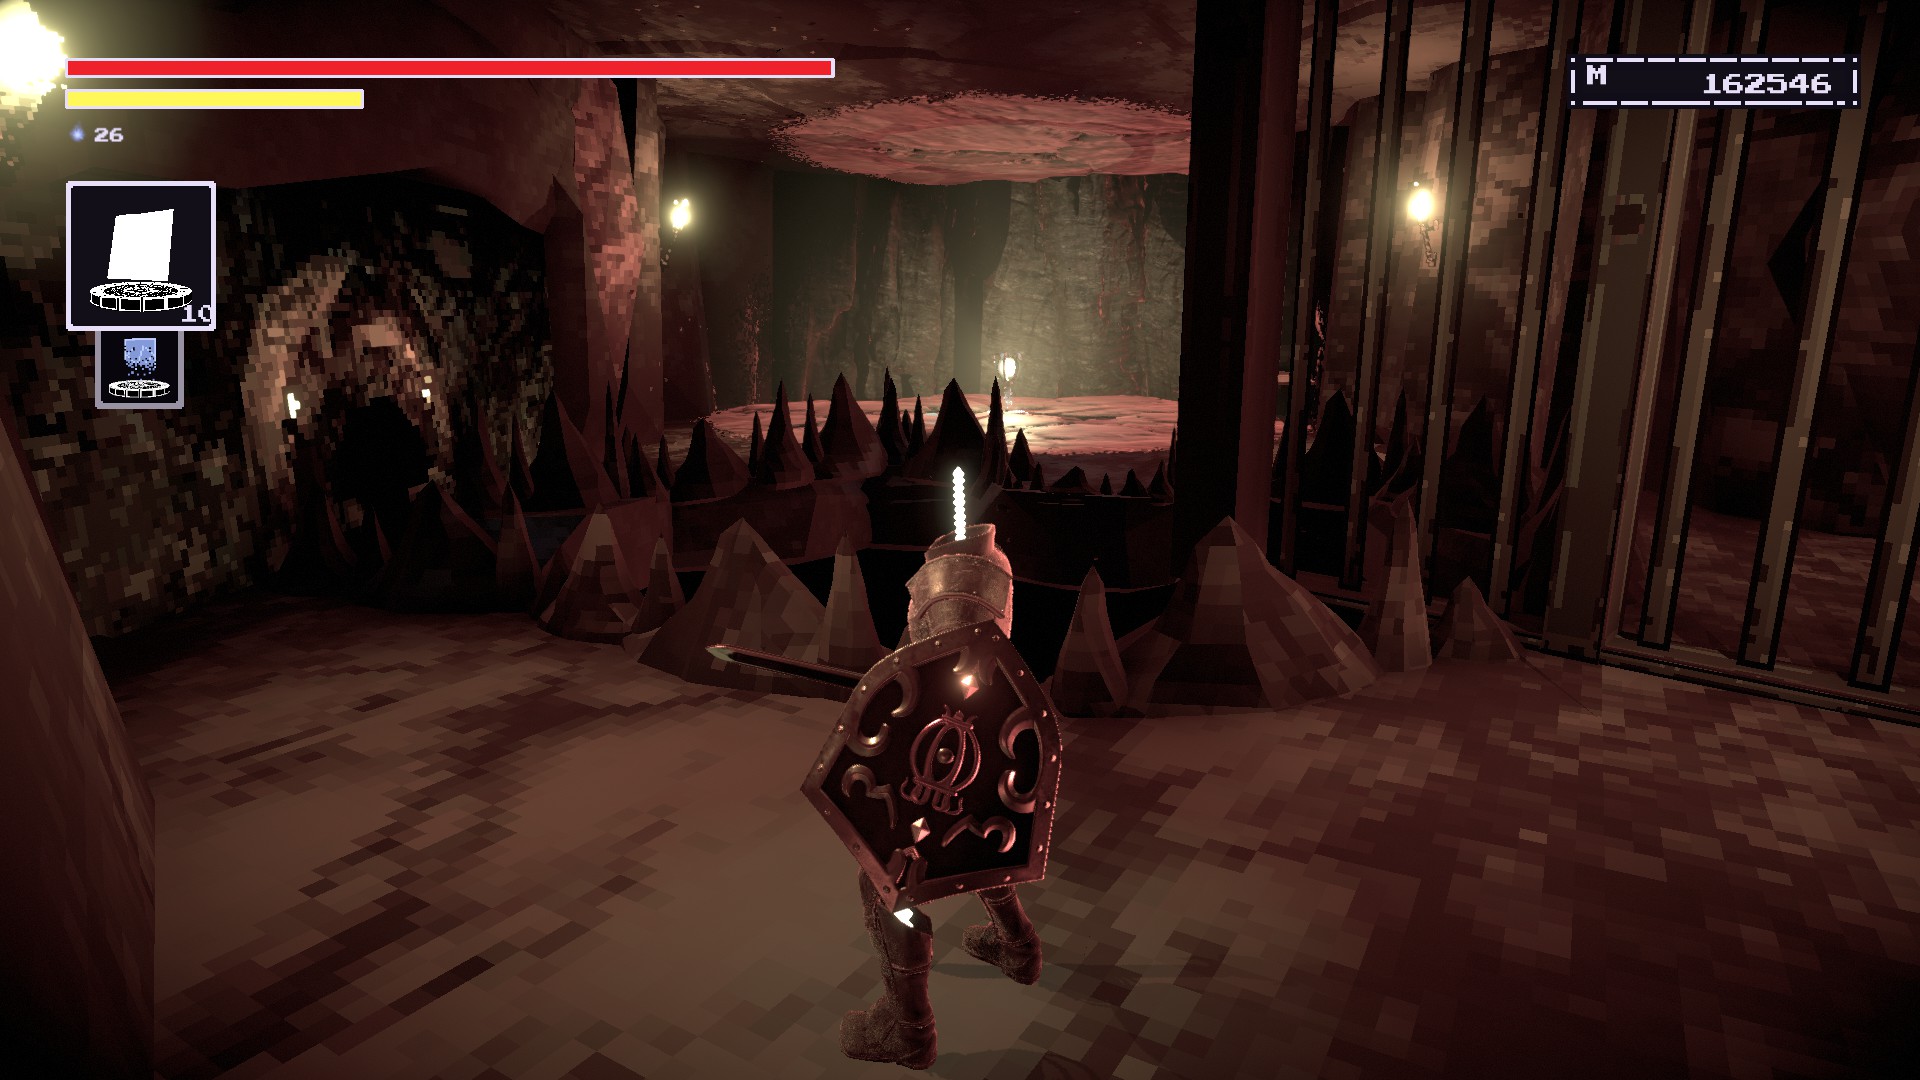
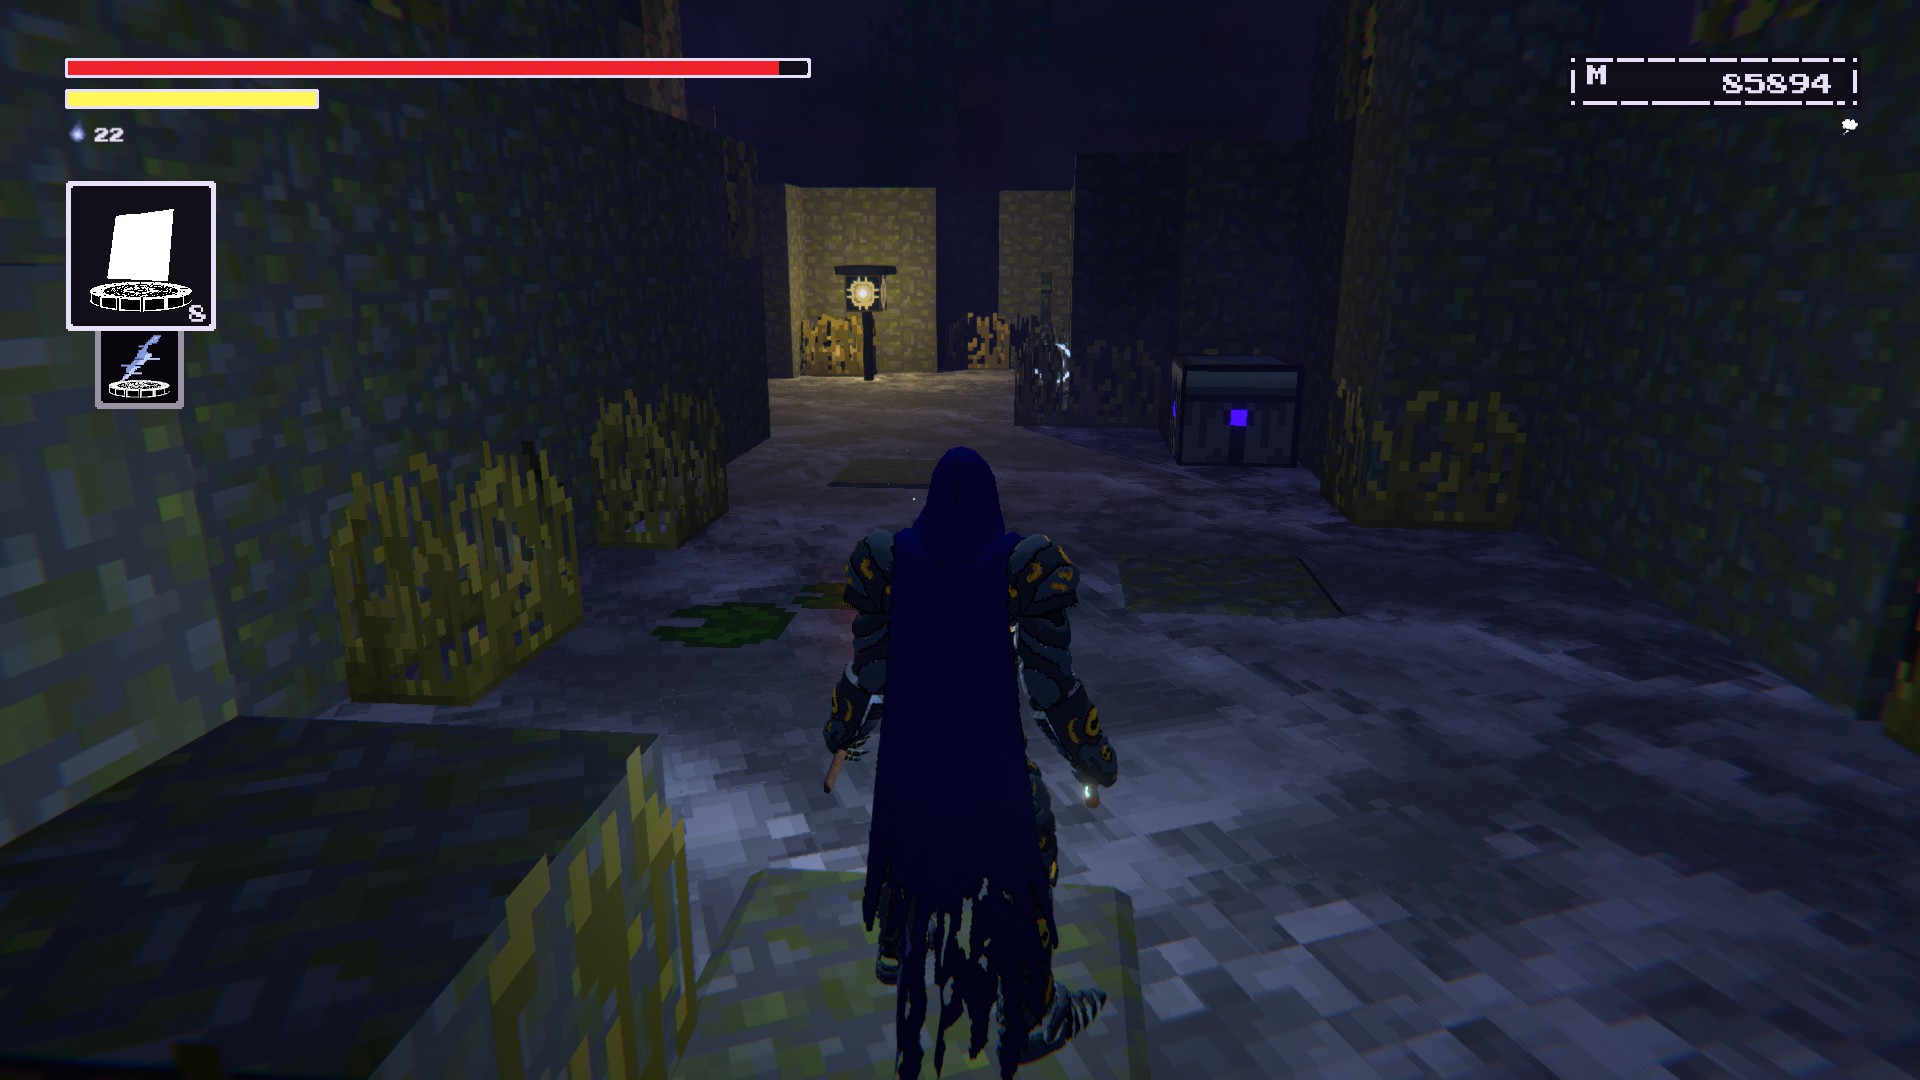
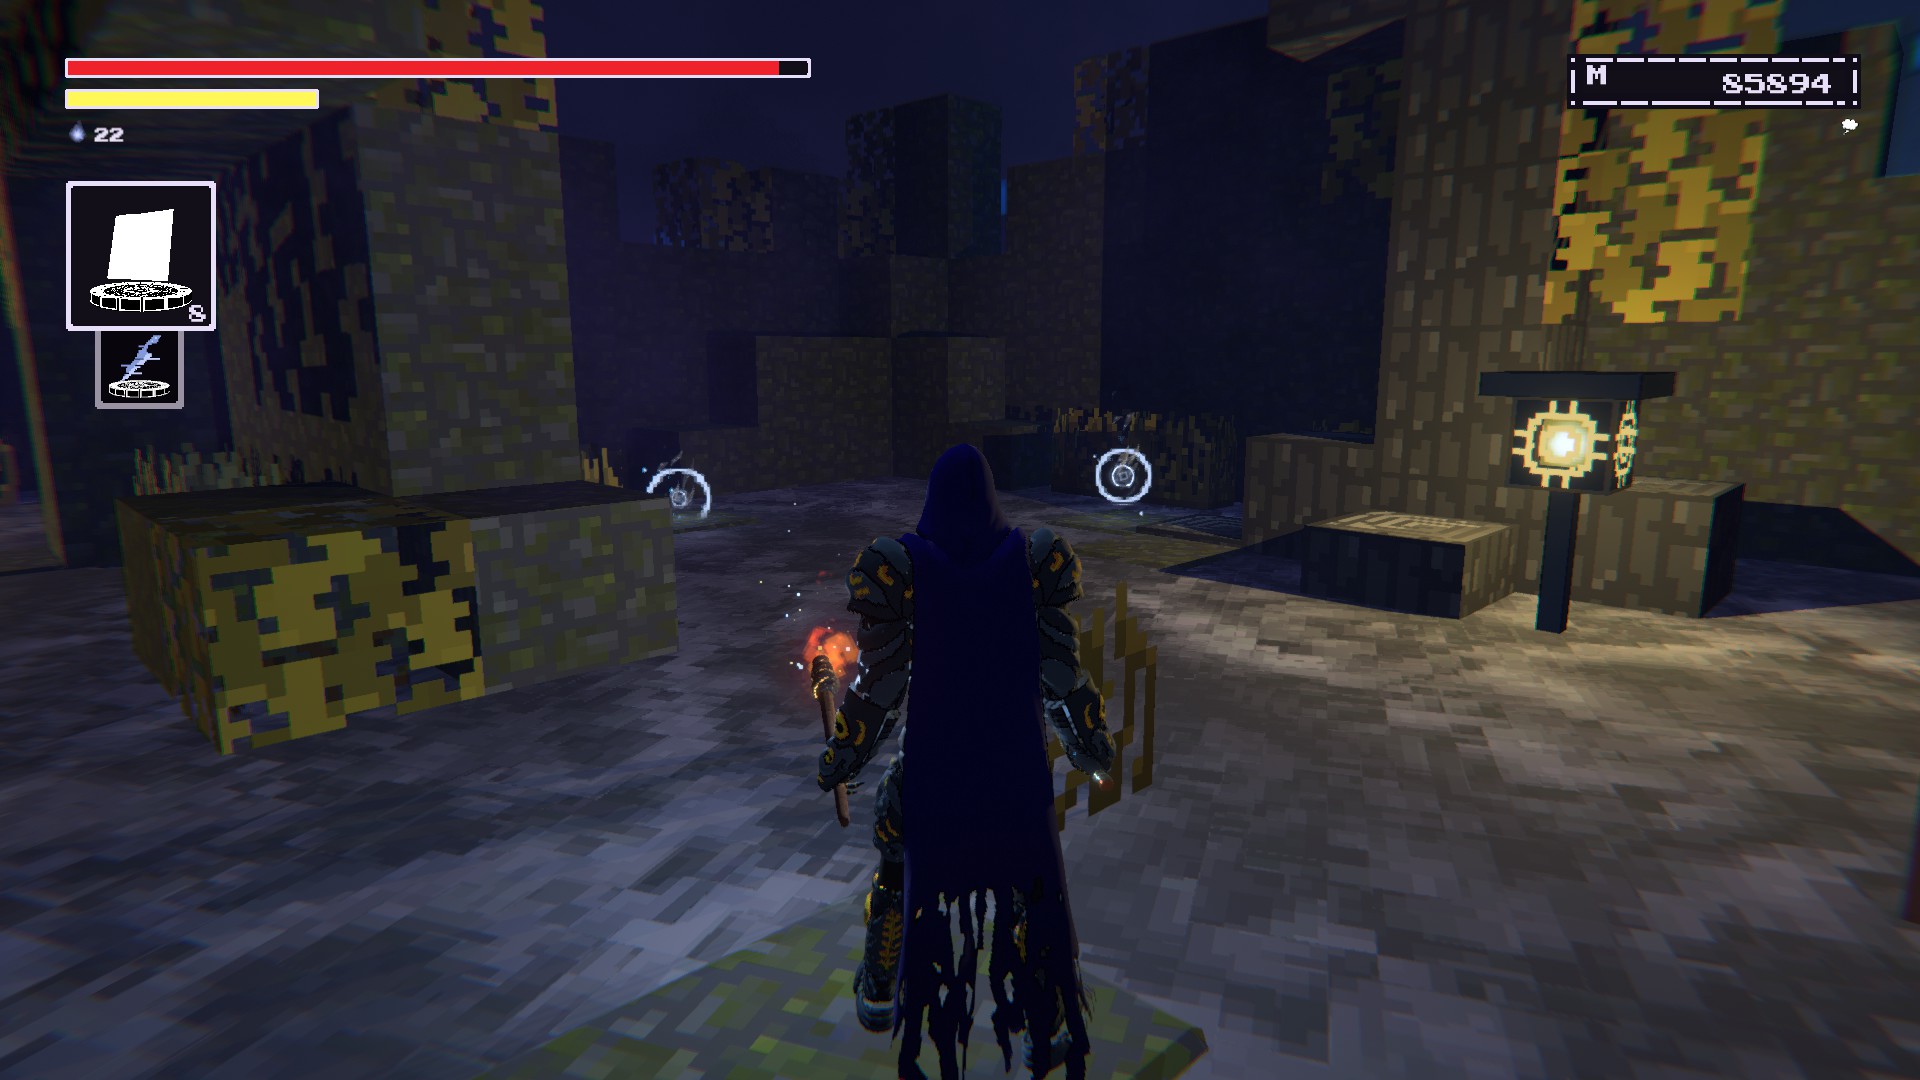
3. Warlock's Wilds (Near one of the towers and right next to the DLC entrance to Minecraft world)

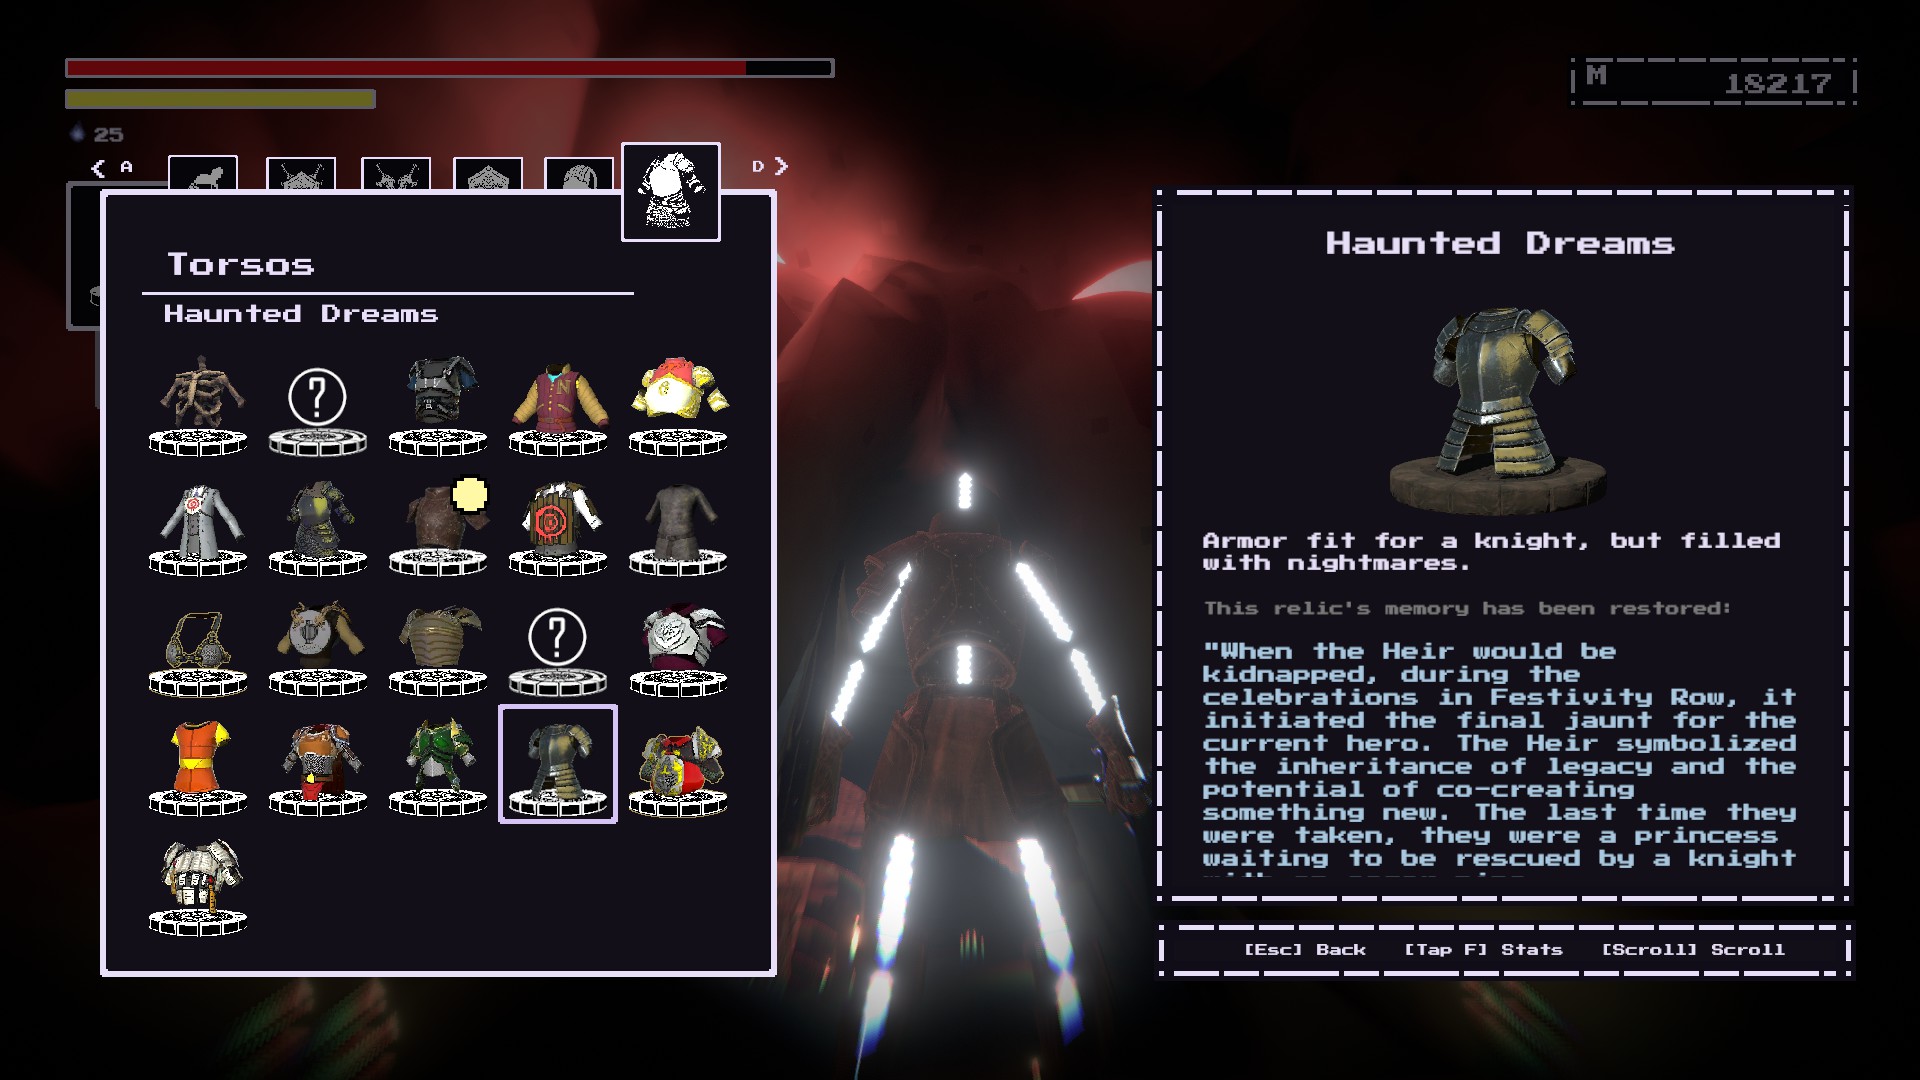
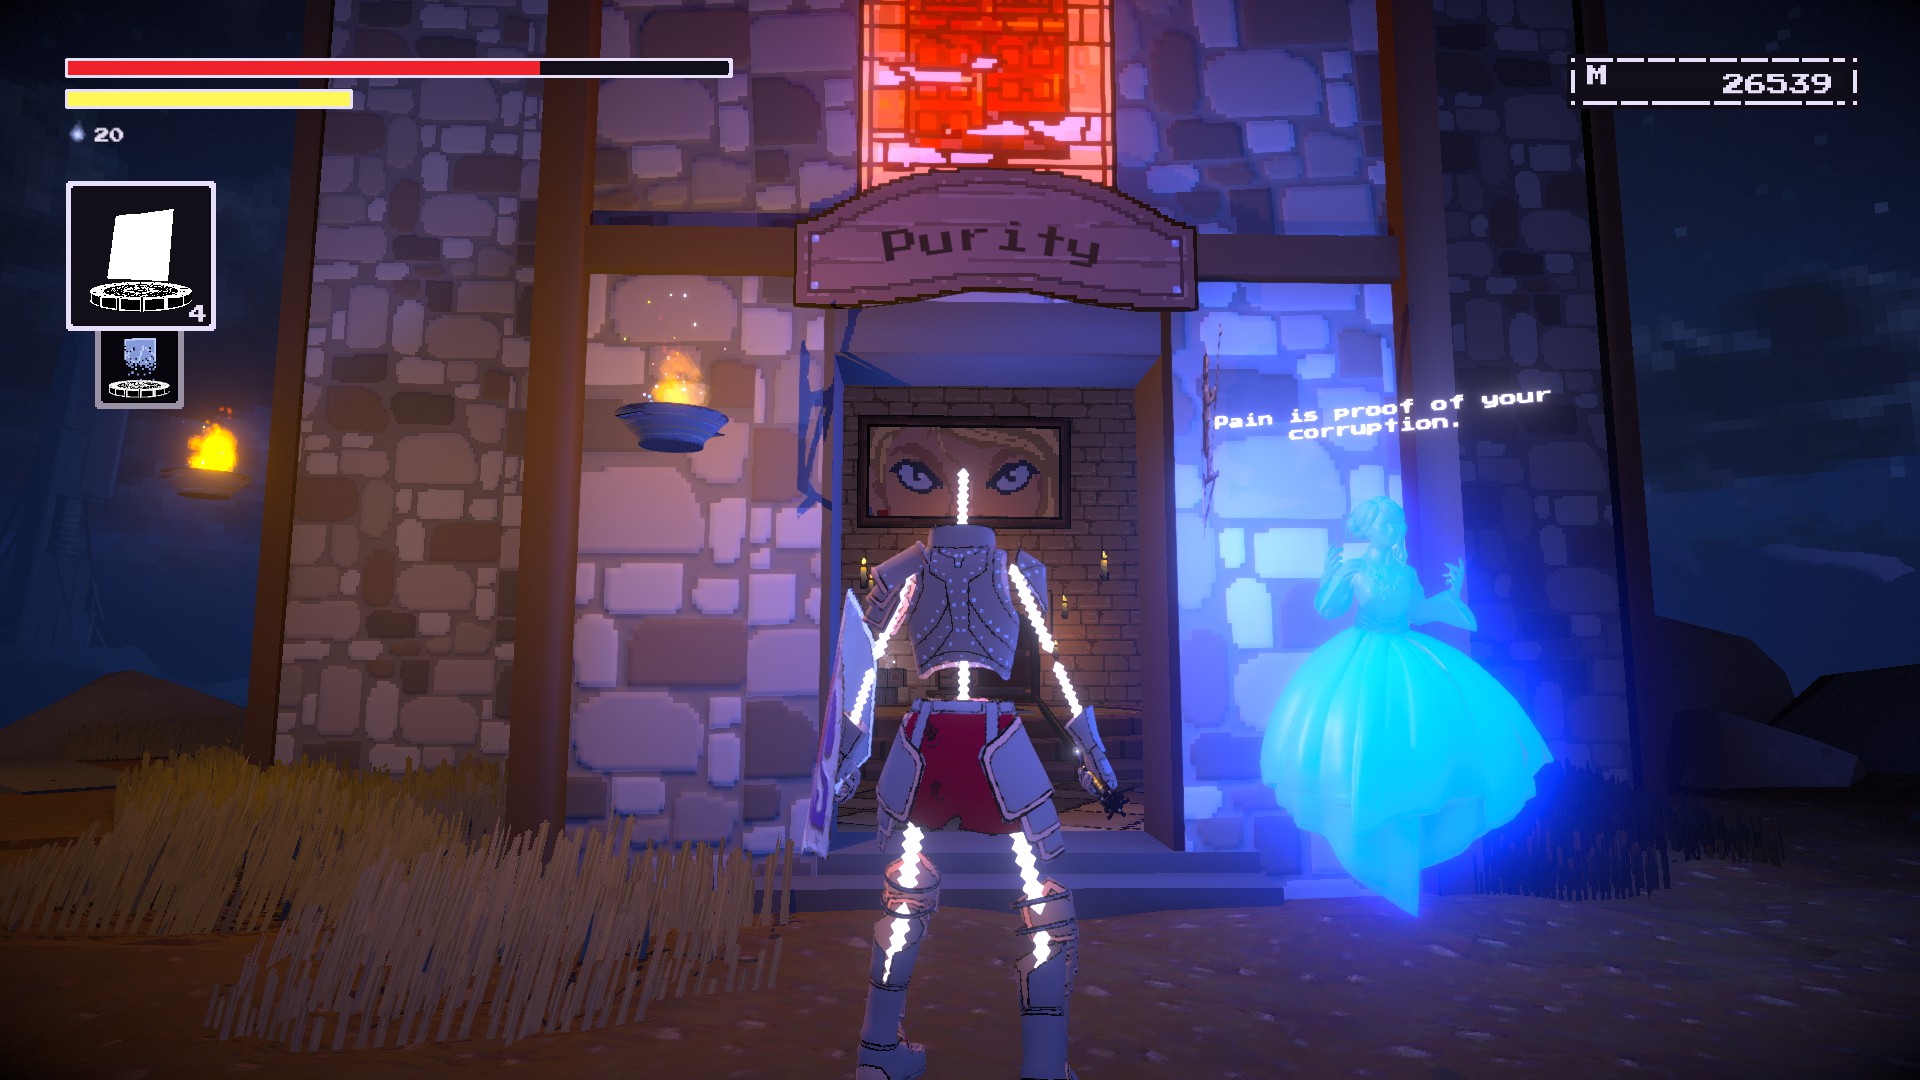
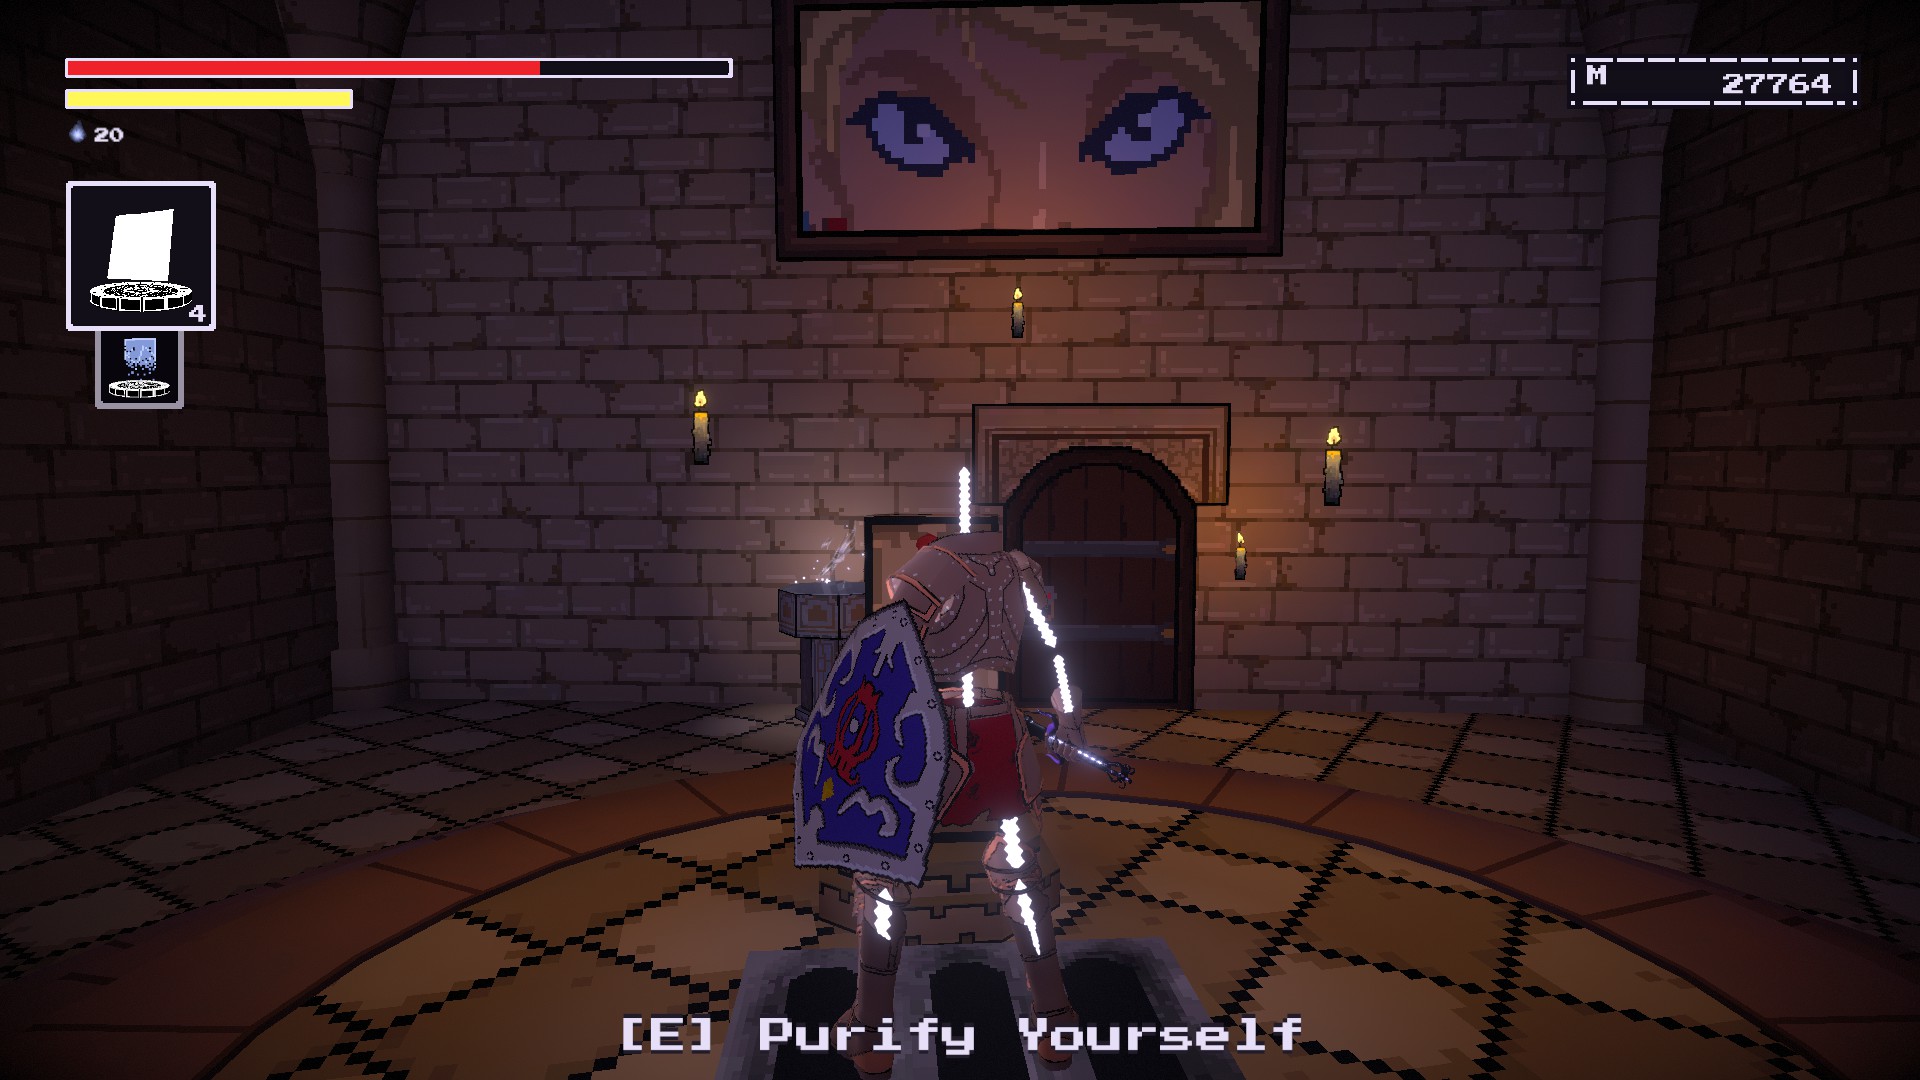
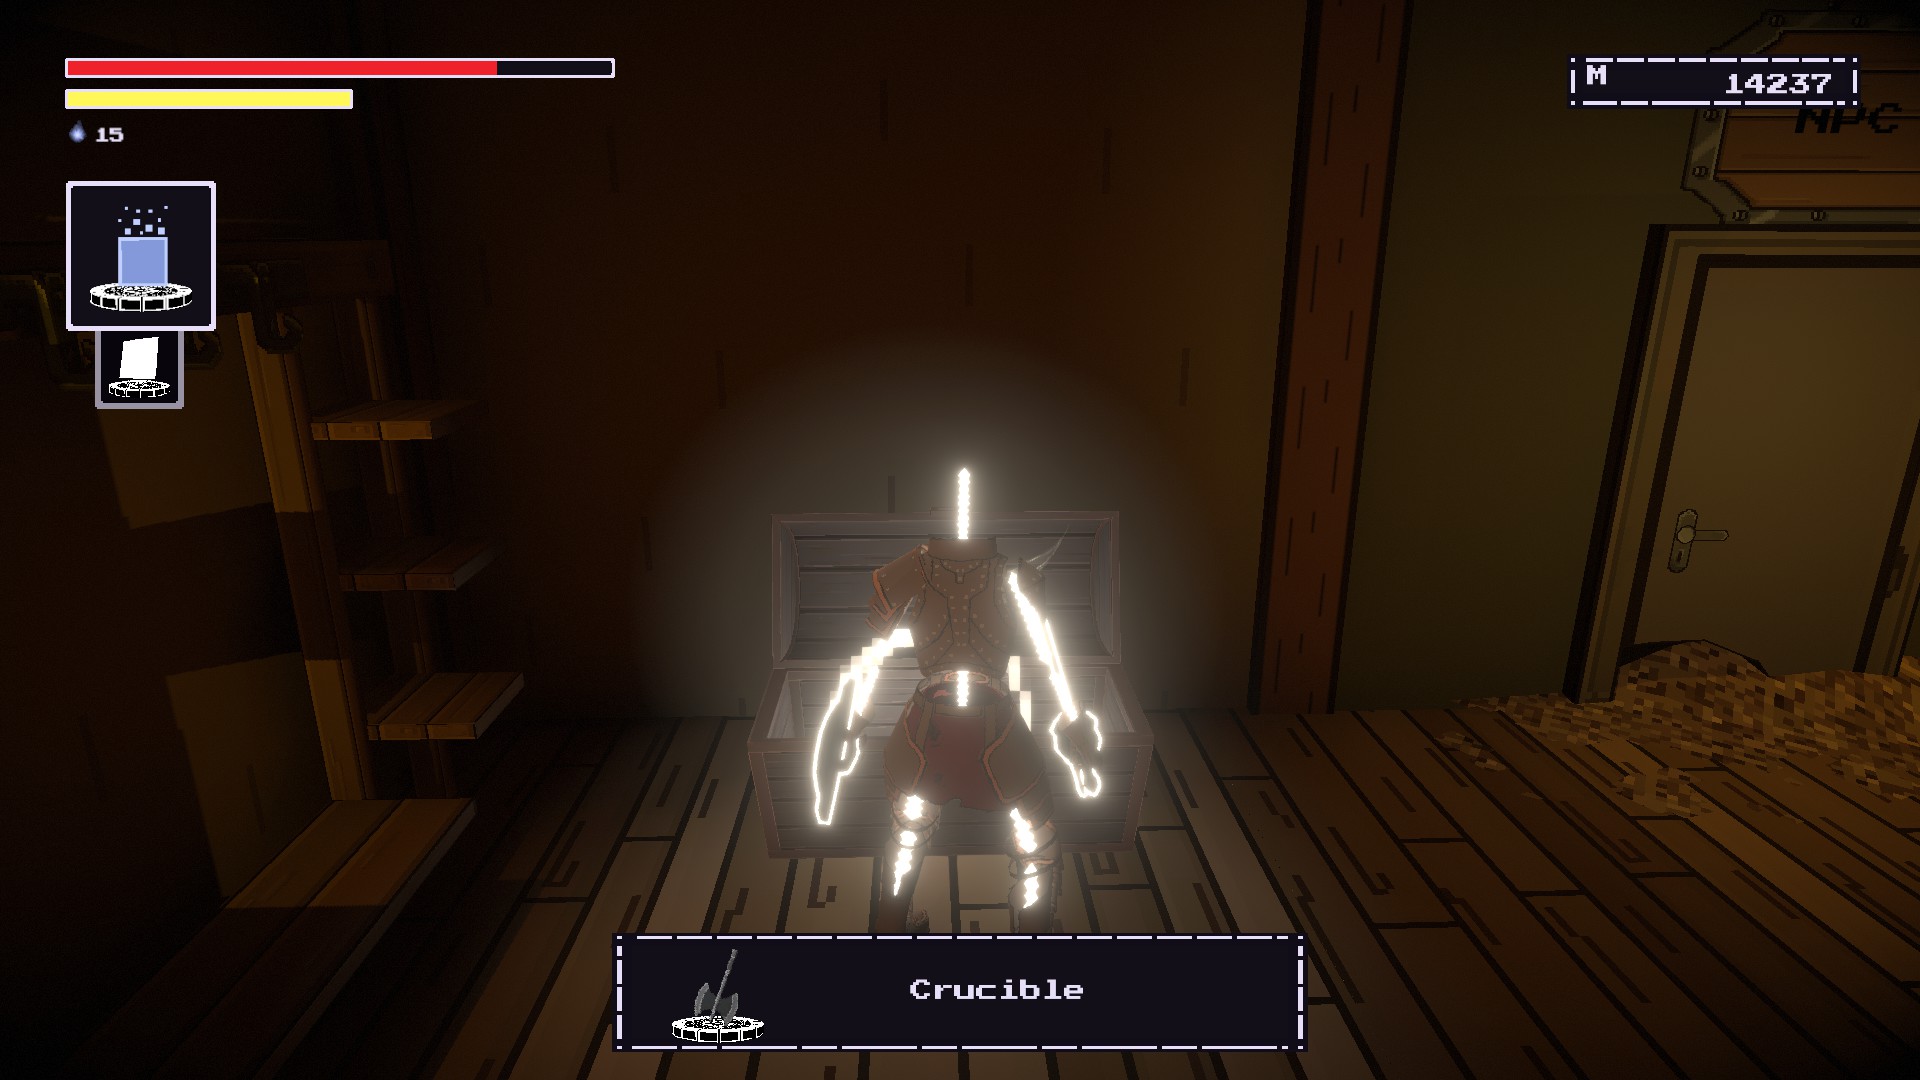
4. Rehabilitation Pits (Near the hologram lady in the starting area)

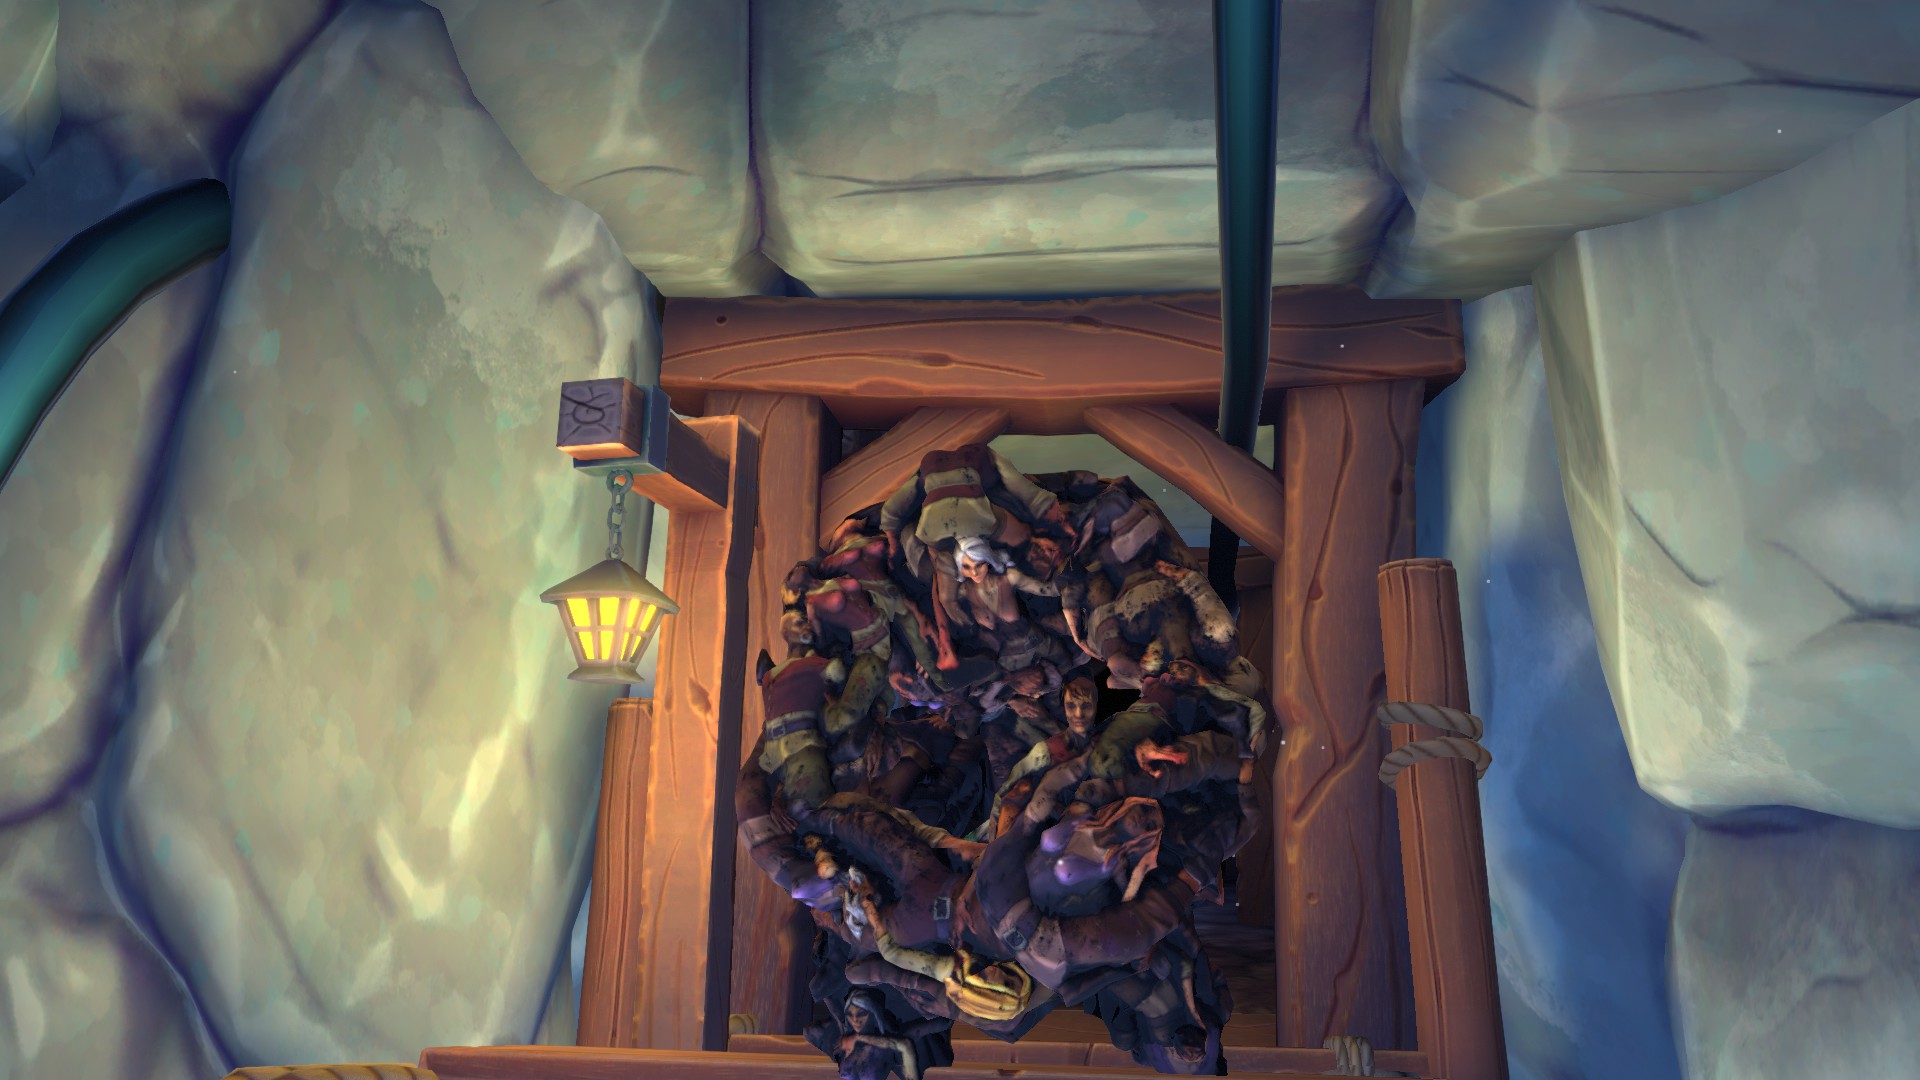
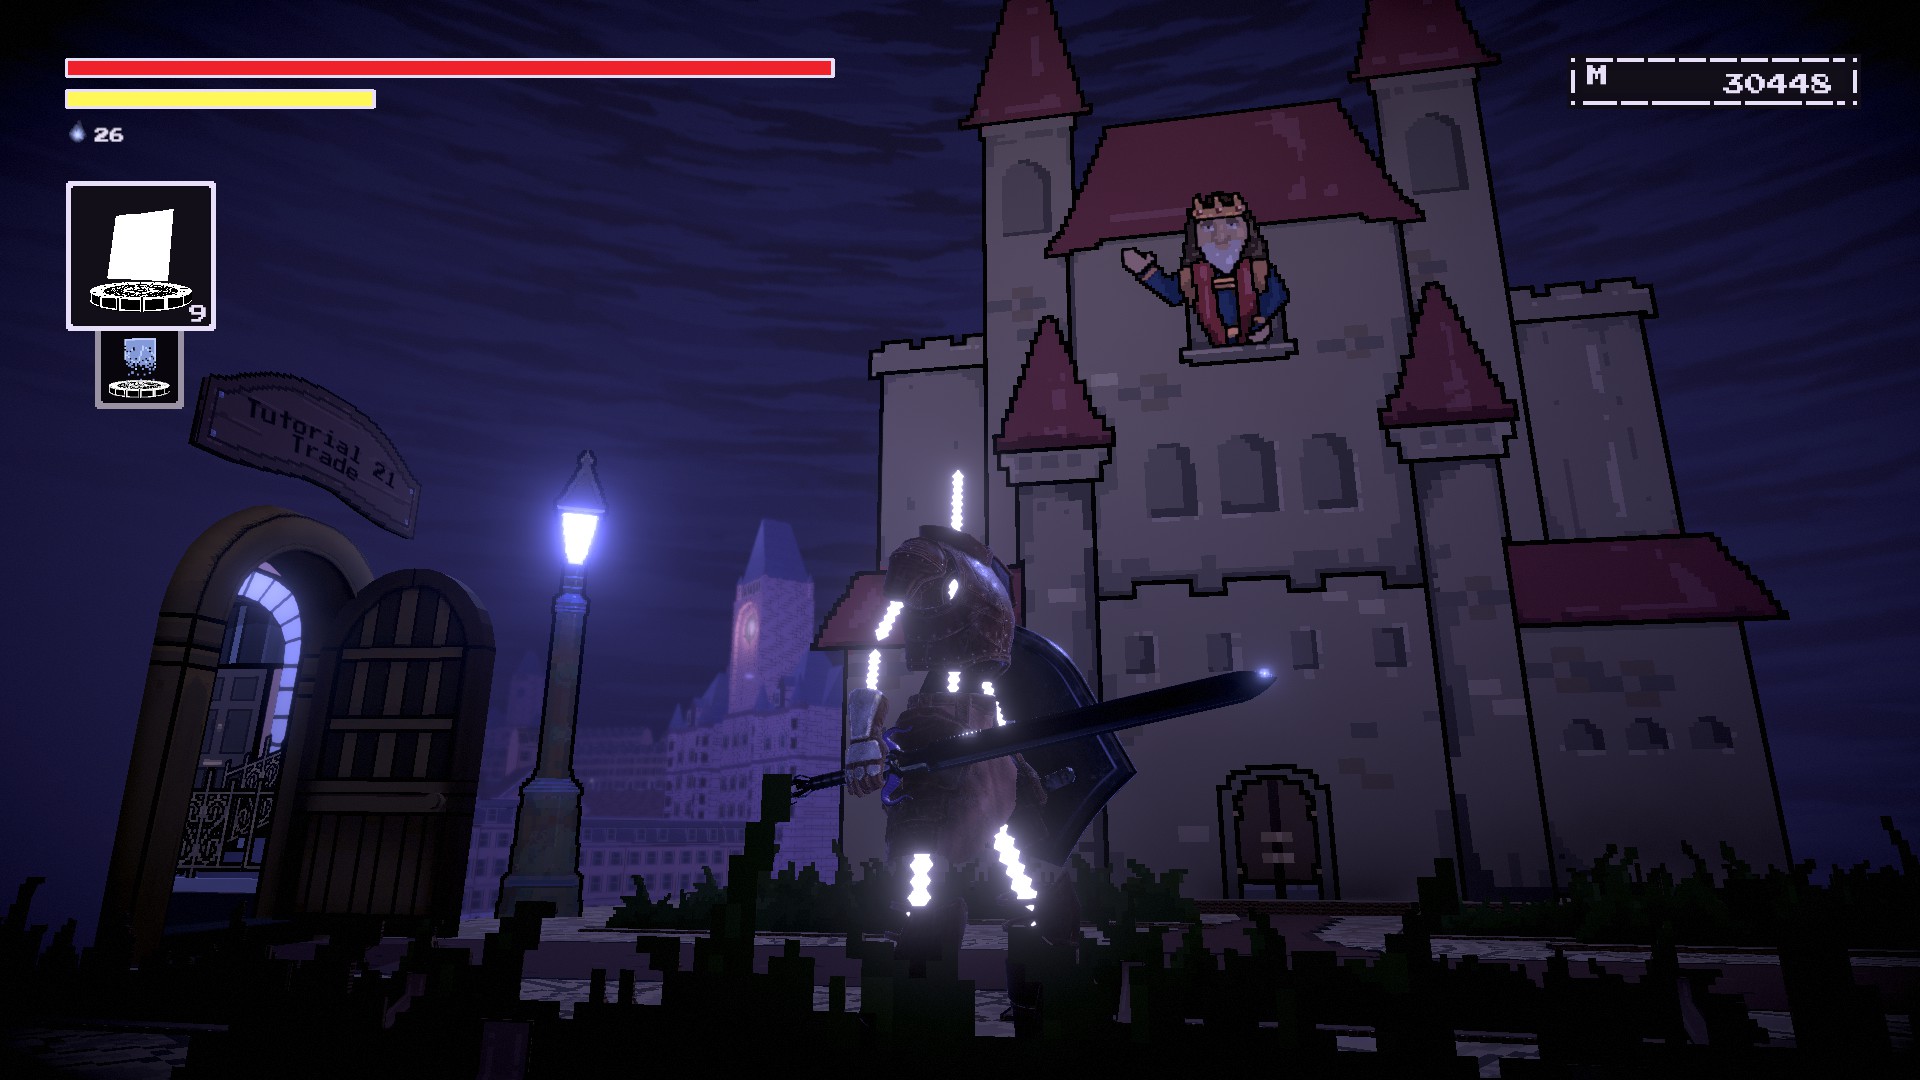
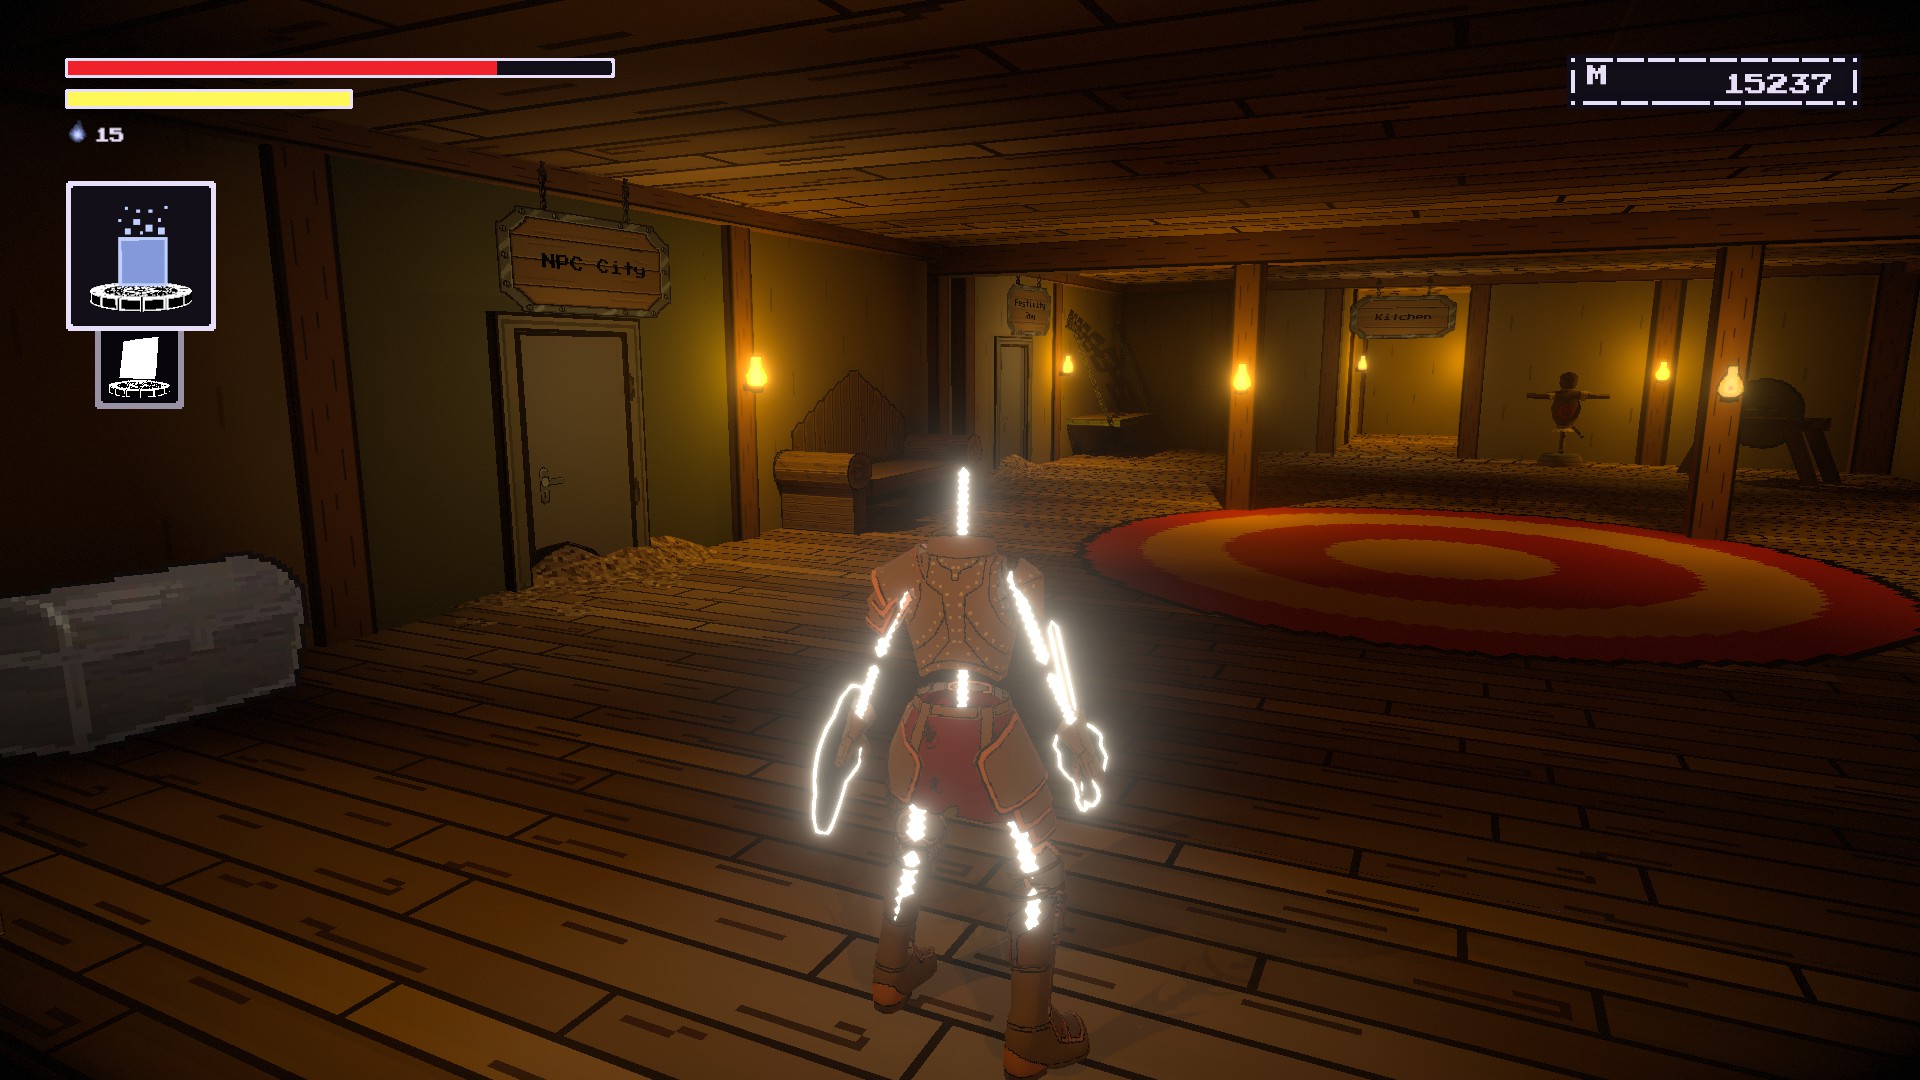
5. NPC City (I can't remember exactly but it's in the area with the large cracks in the ground)
Splat ♥ 2024 年 8 月 22 日 上午 2:21 
thanks this is awesome ♥ any chance theres a guide for black smiths im unsure if im missing any or if the one i want is in the future
AZRA3L The Eternal  [作者] 2024 年 8 月 21 日 下午 2:46 
I just updated the guide, does it look better now?

Also thank you for bringing it up.
Splat ♥ 2024 年 8 月 21 日 上午 3:05 
is there anyway to sort these by location instead of alphebetical
AZRA3L The Eternal  [作者] 2024 年 2 月 16 日 下午 12:36 
From what I remember, no because you need to give the items to him to unlock the fight just like giving the upgraded dagger to the girl.

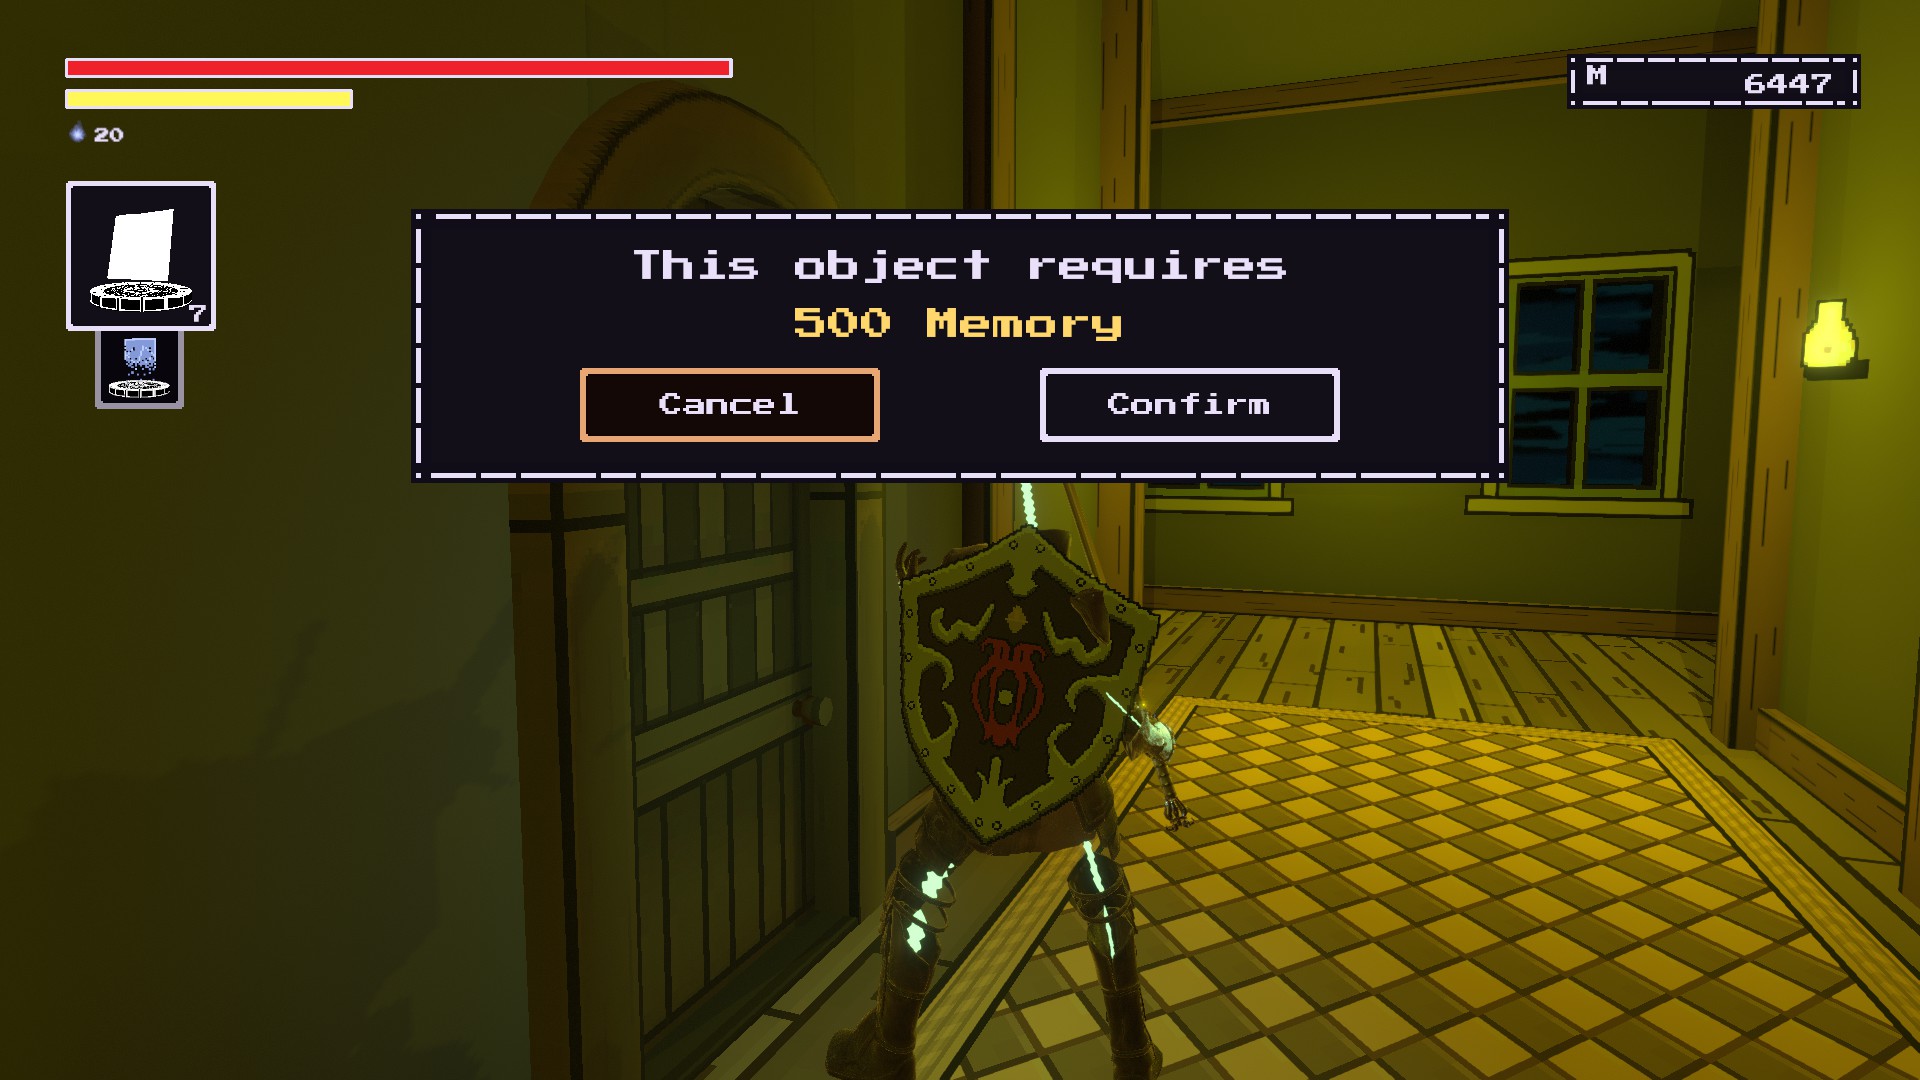
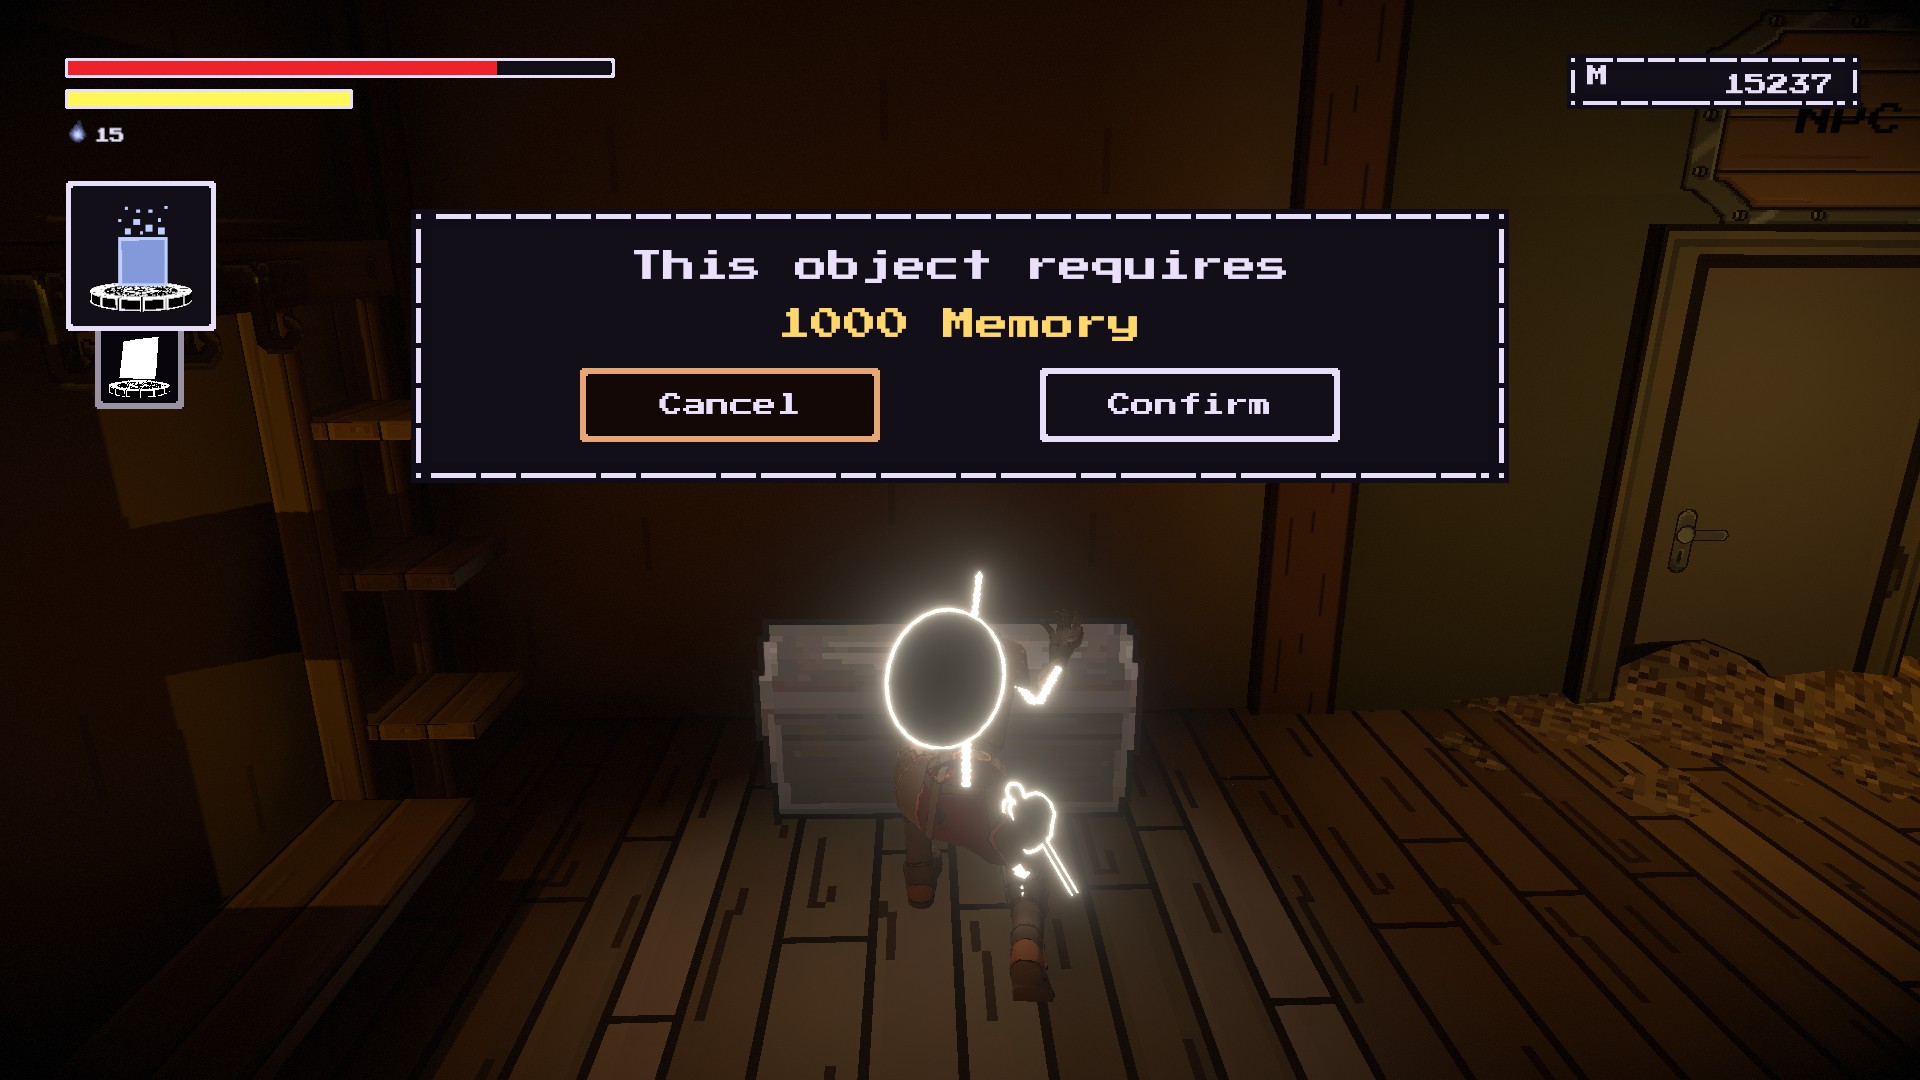
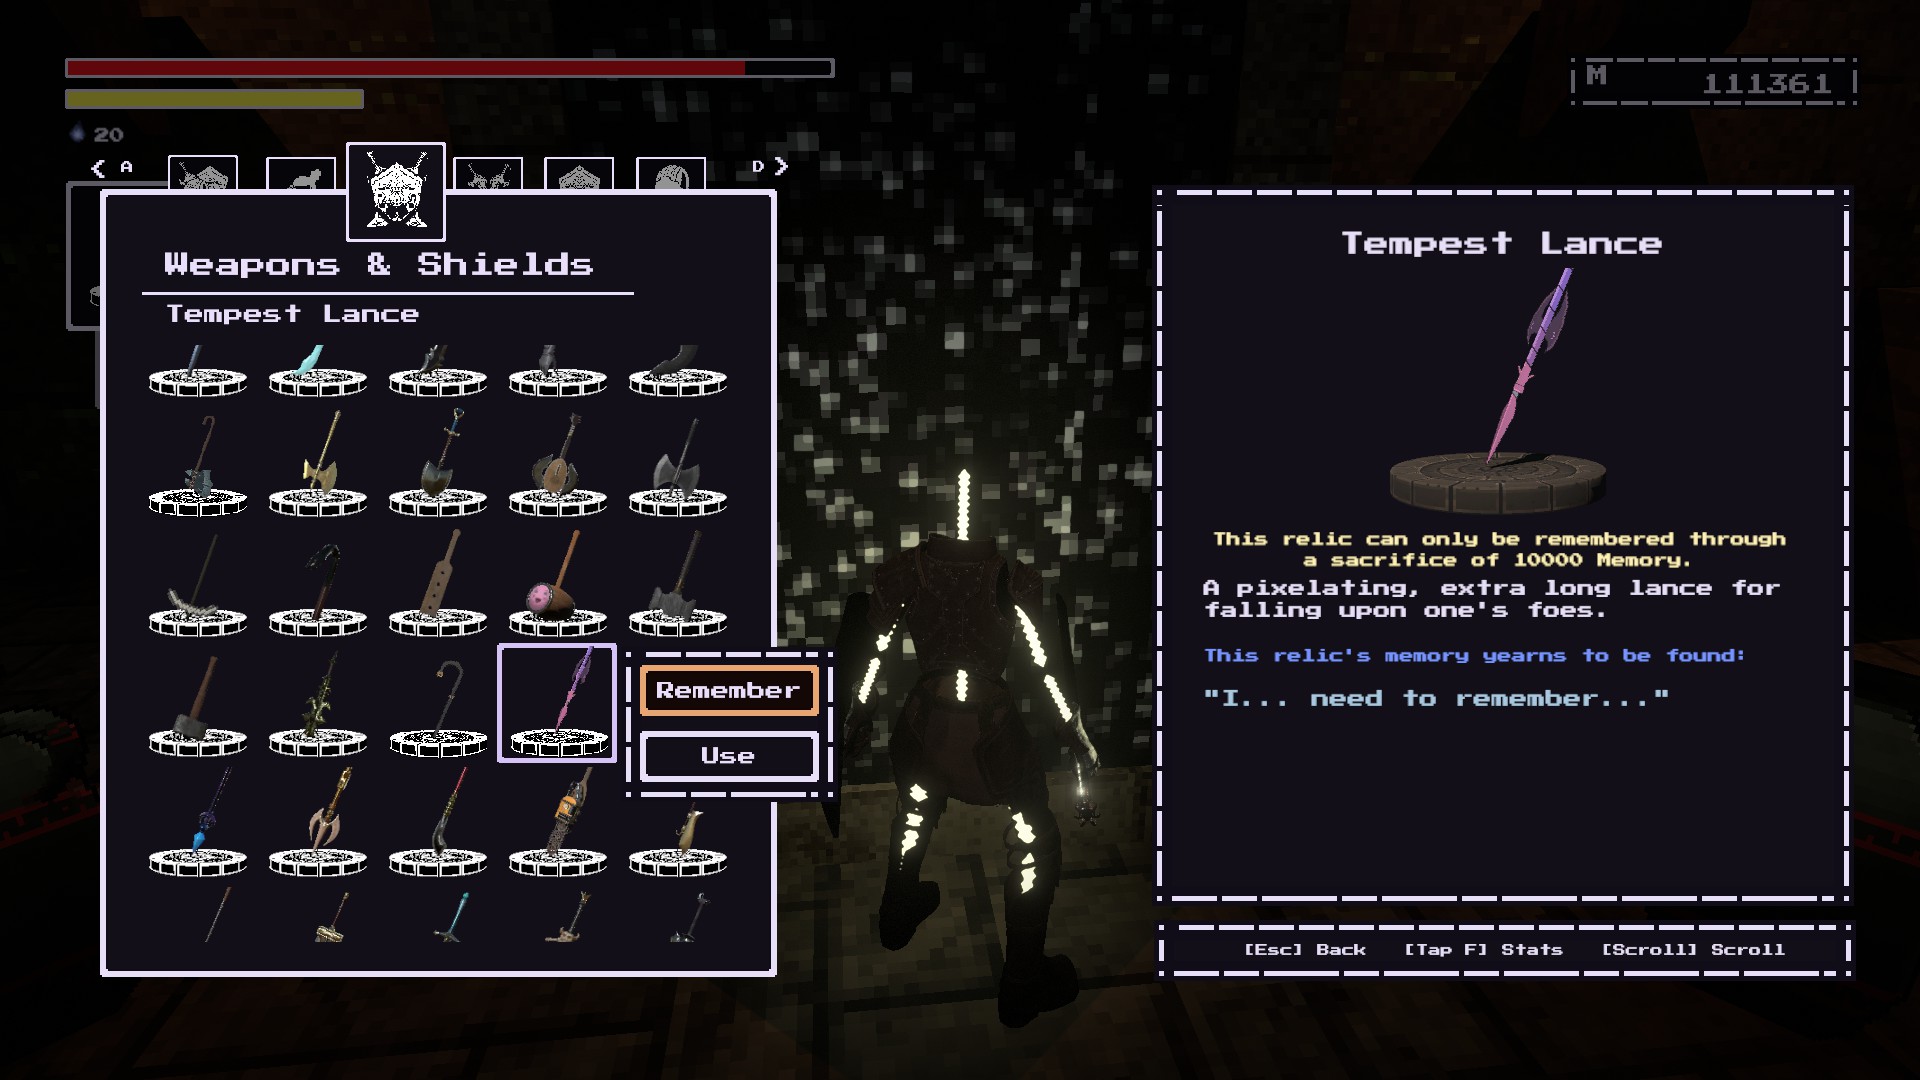
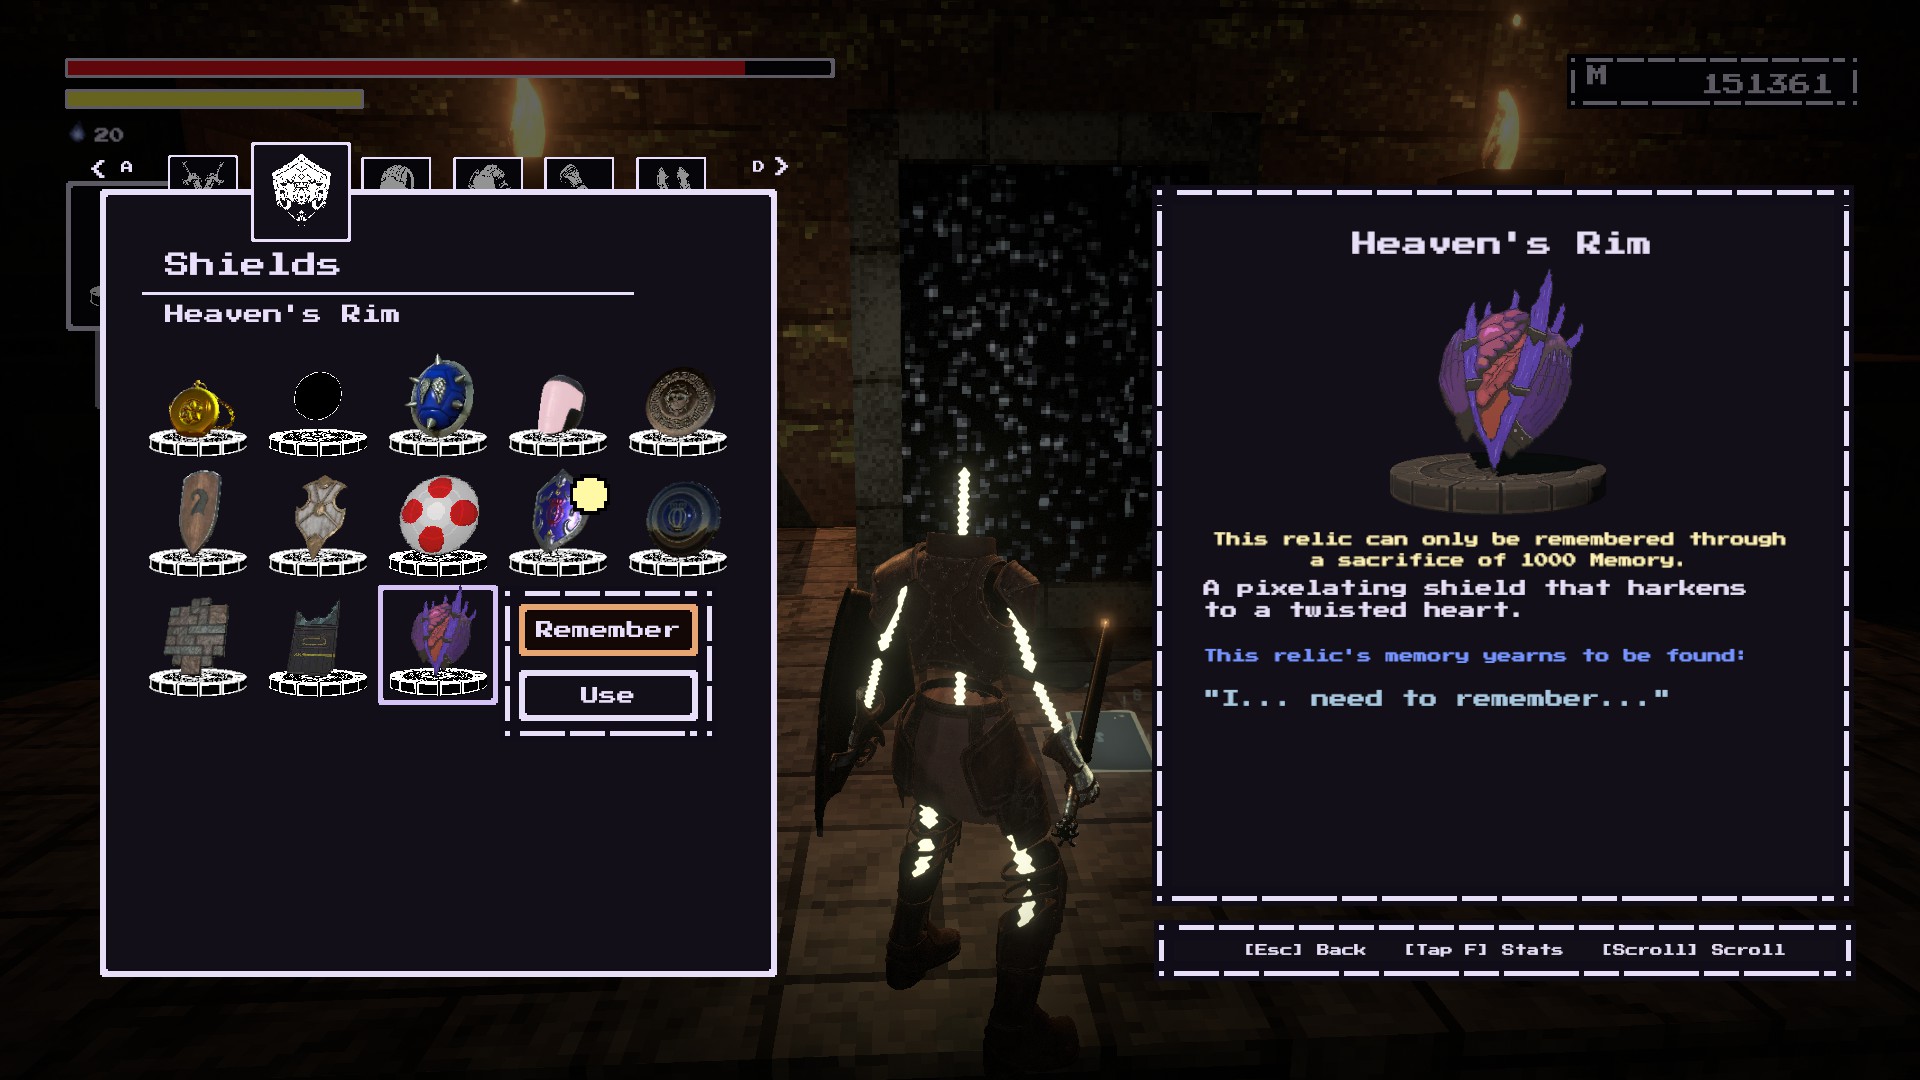
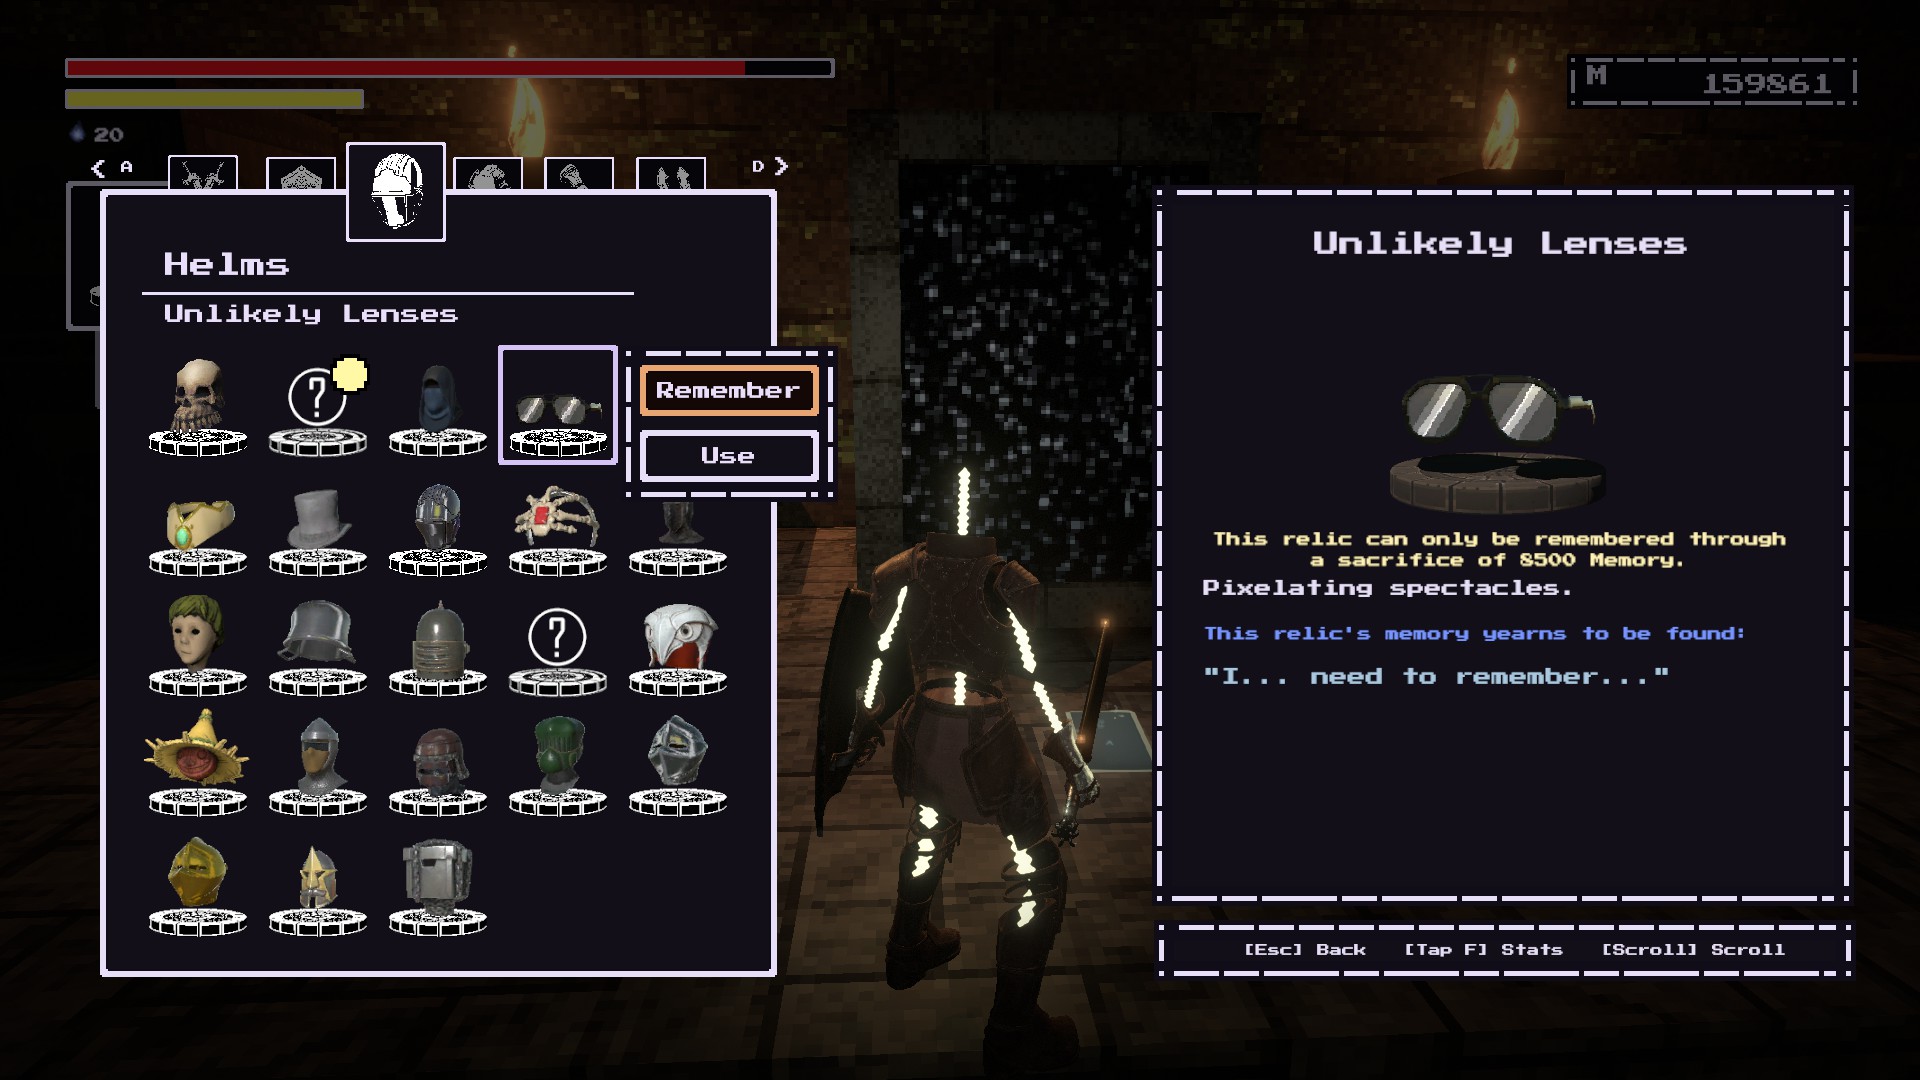
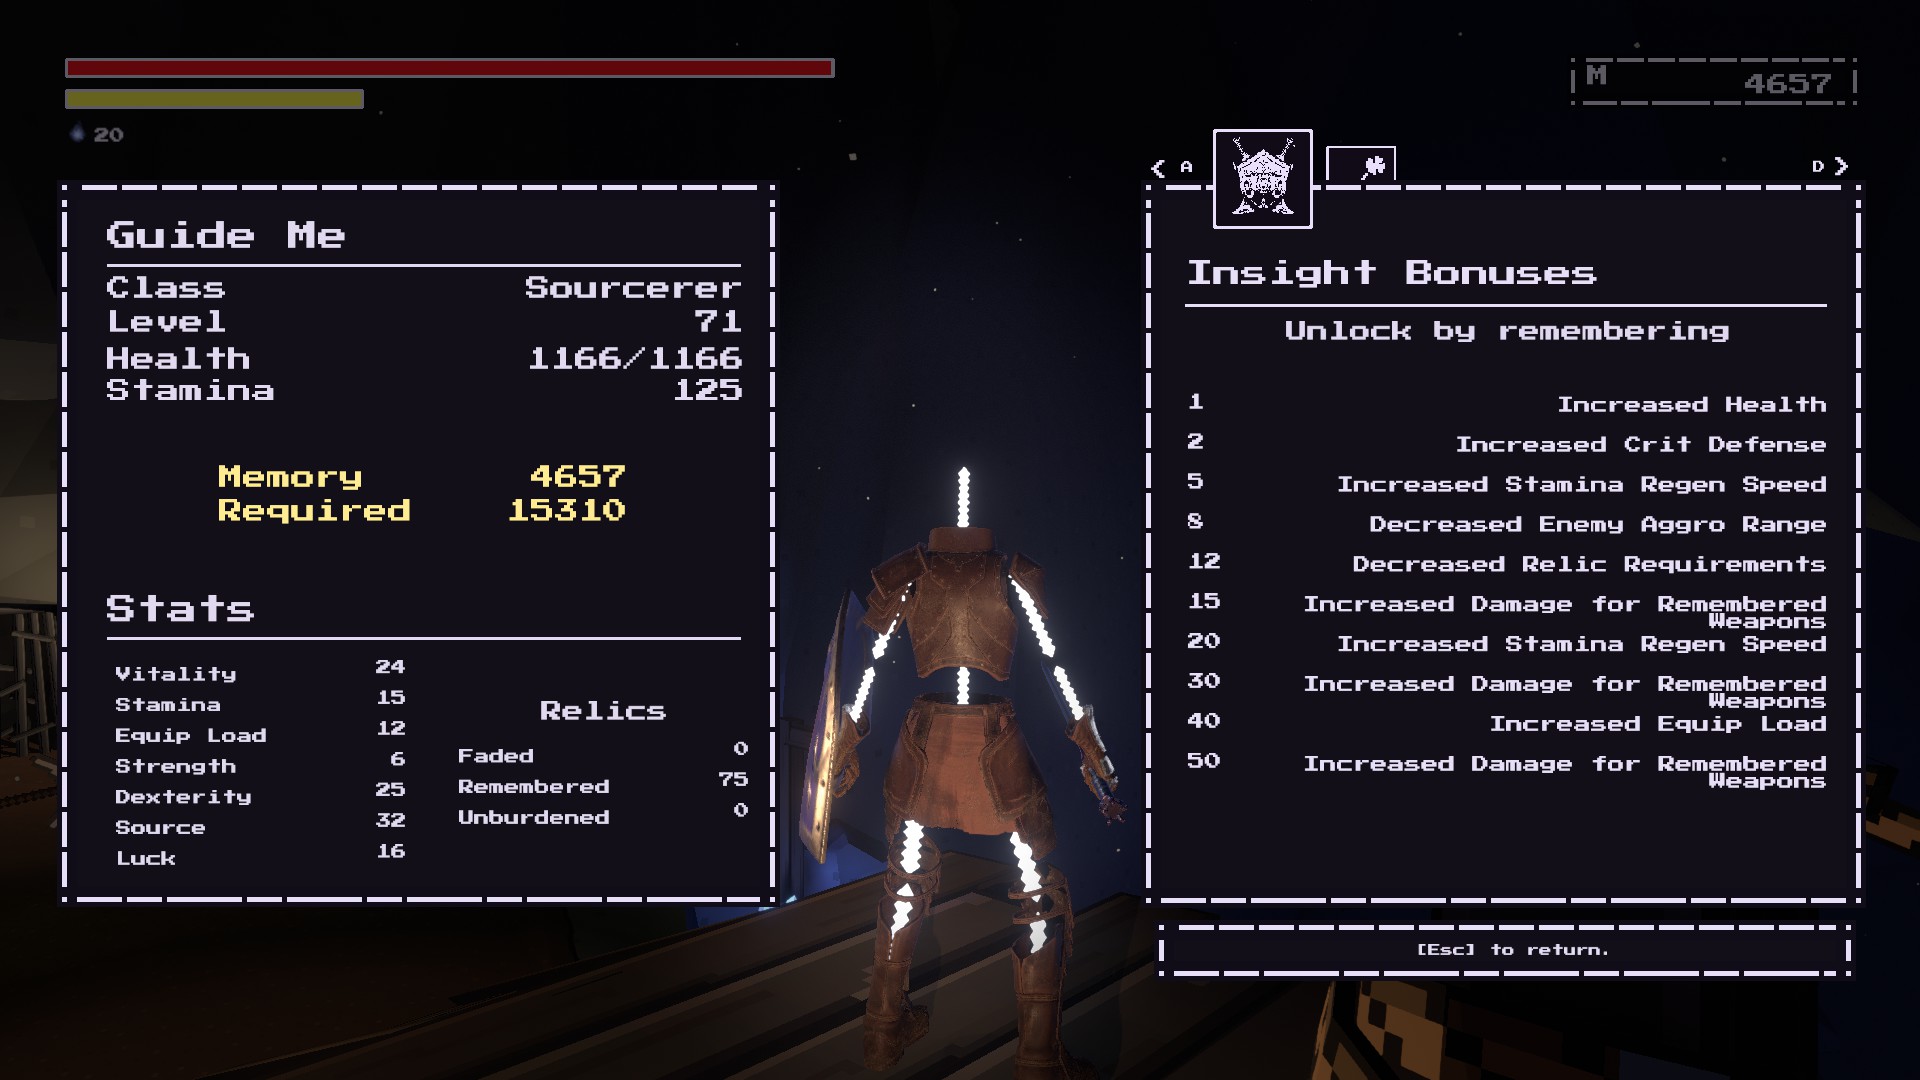
You'll probably need to do NG + or add it back into your save file through editting the text save file.
KOIYT 2024 年 2 月 16 日 下午 12:19 
Is there a way I can have my fully-upgraded evil sword back? After finishing the adversary?
AZRA3L The Eternal  [作者] 2023 年 12 月 8 日 下午 6:40 
As a general rule of thumb, if the weapon already comes restored/unburdened (It does not look pixelated and retro), it is not a relic that counts for this achievement.

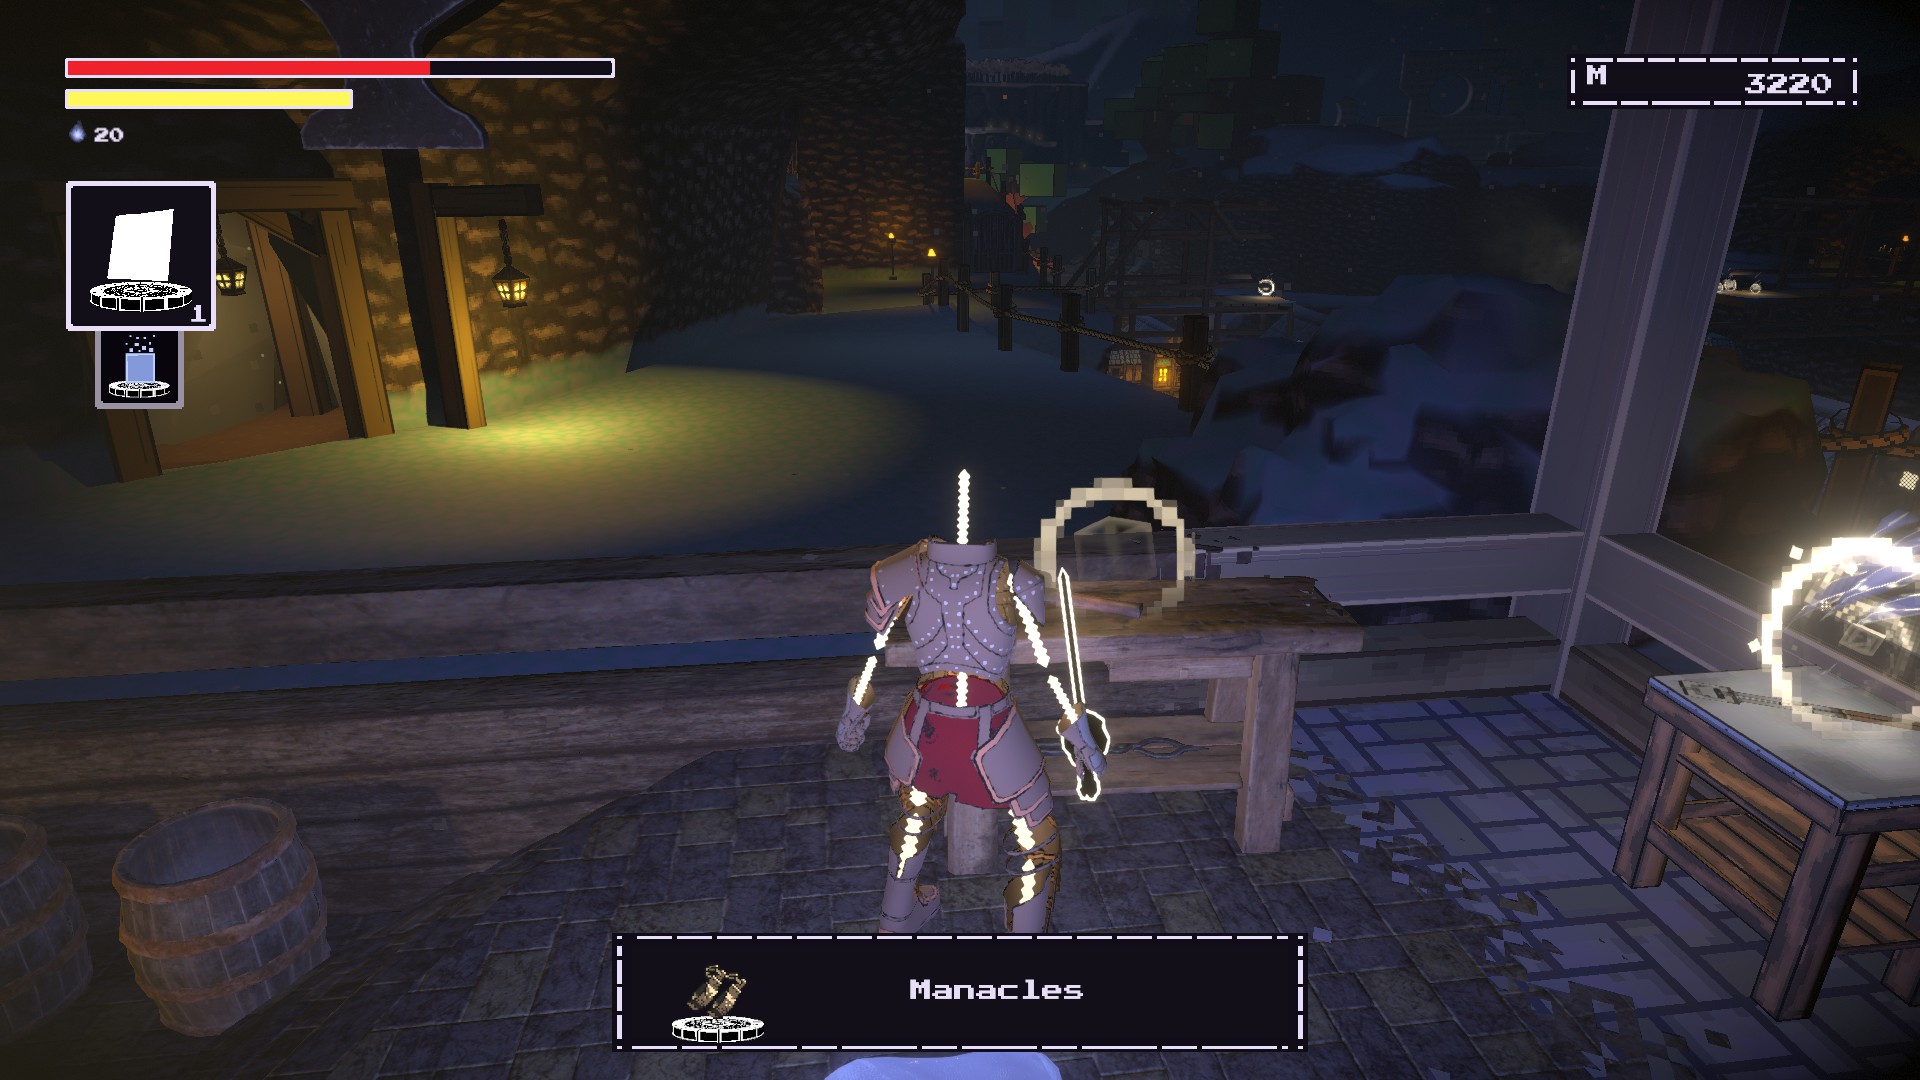
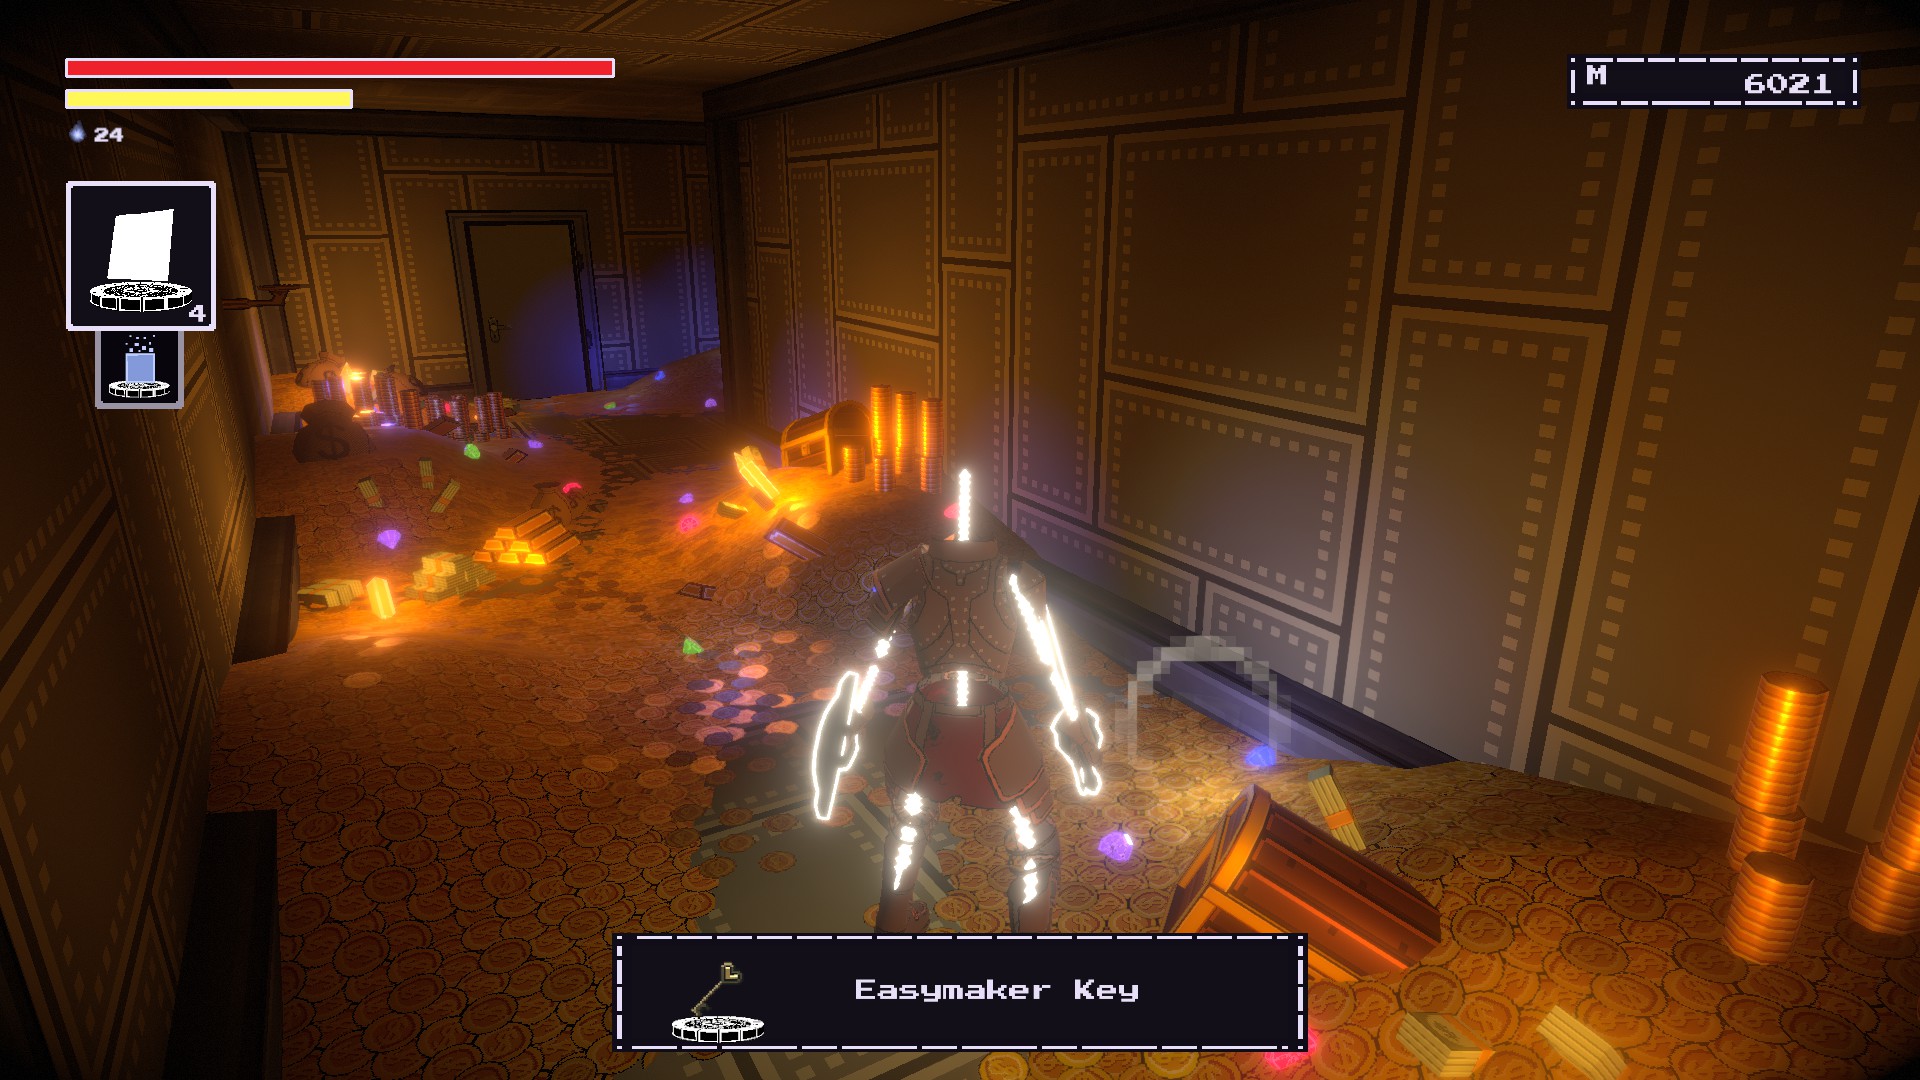
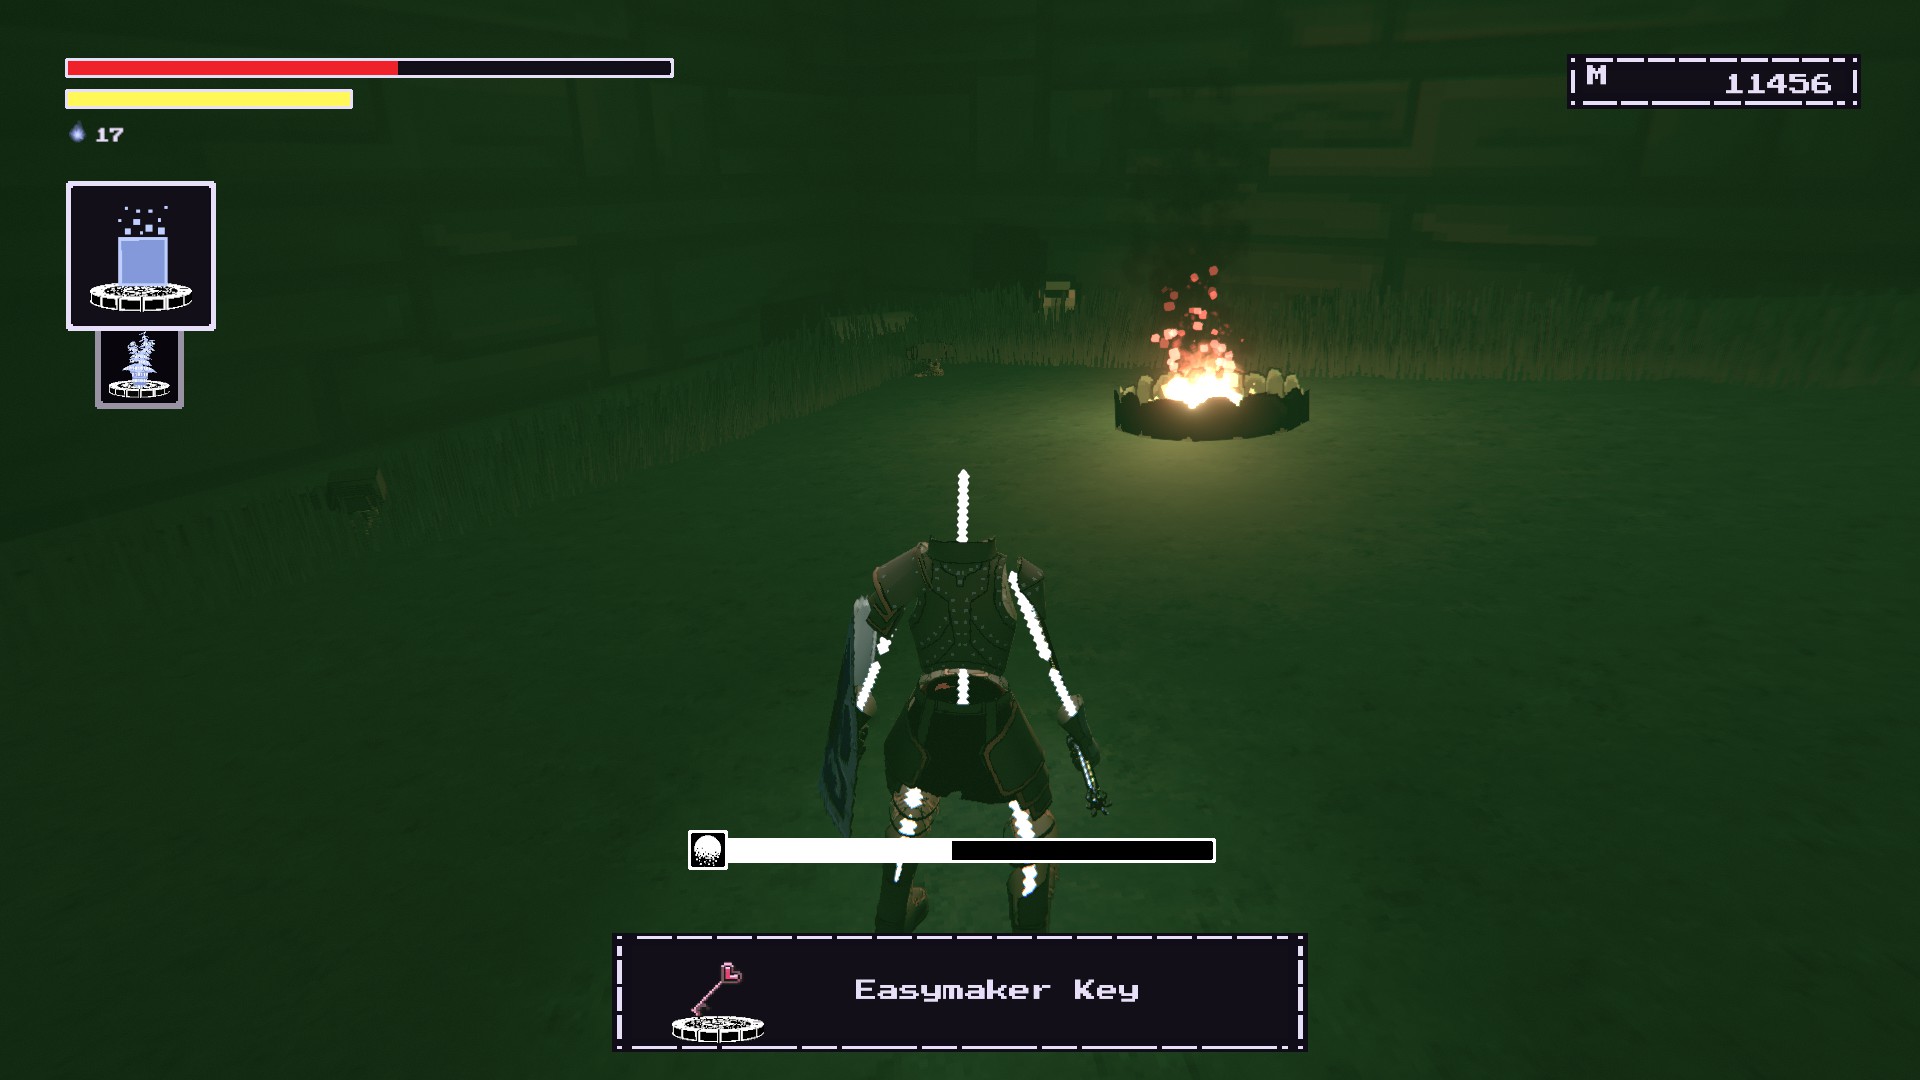
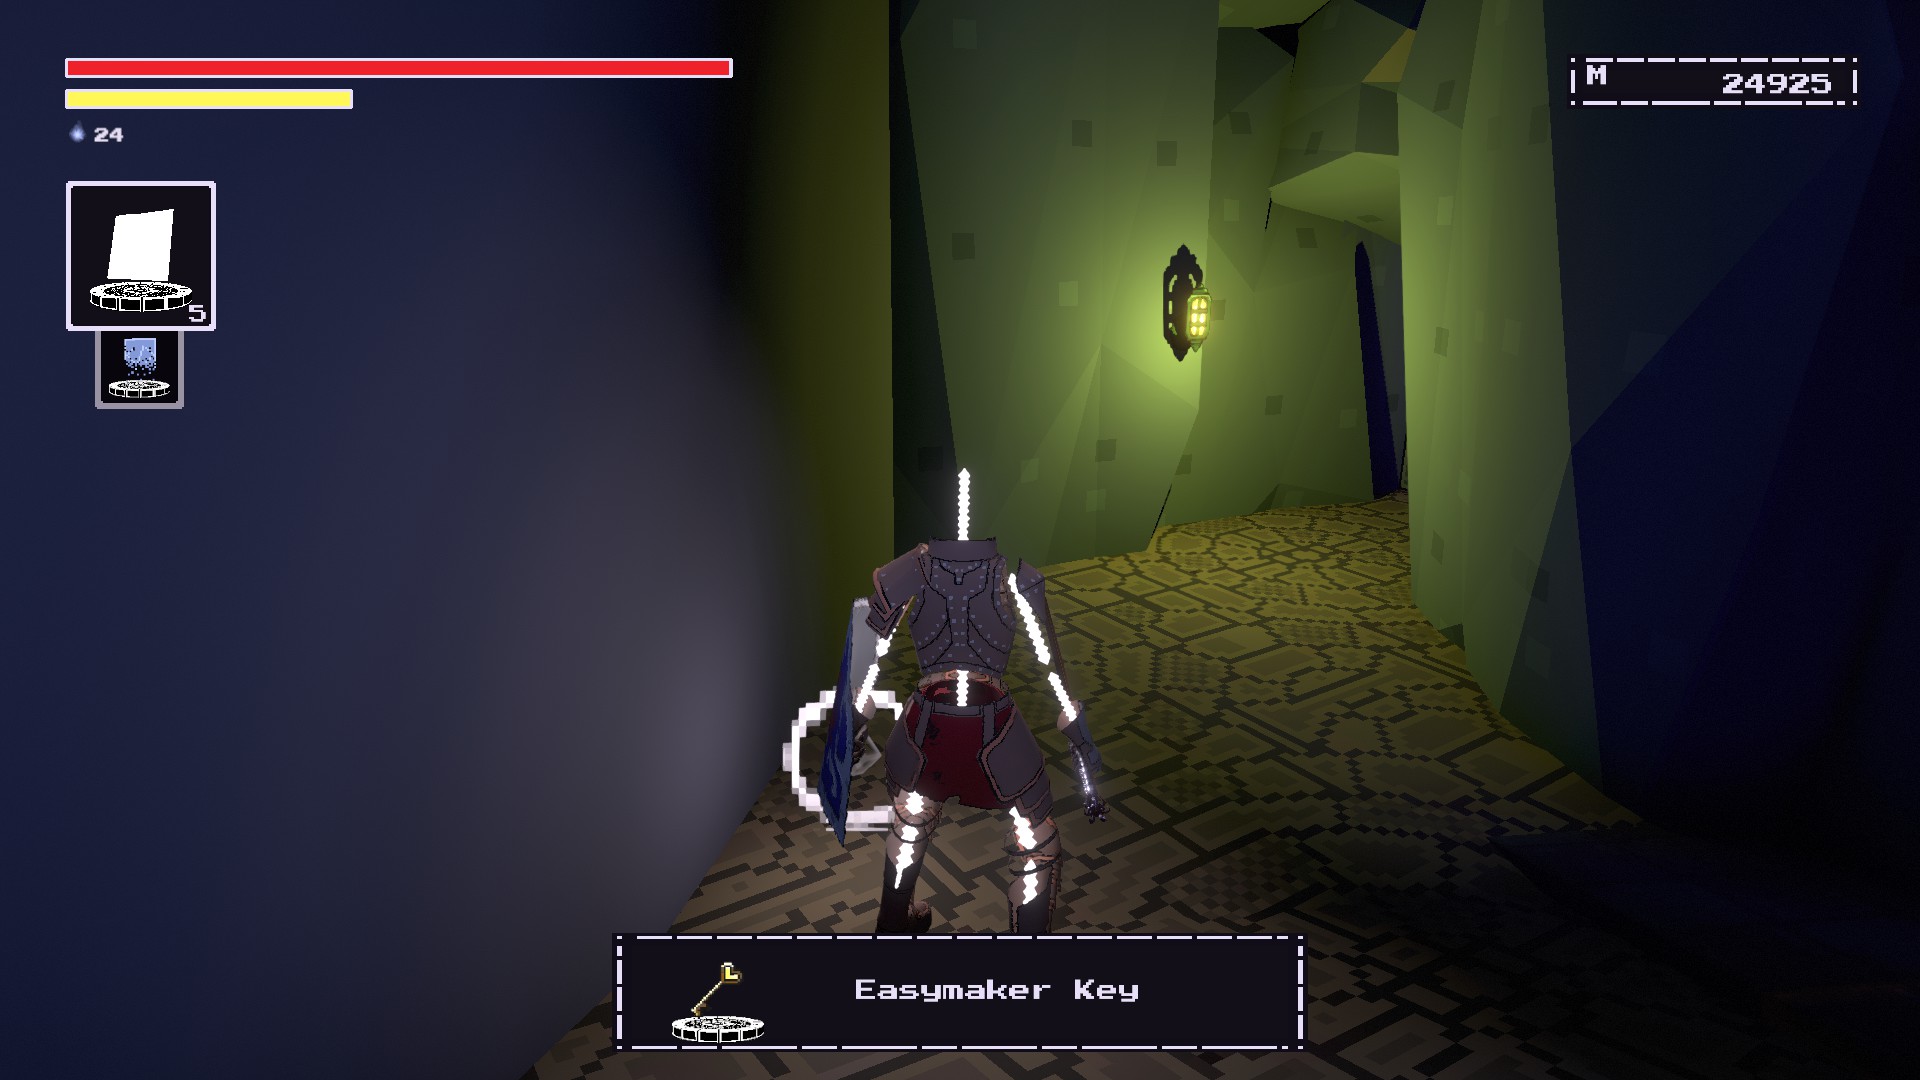
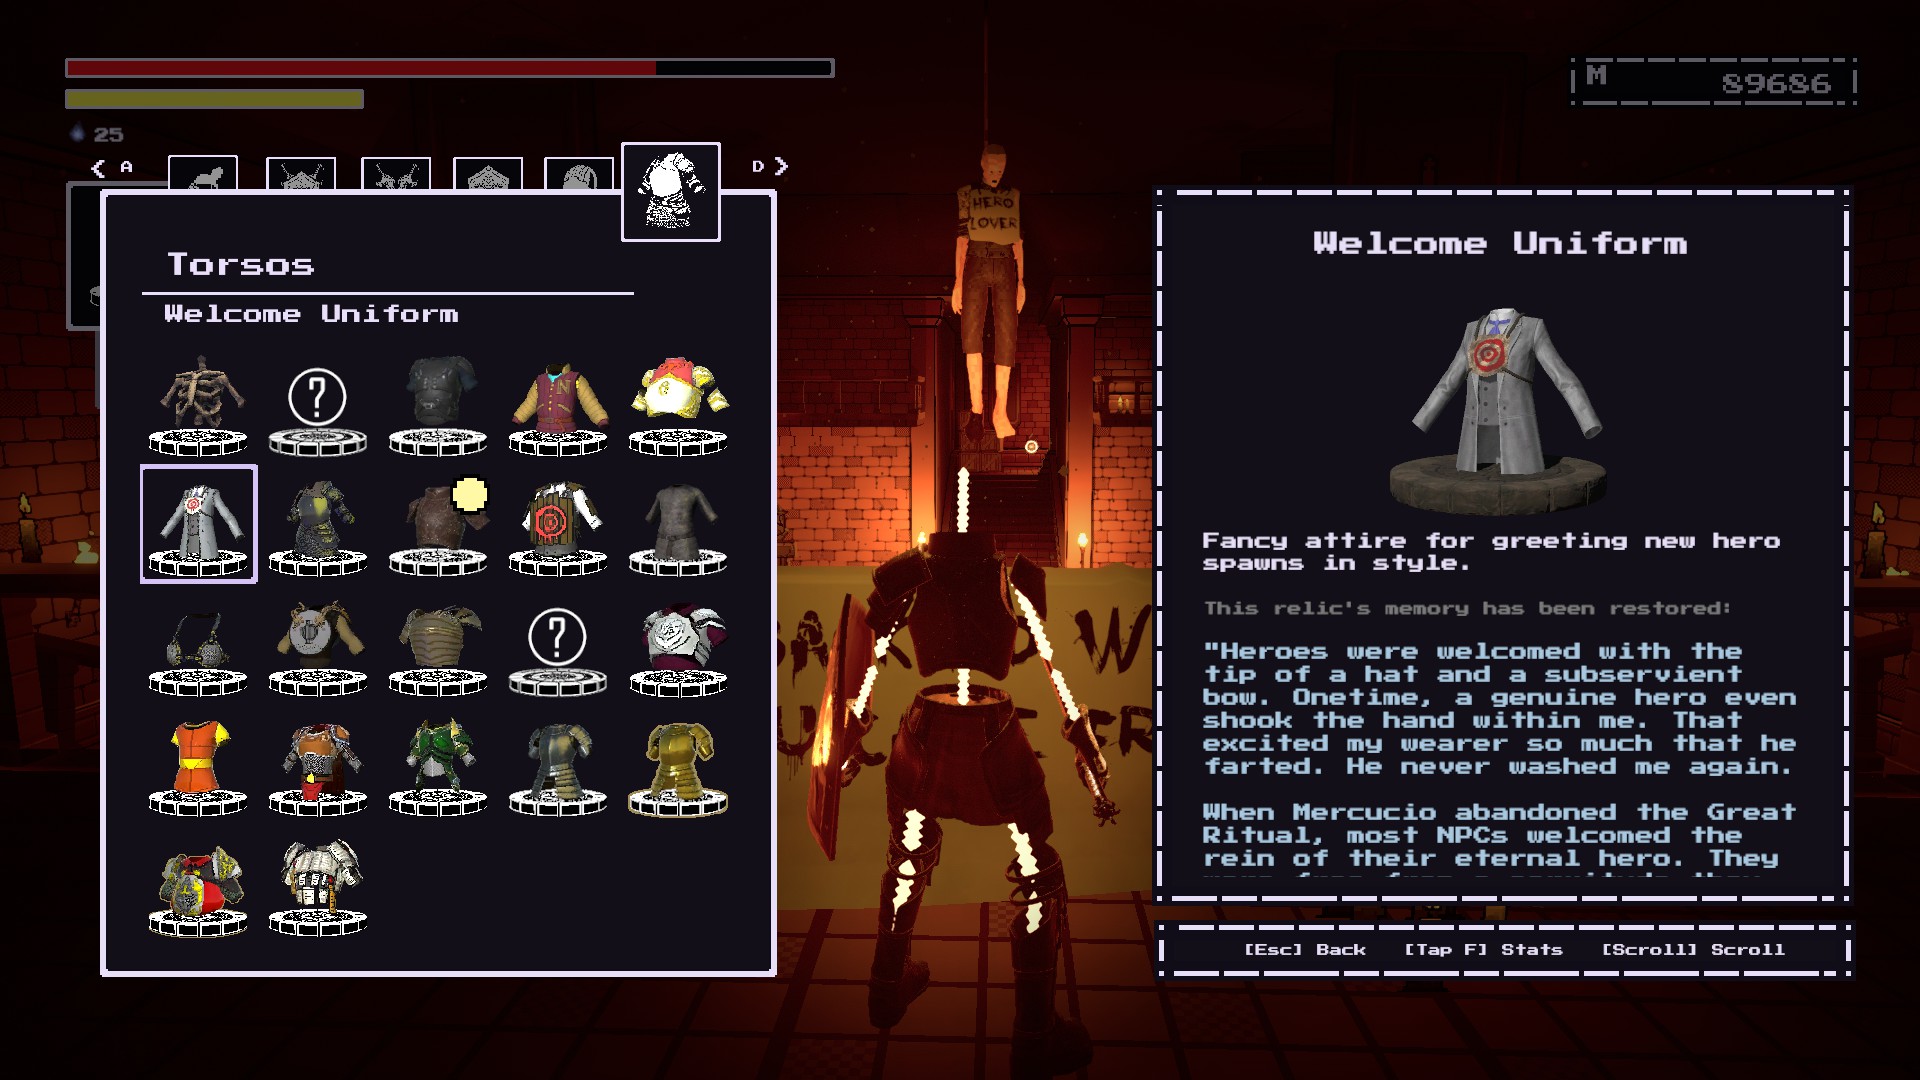
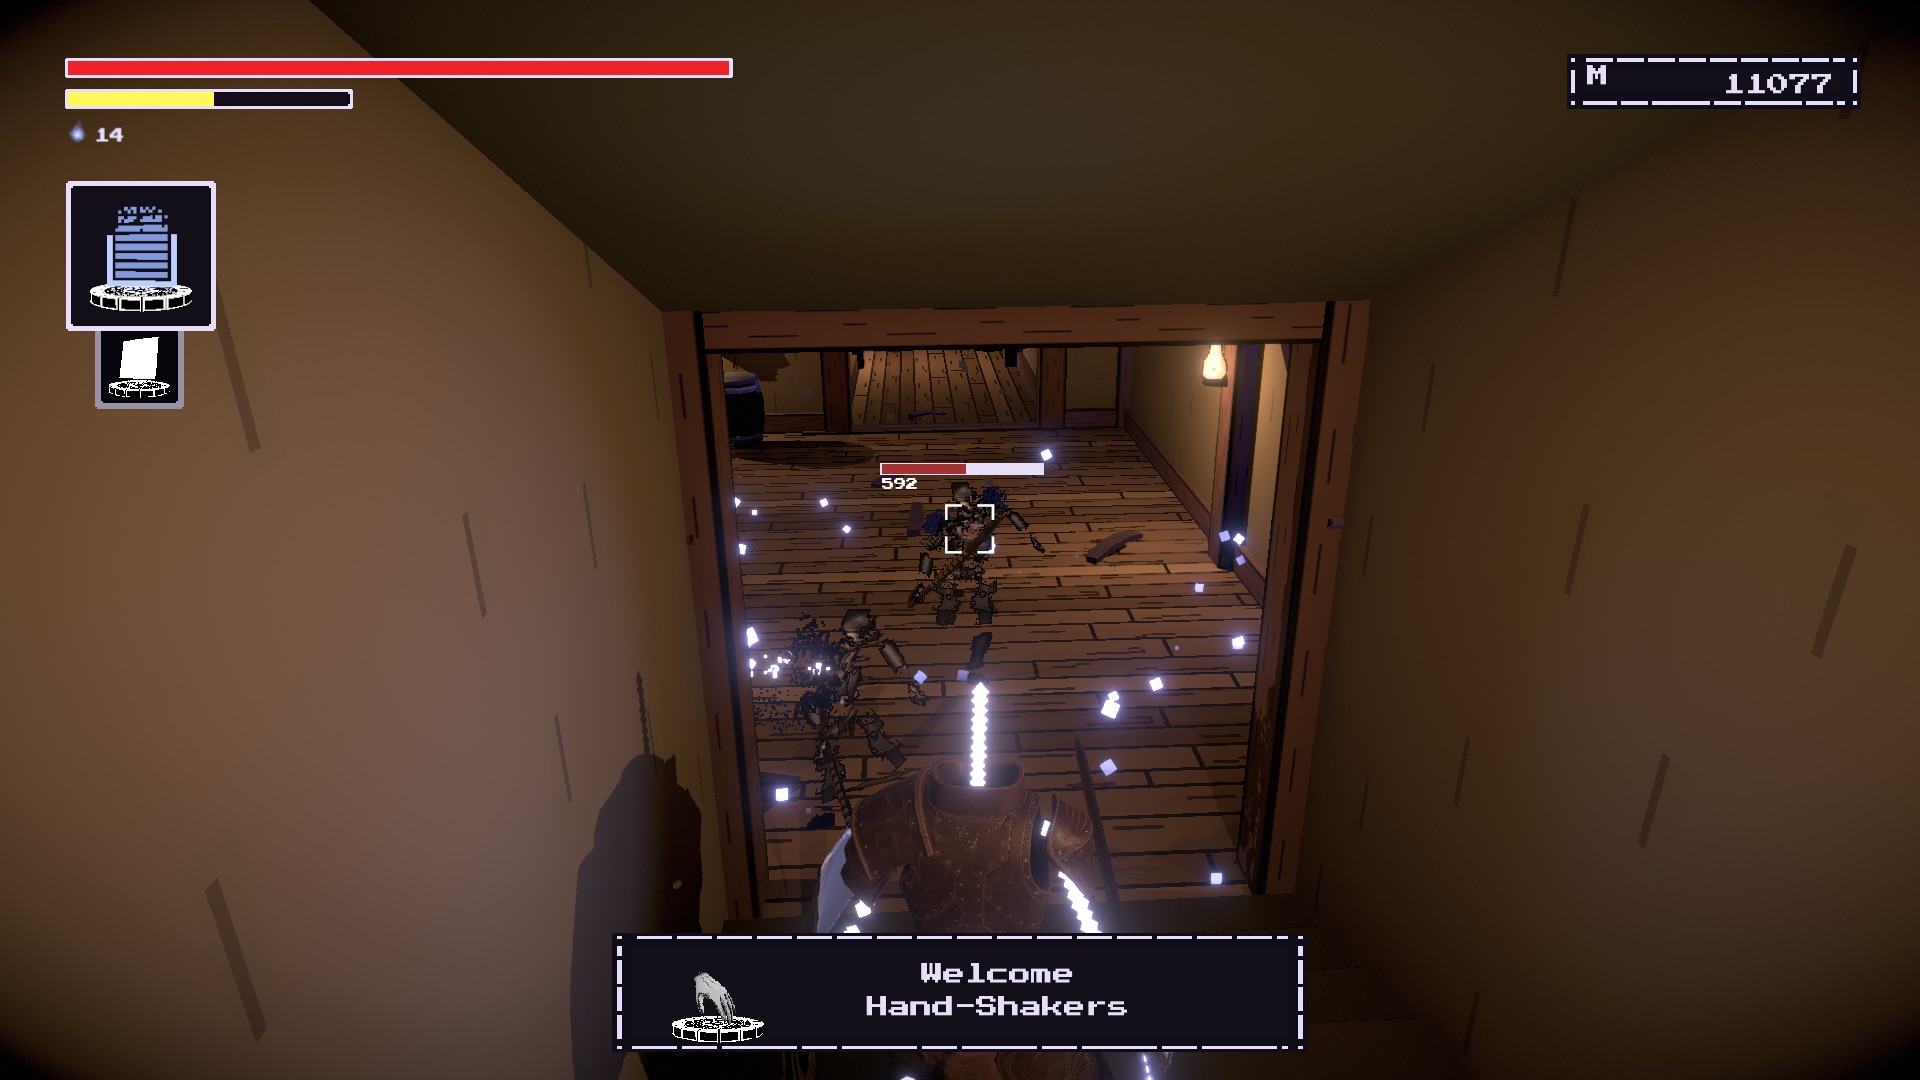
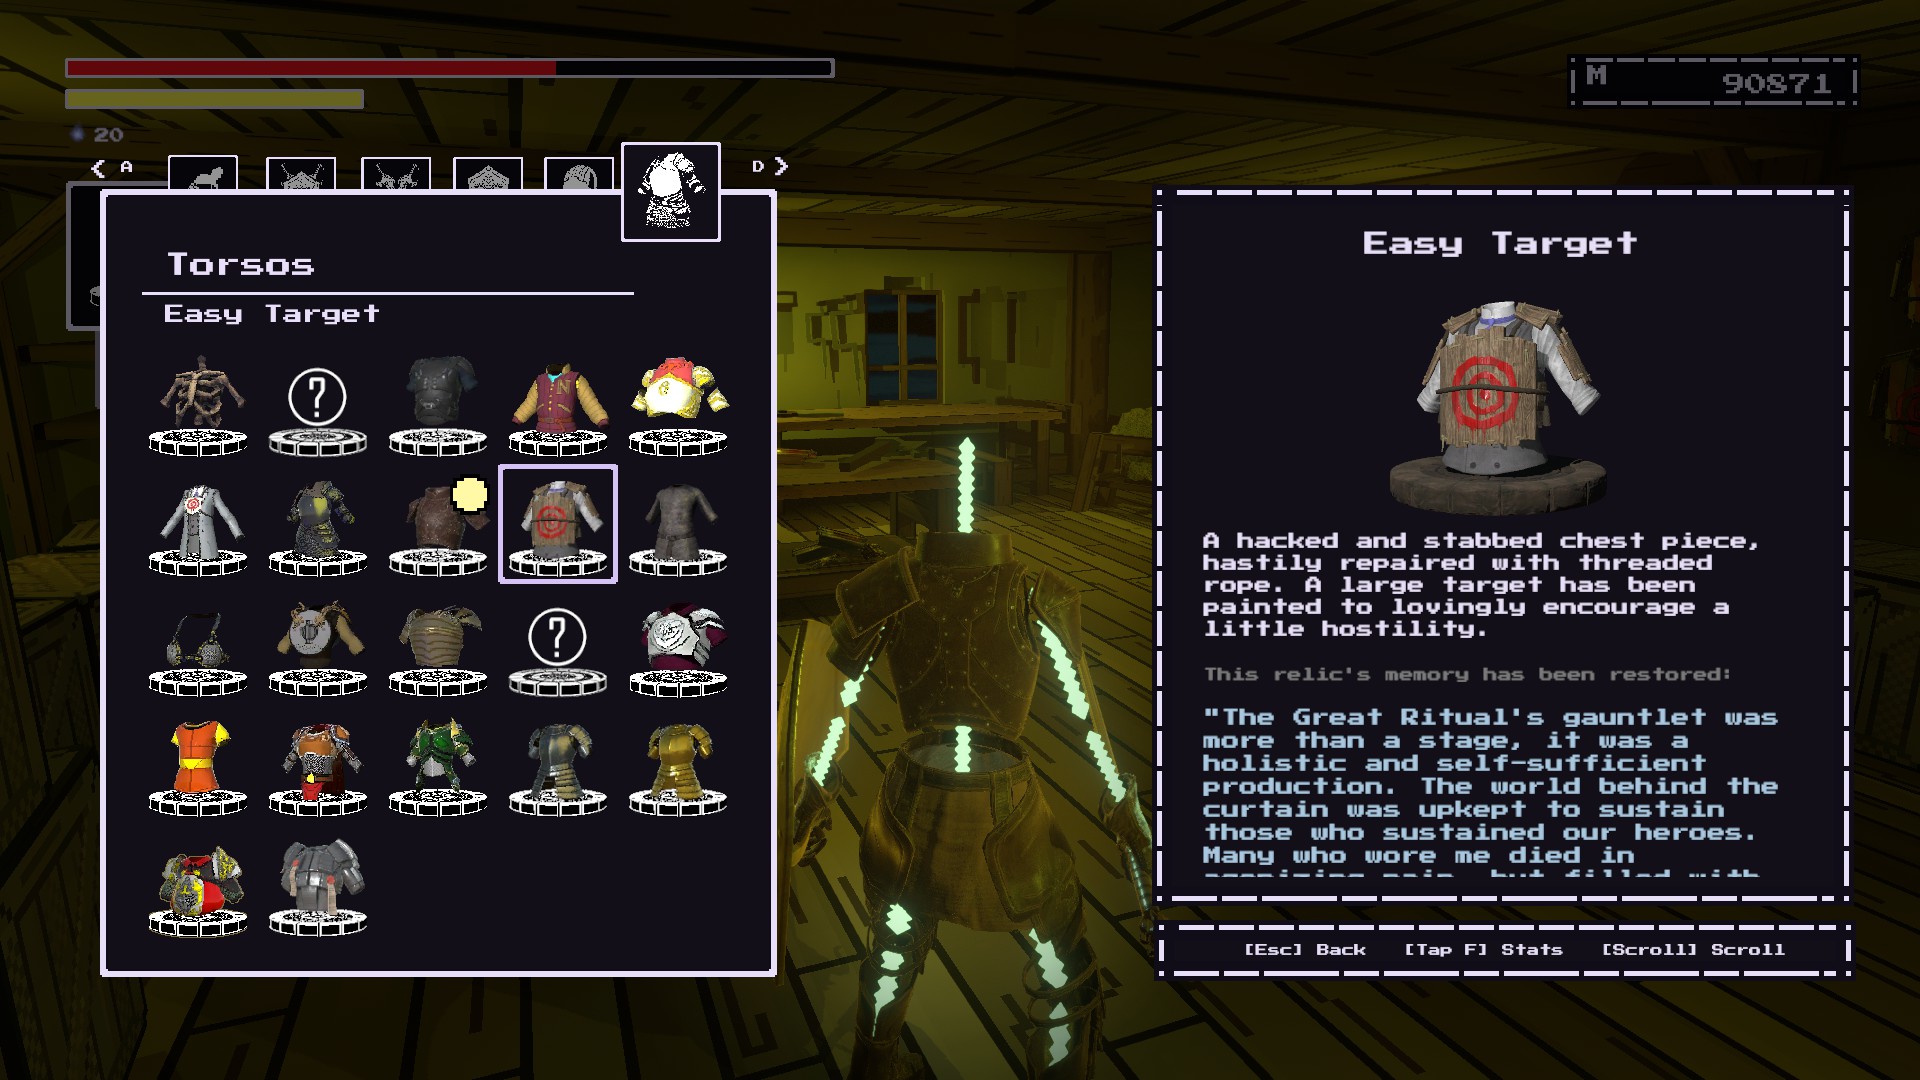
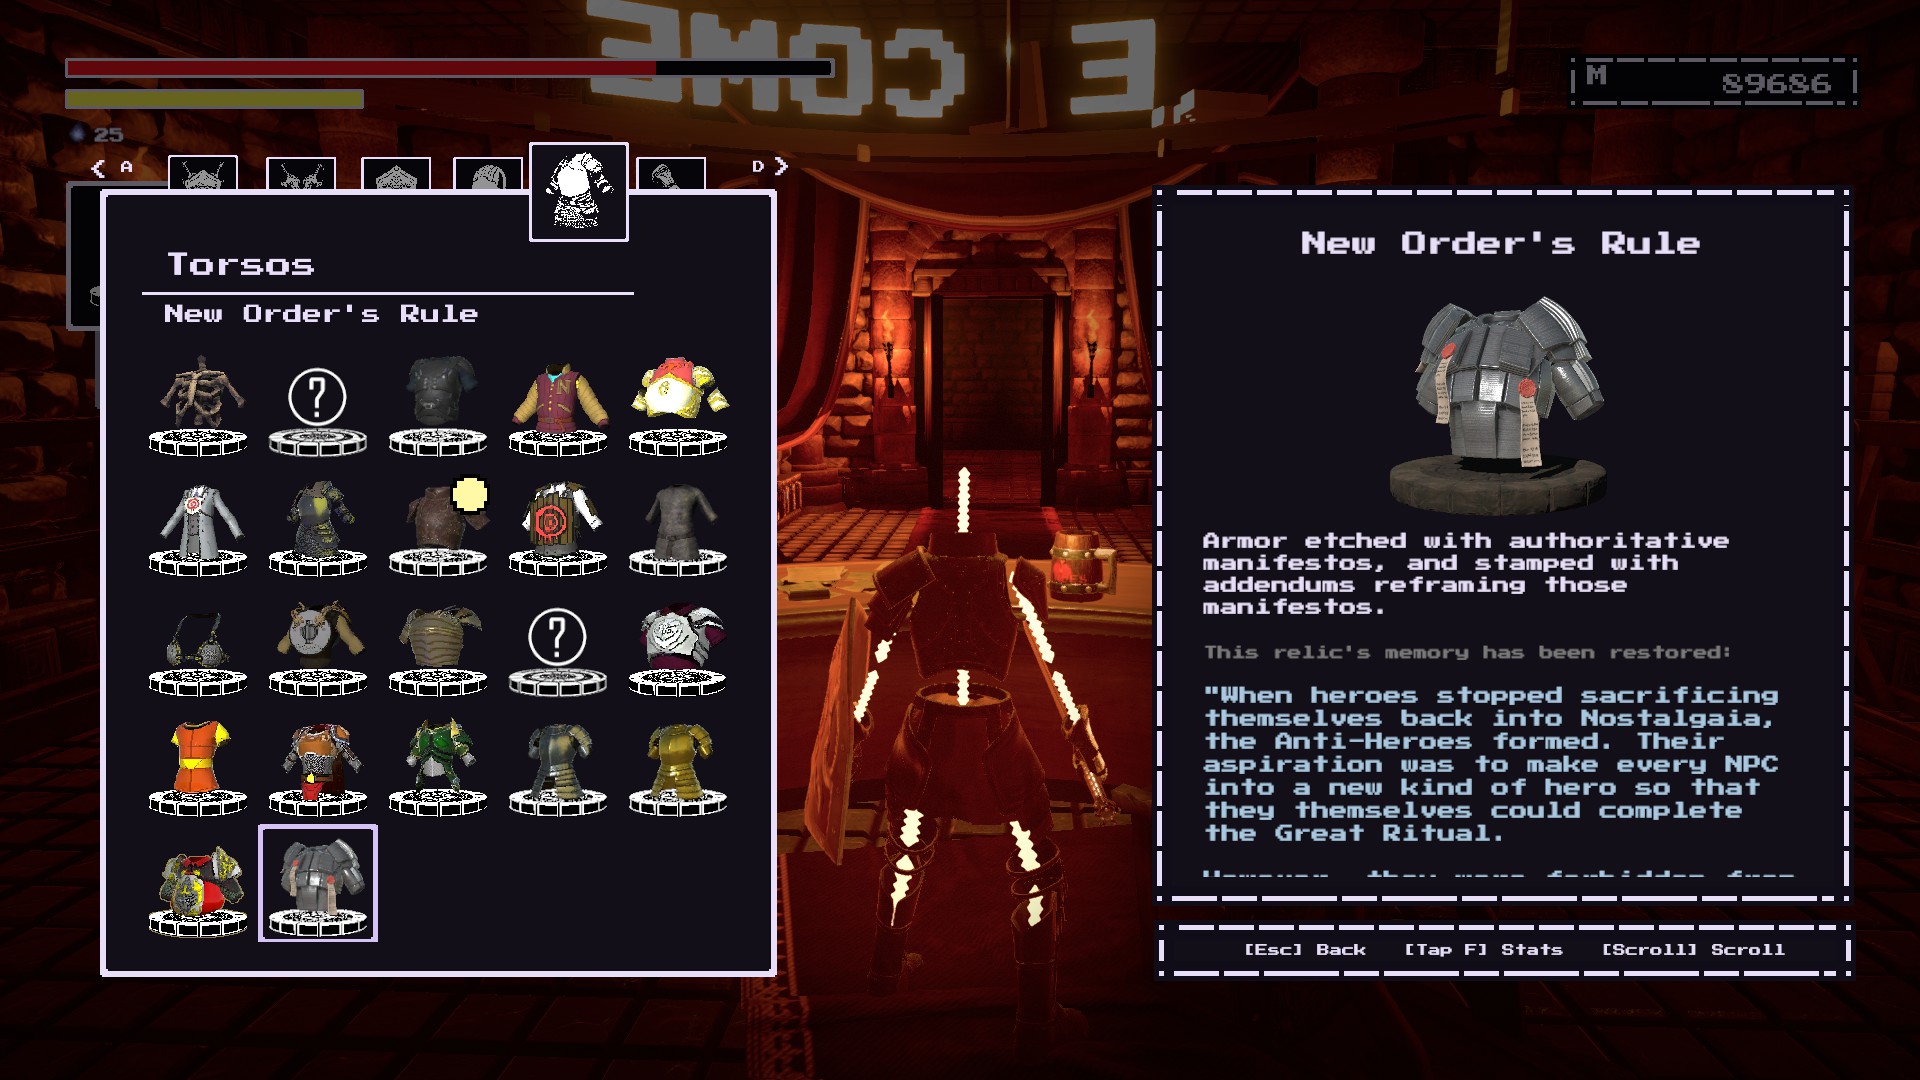
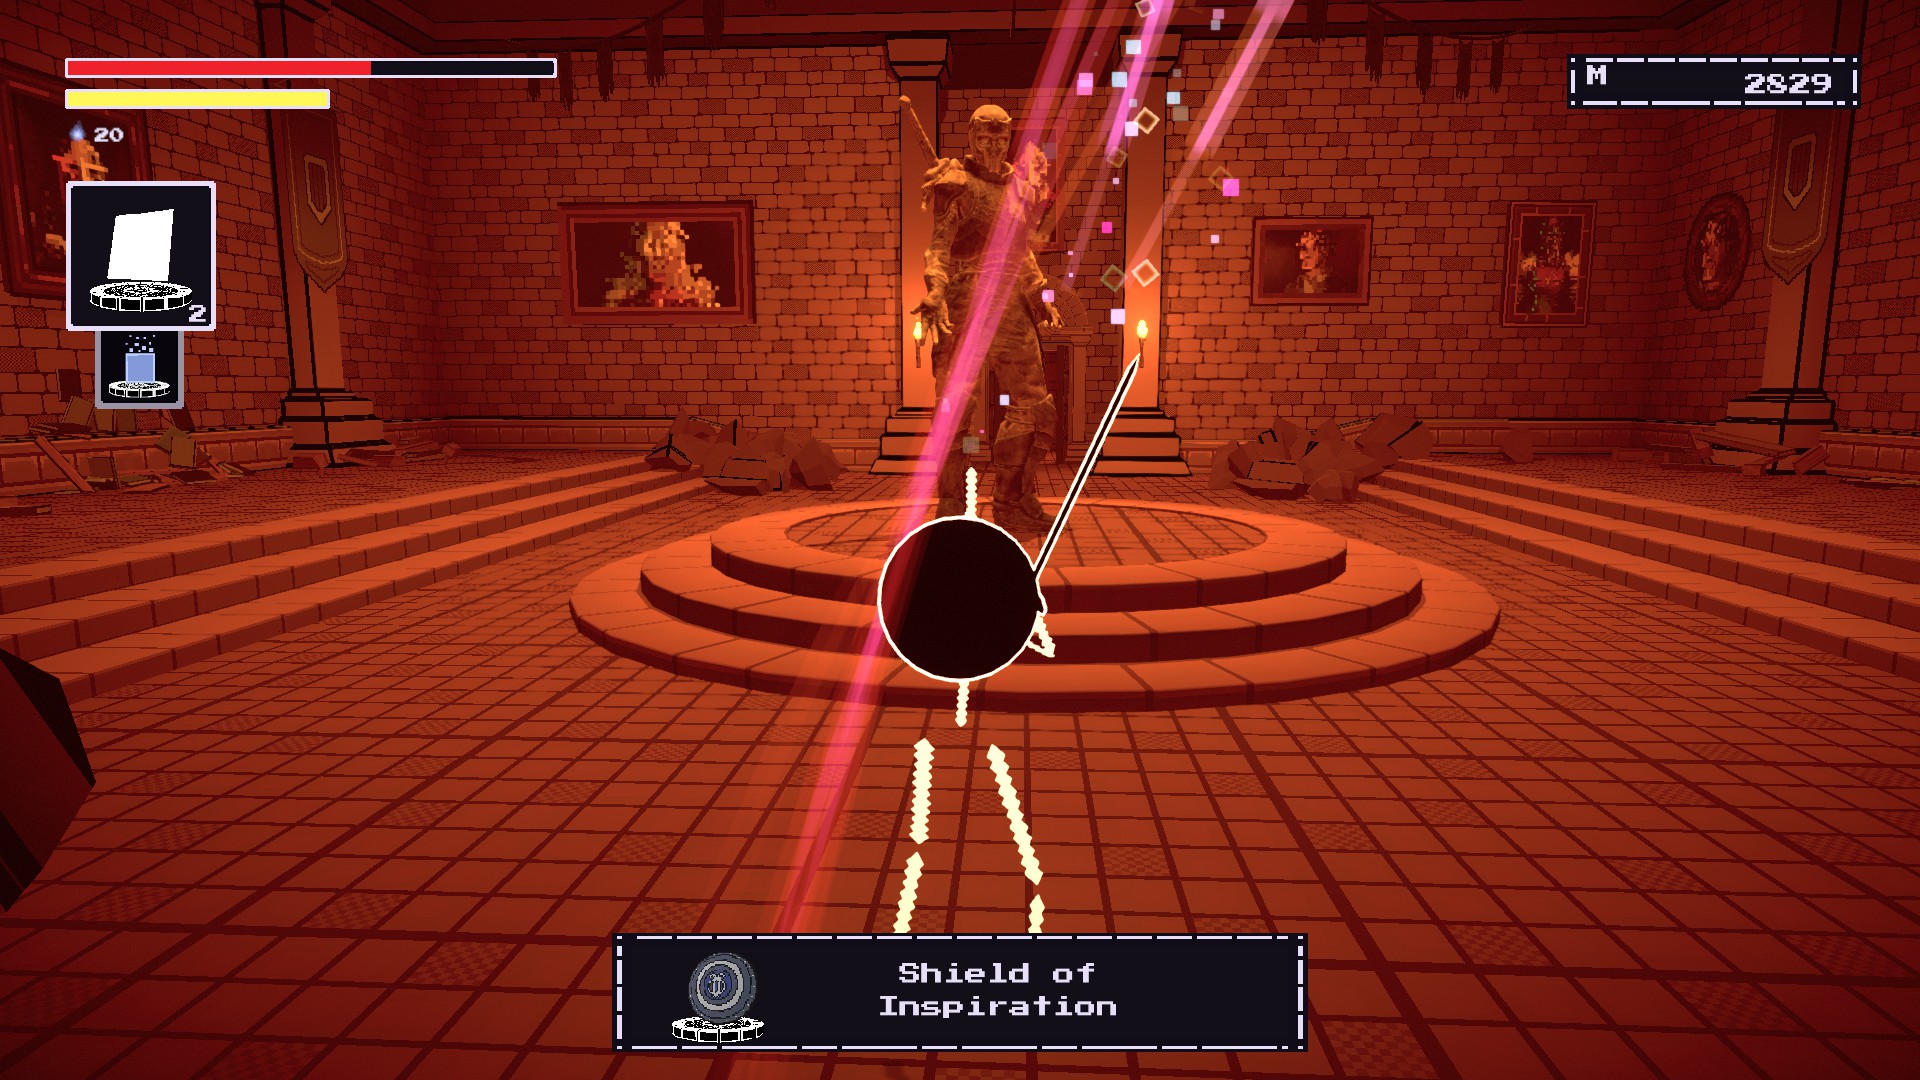
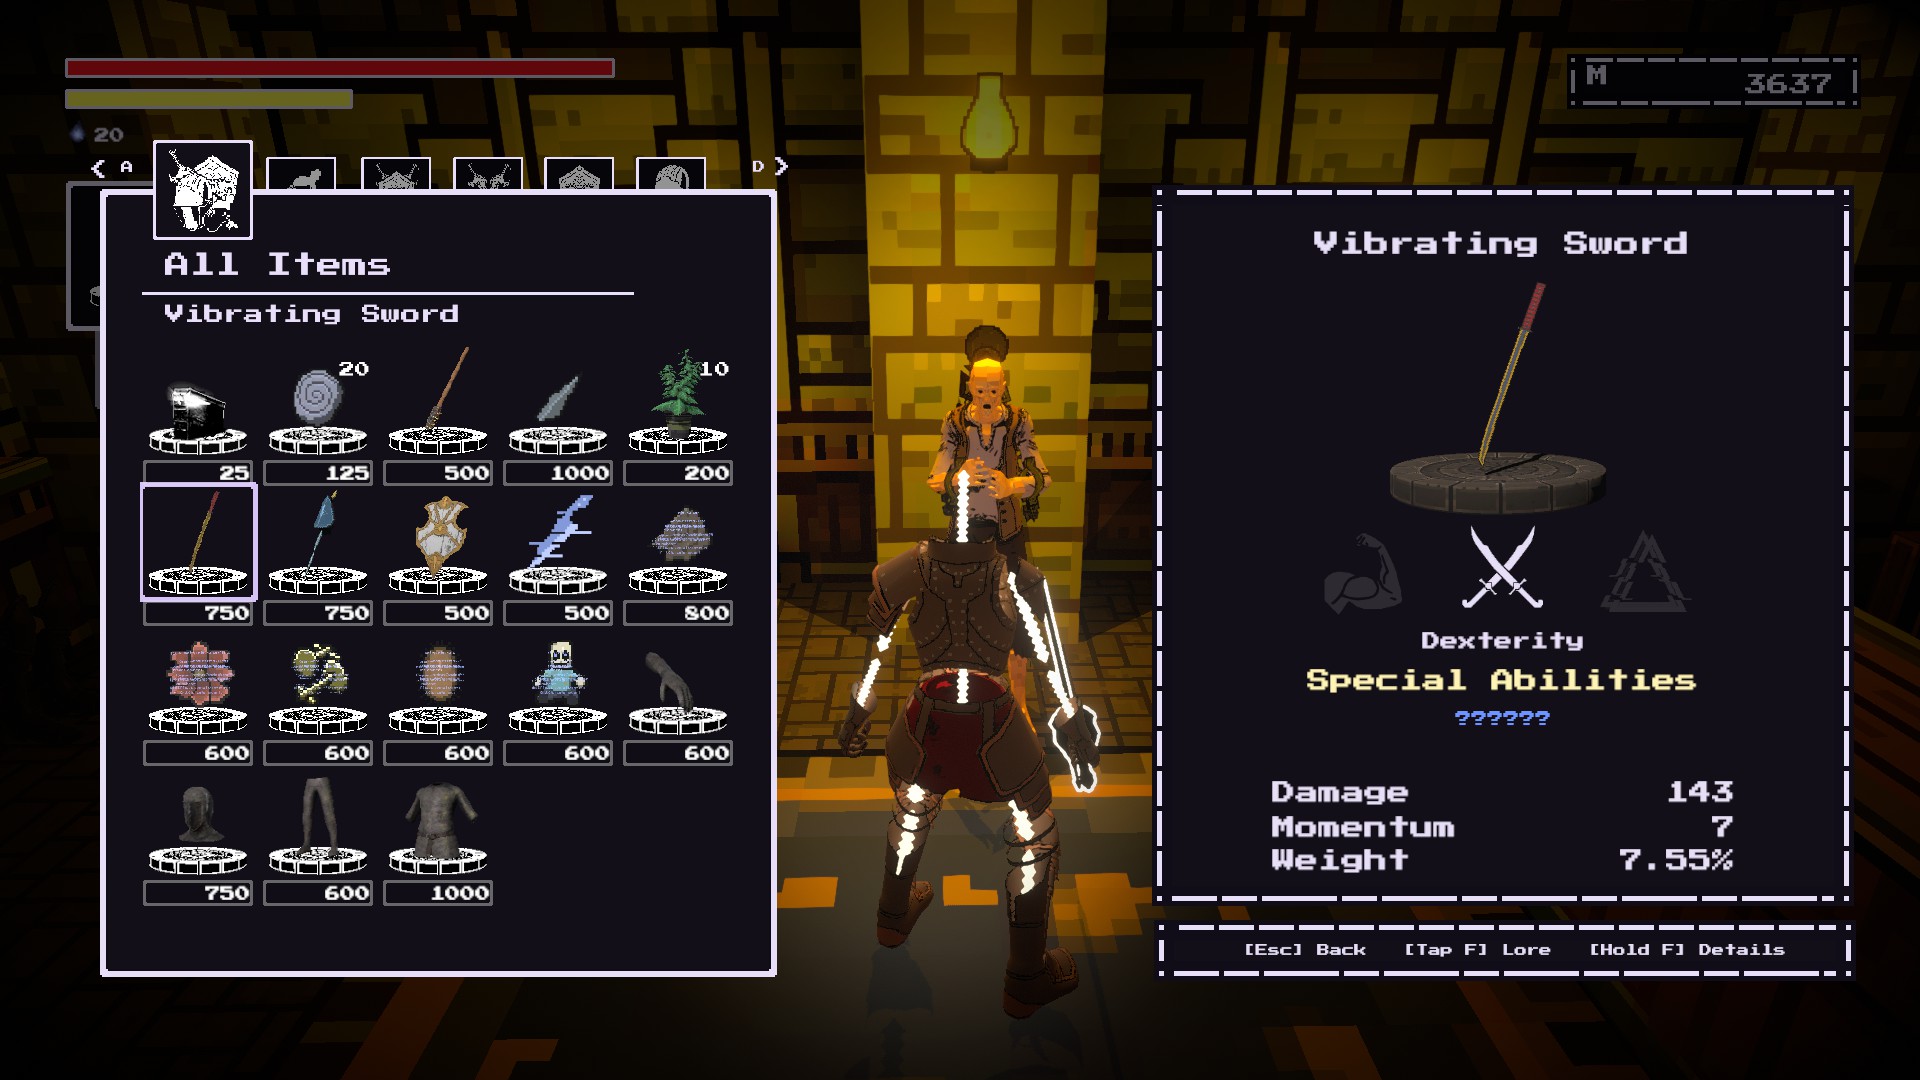
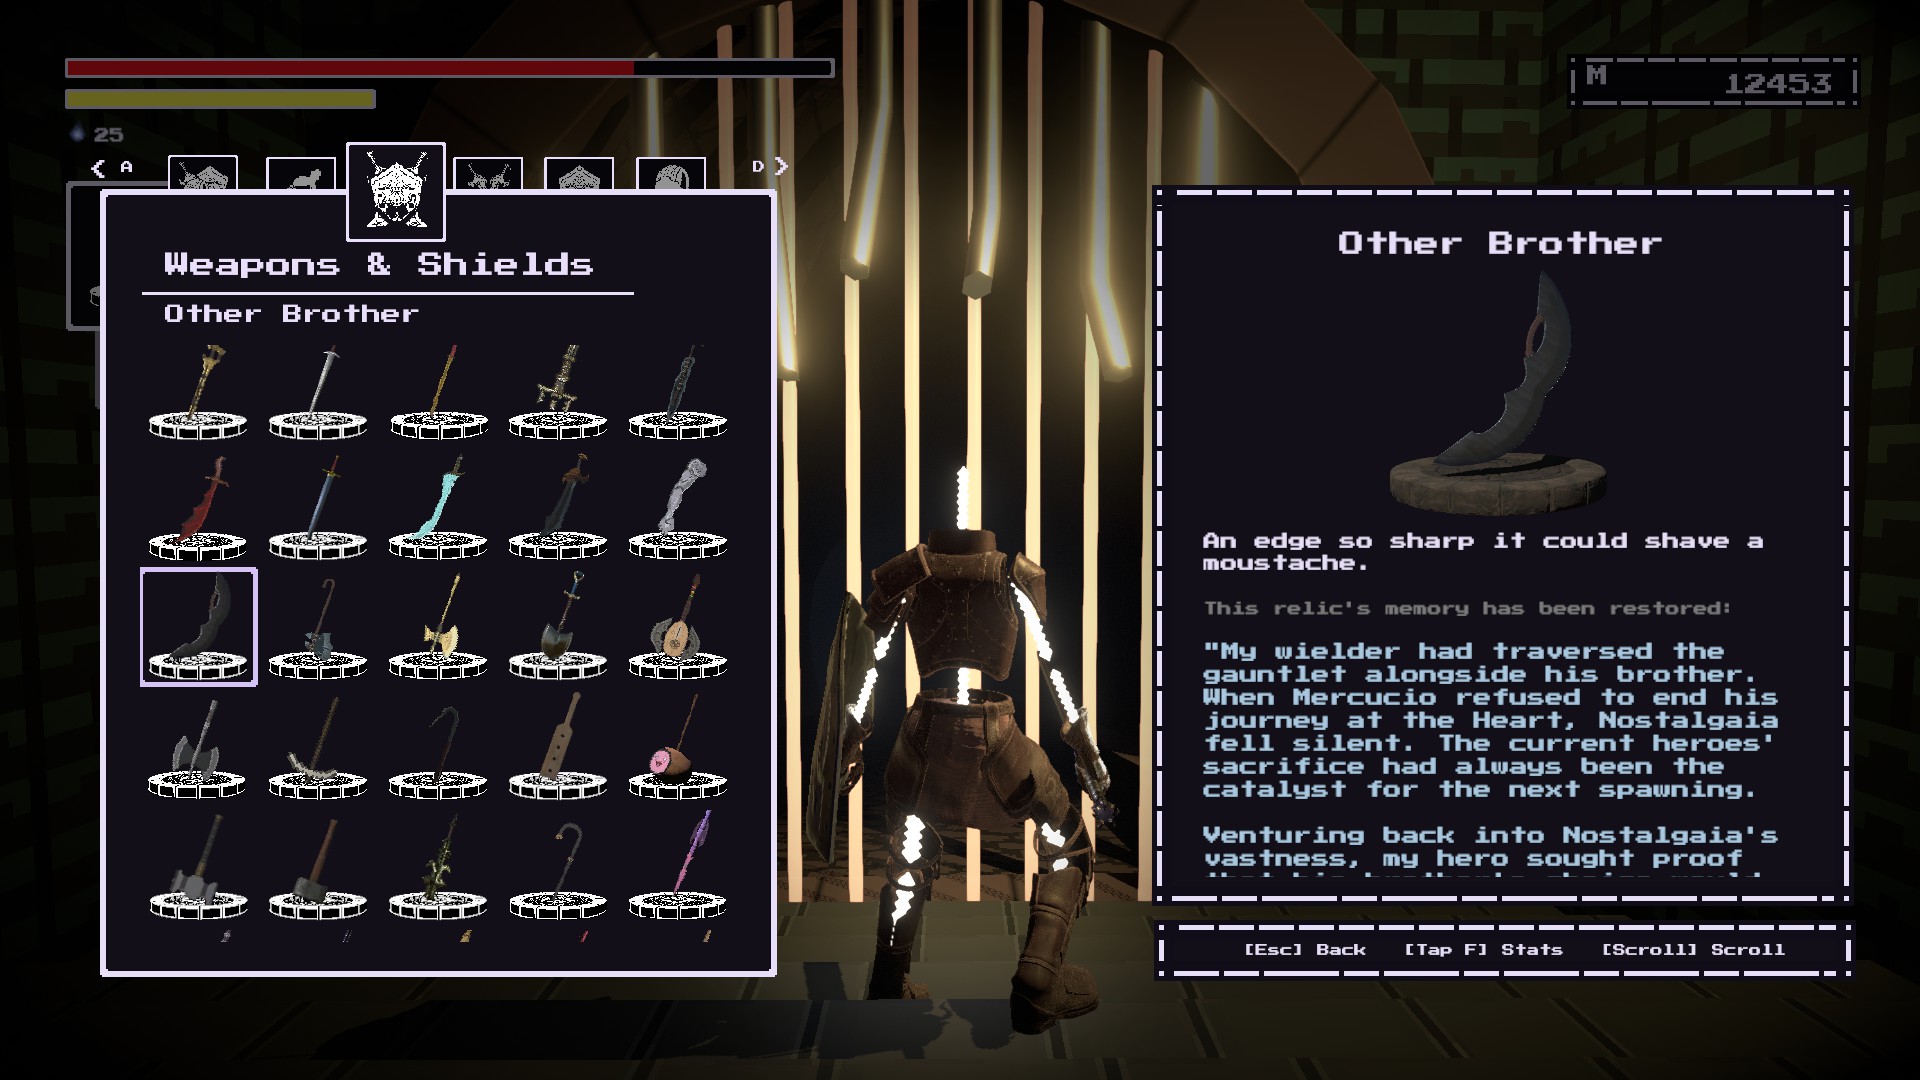
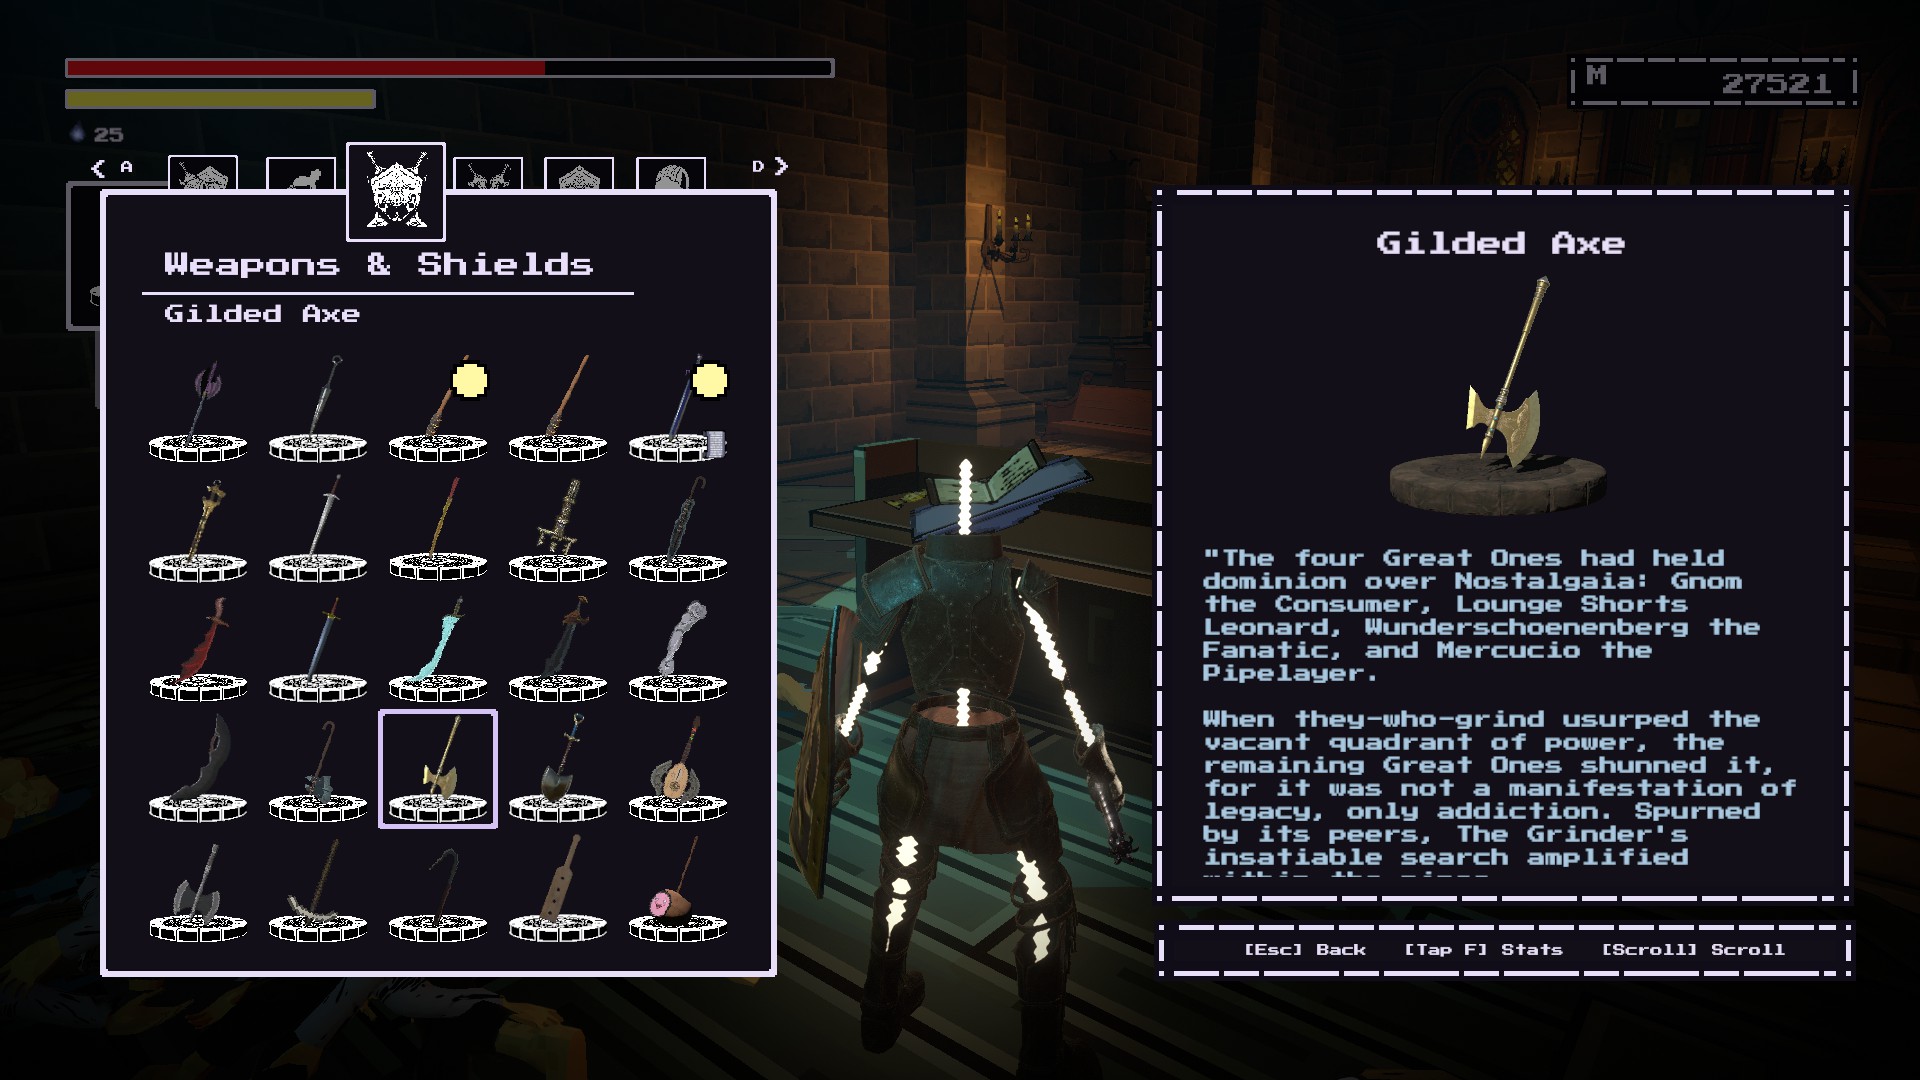
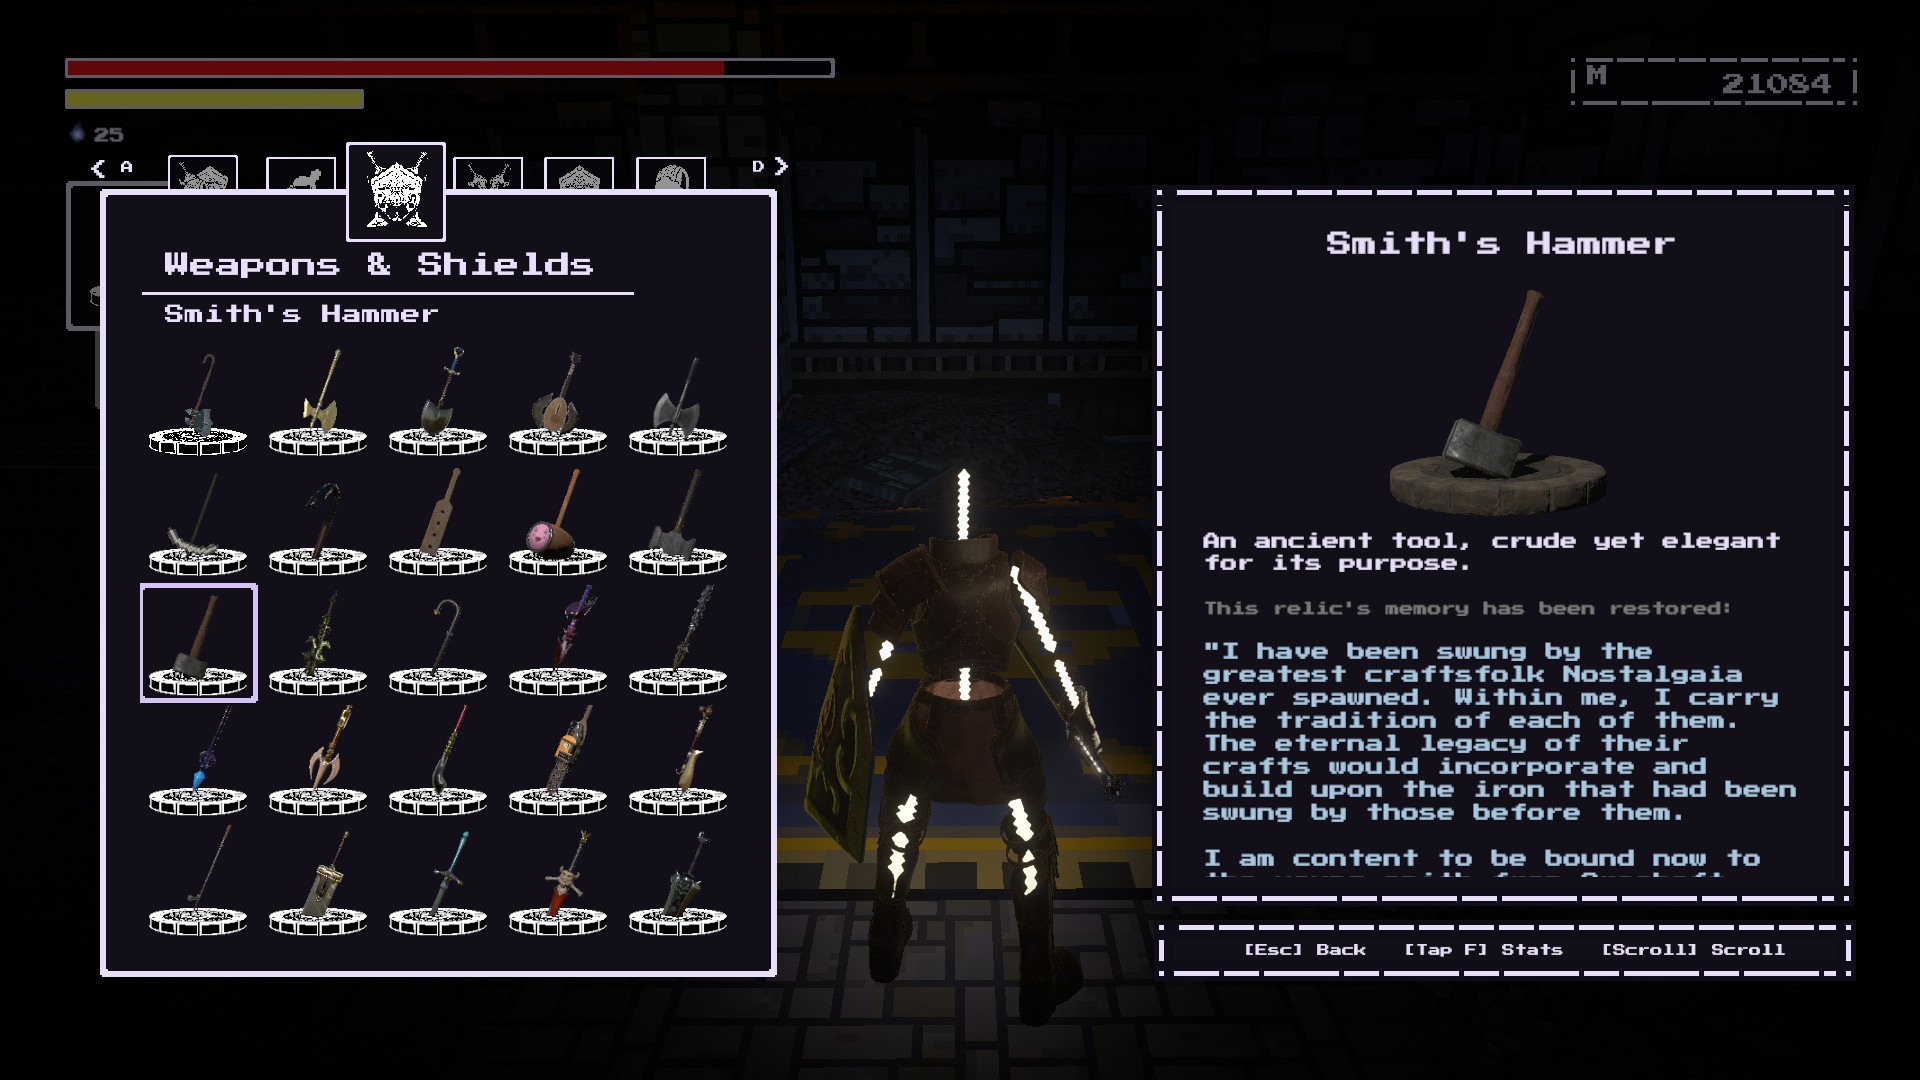
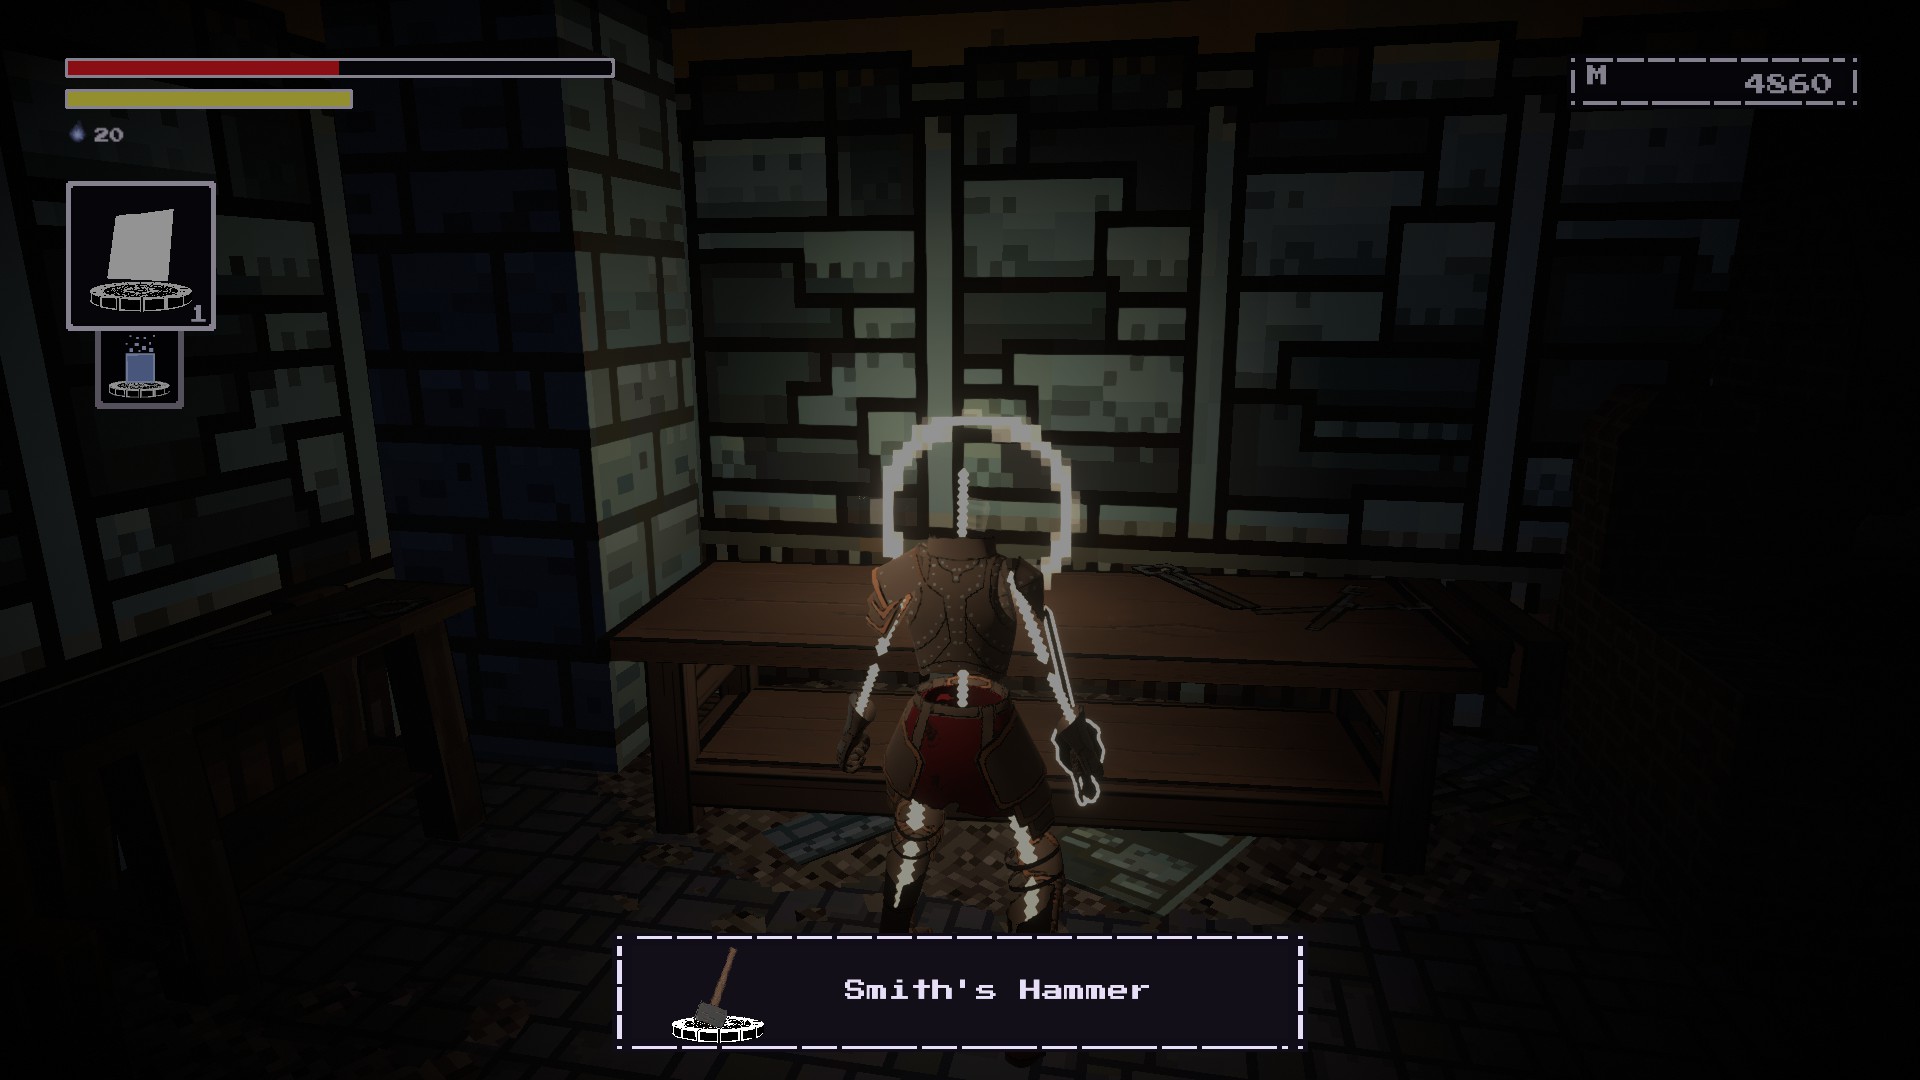
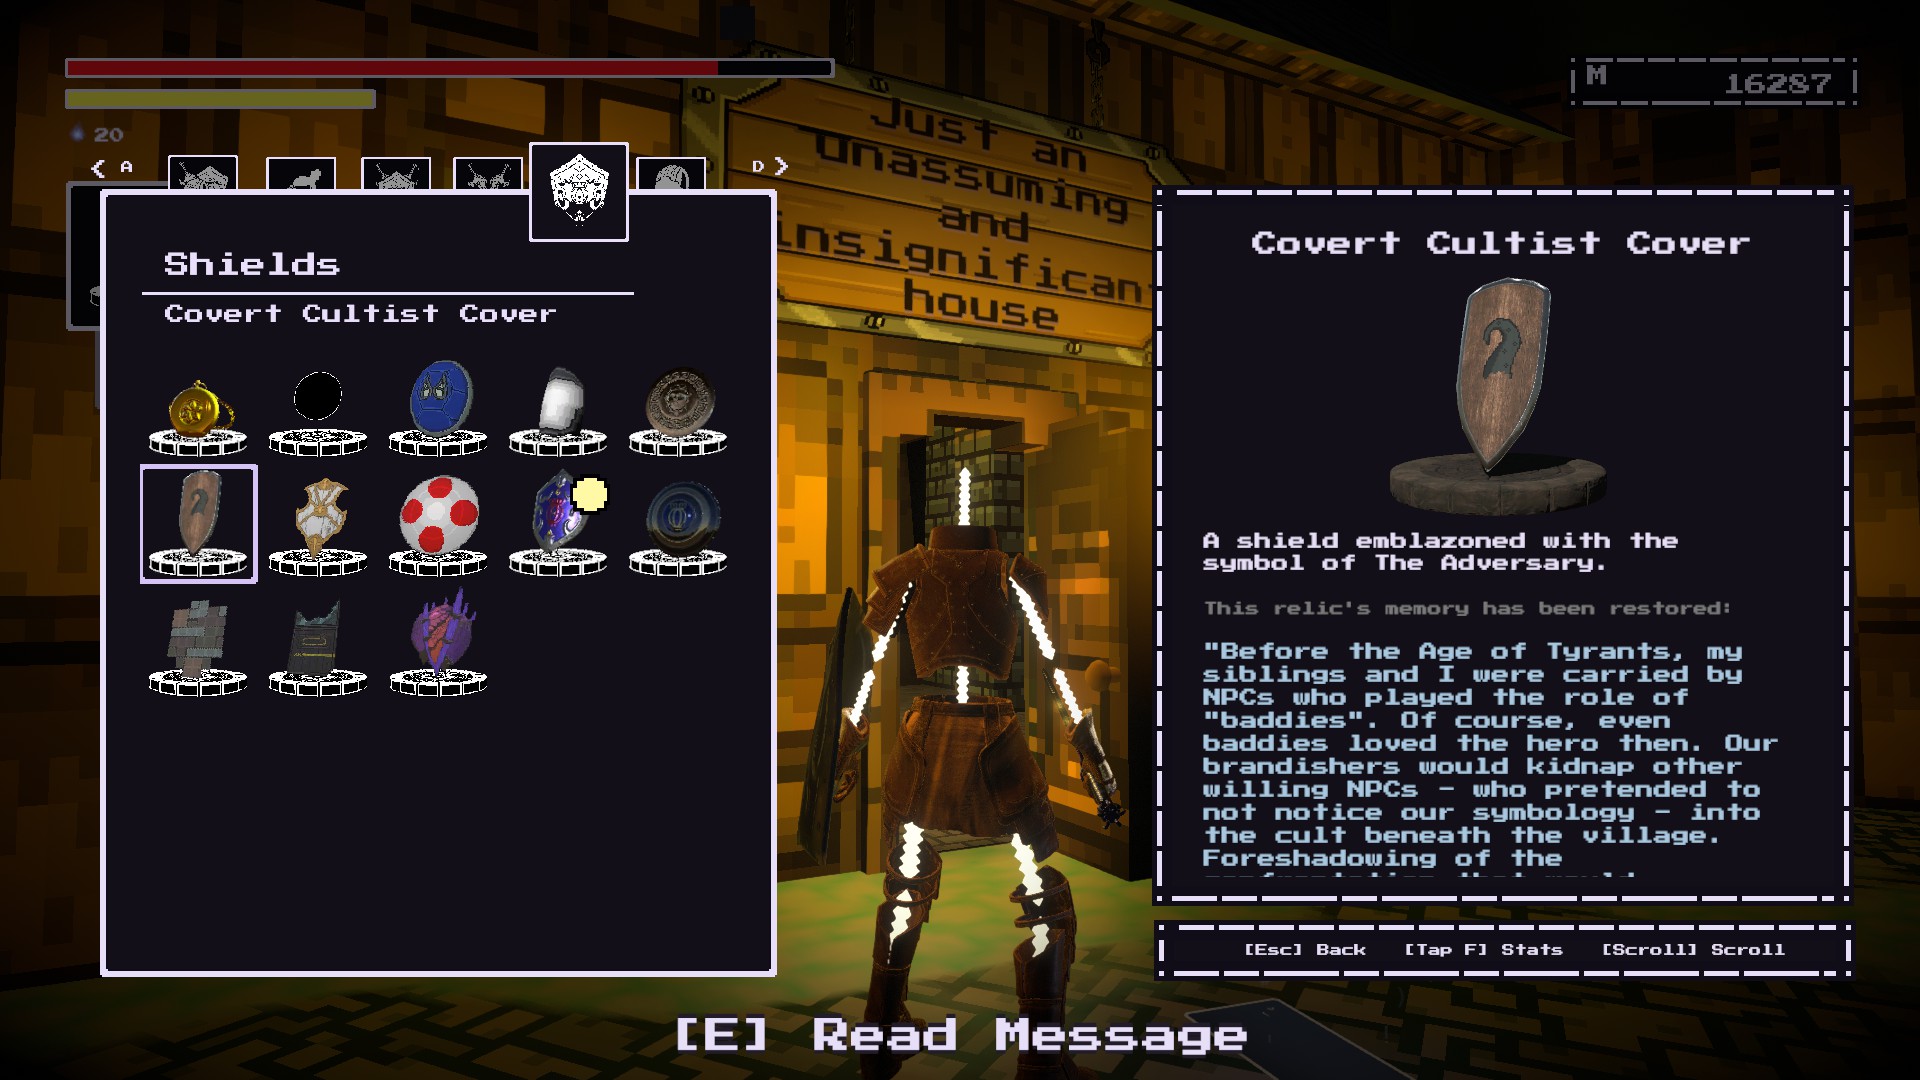
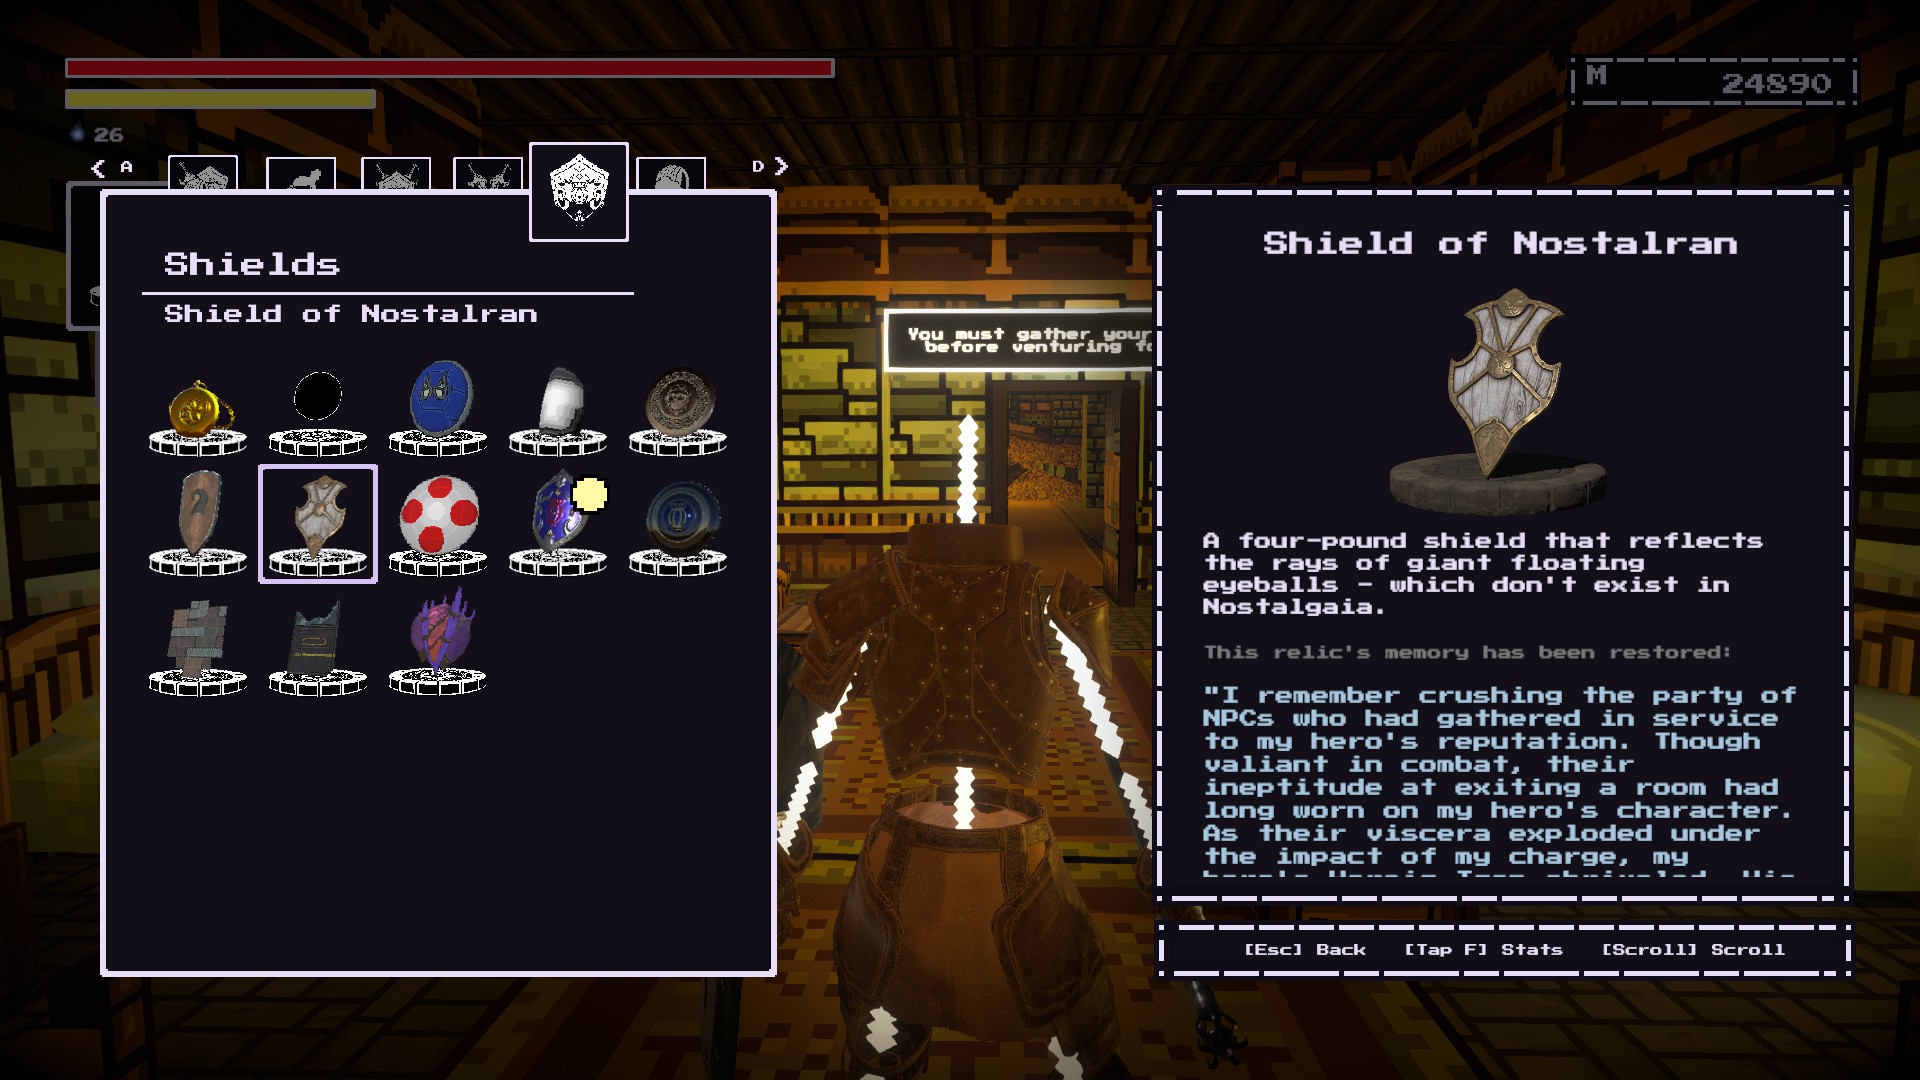
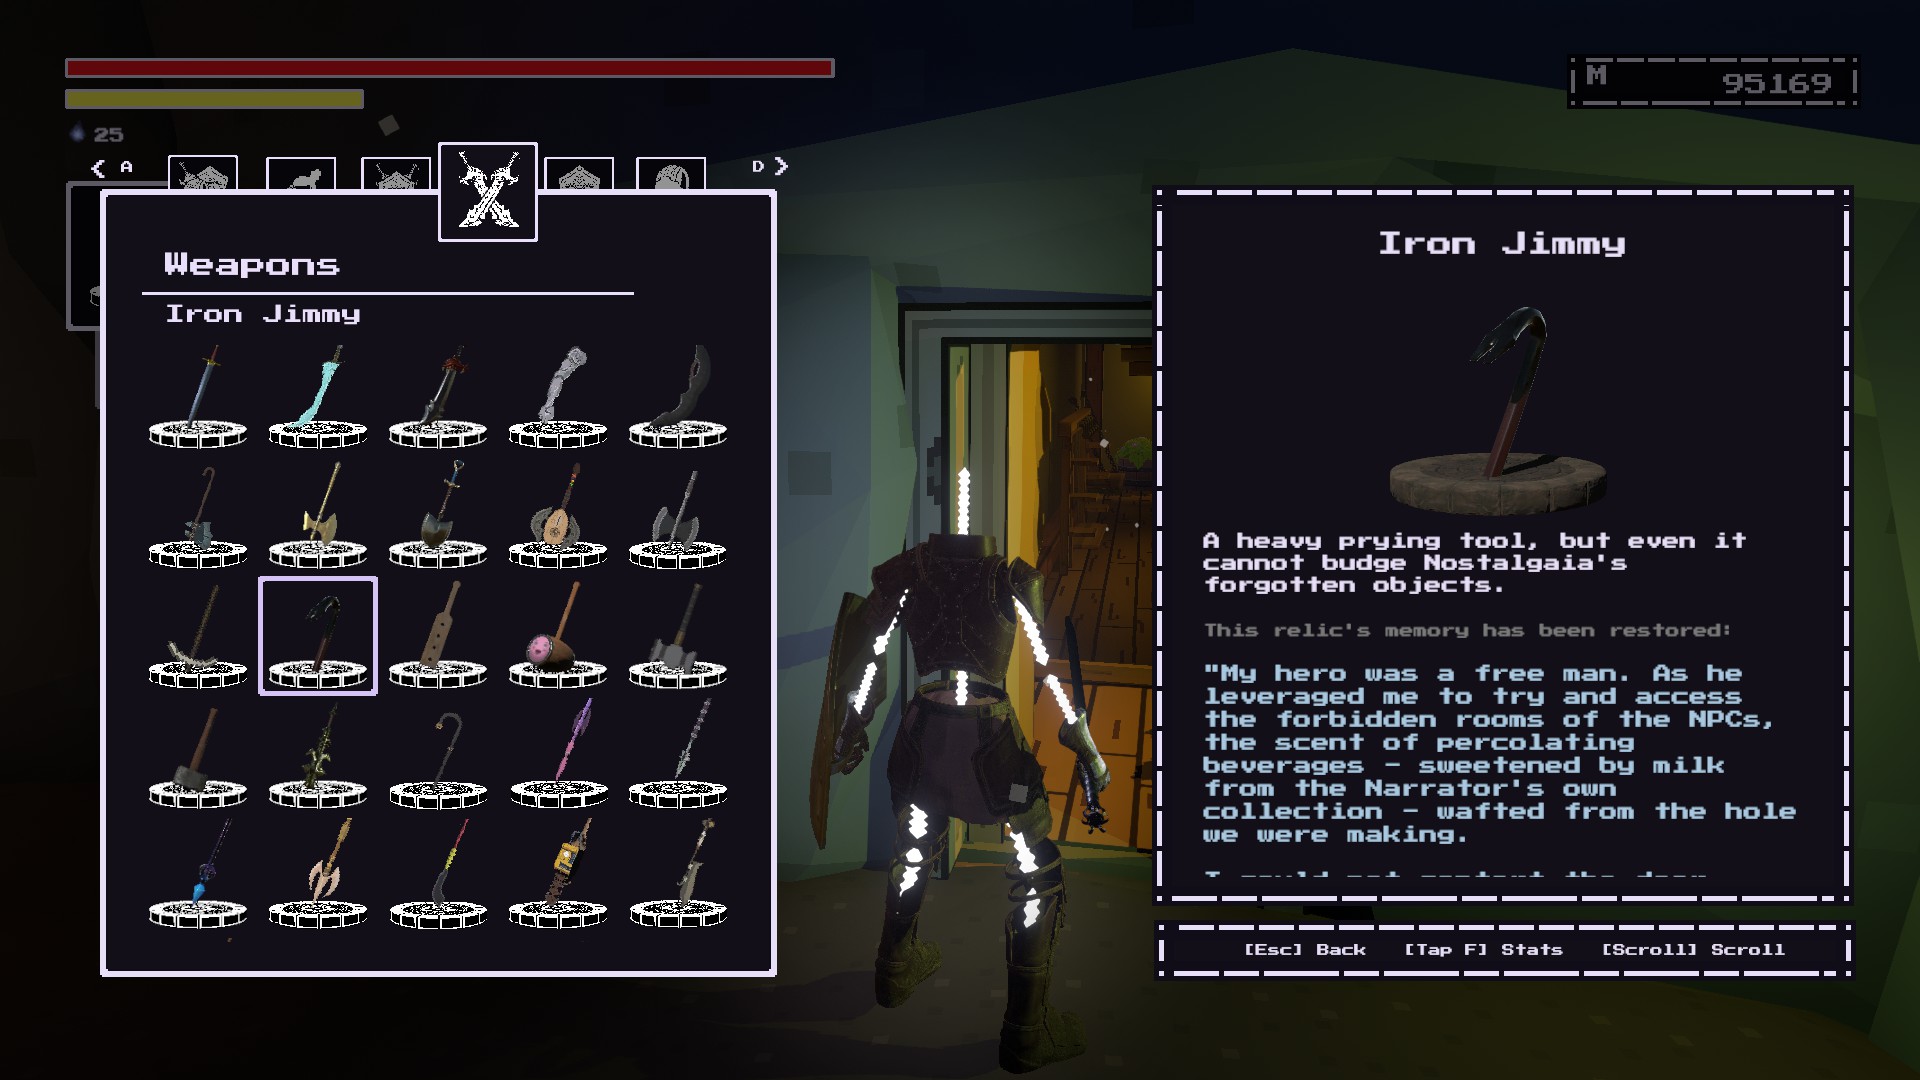
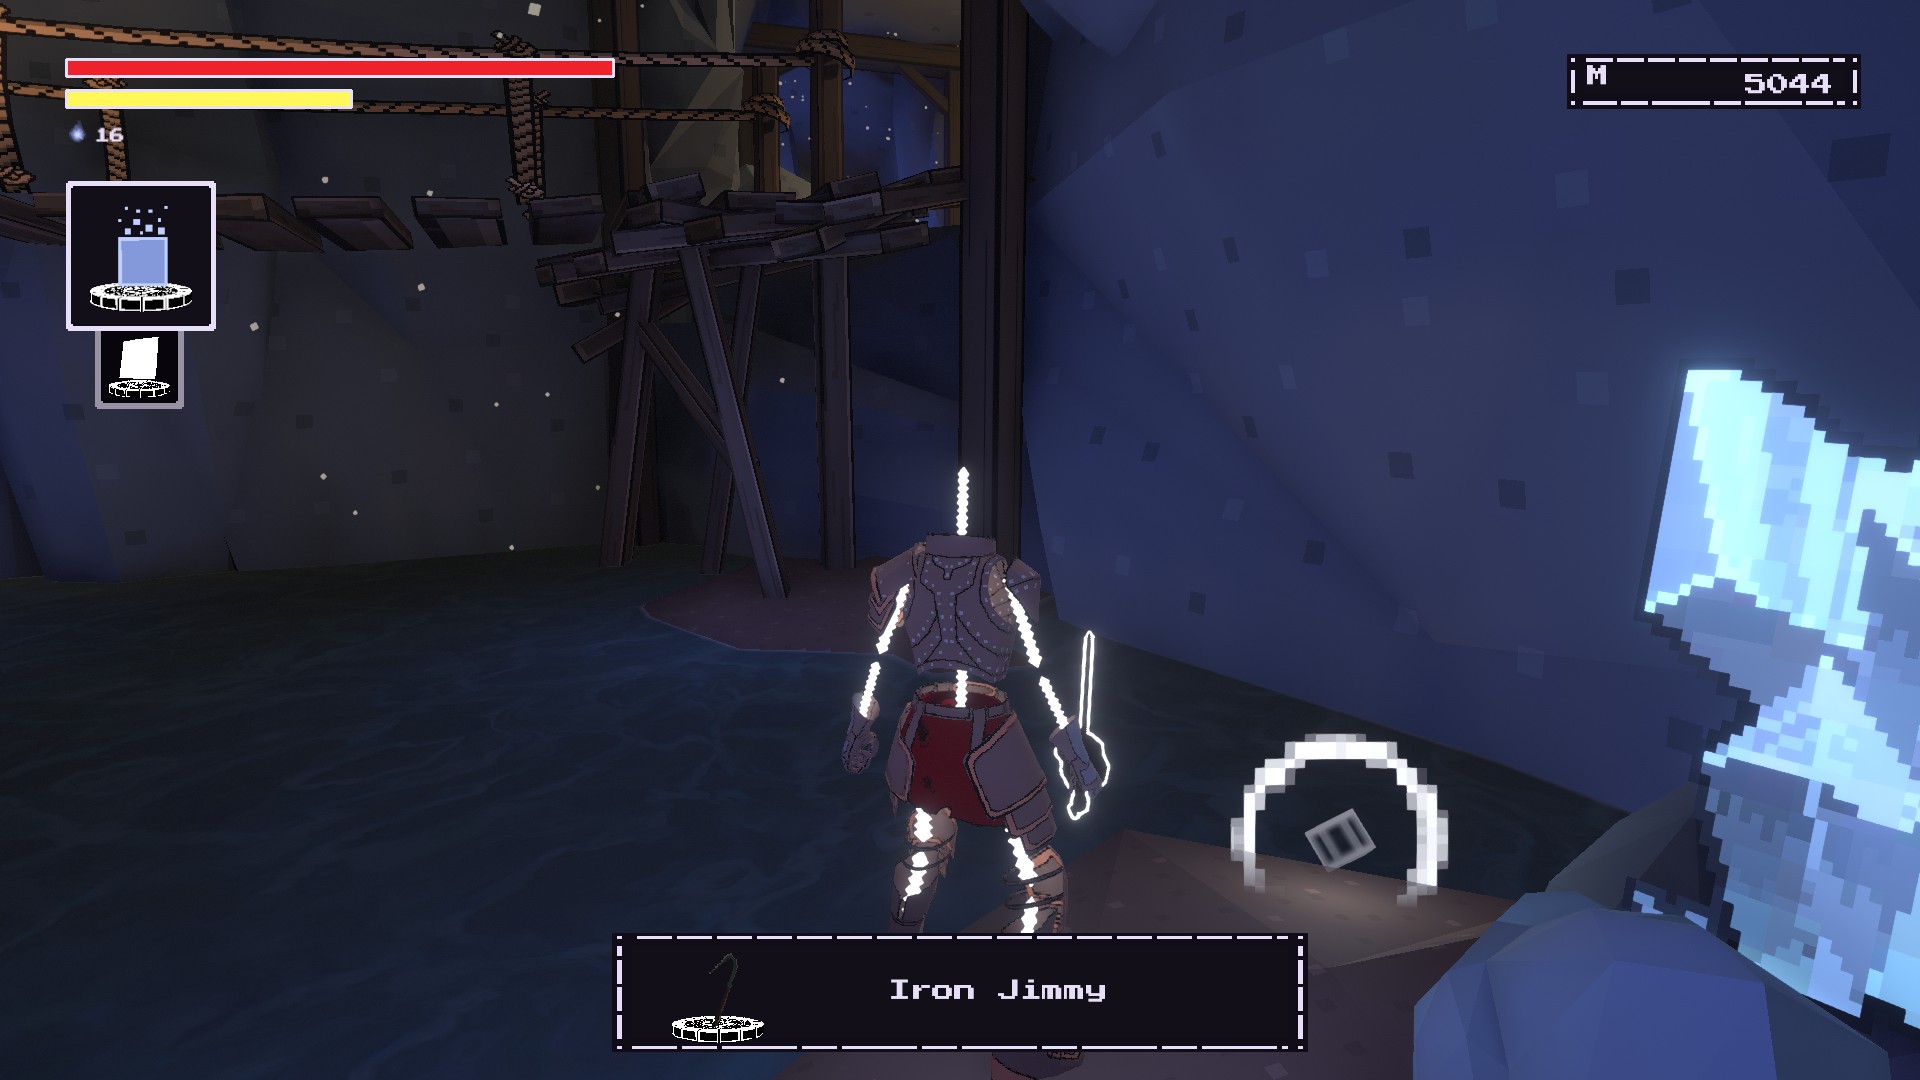
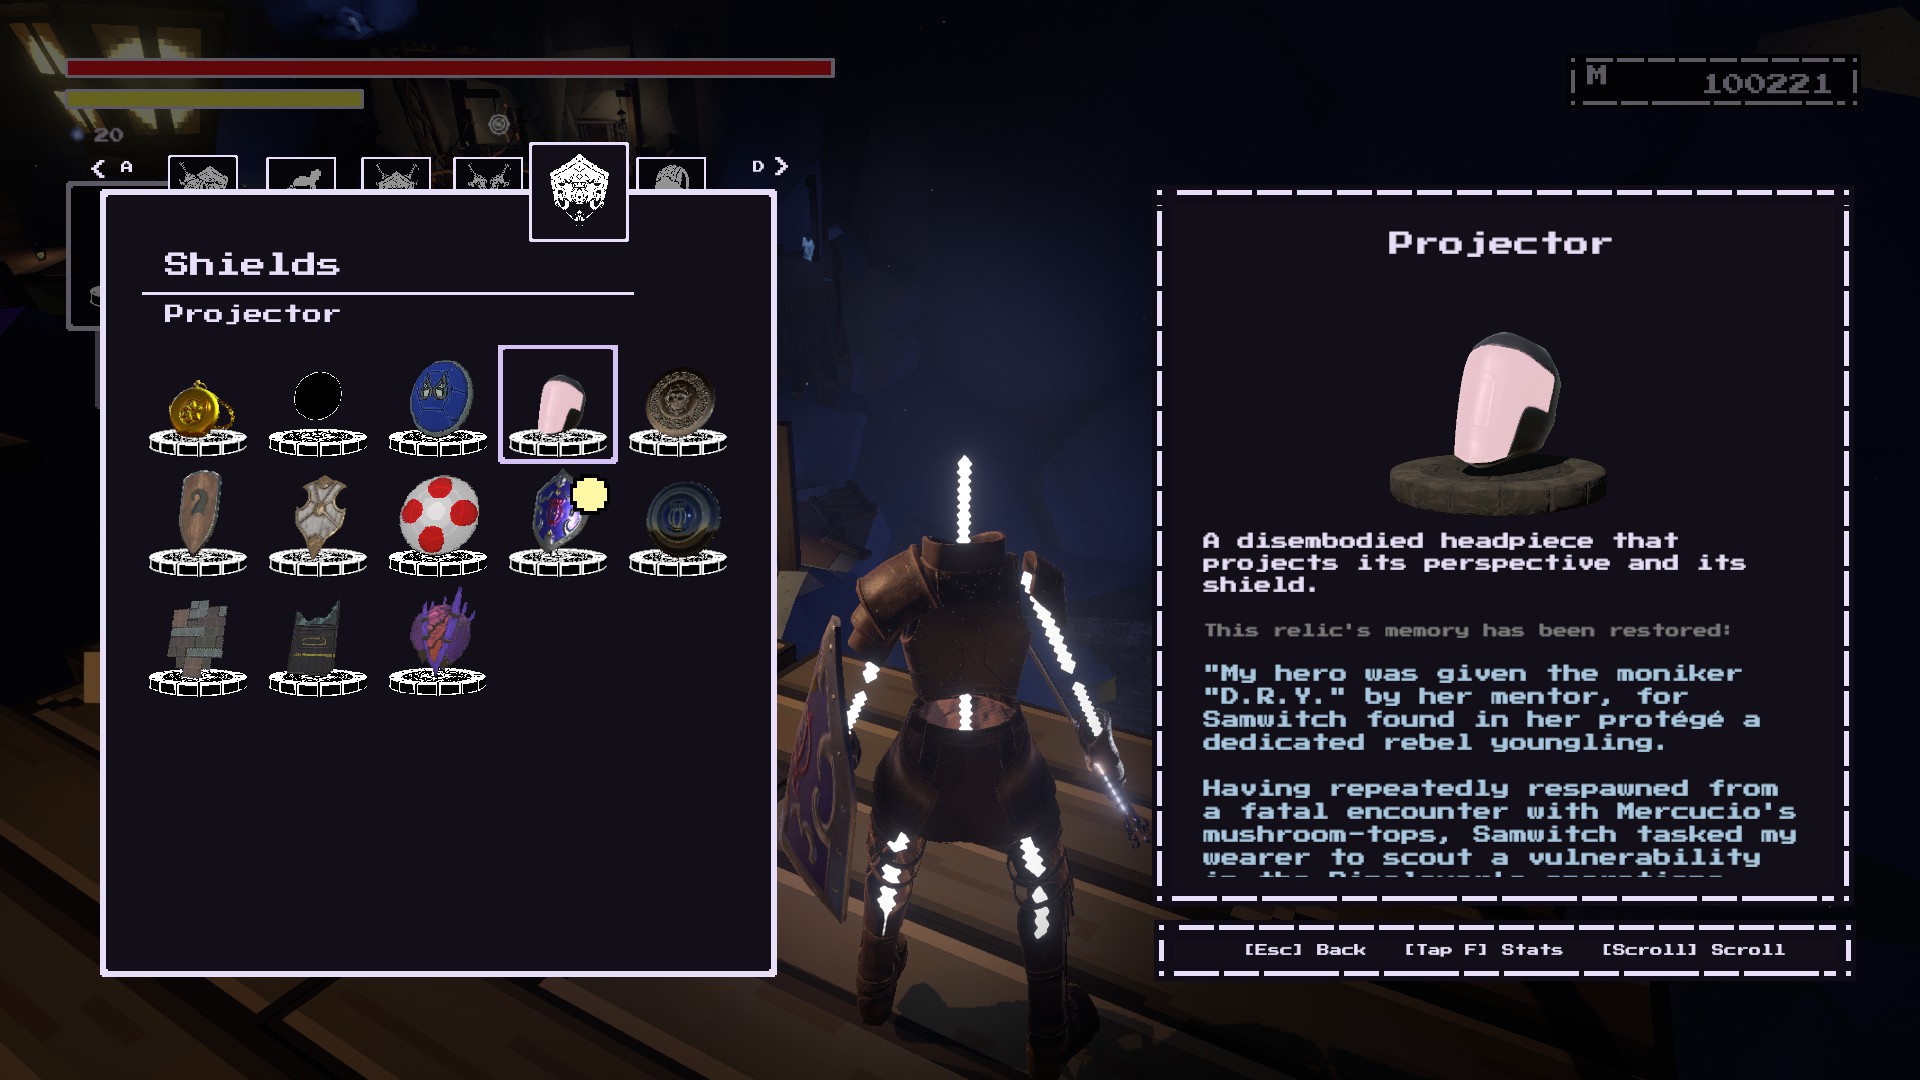
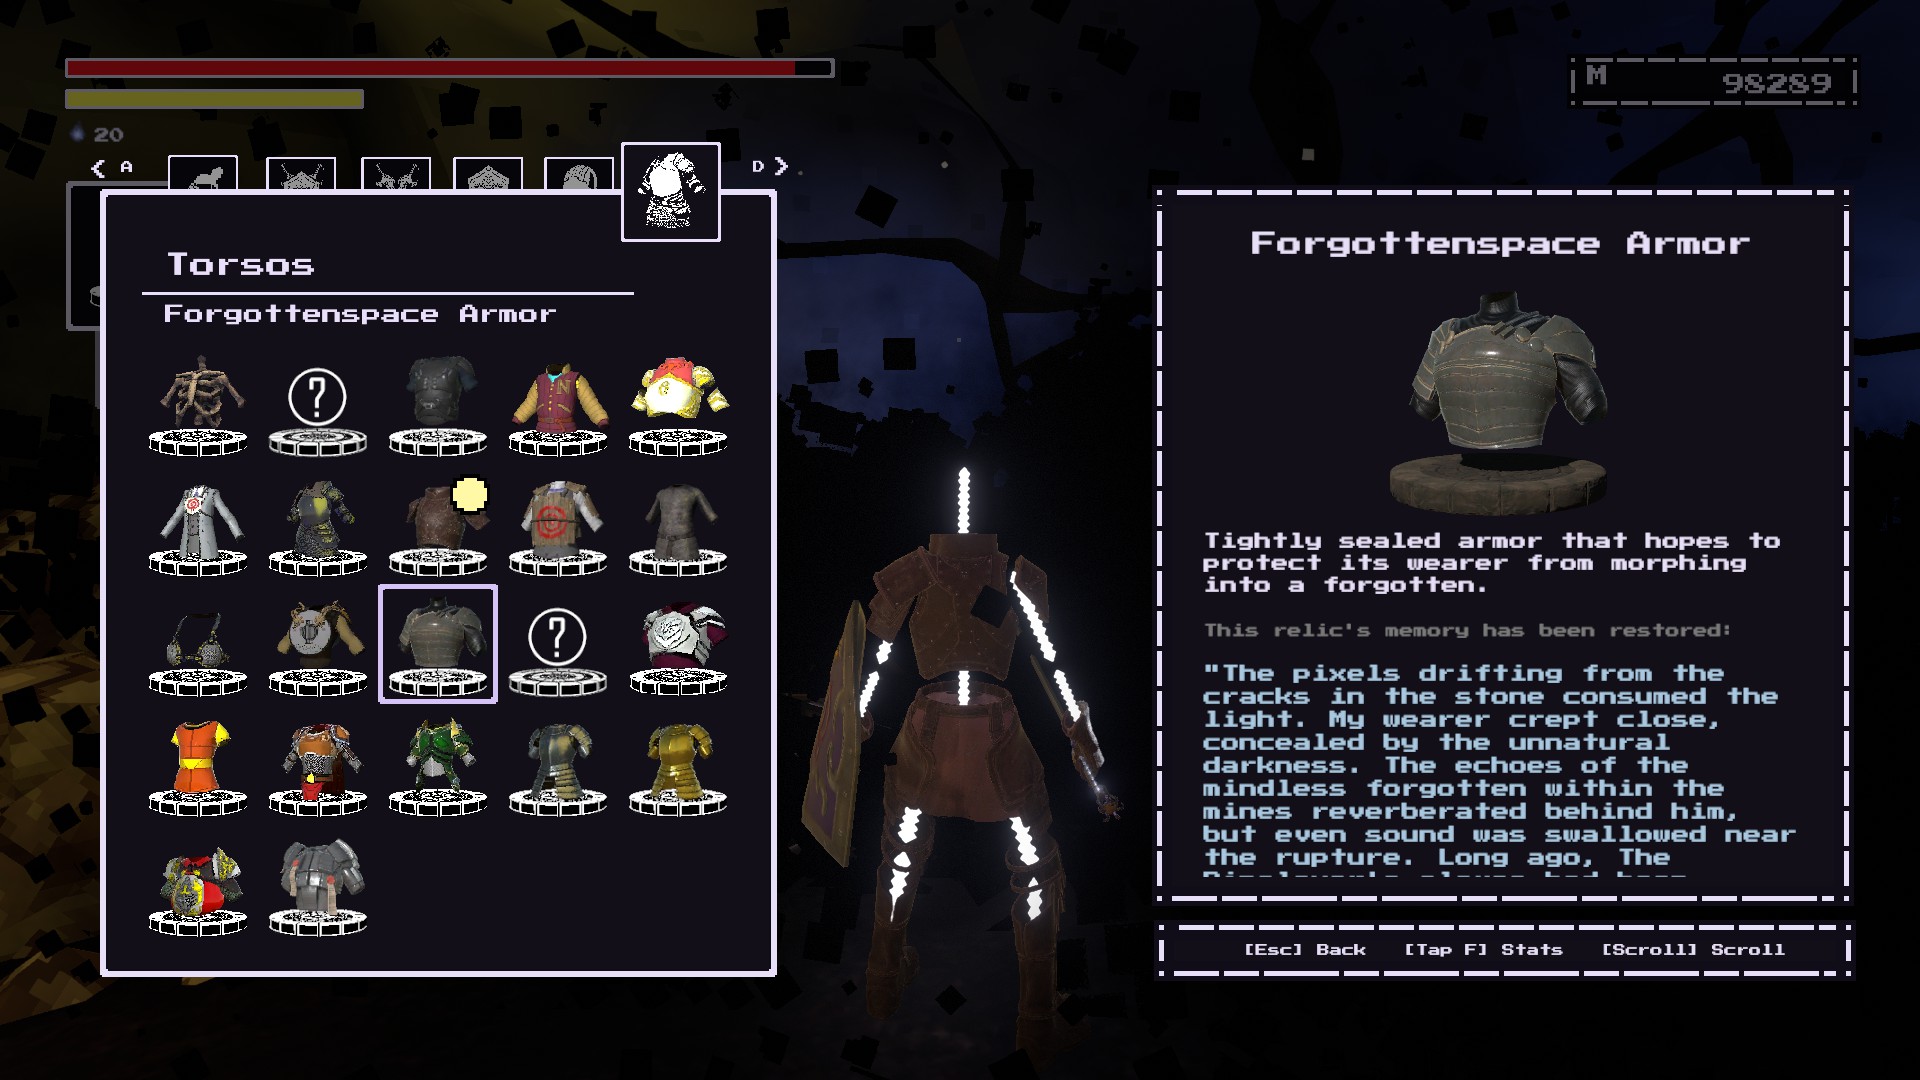
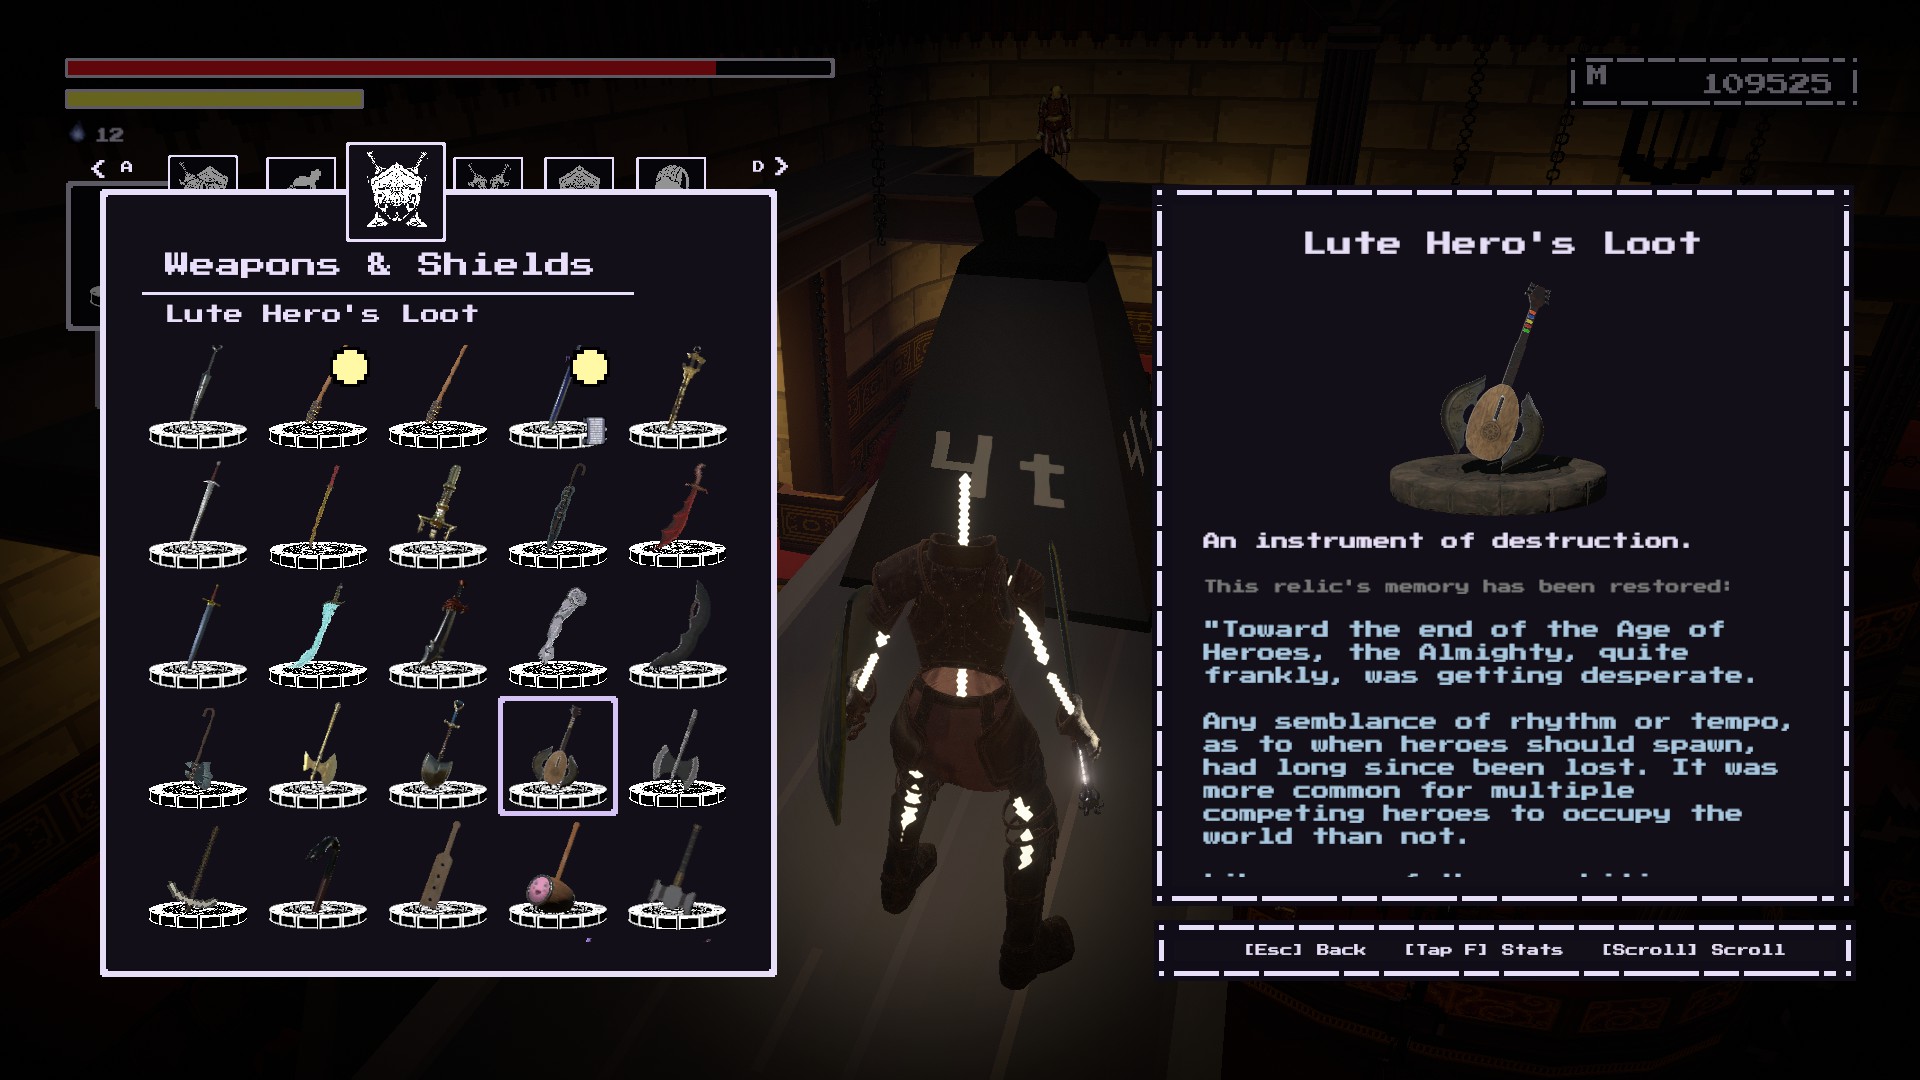
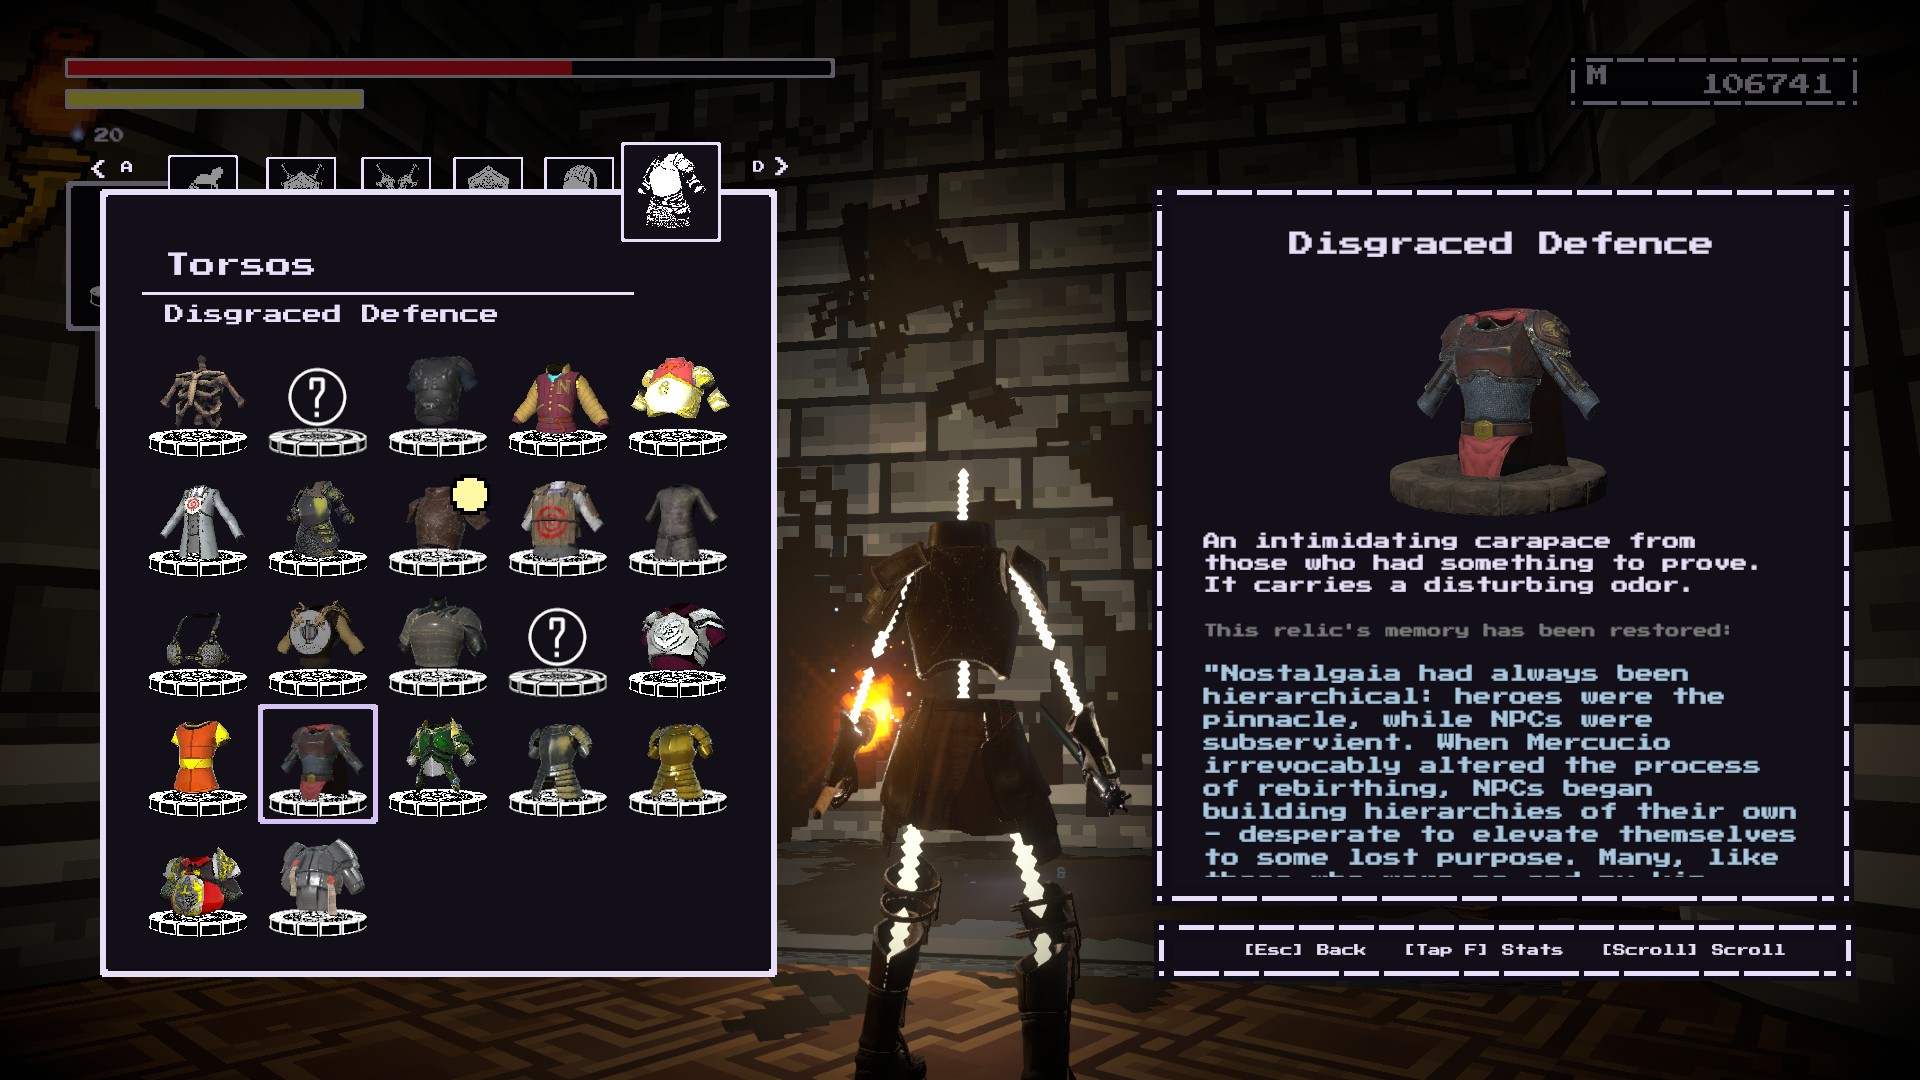
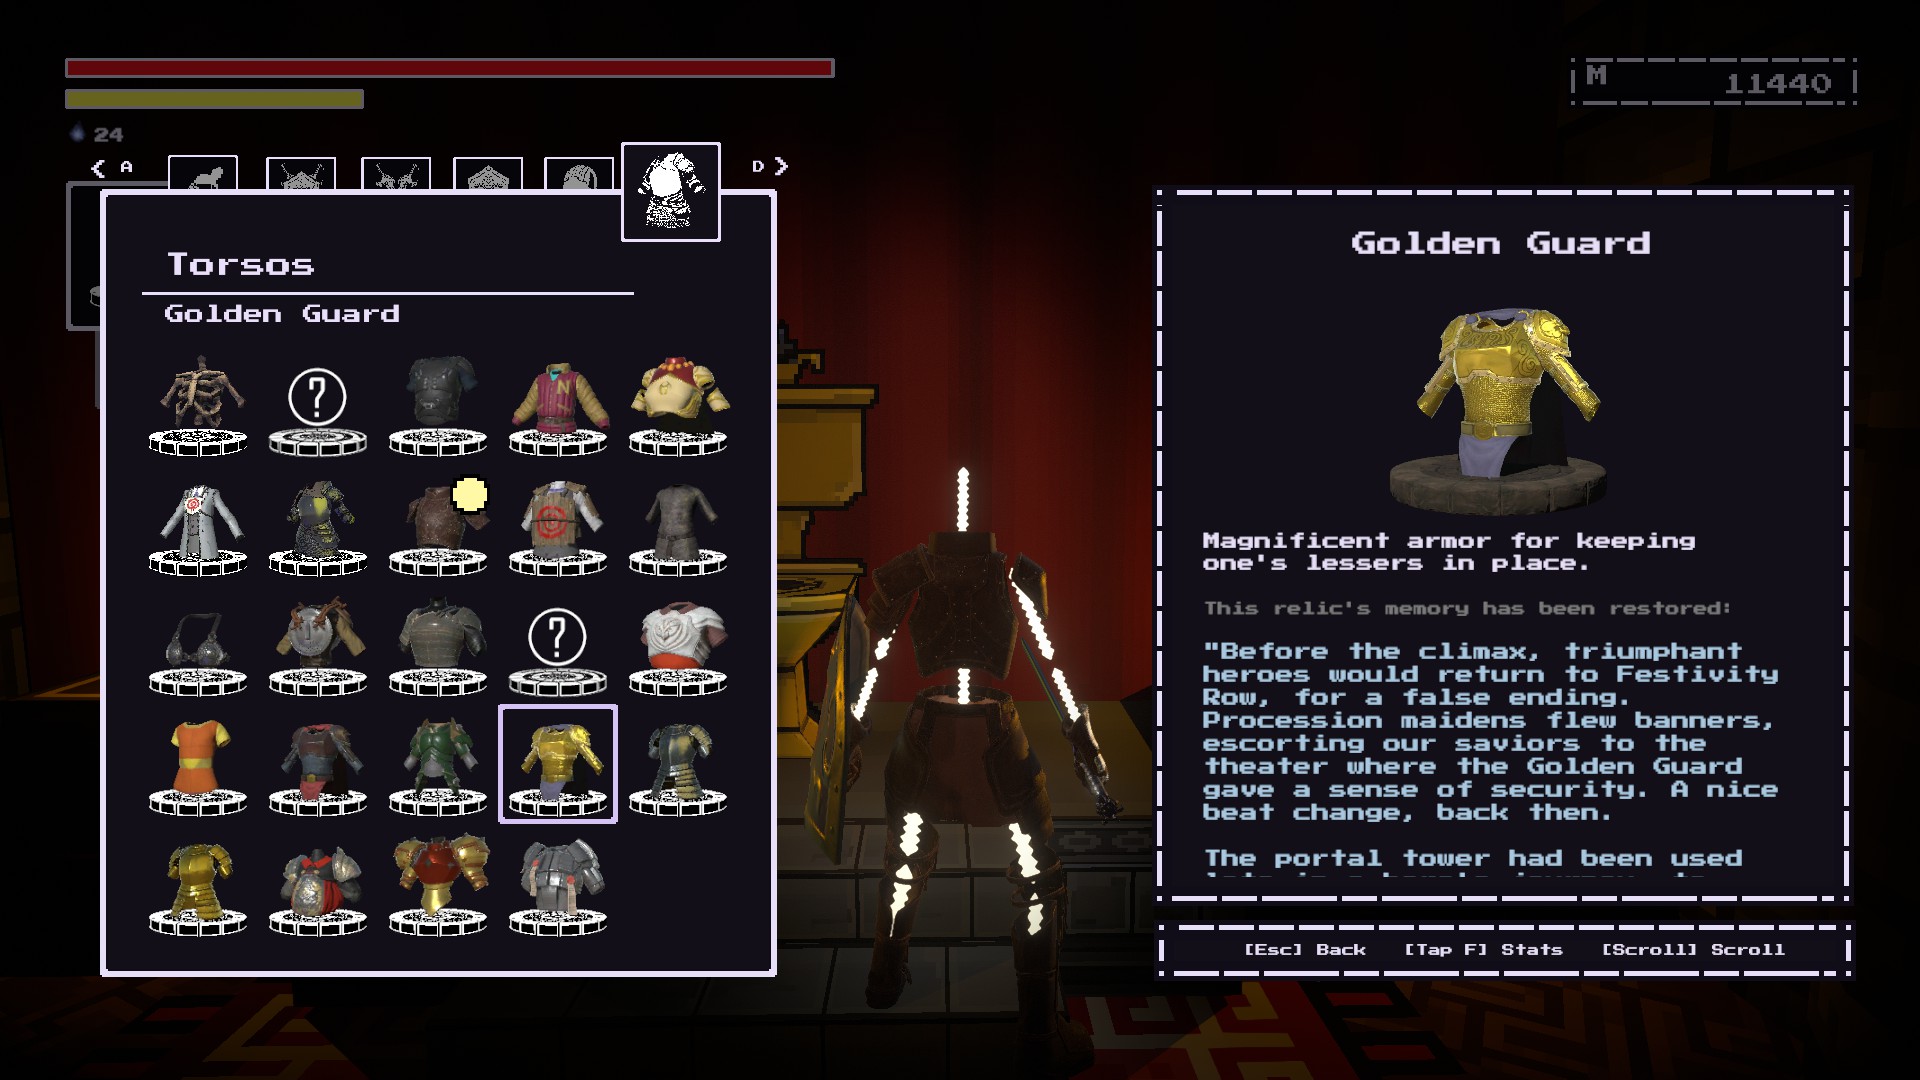
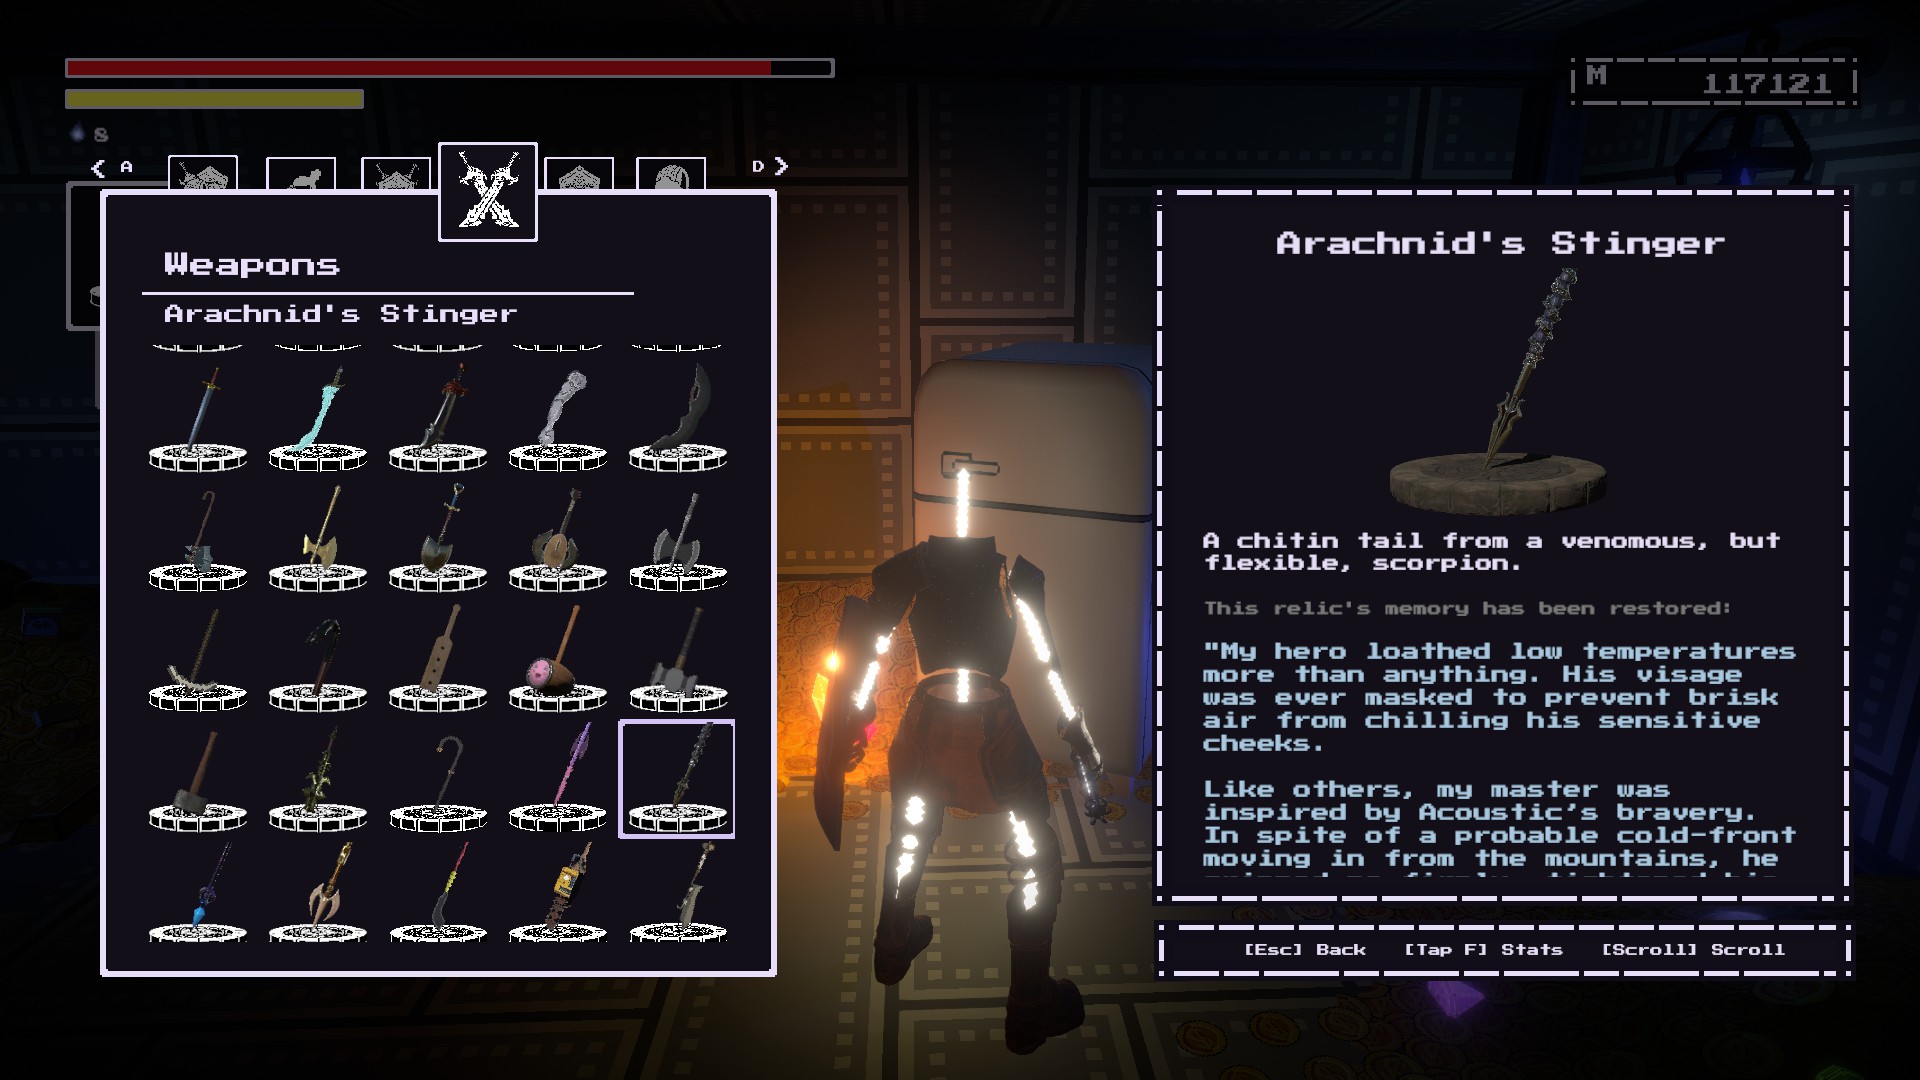
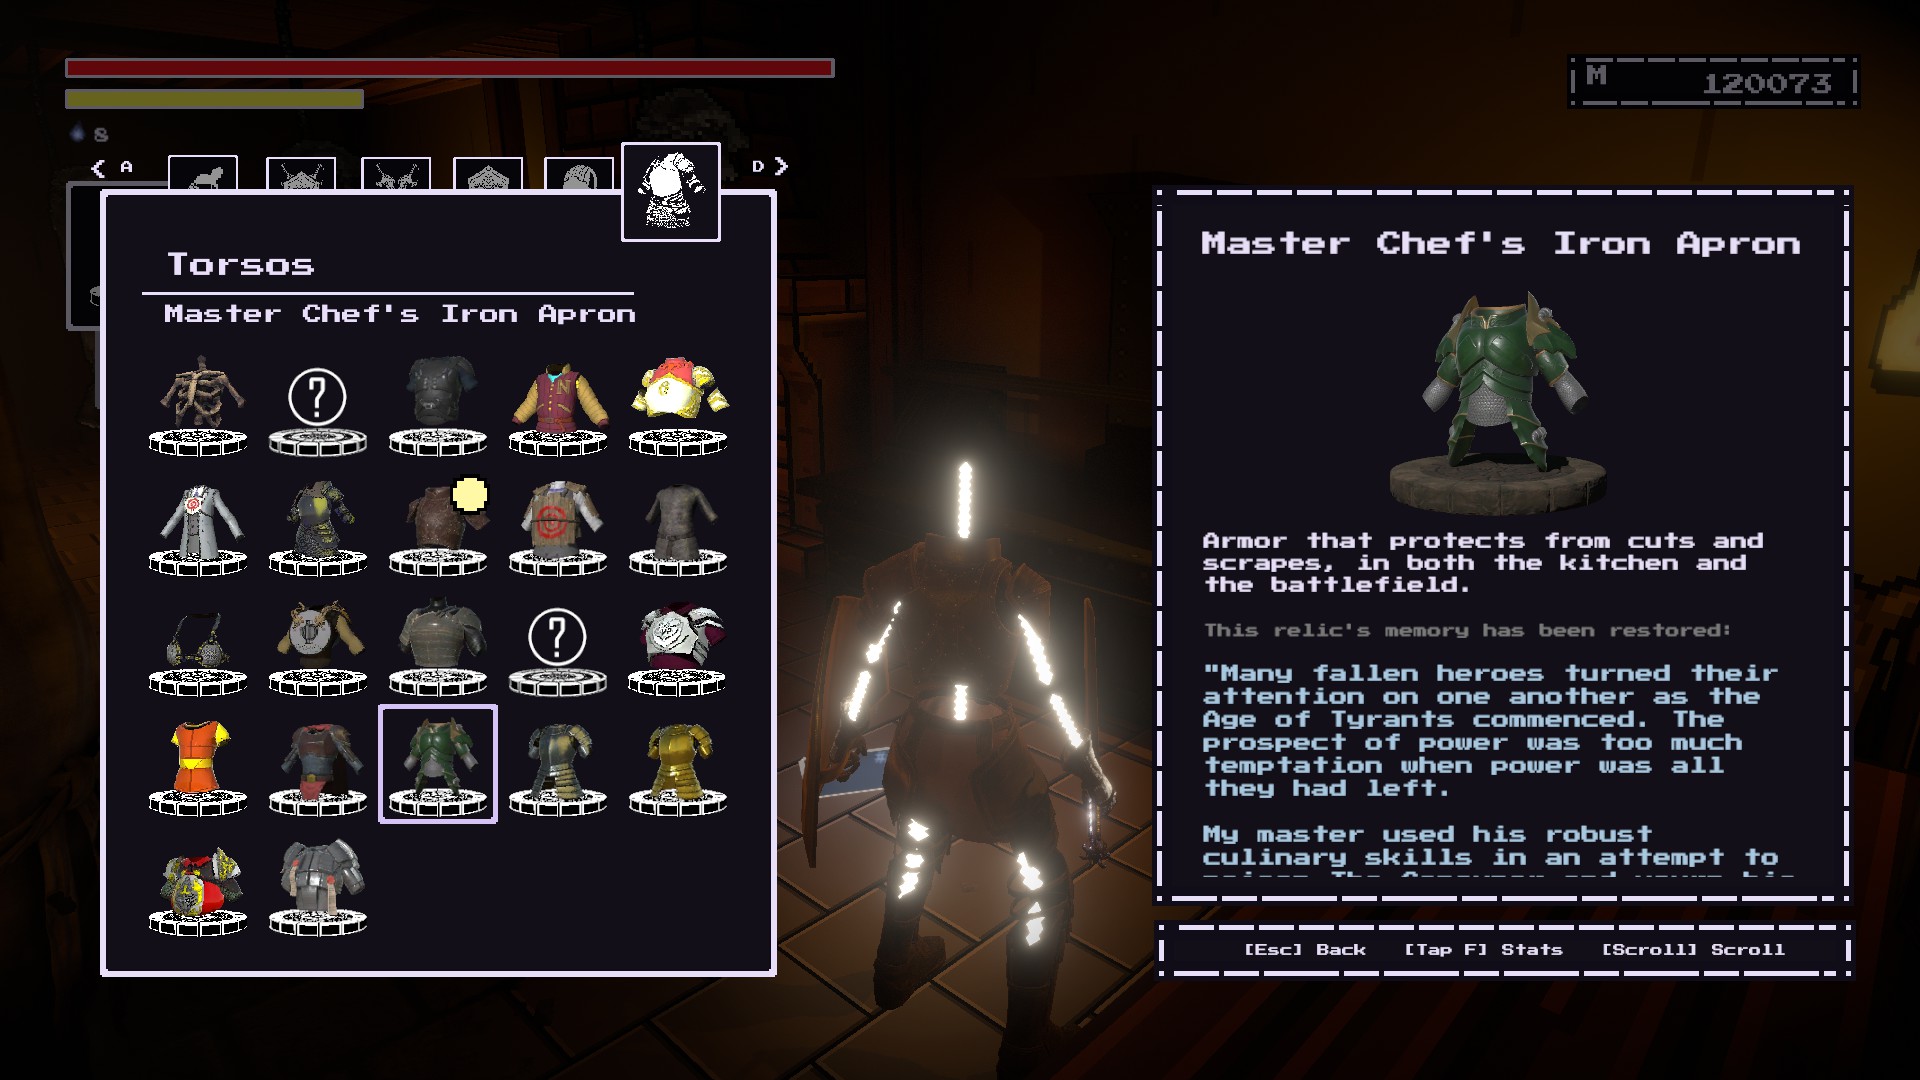
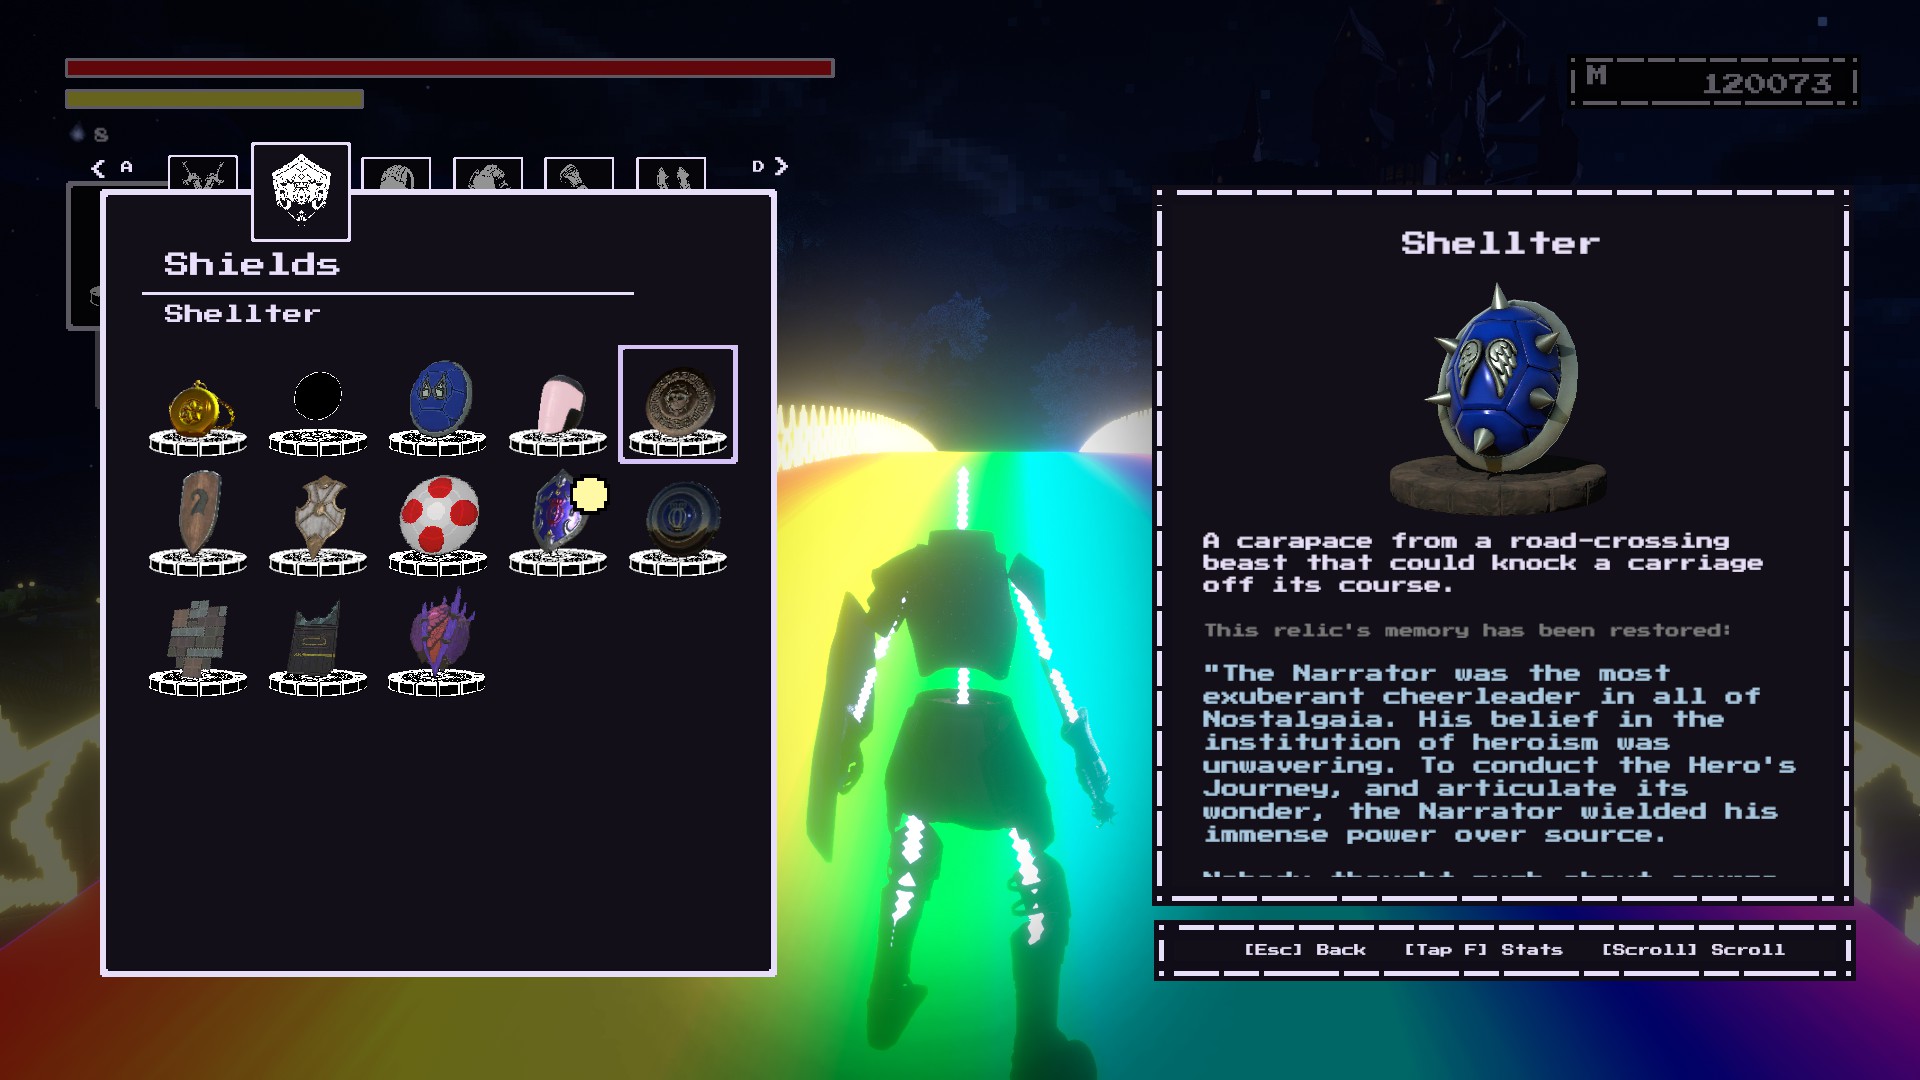
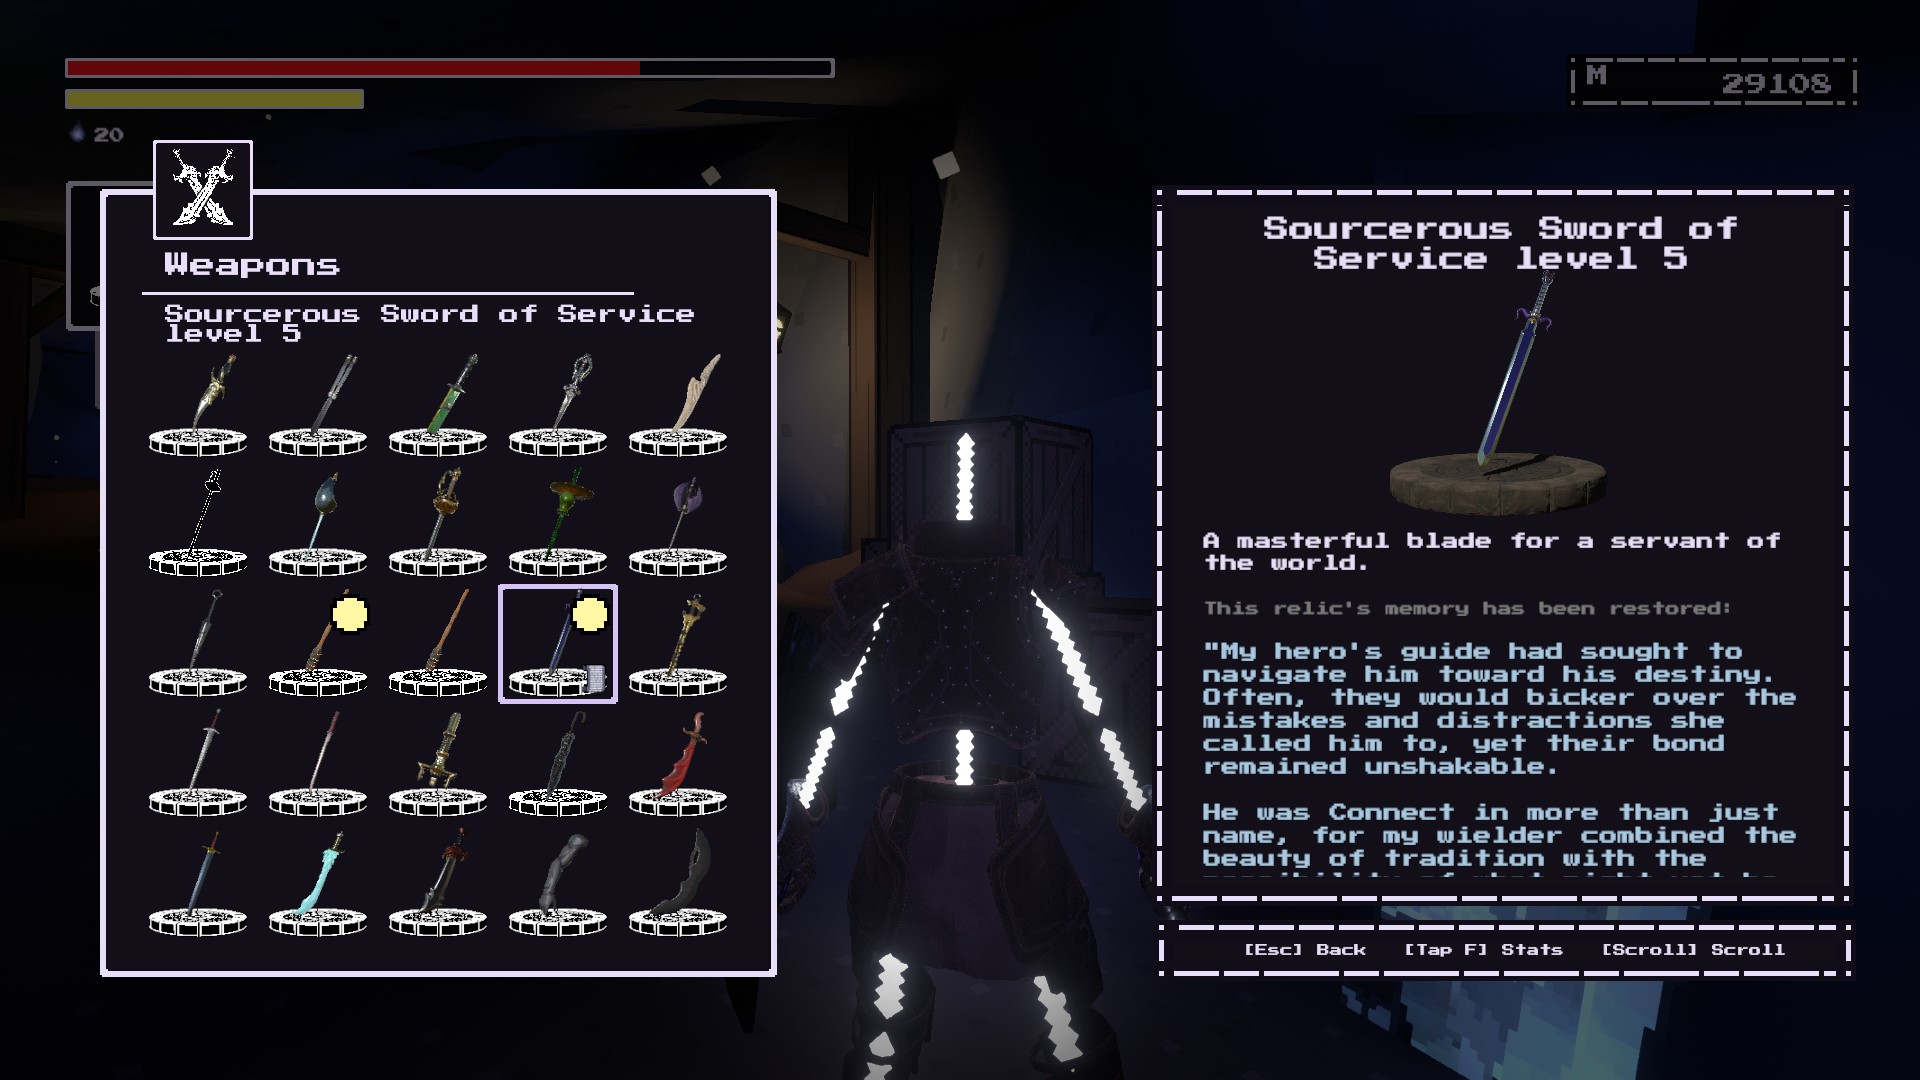
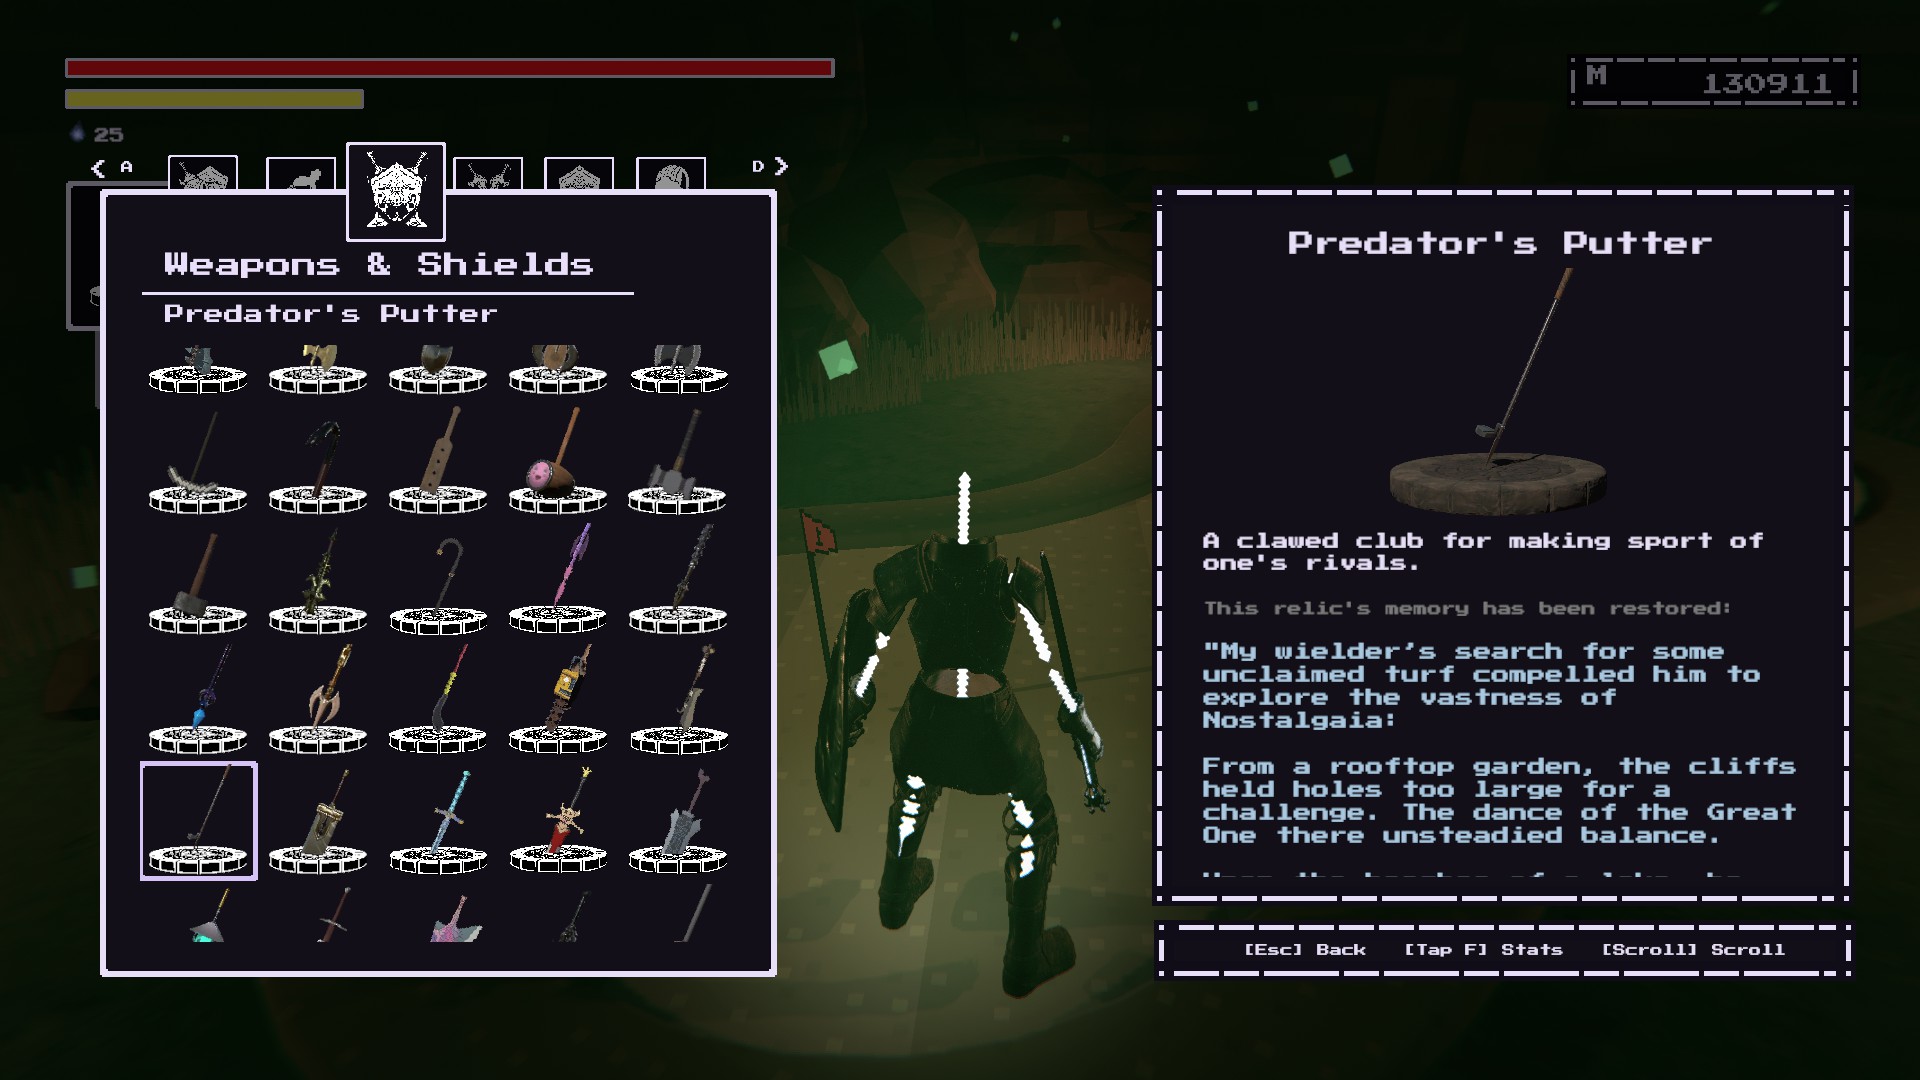
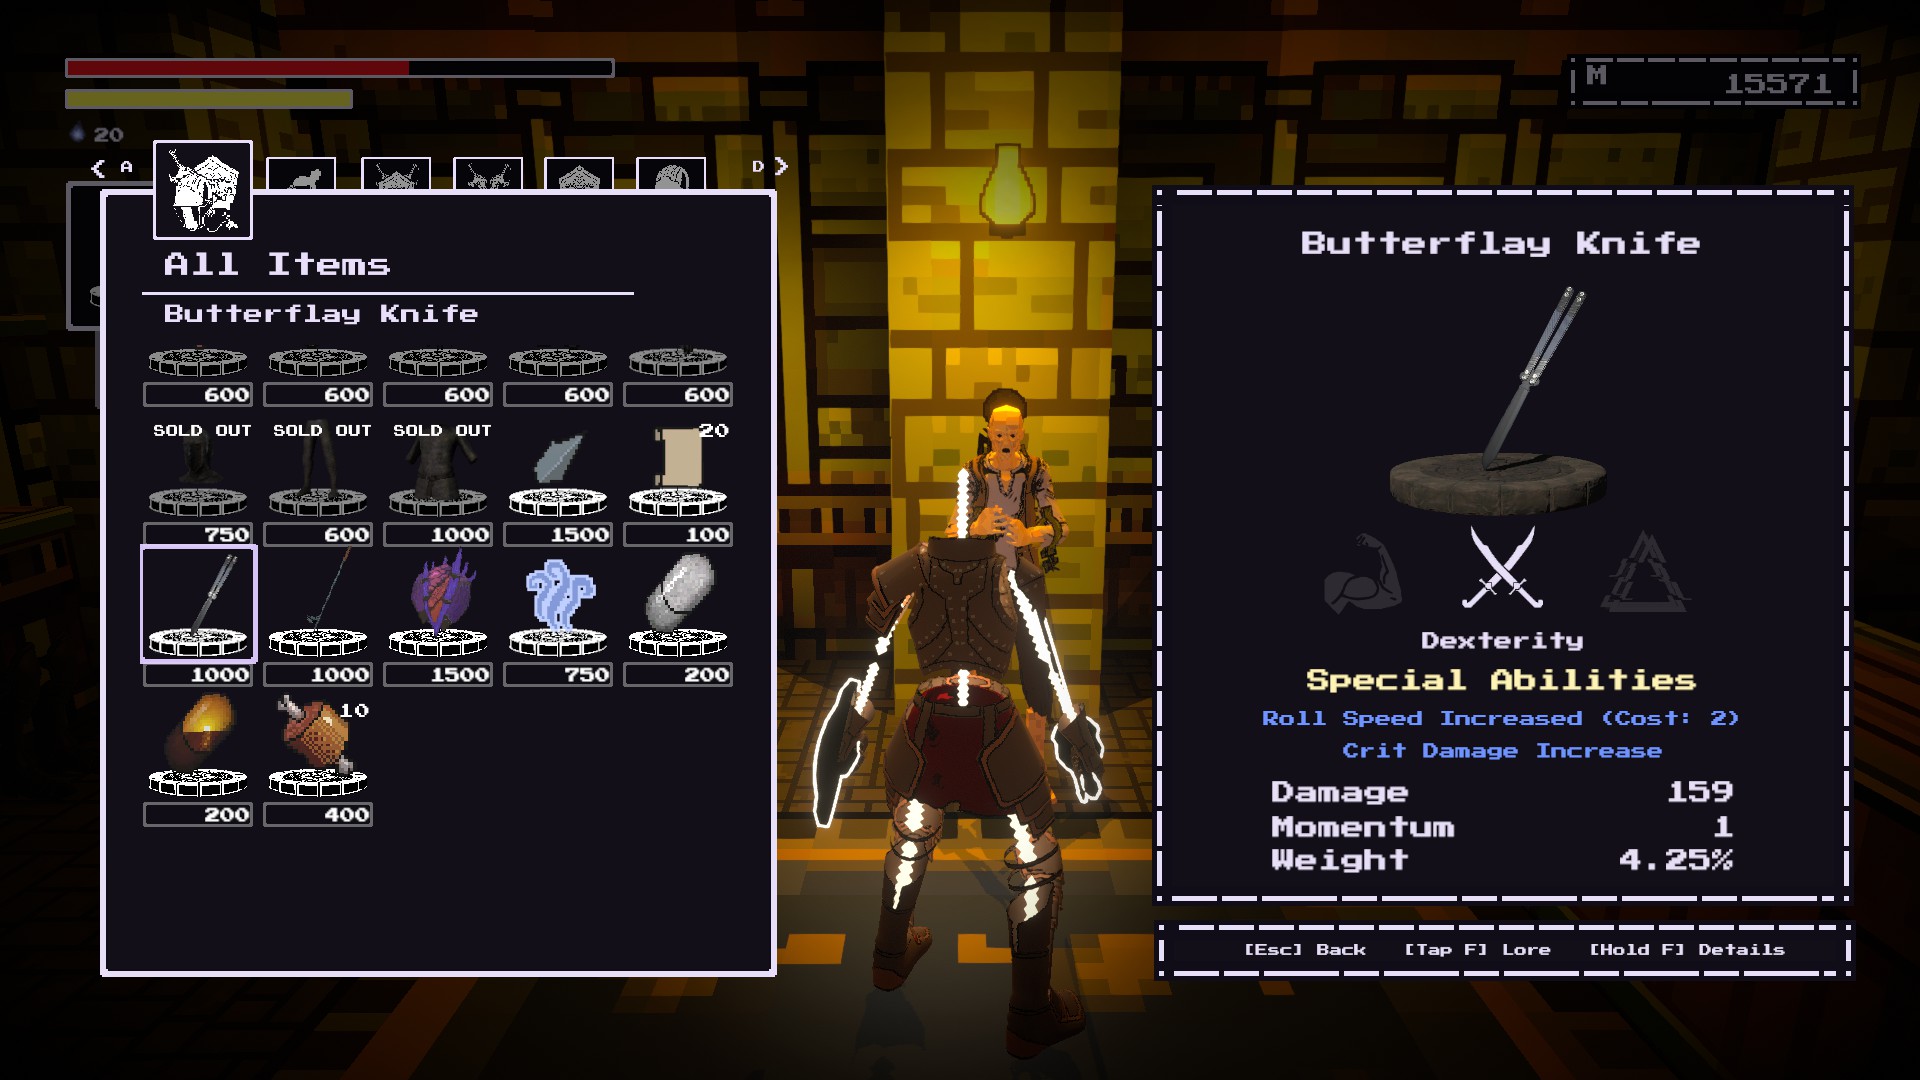
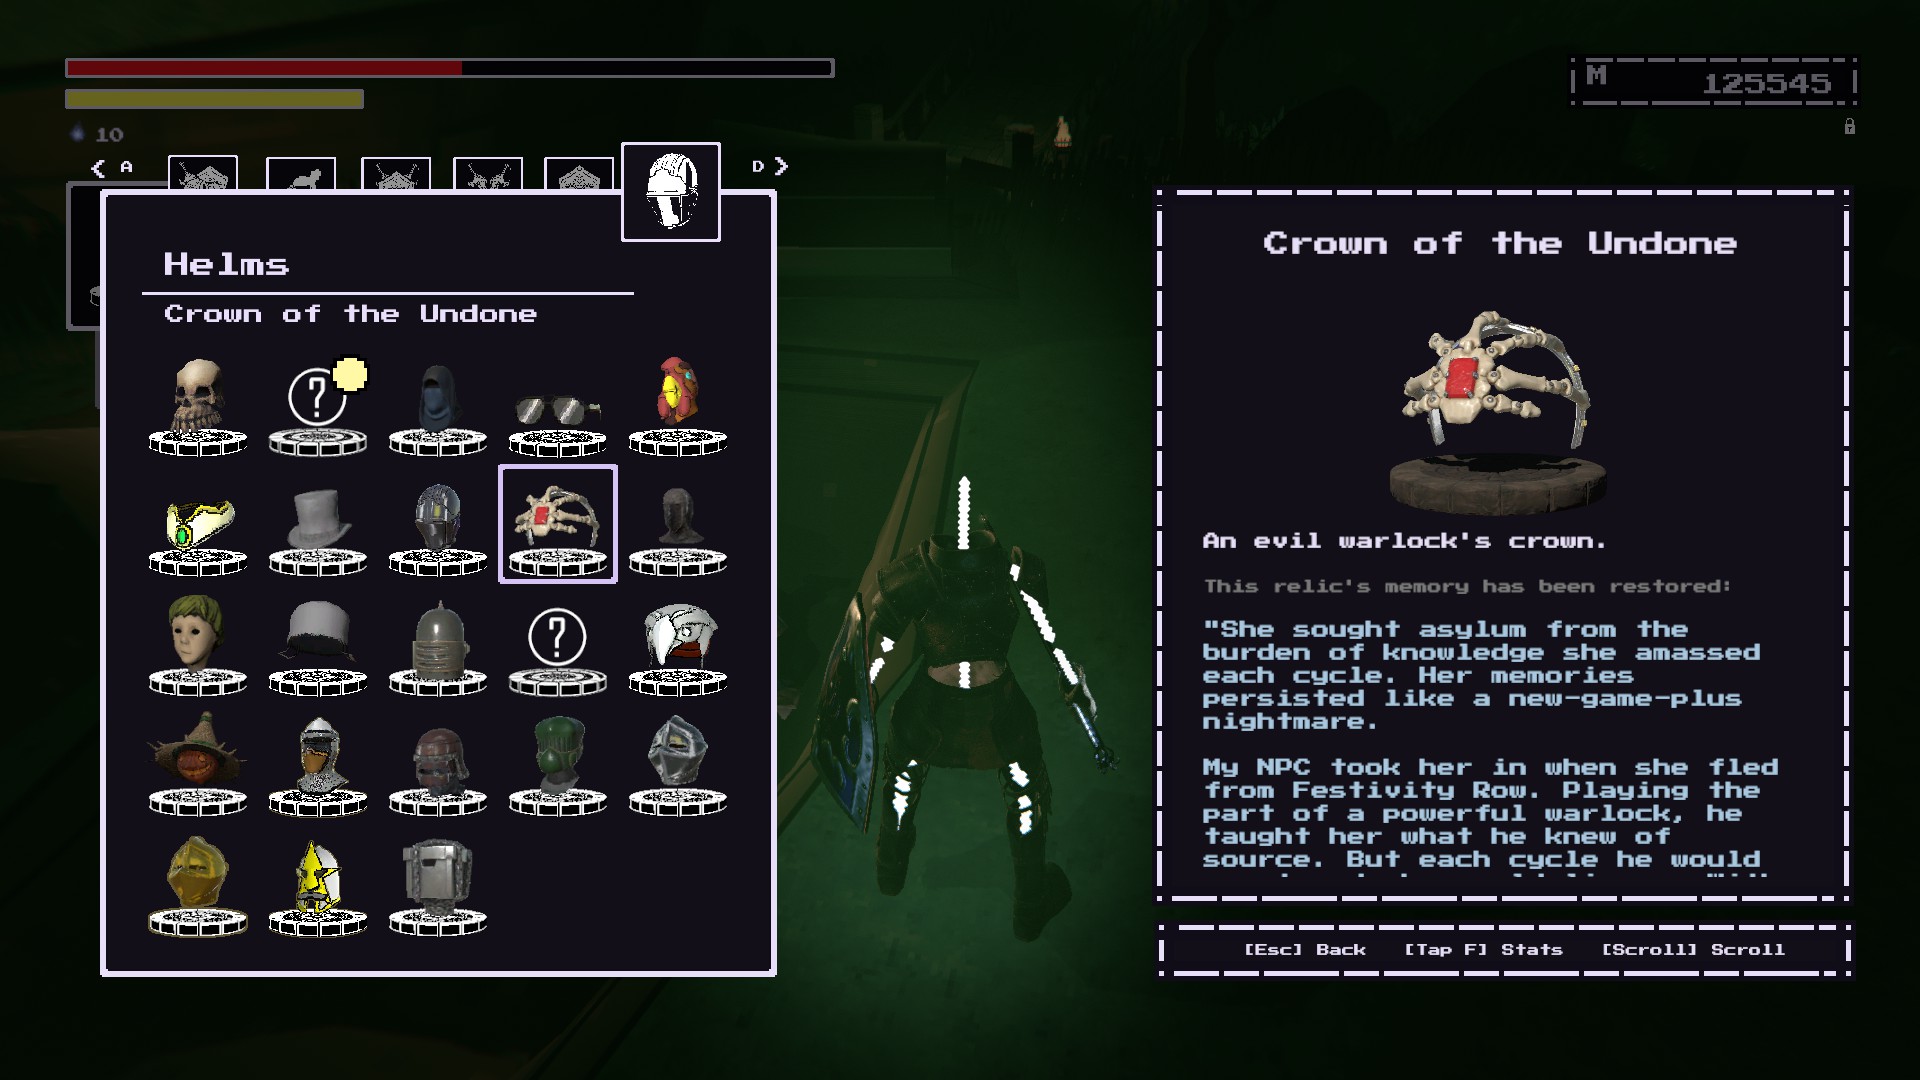
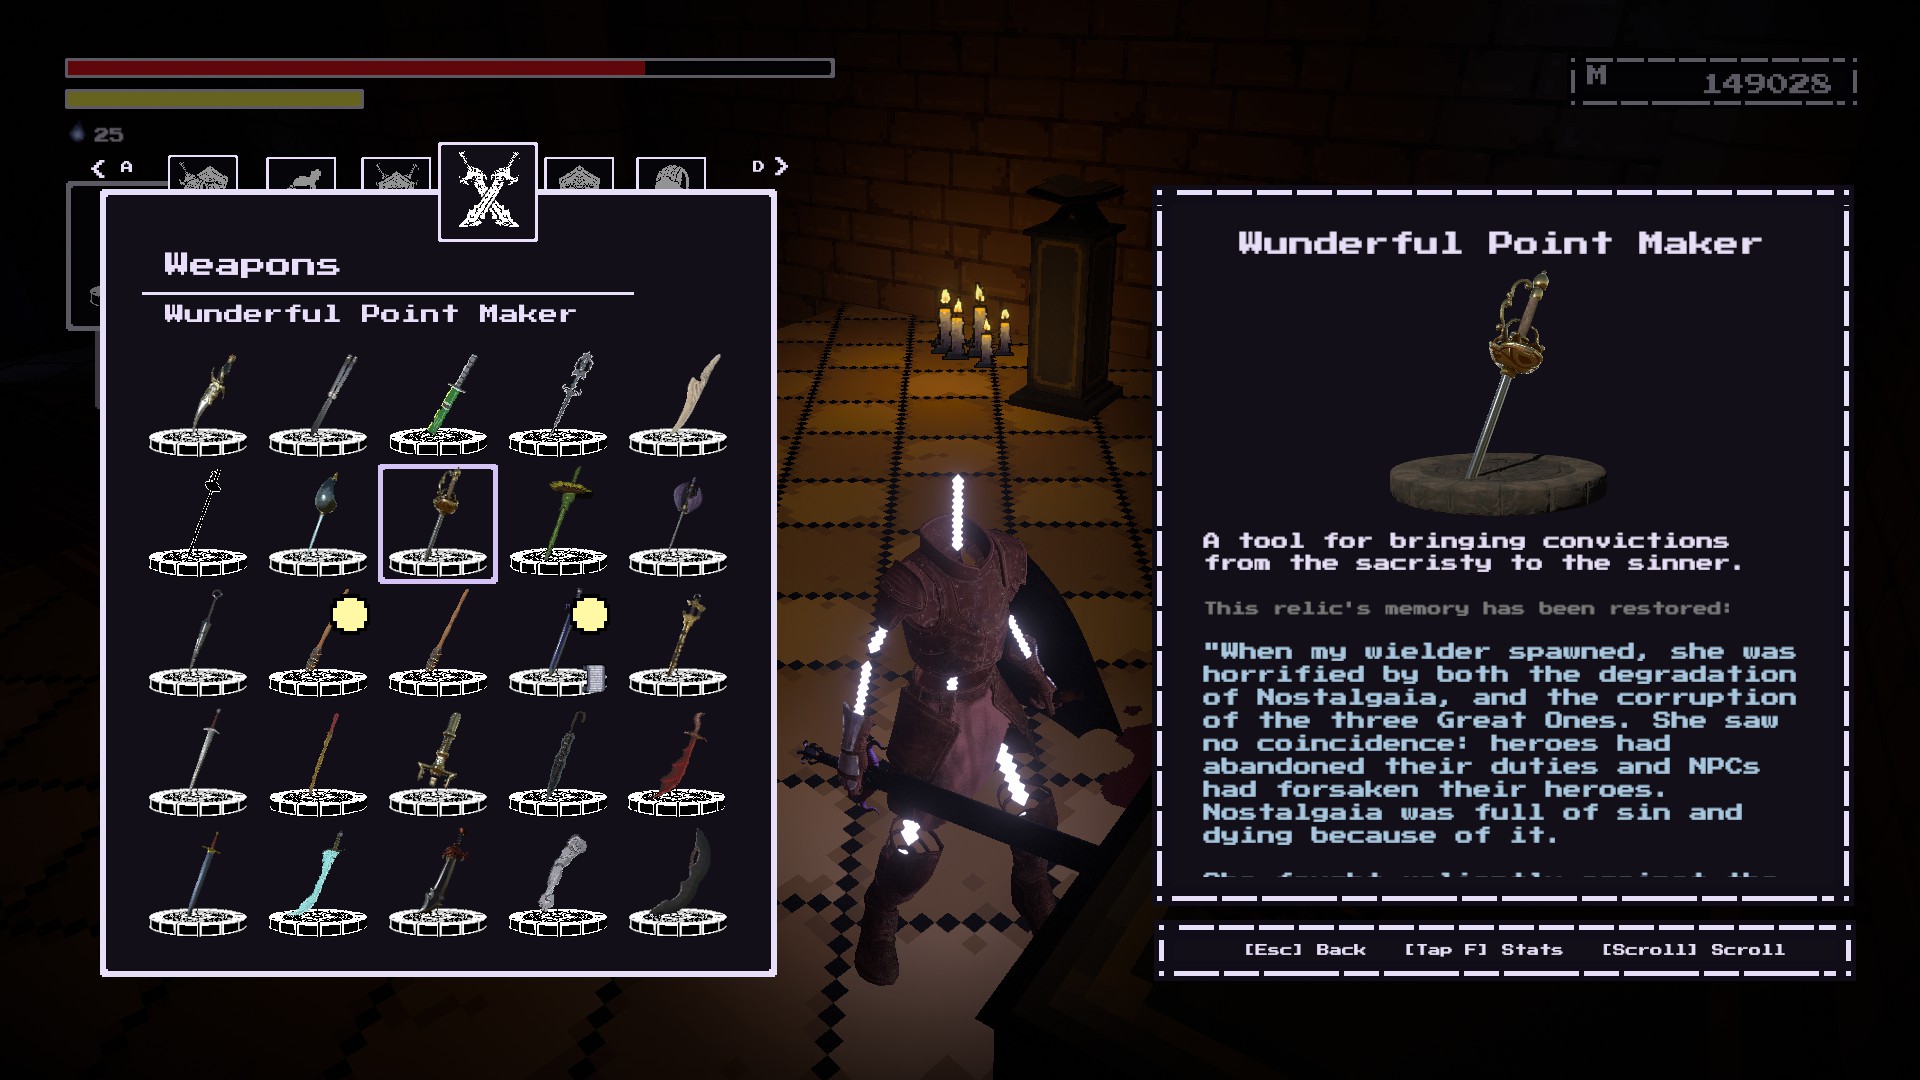
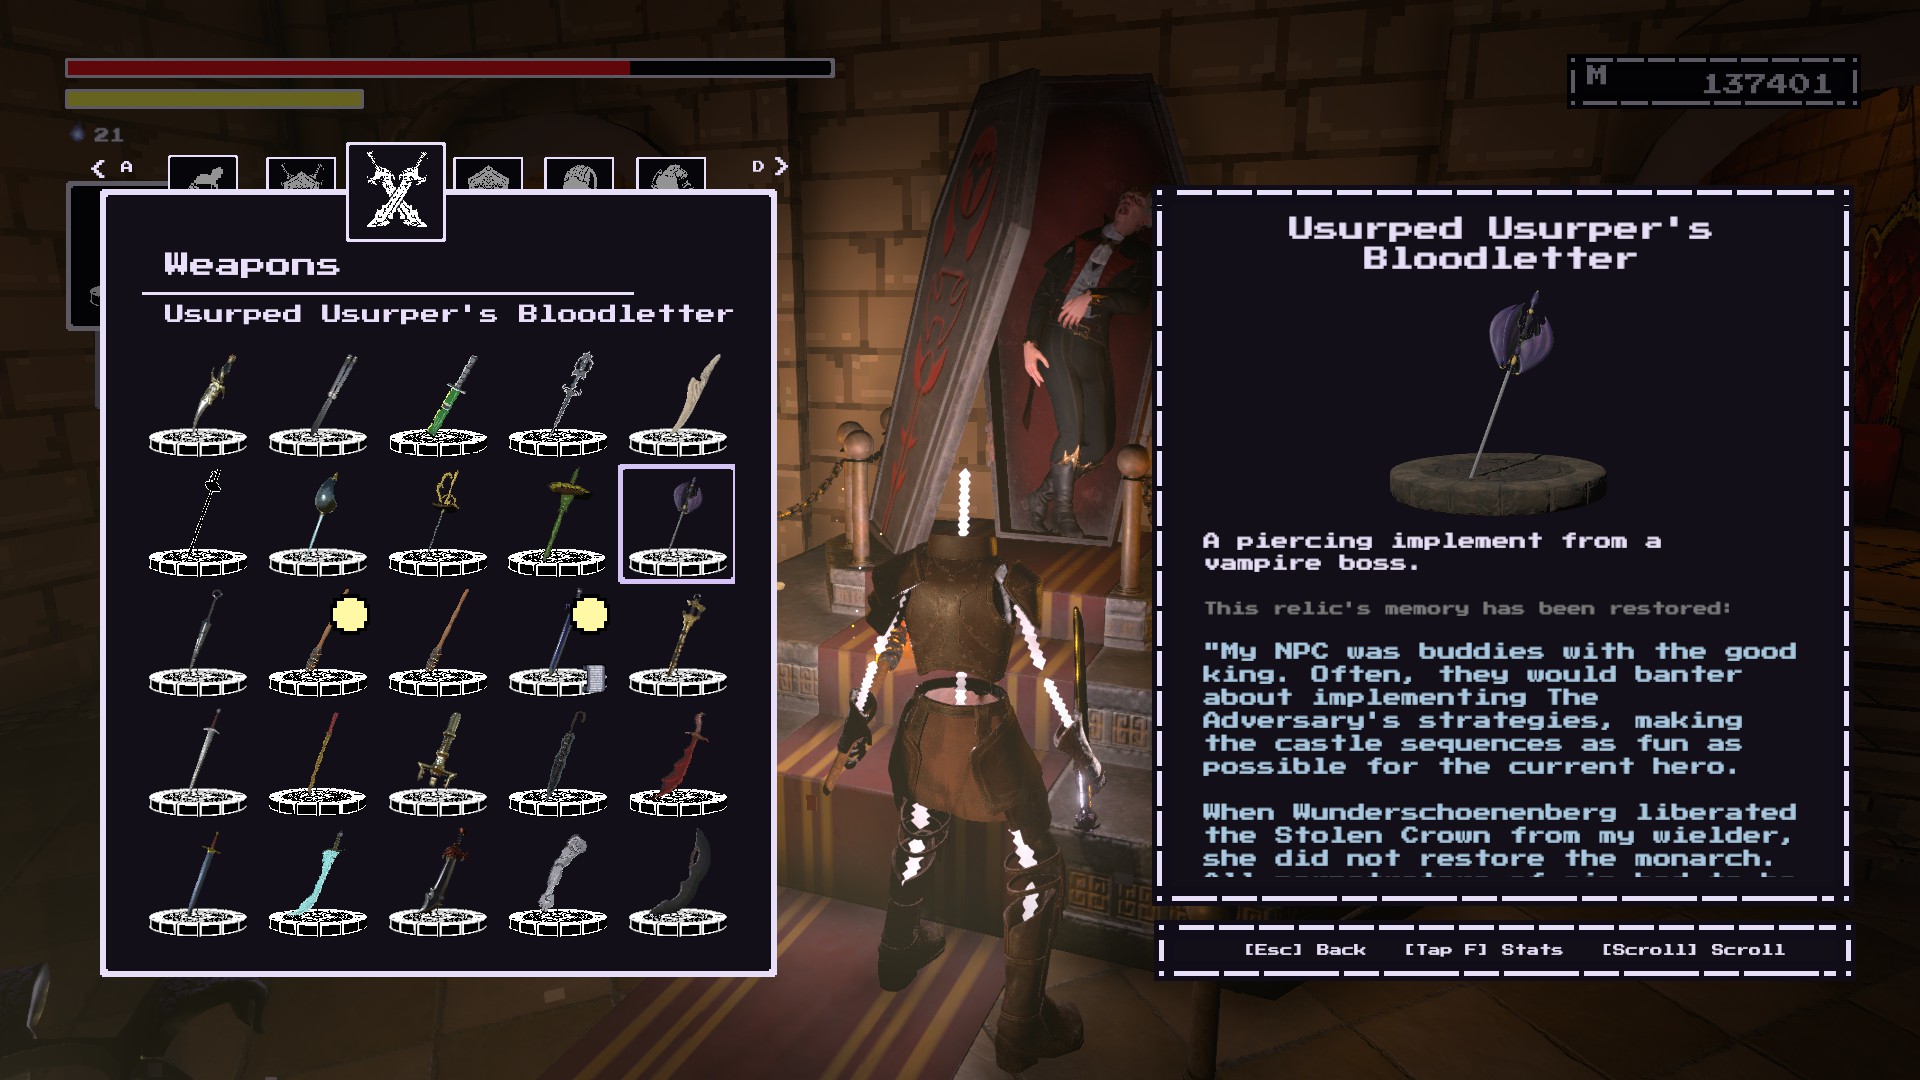
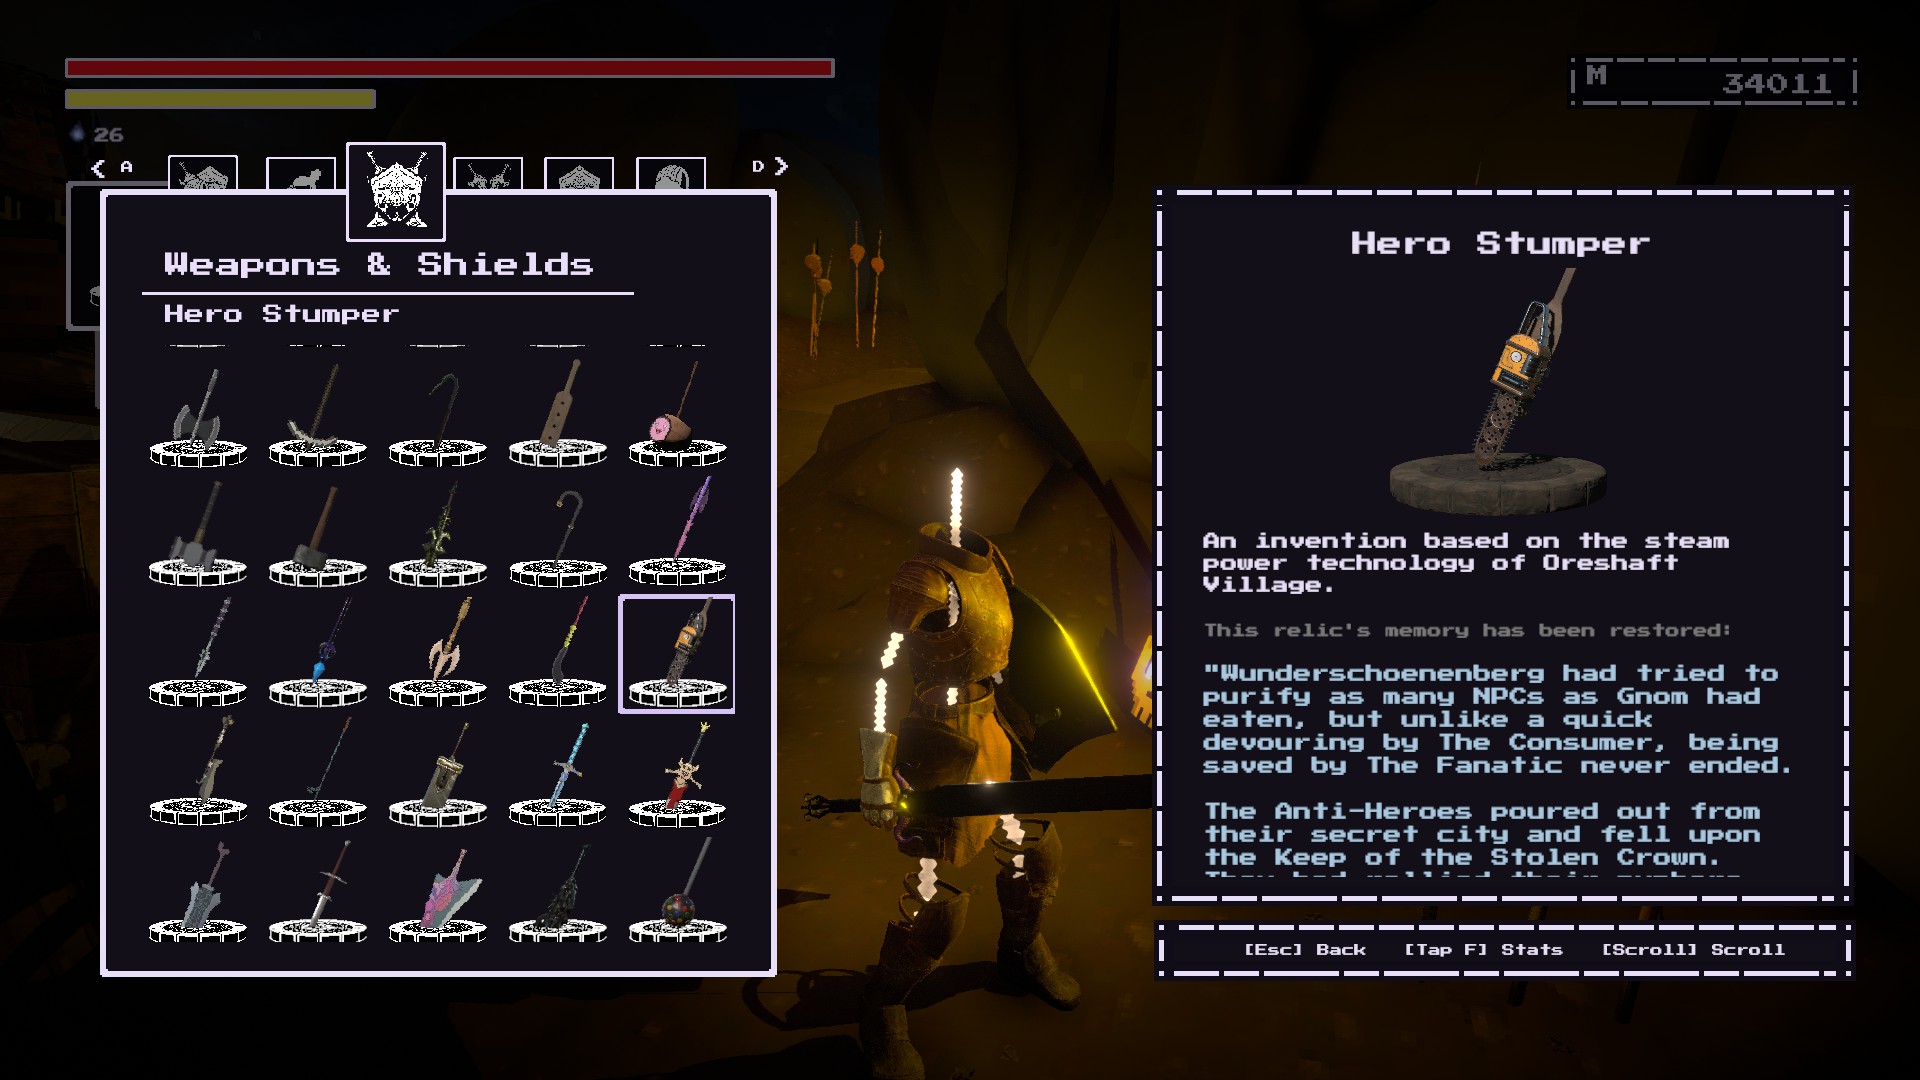
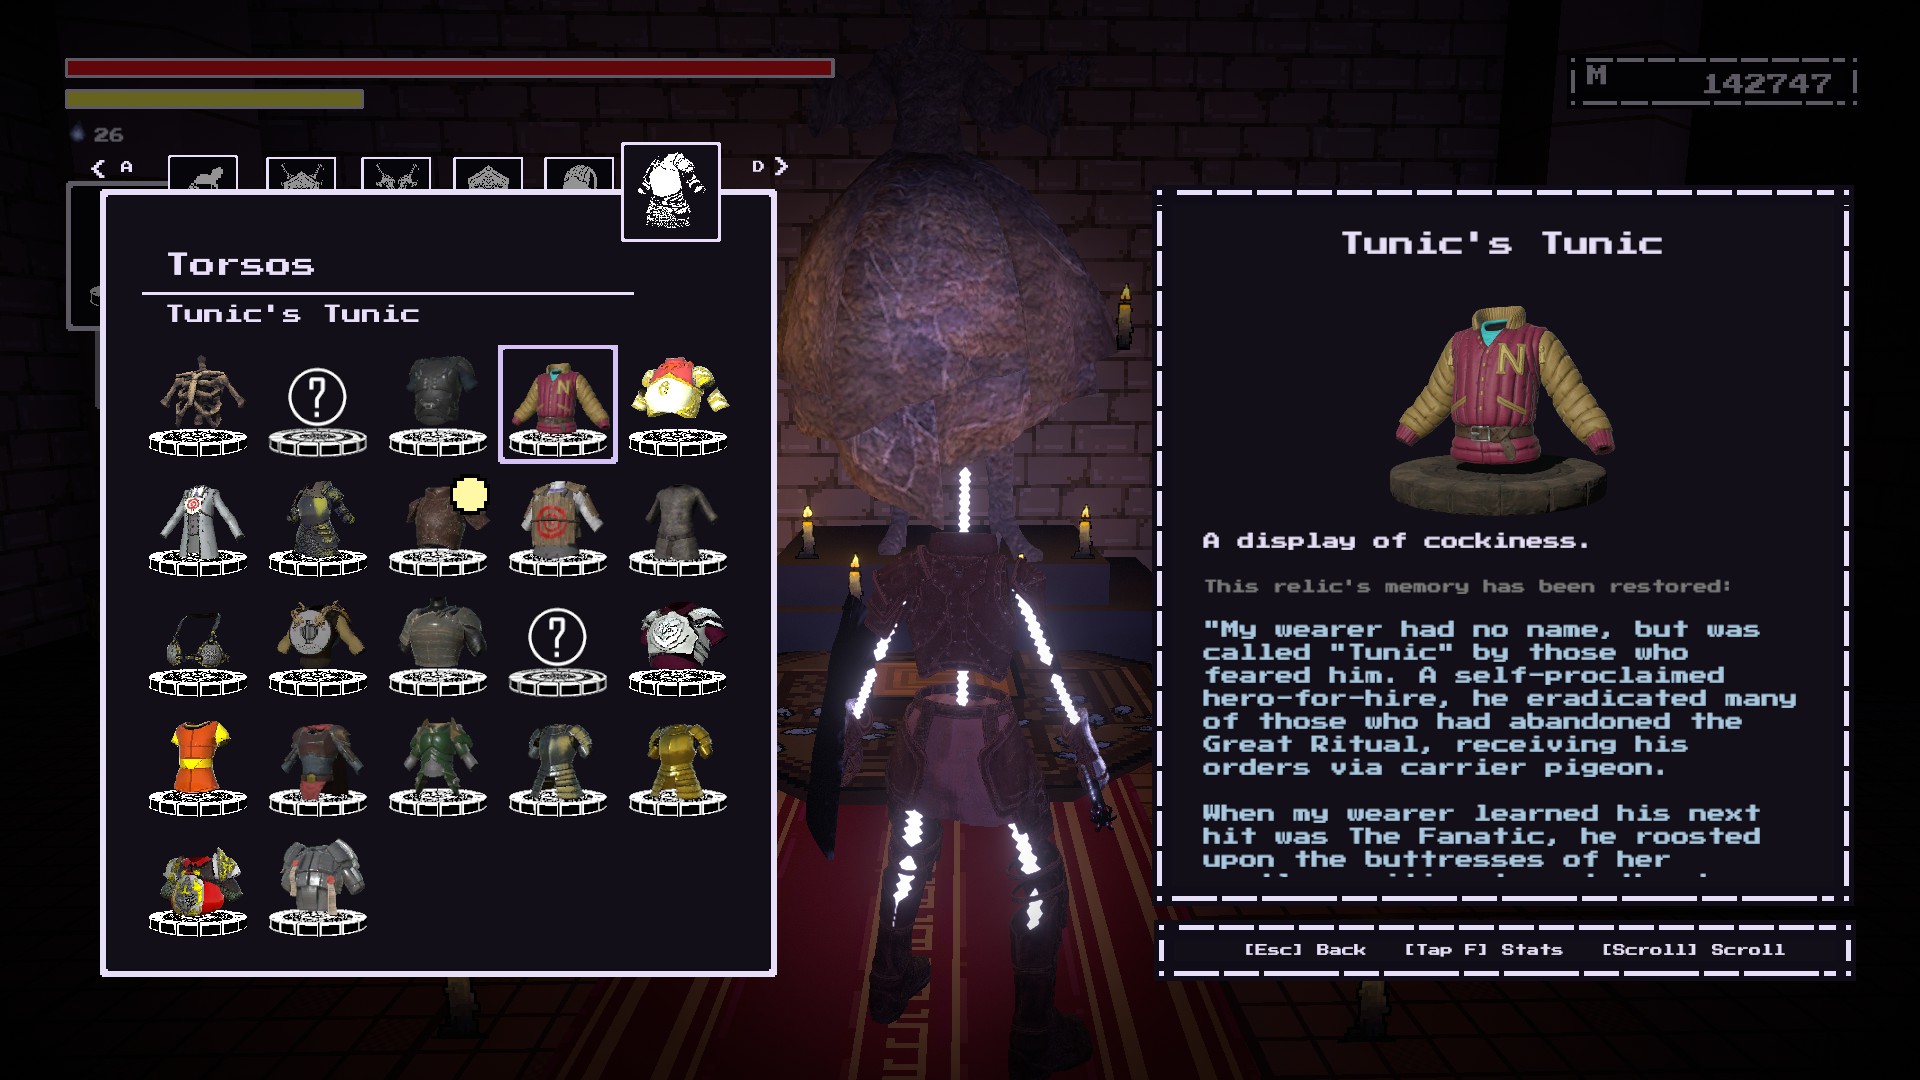
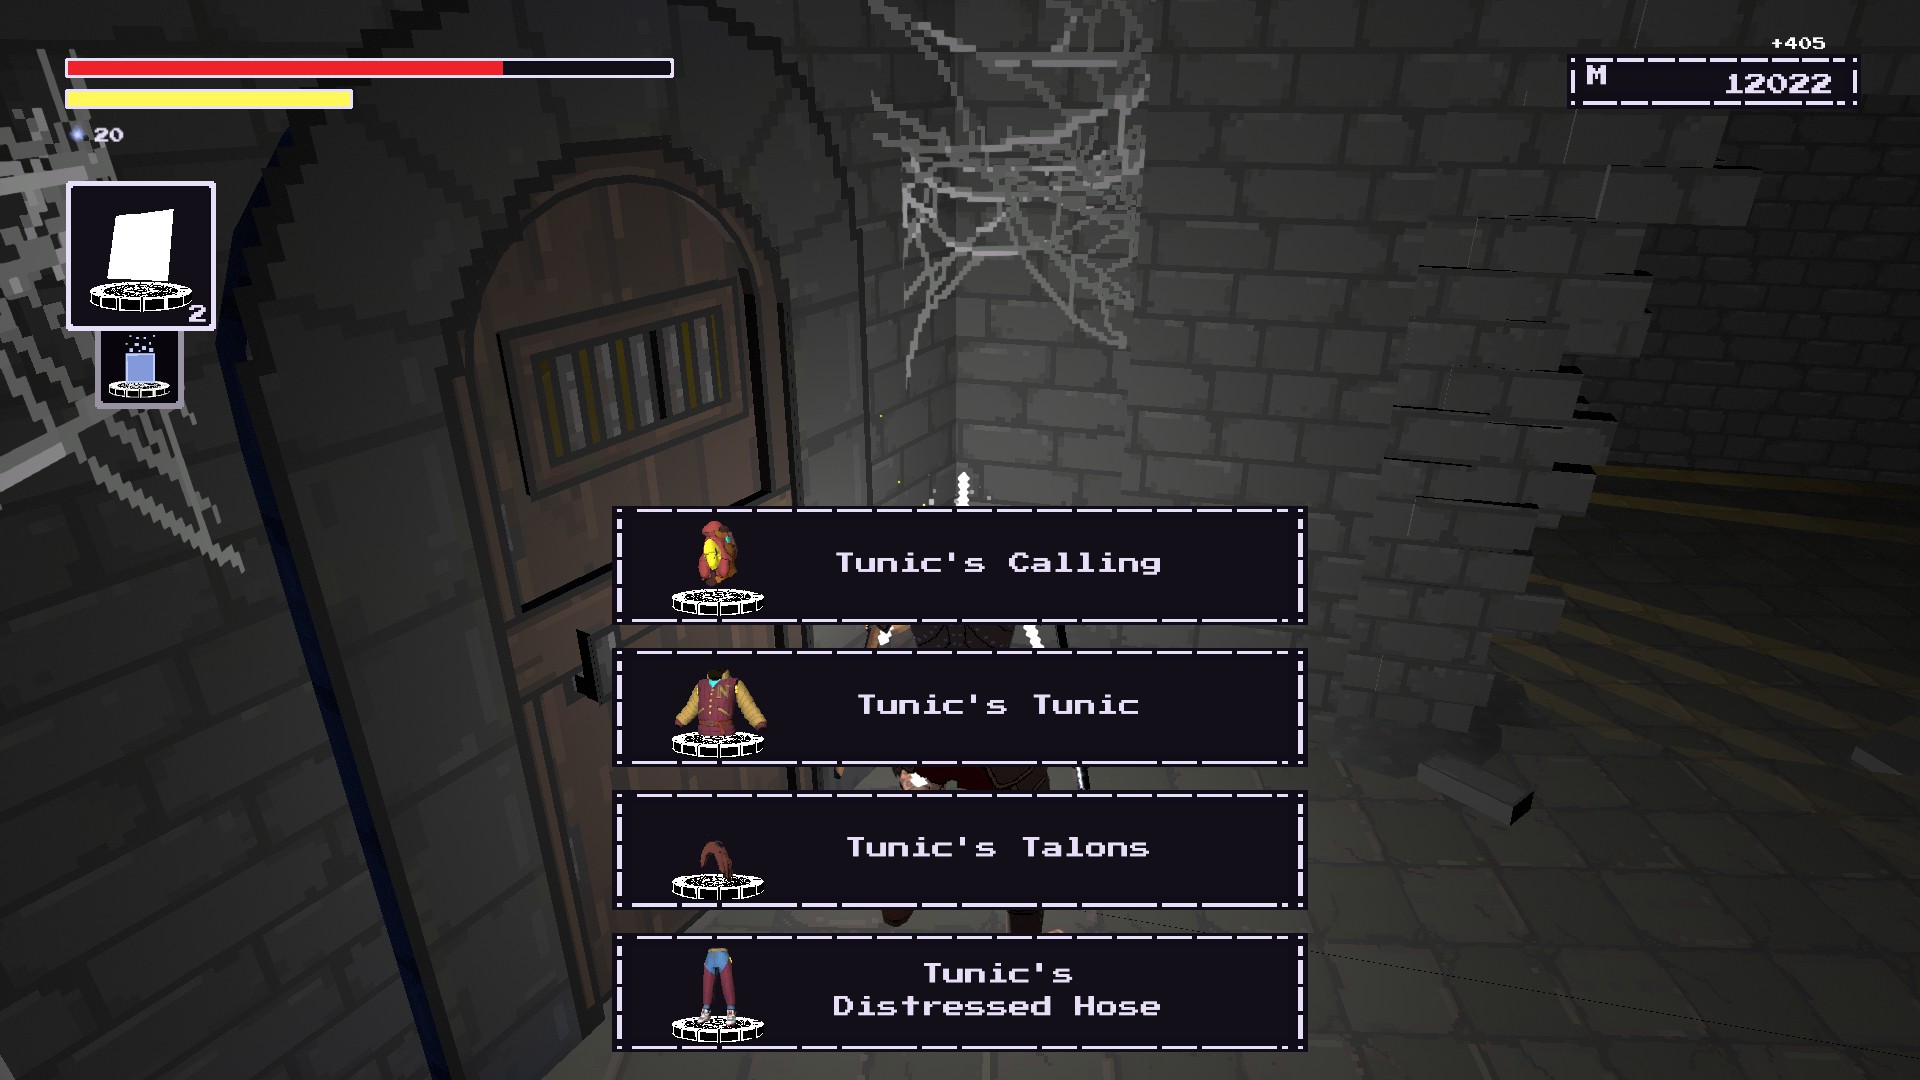
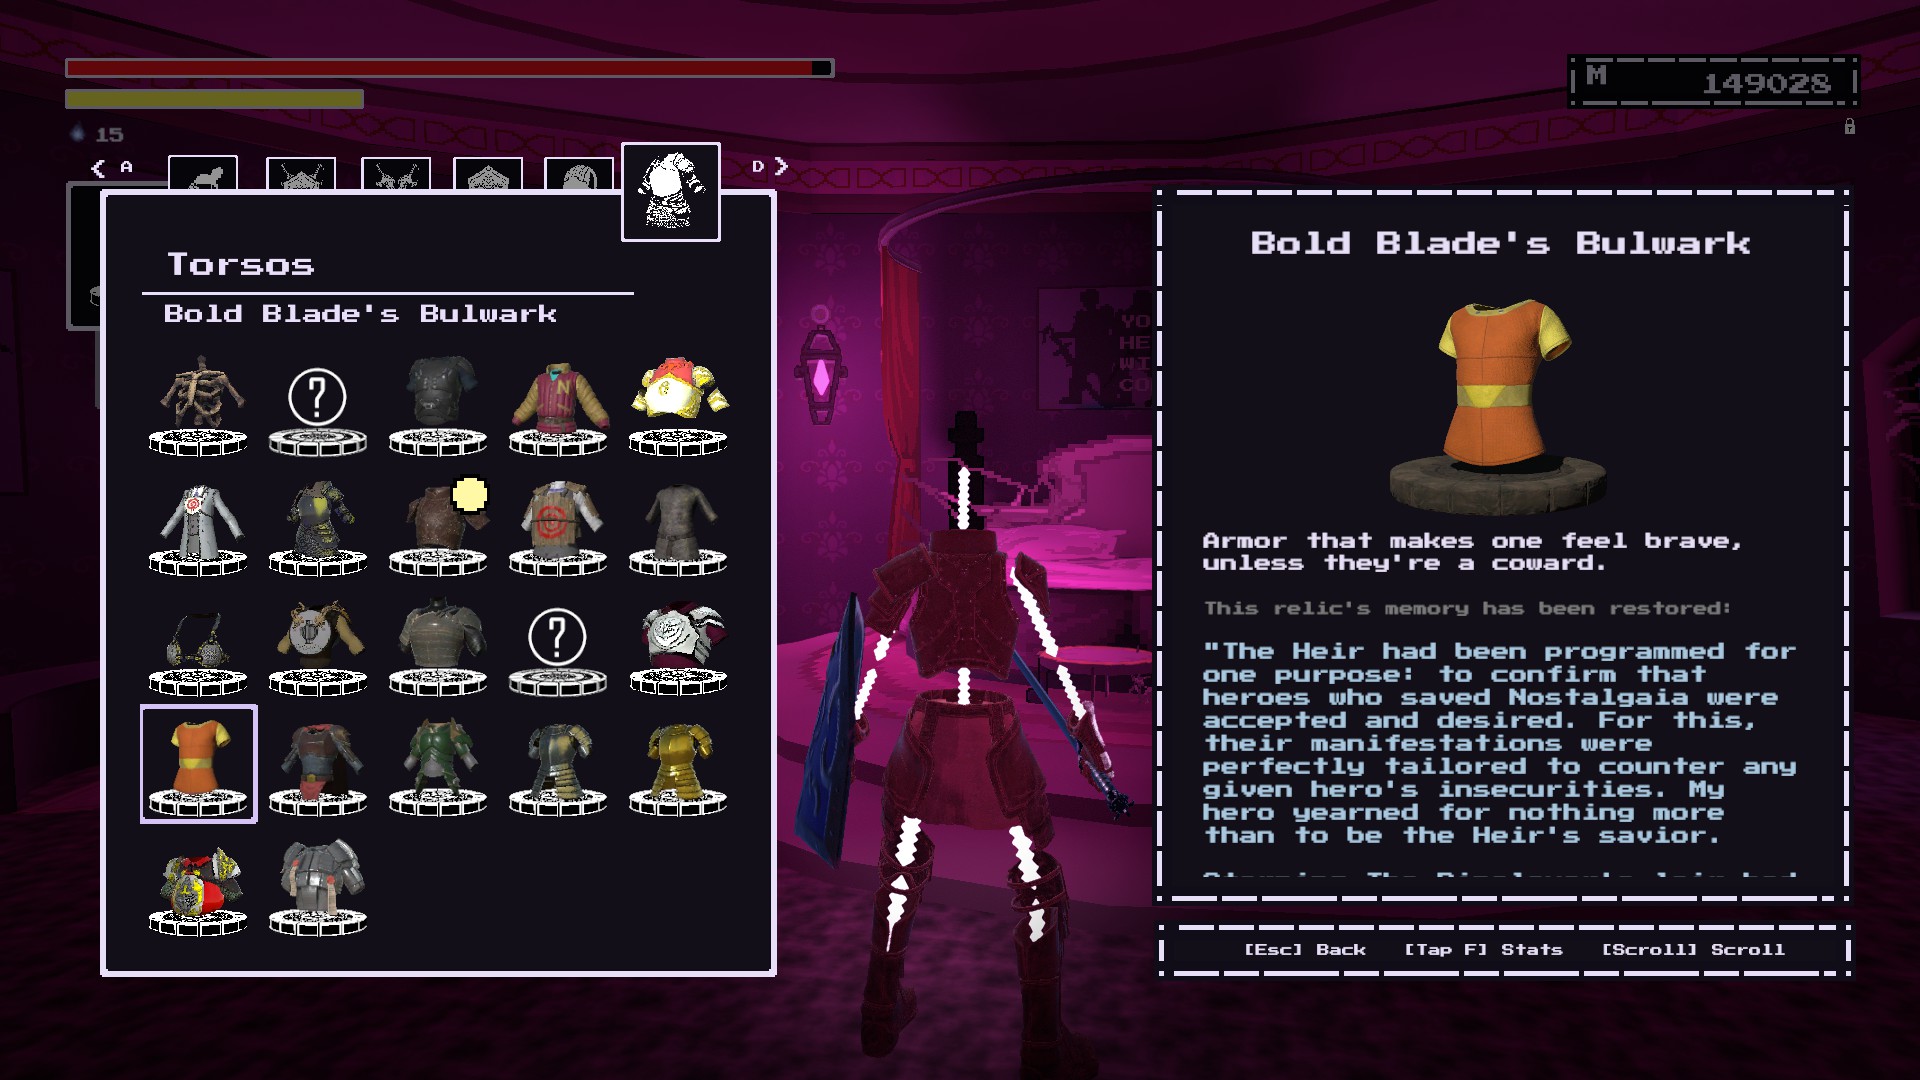
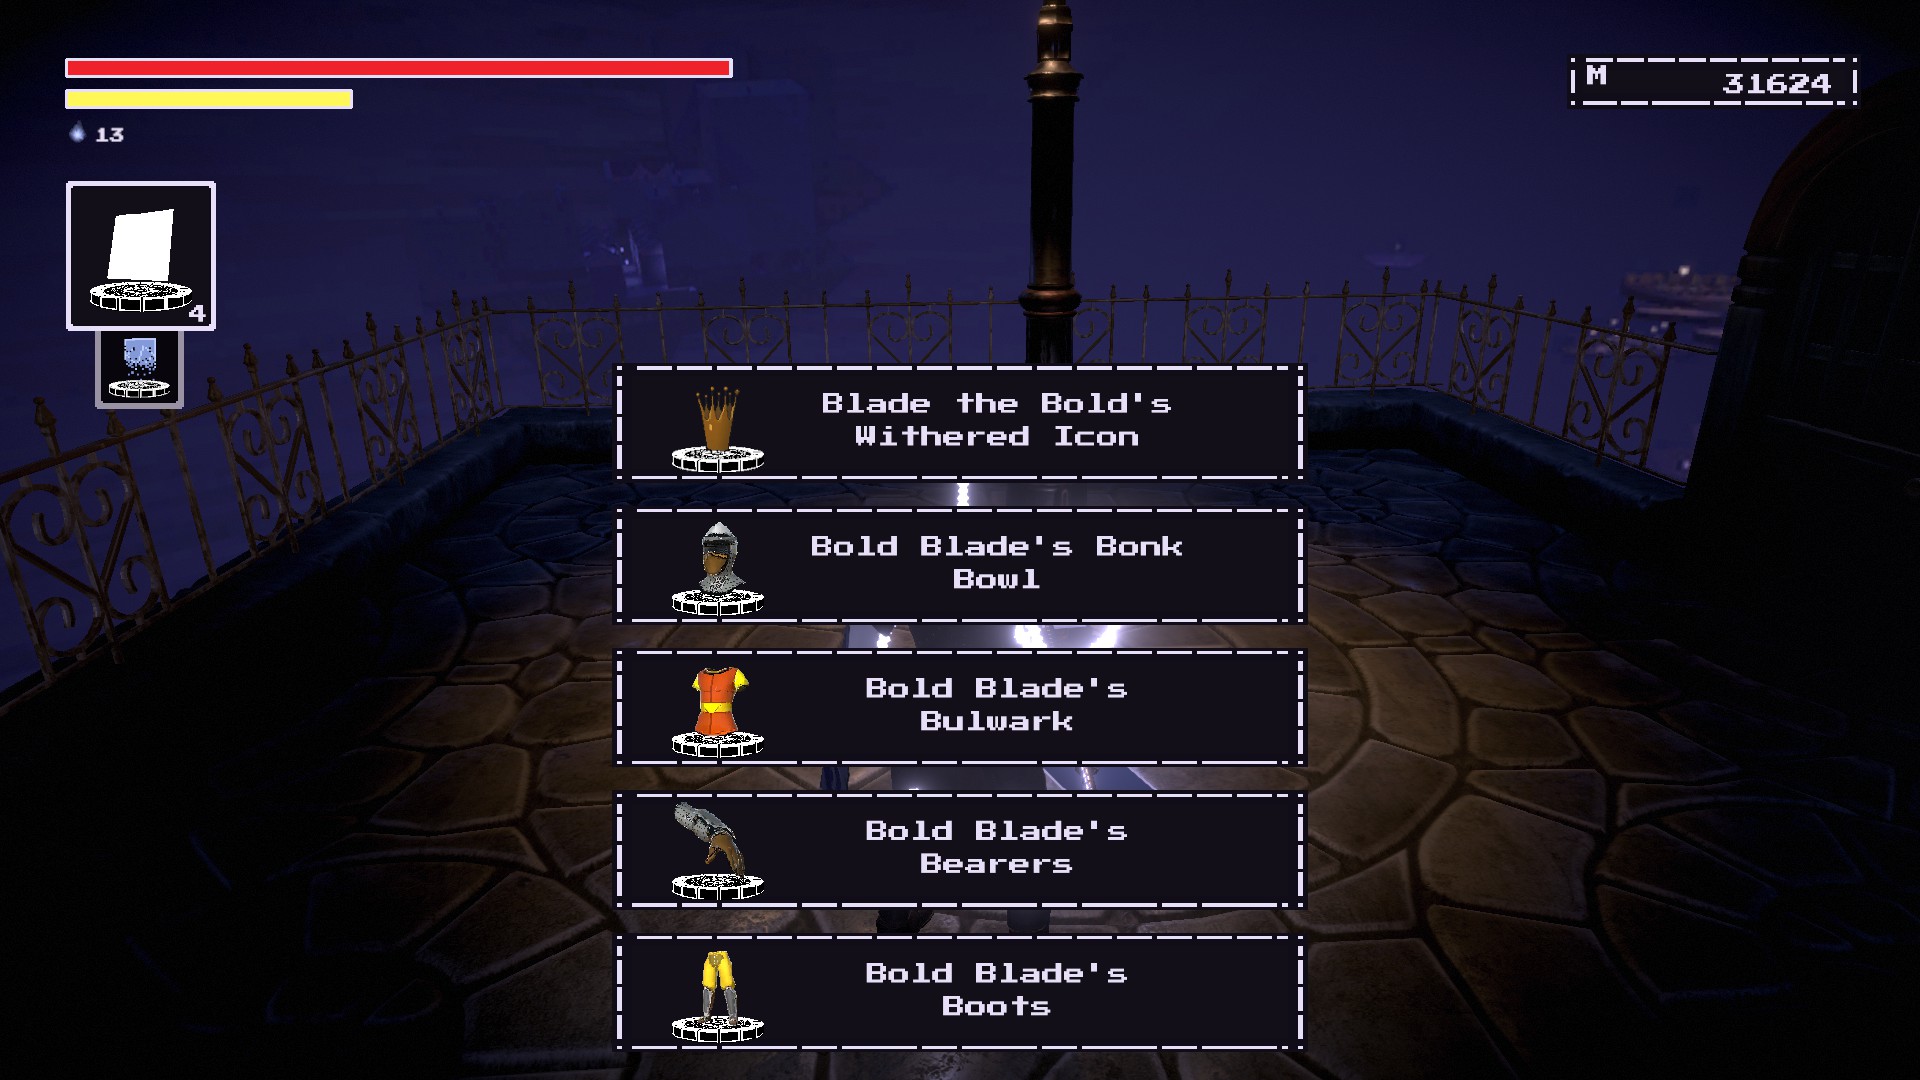
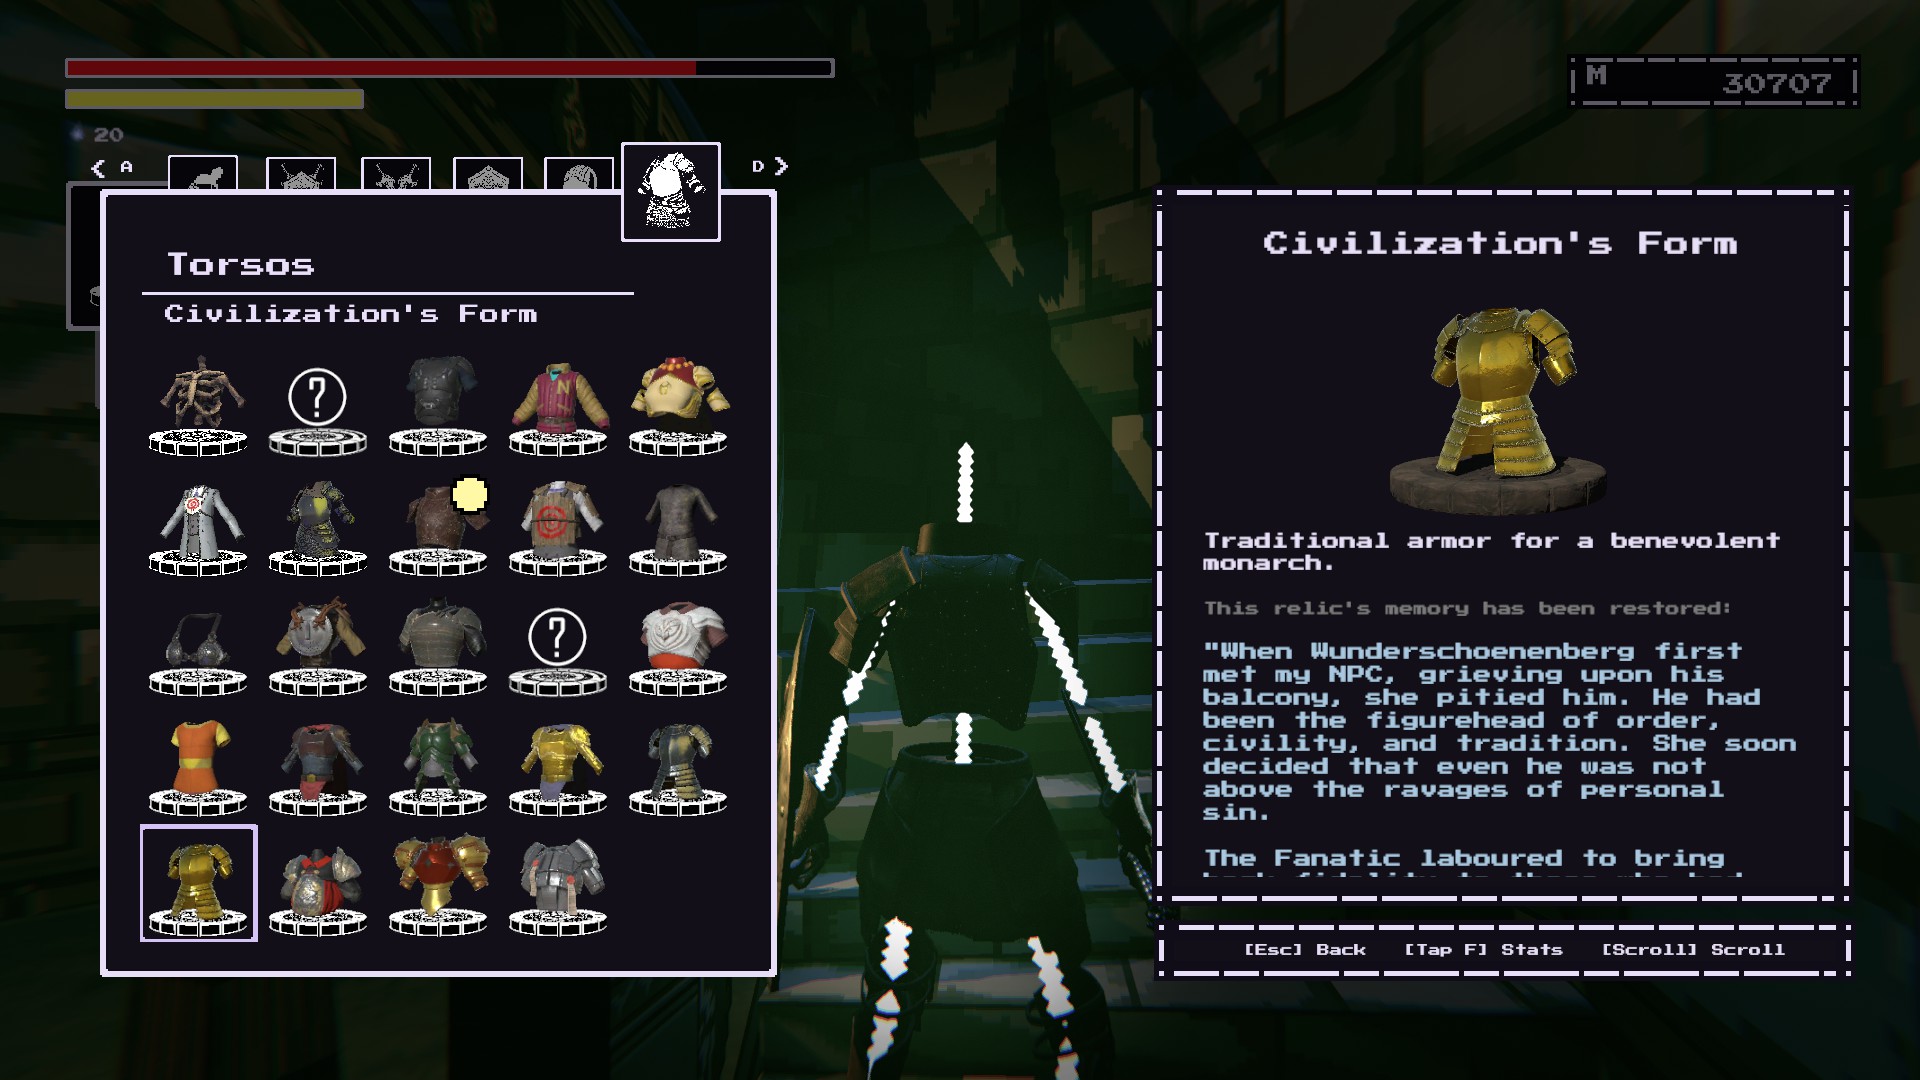
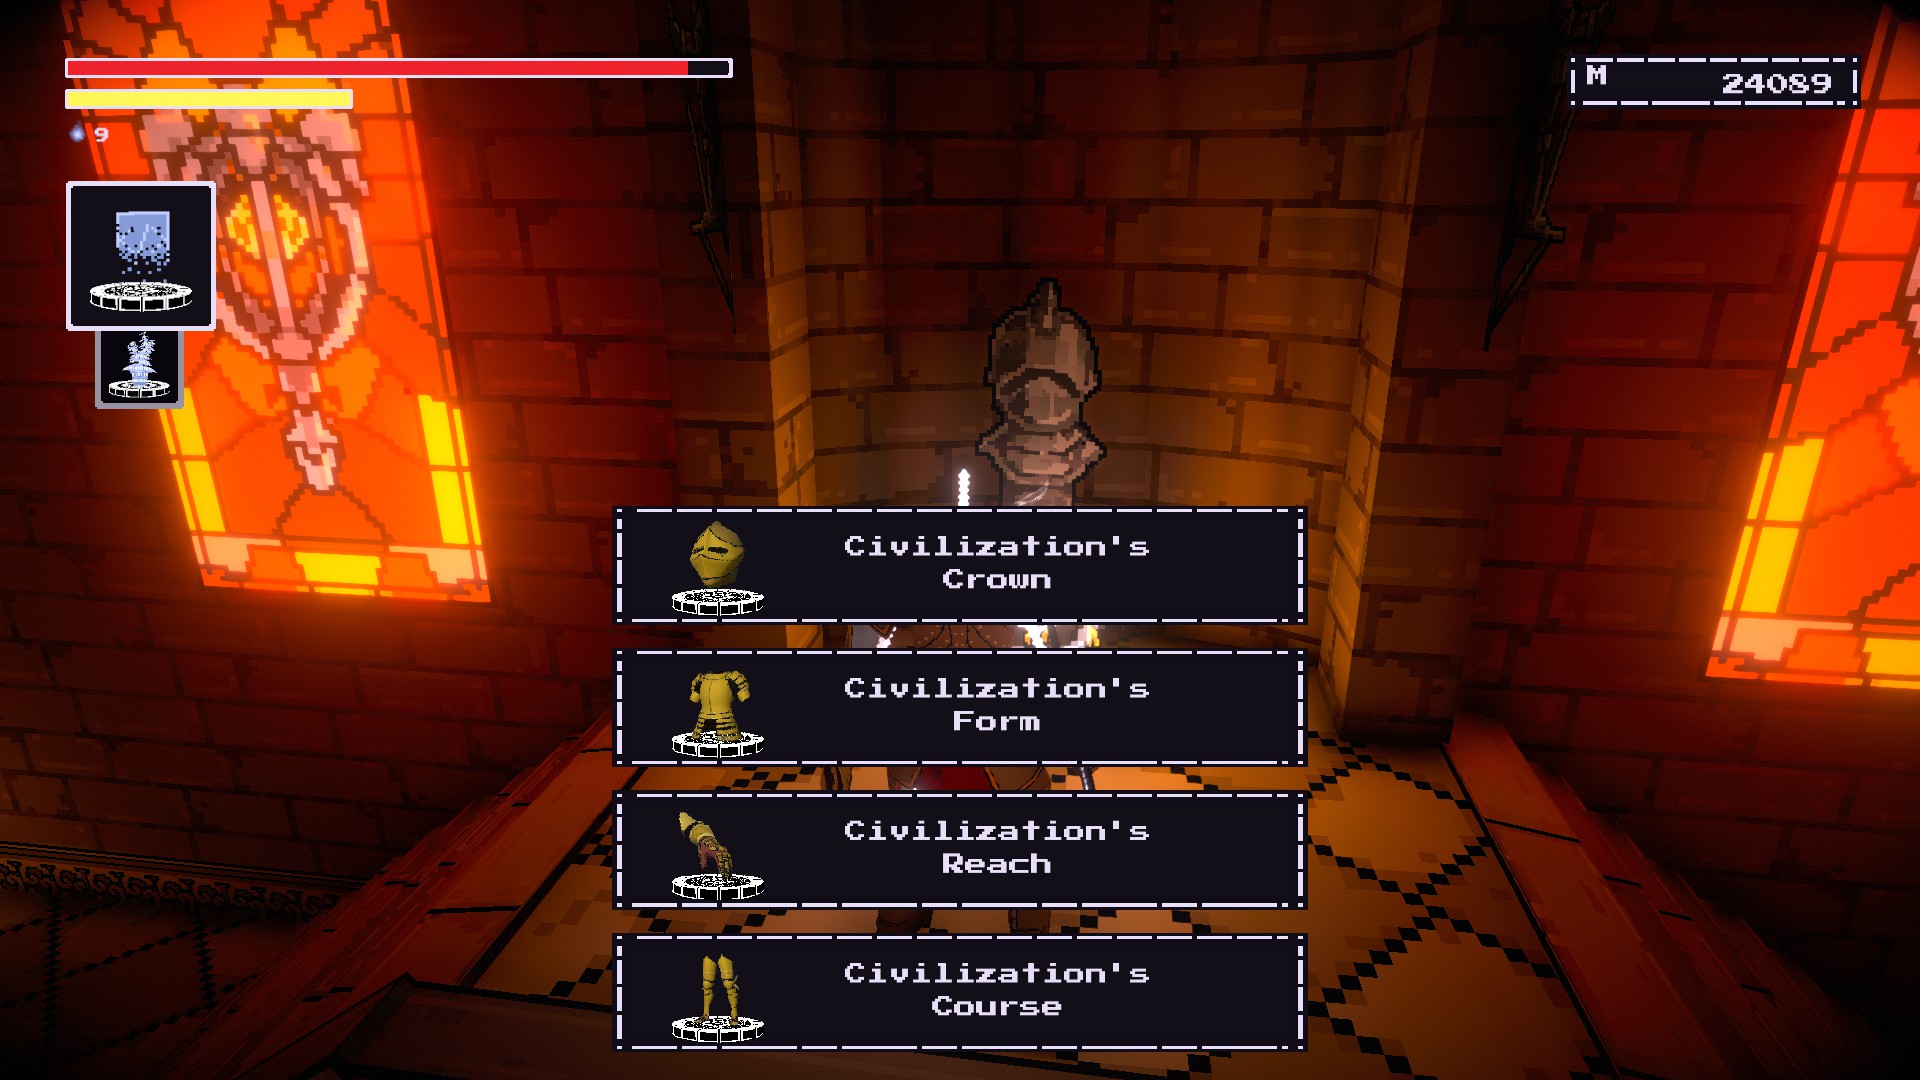
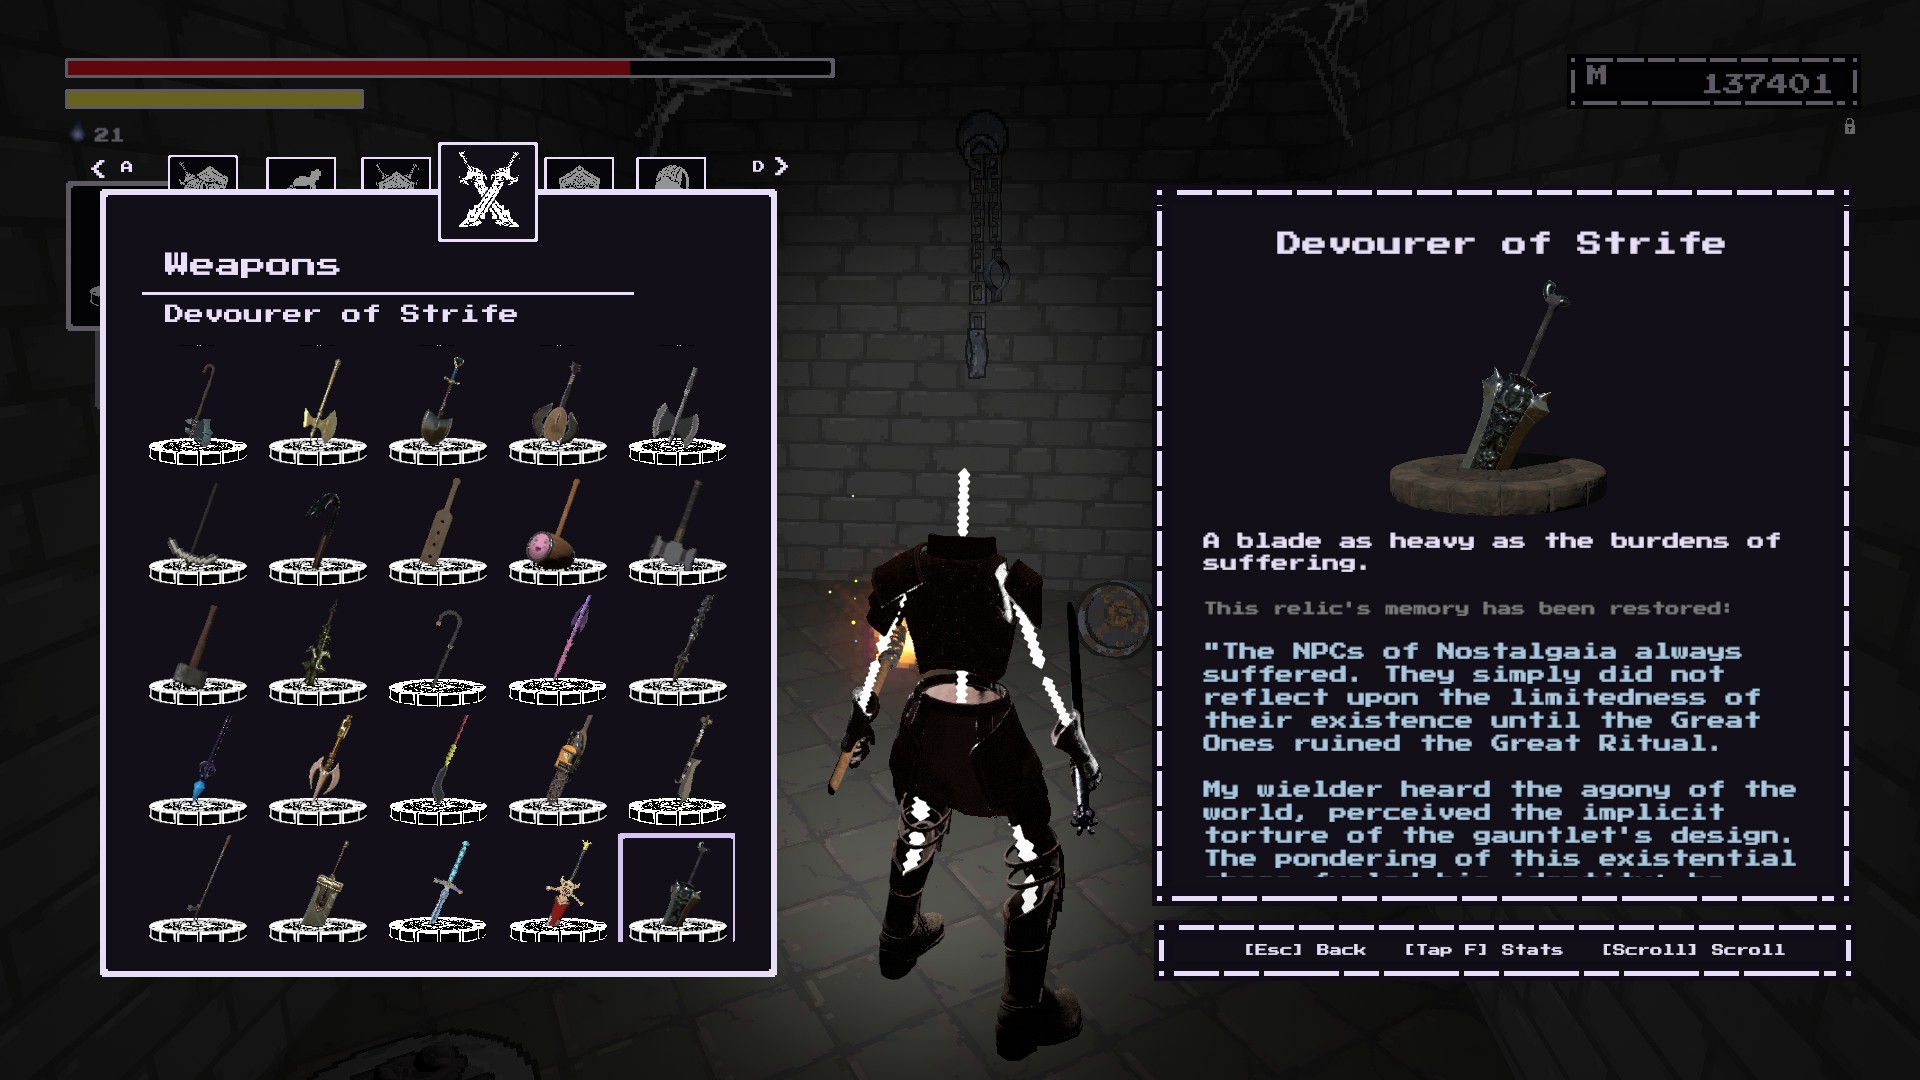
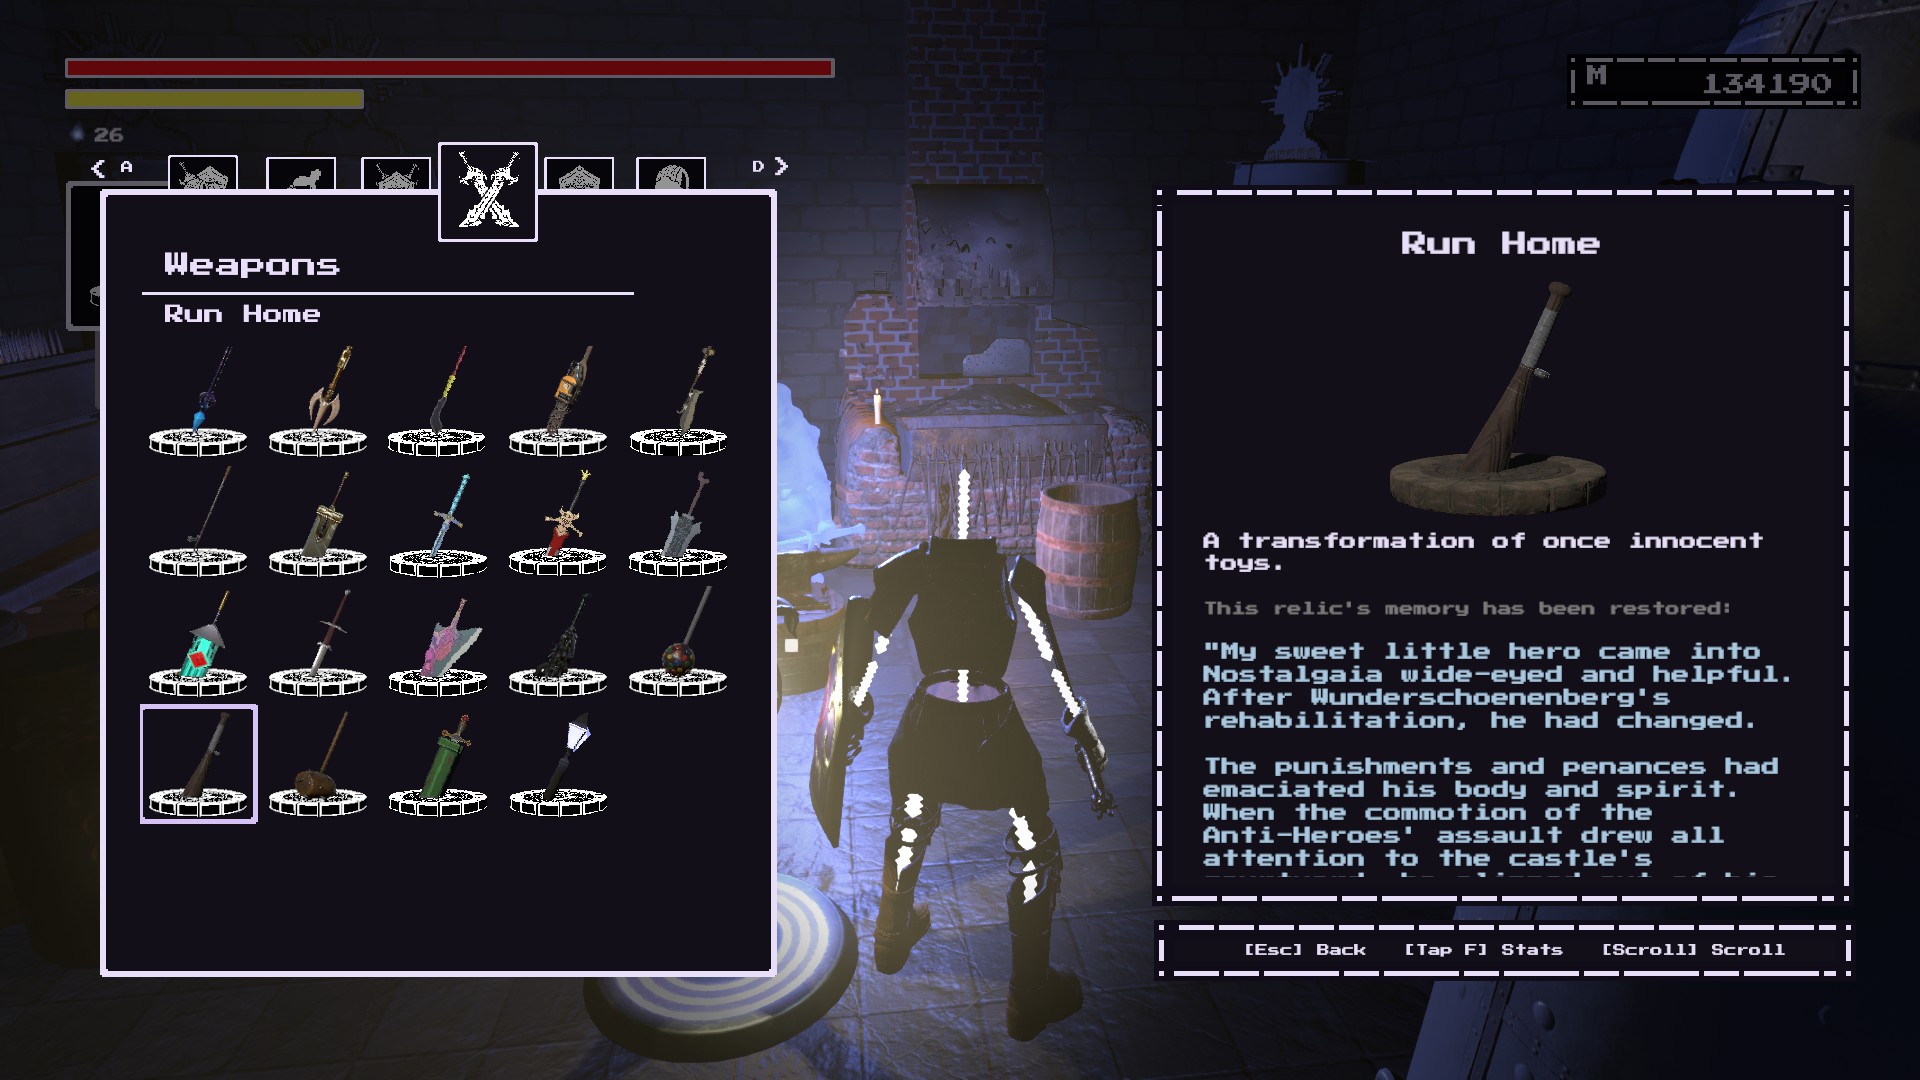
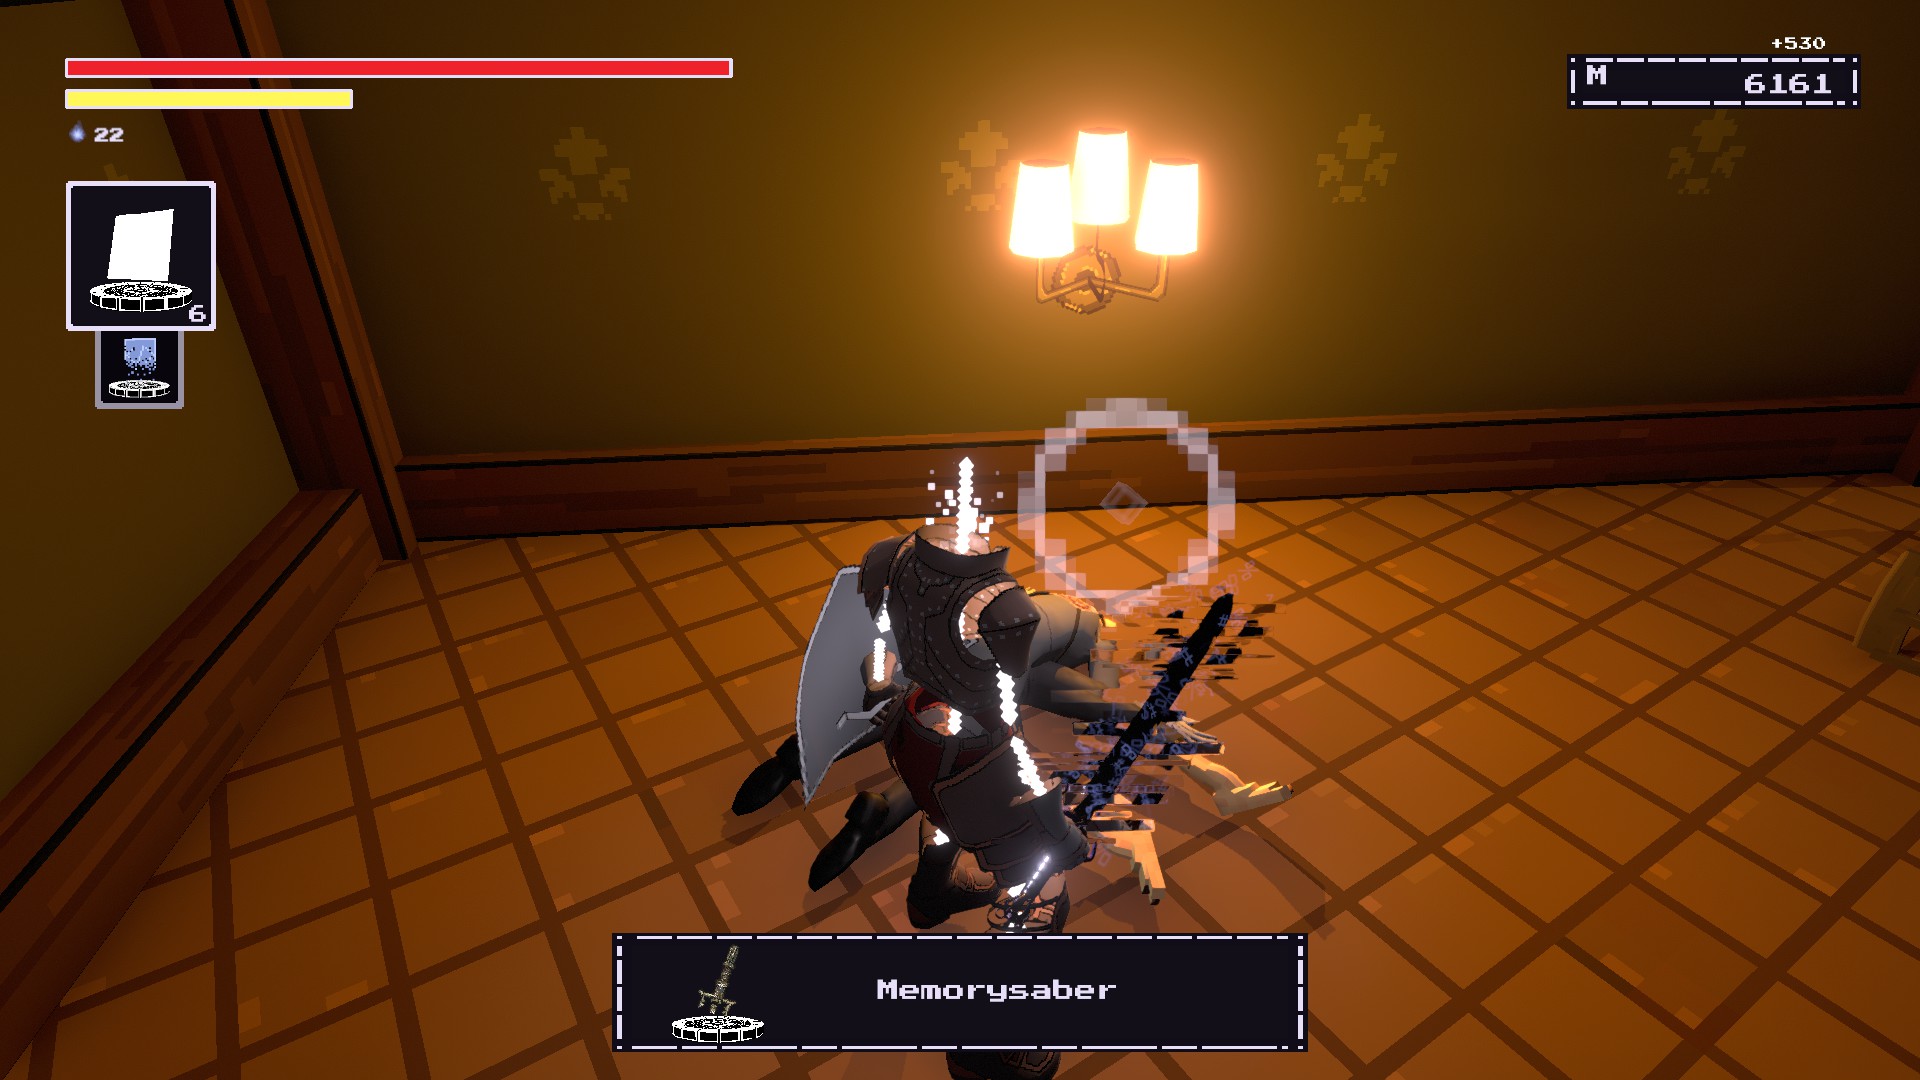
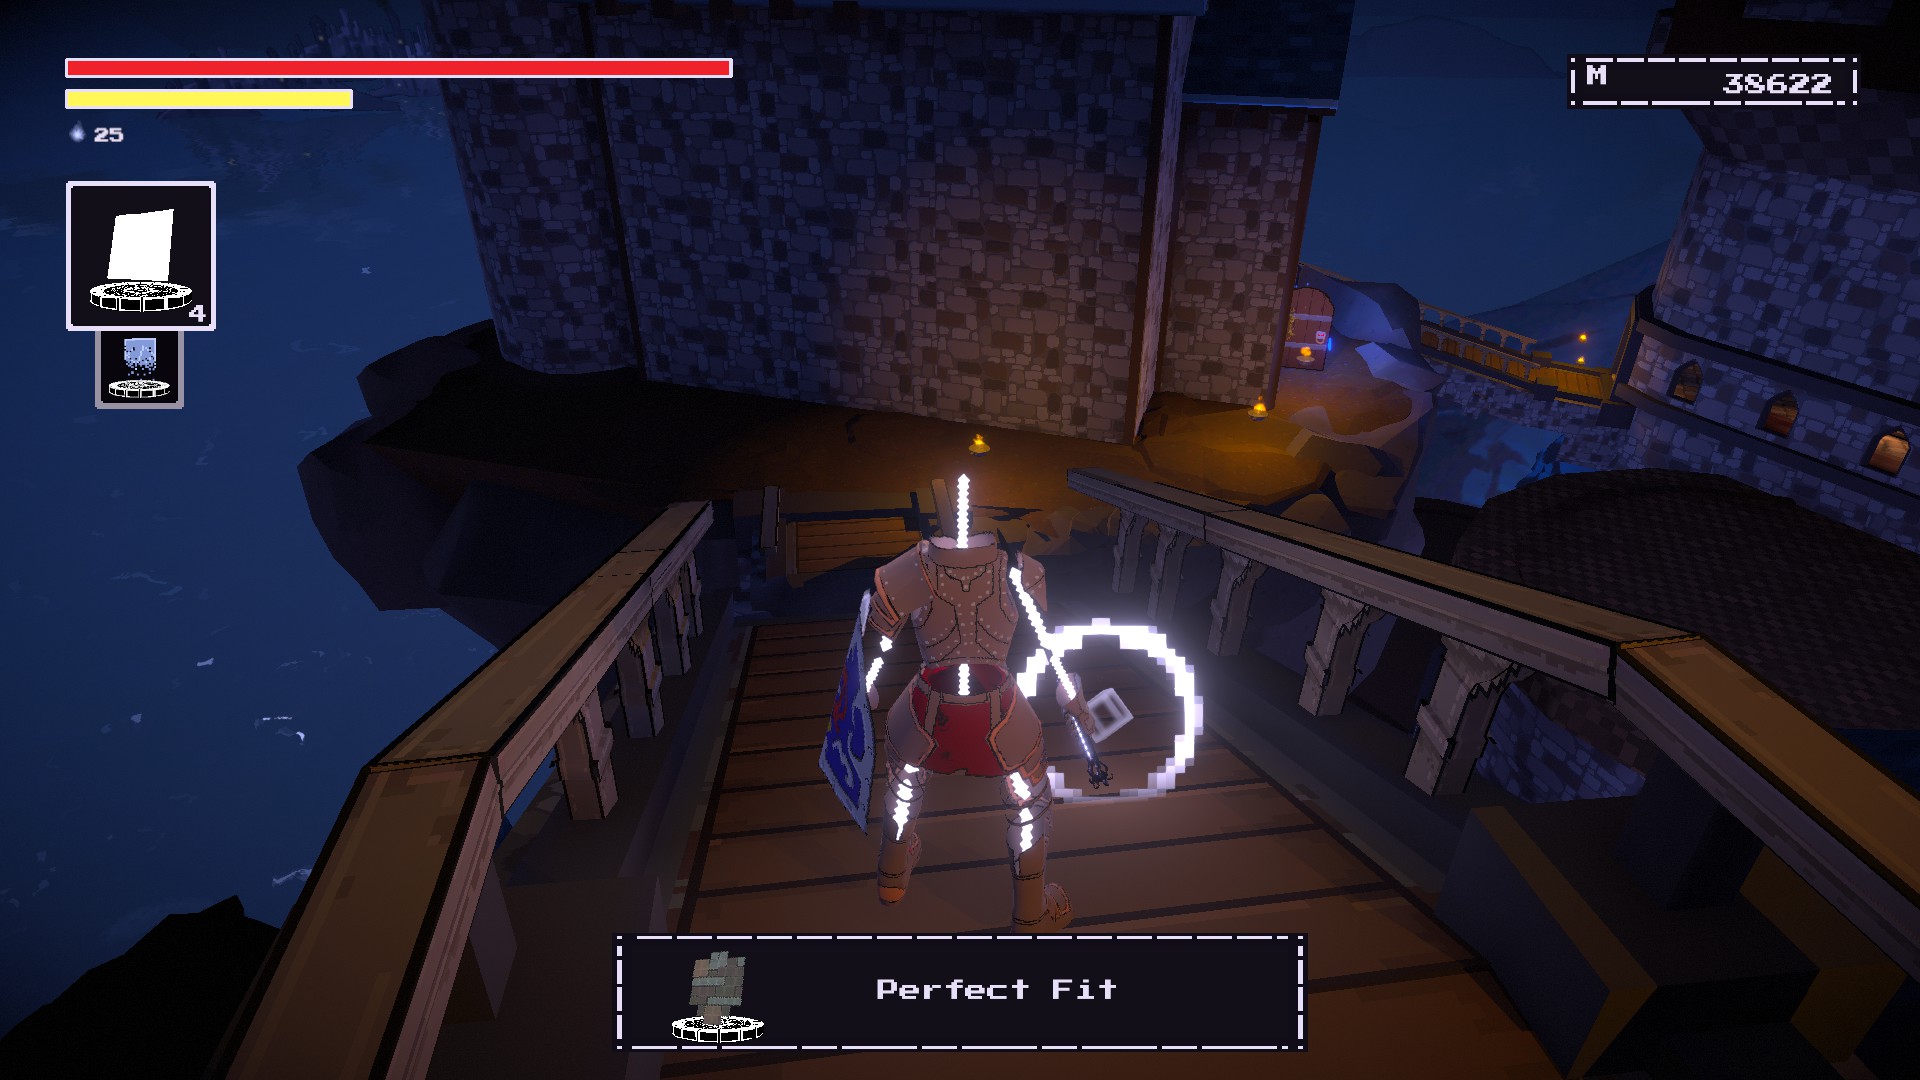
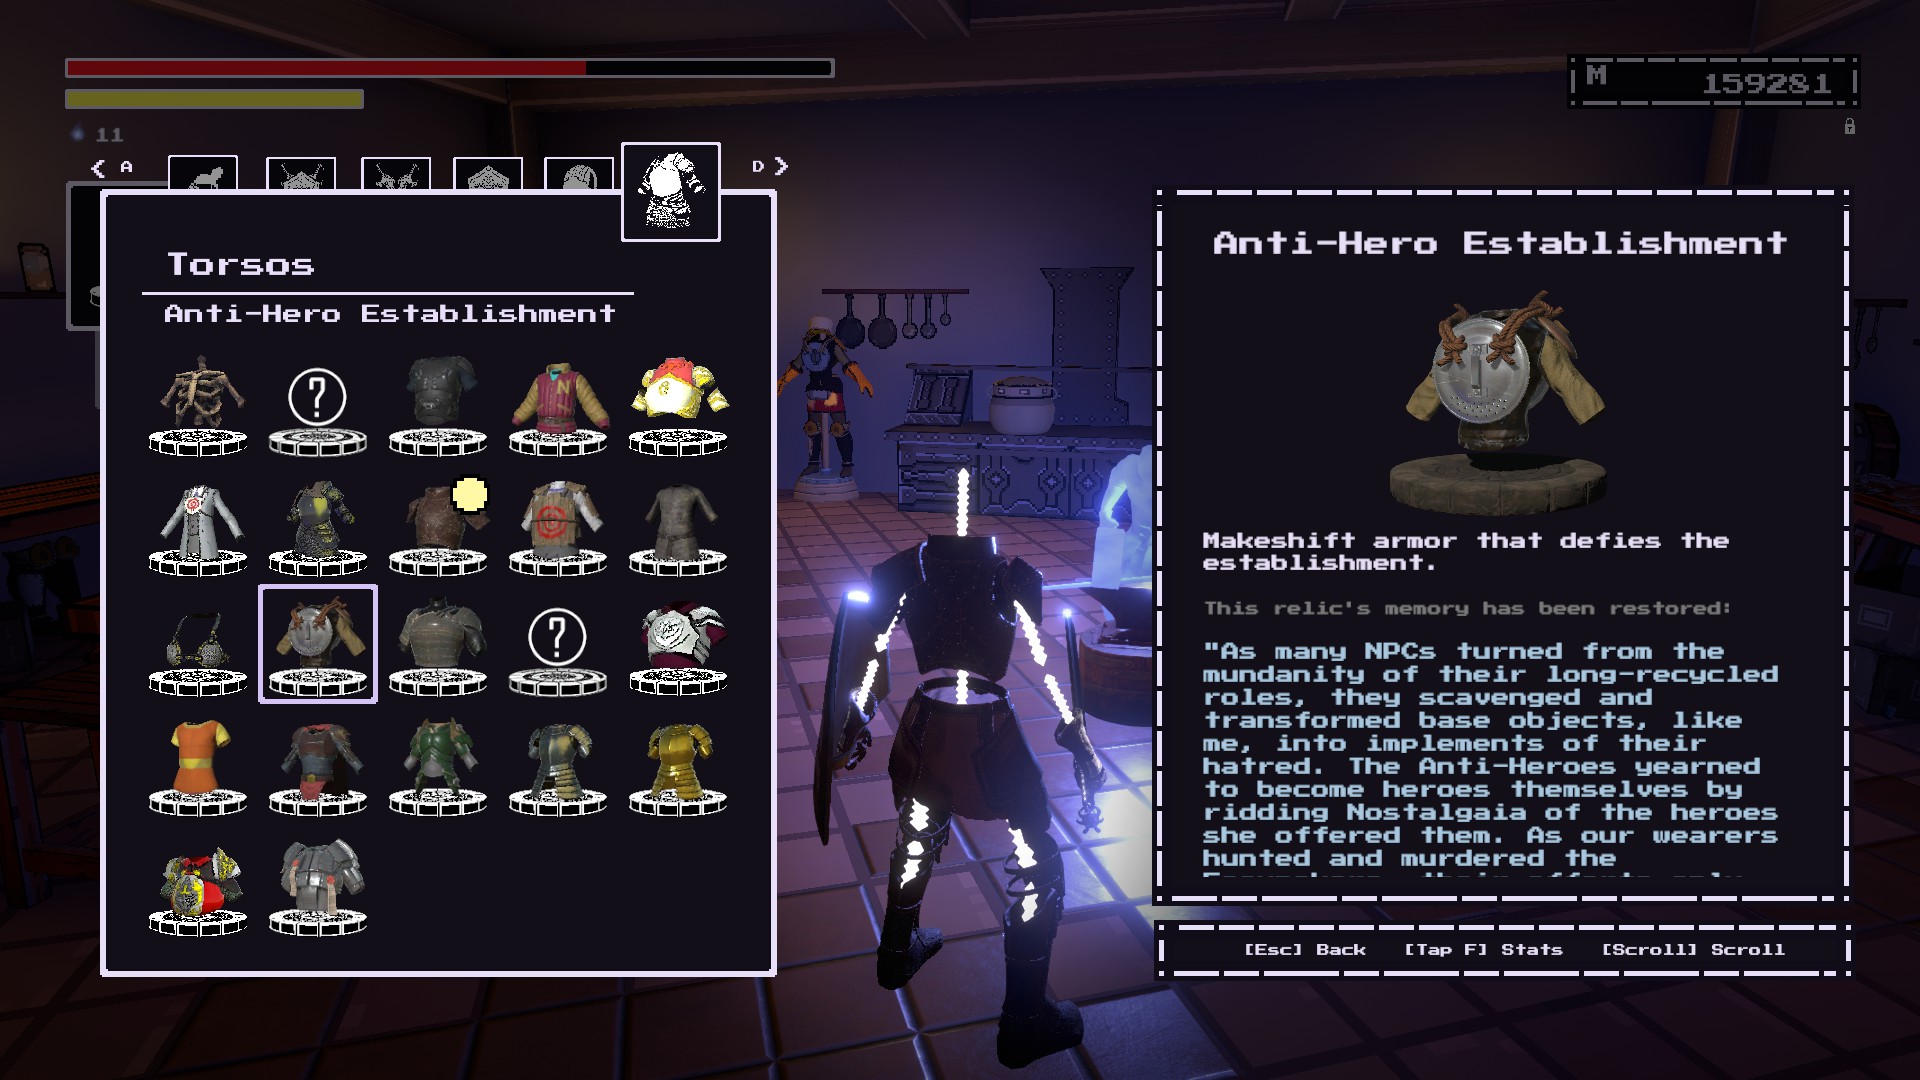
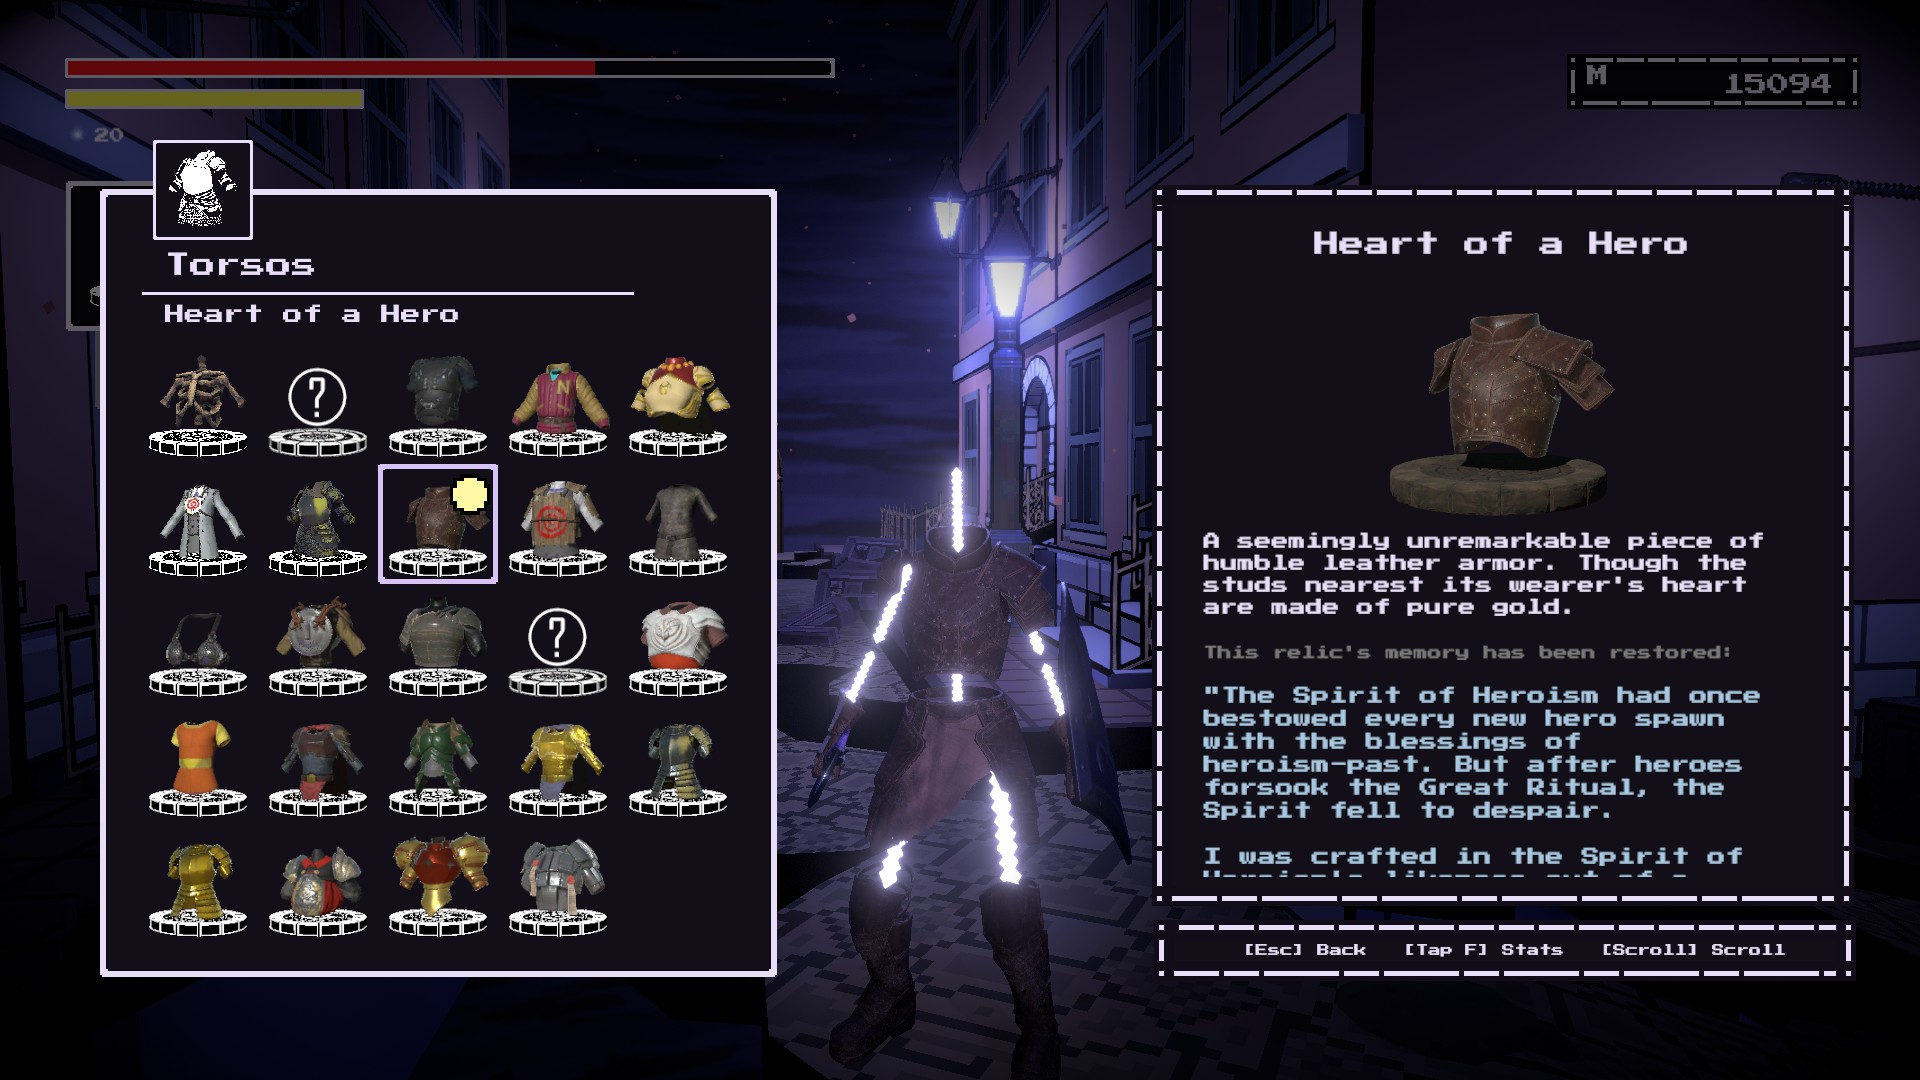
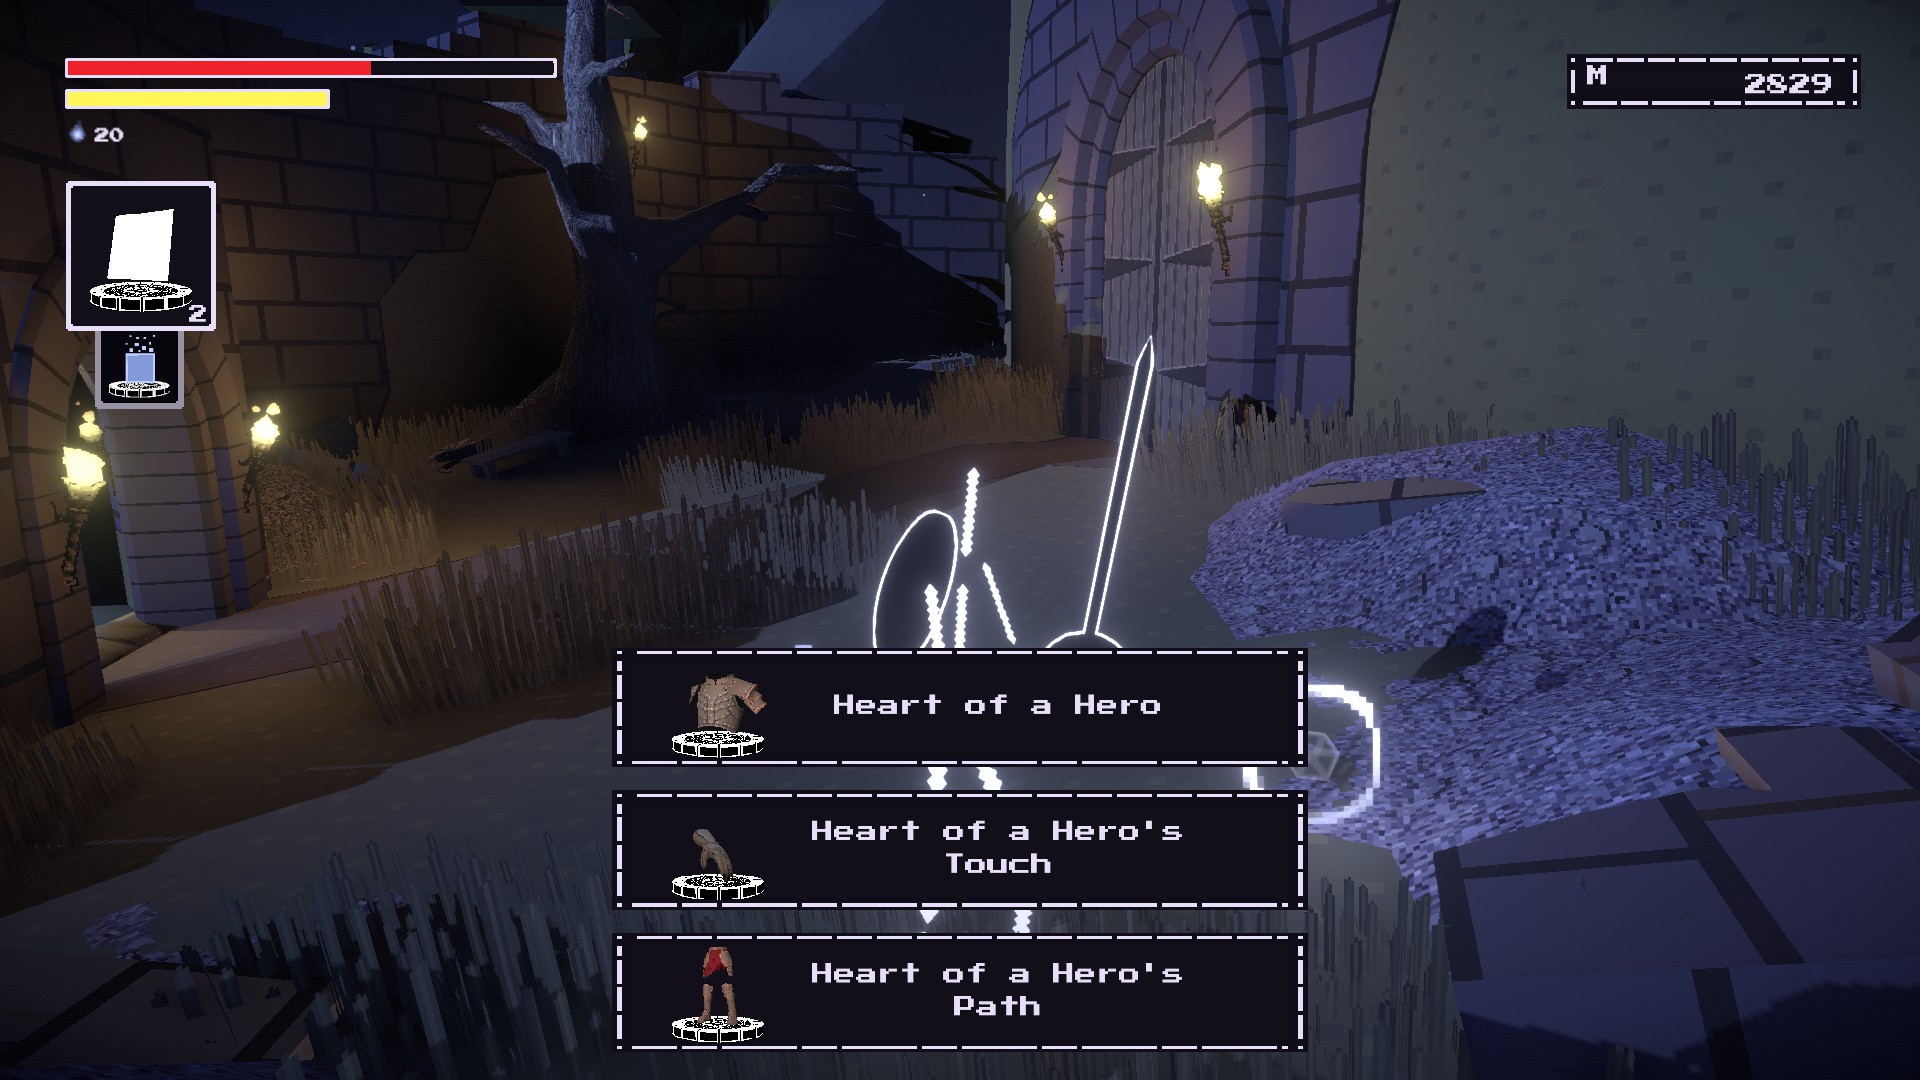
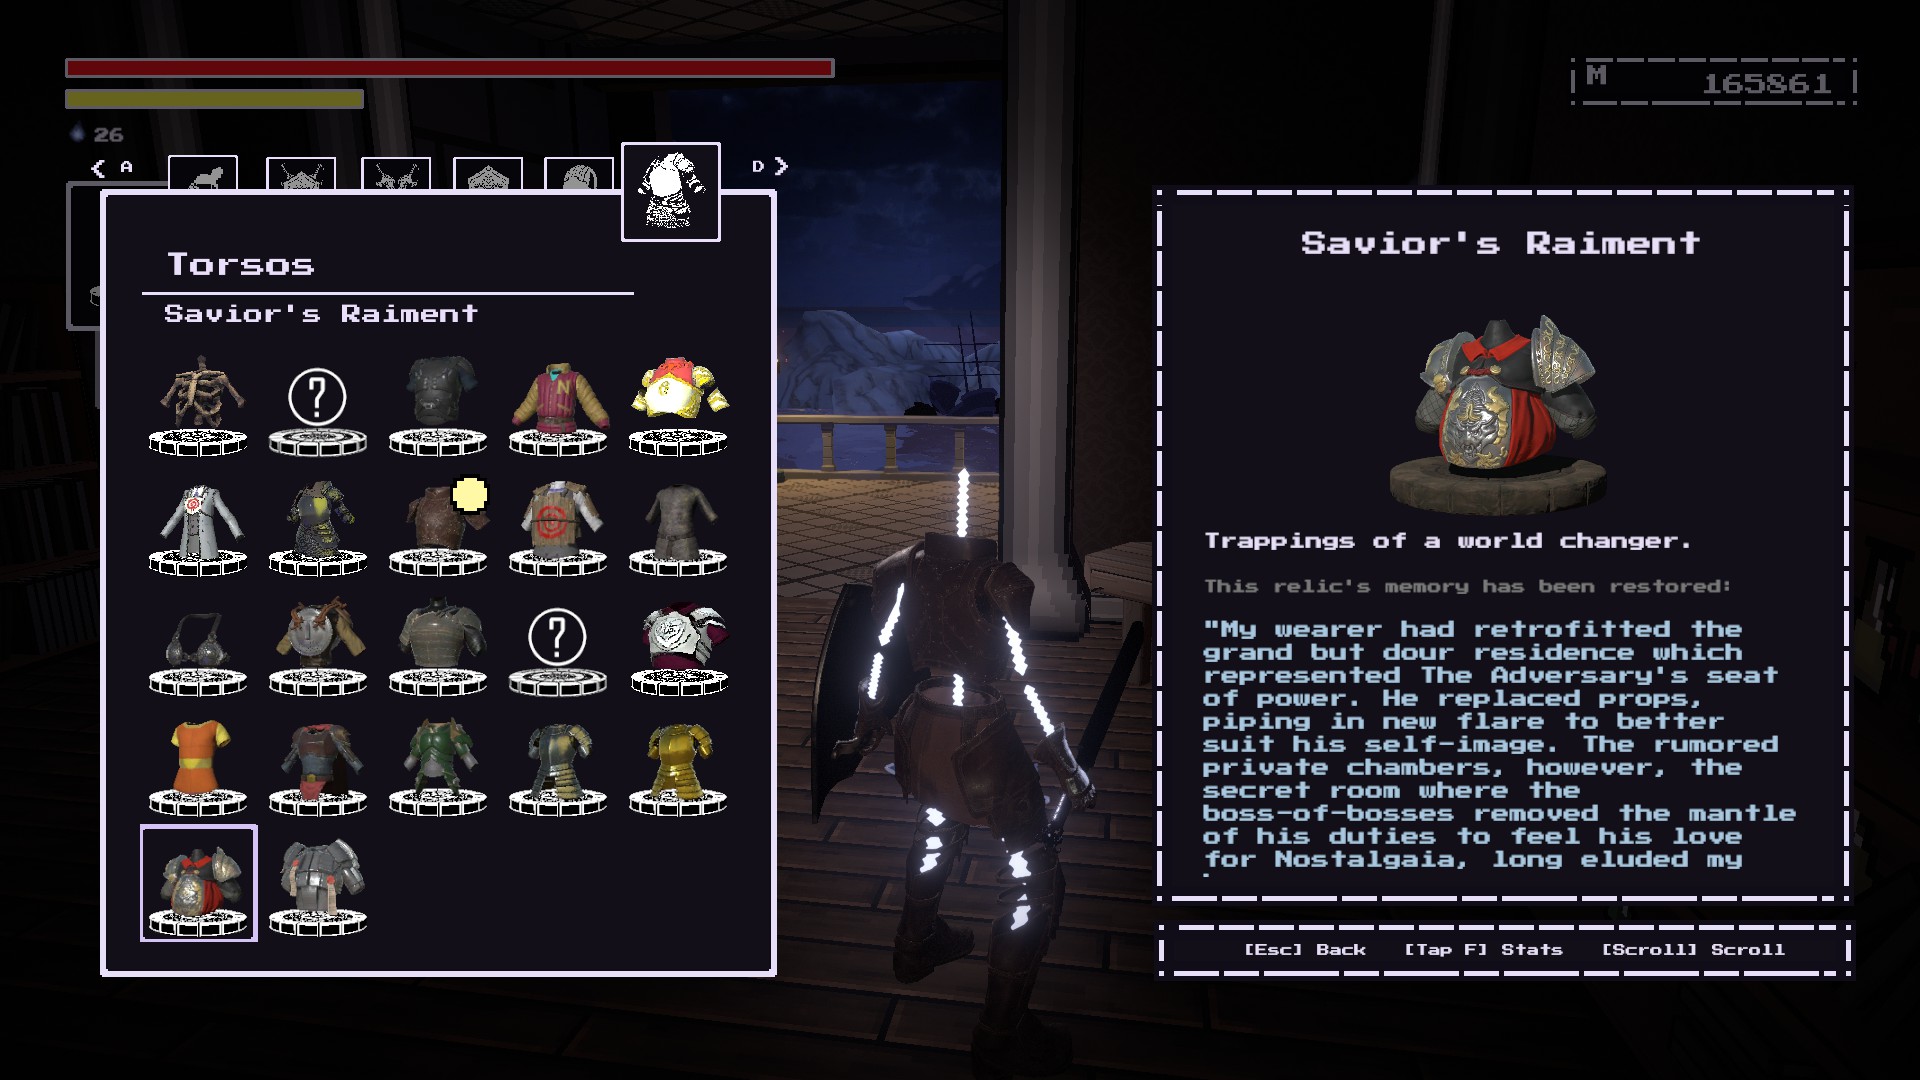
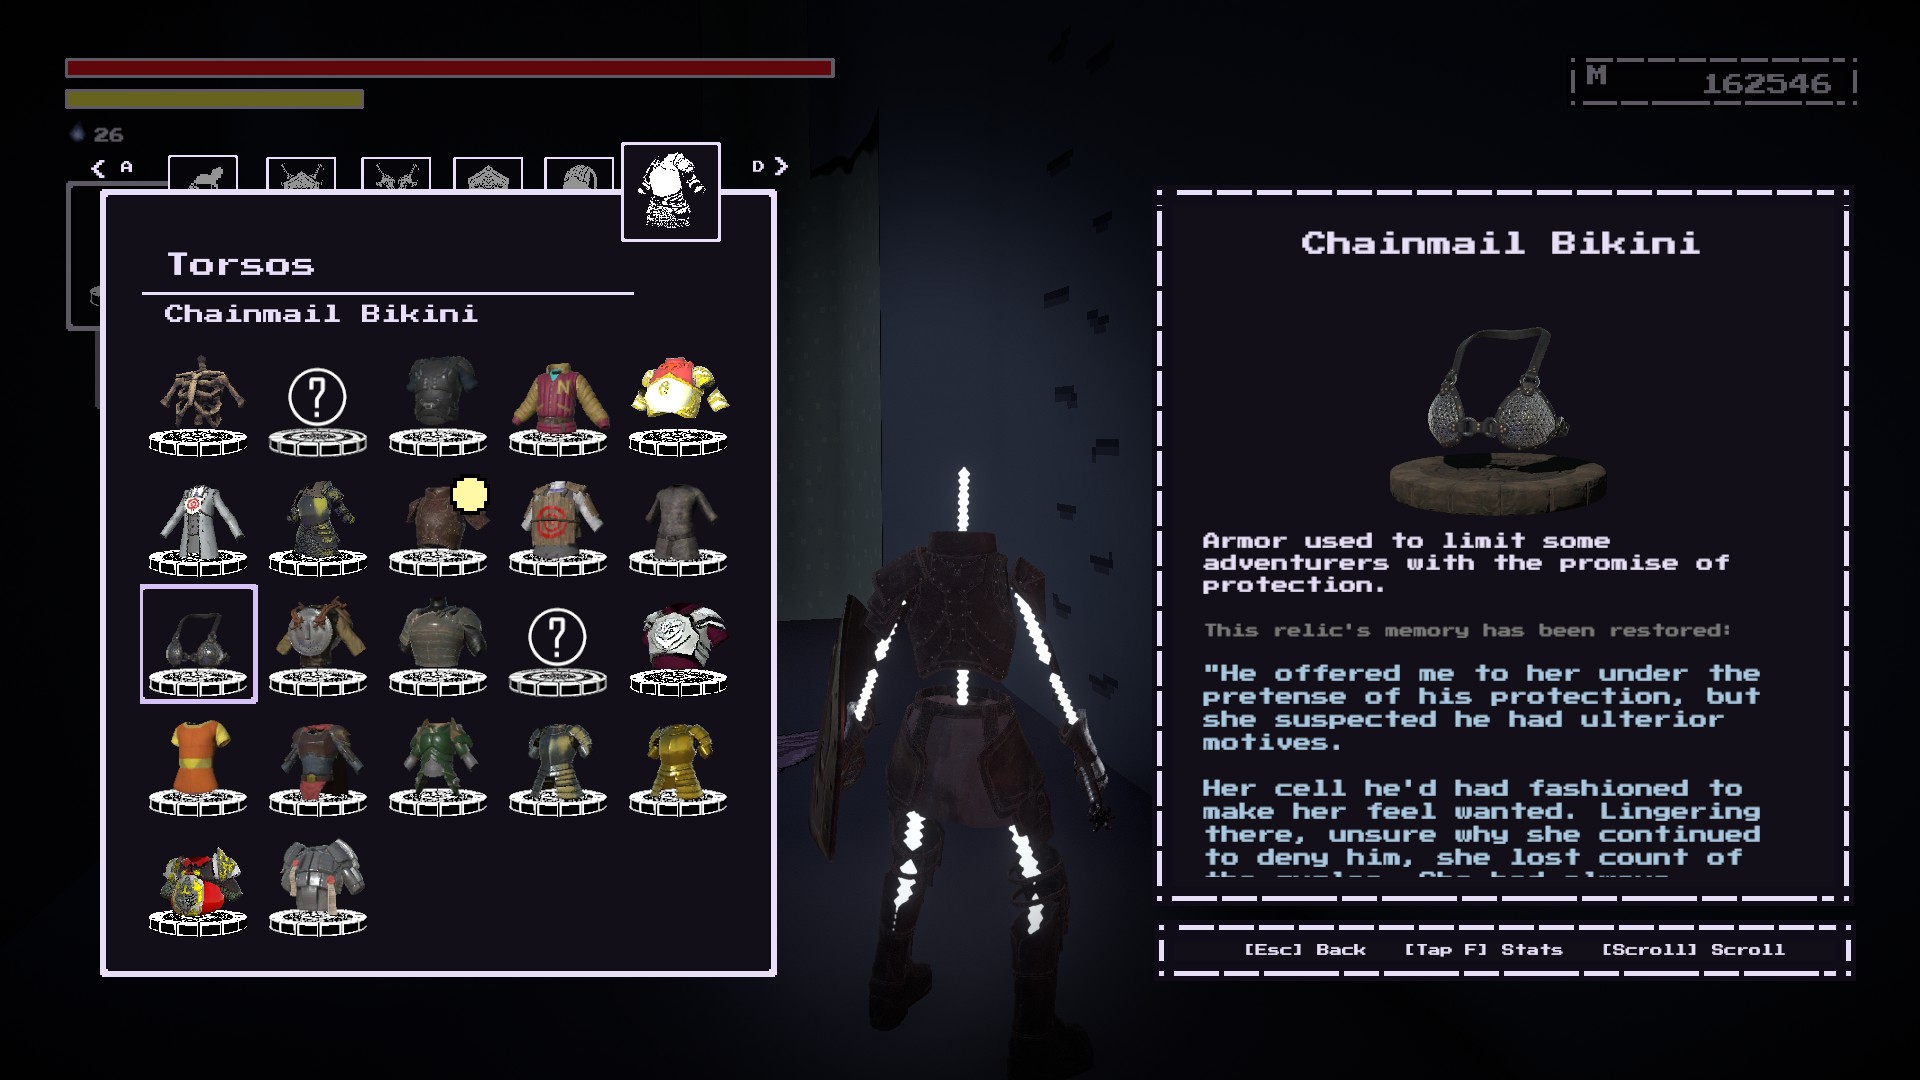
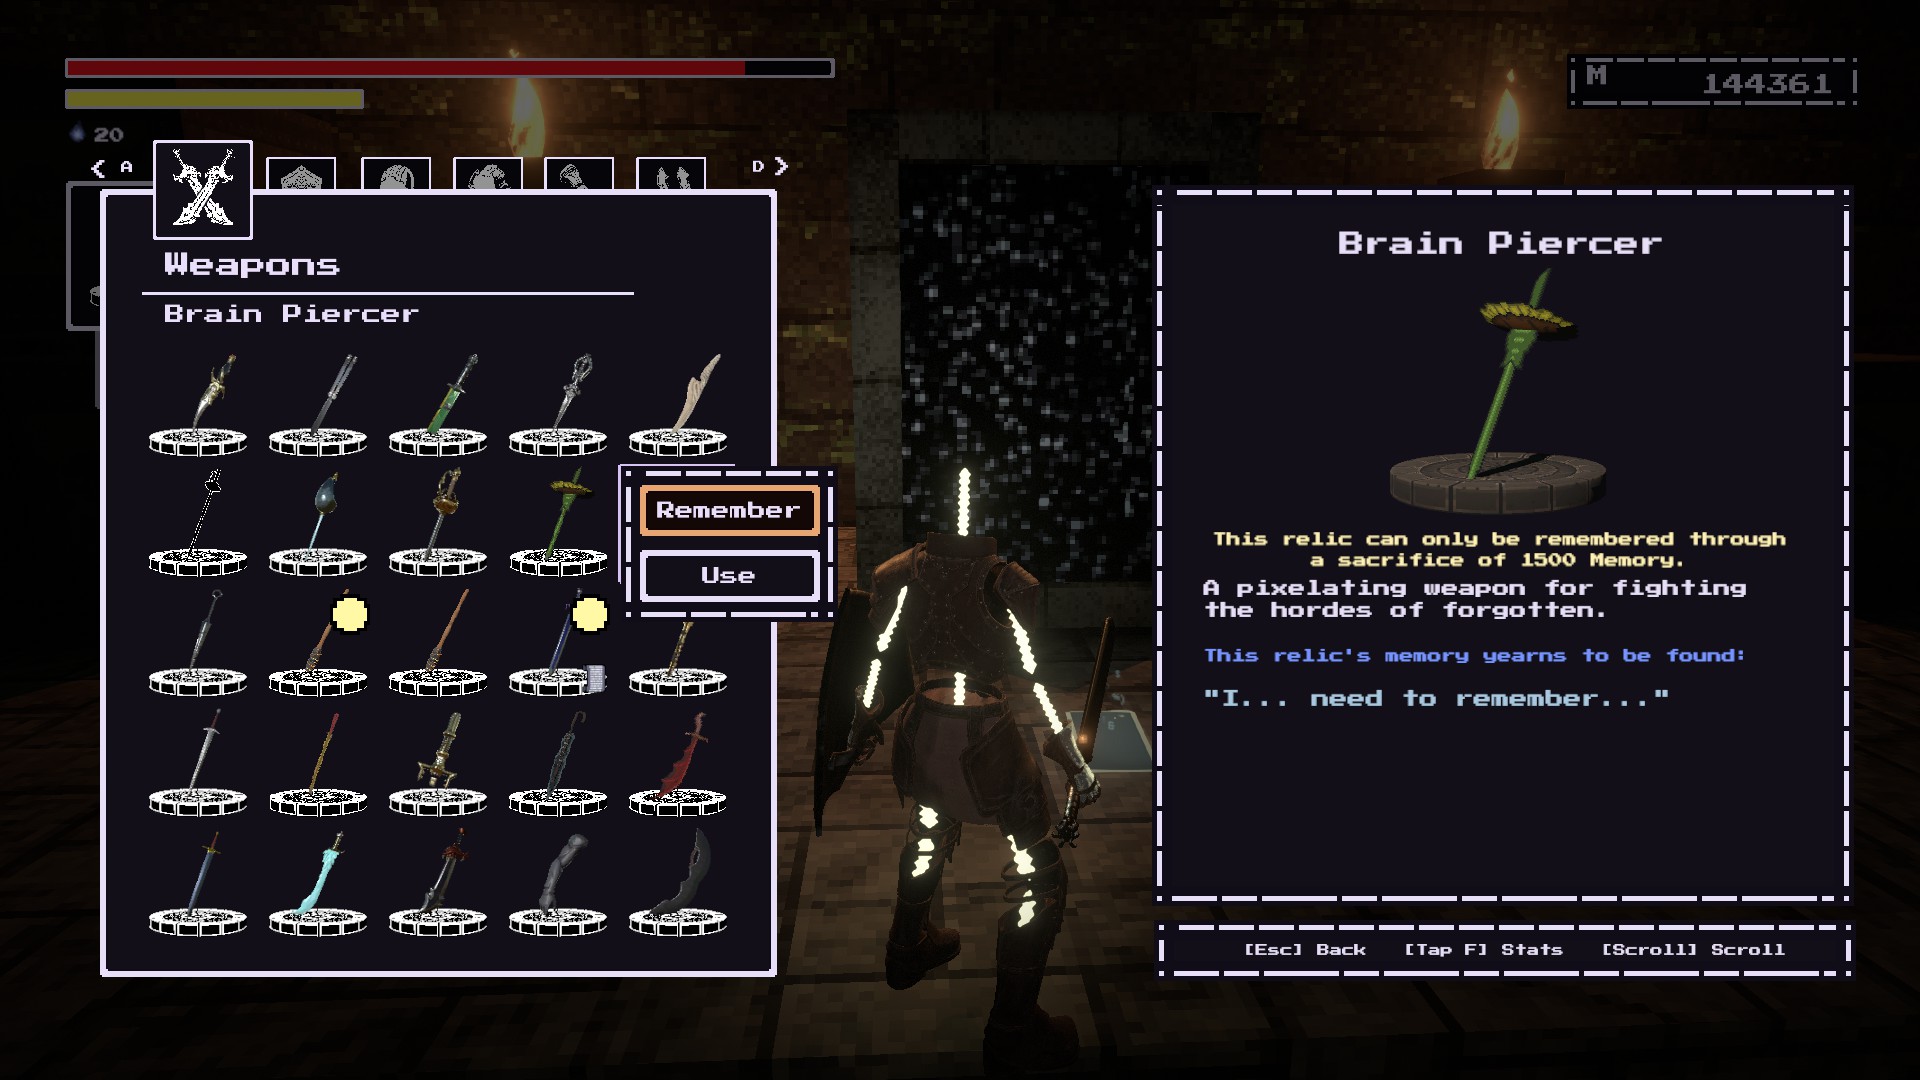
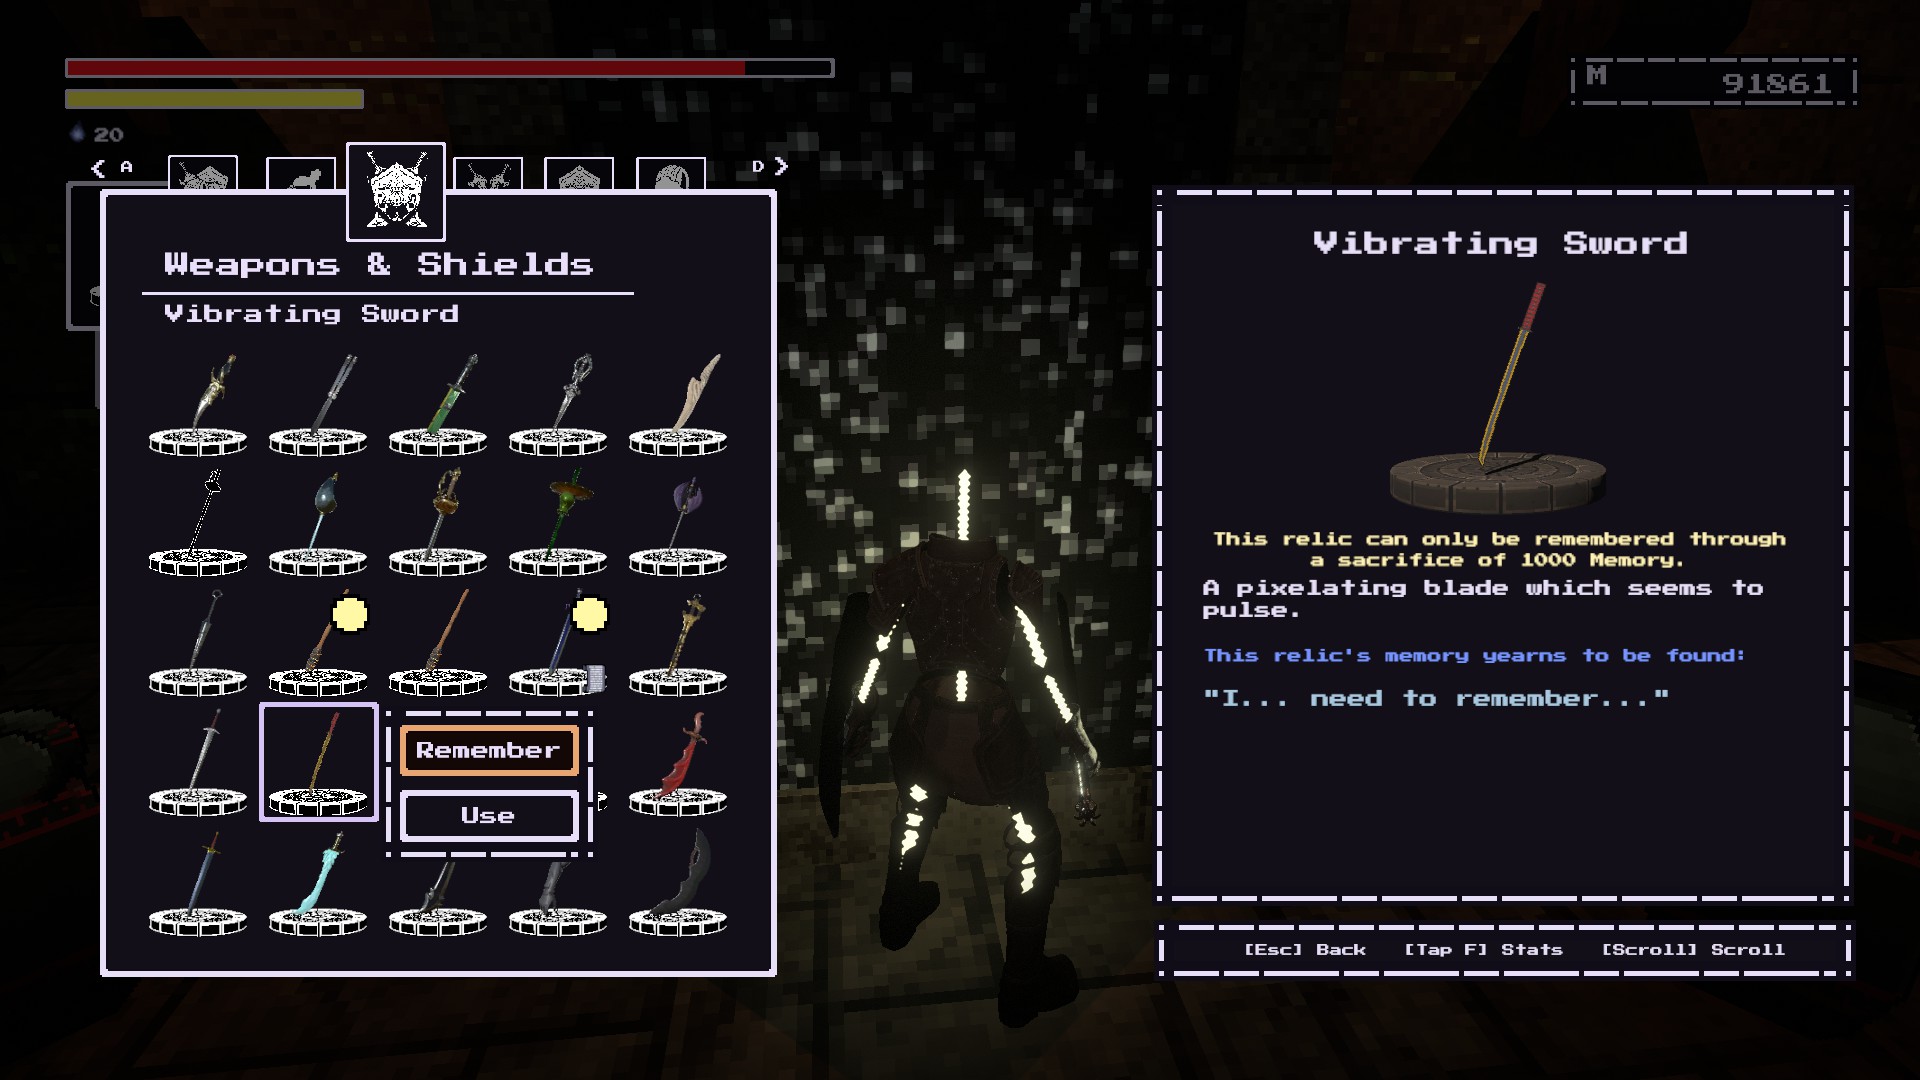
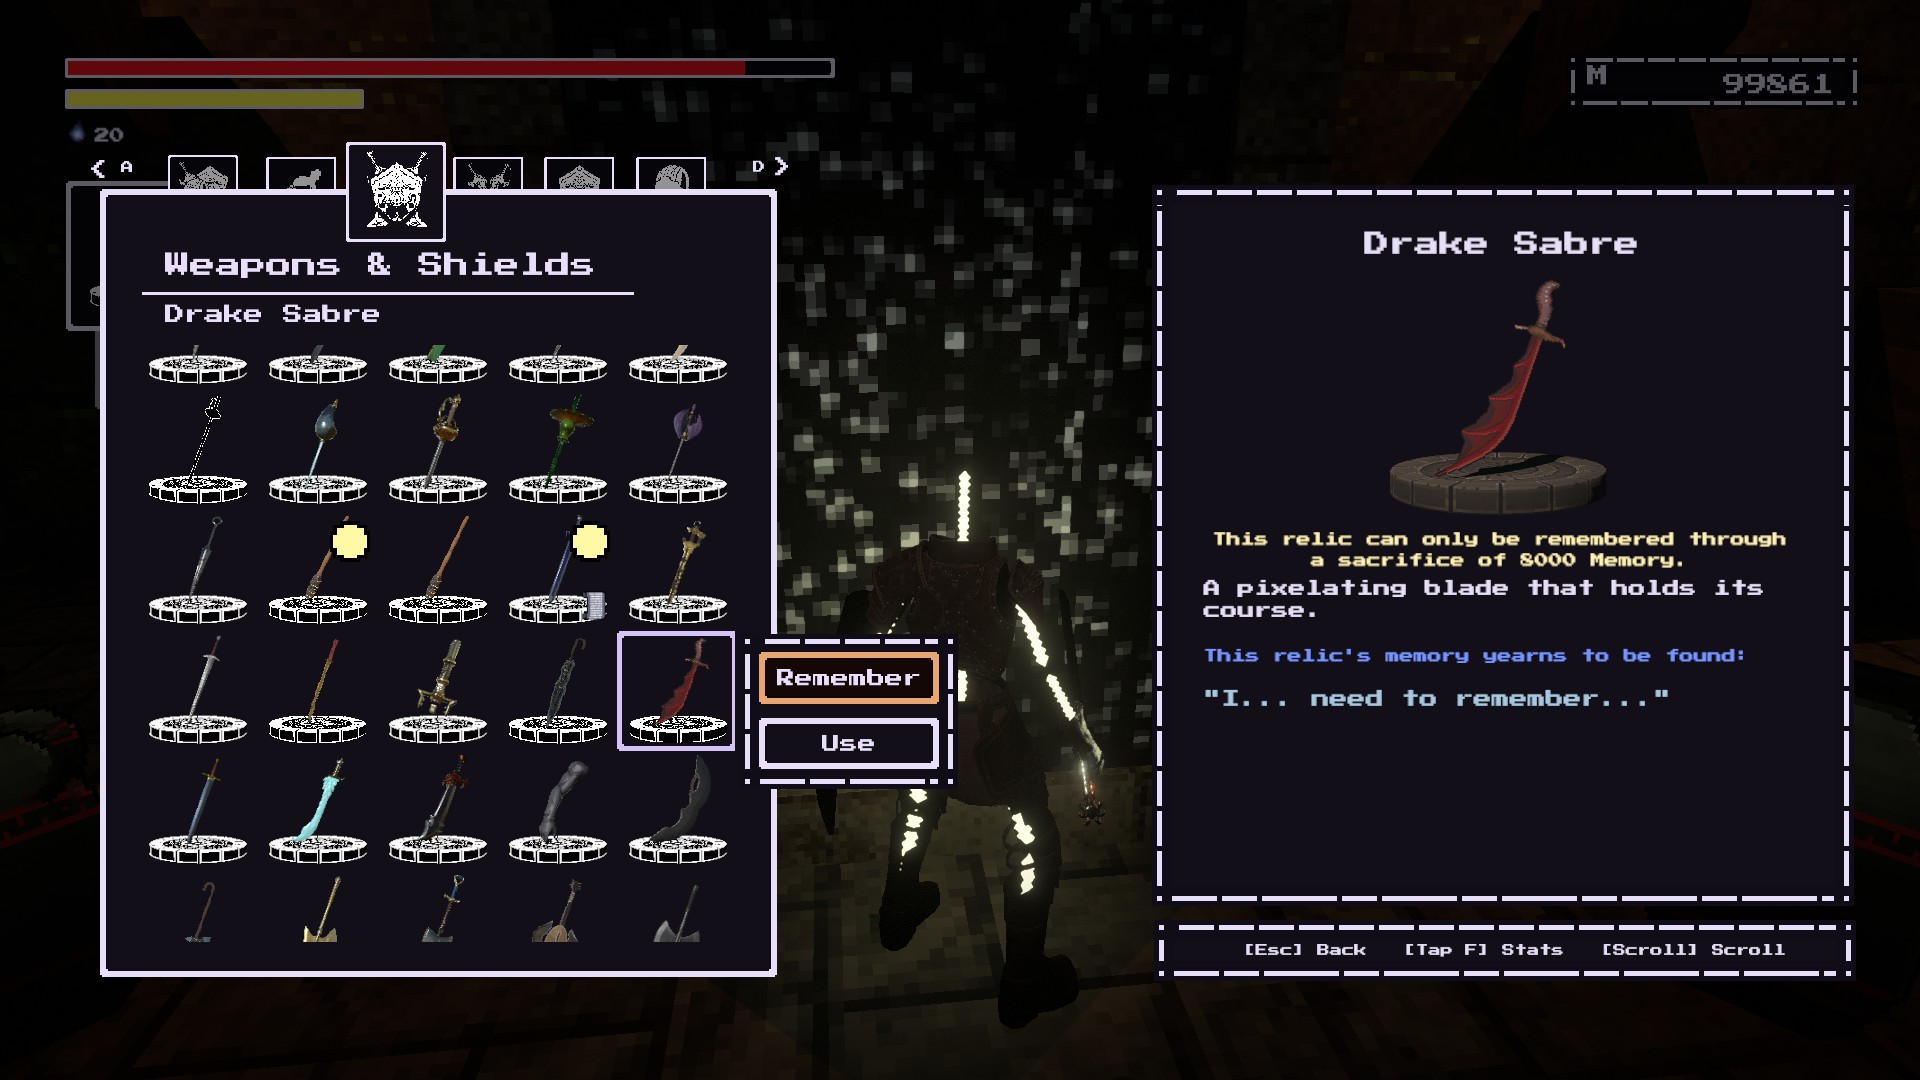
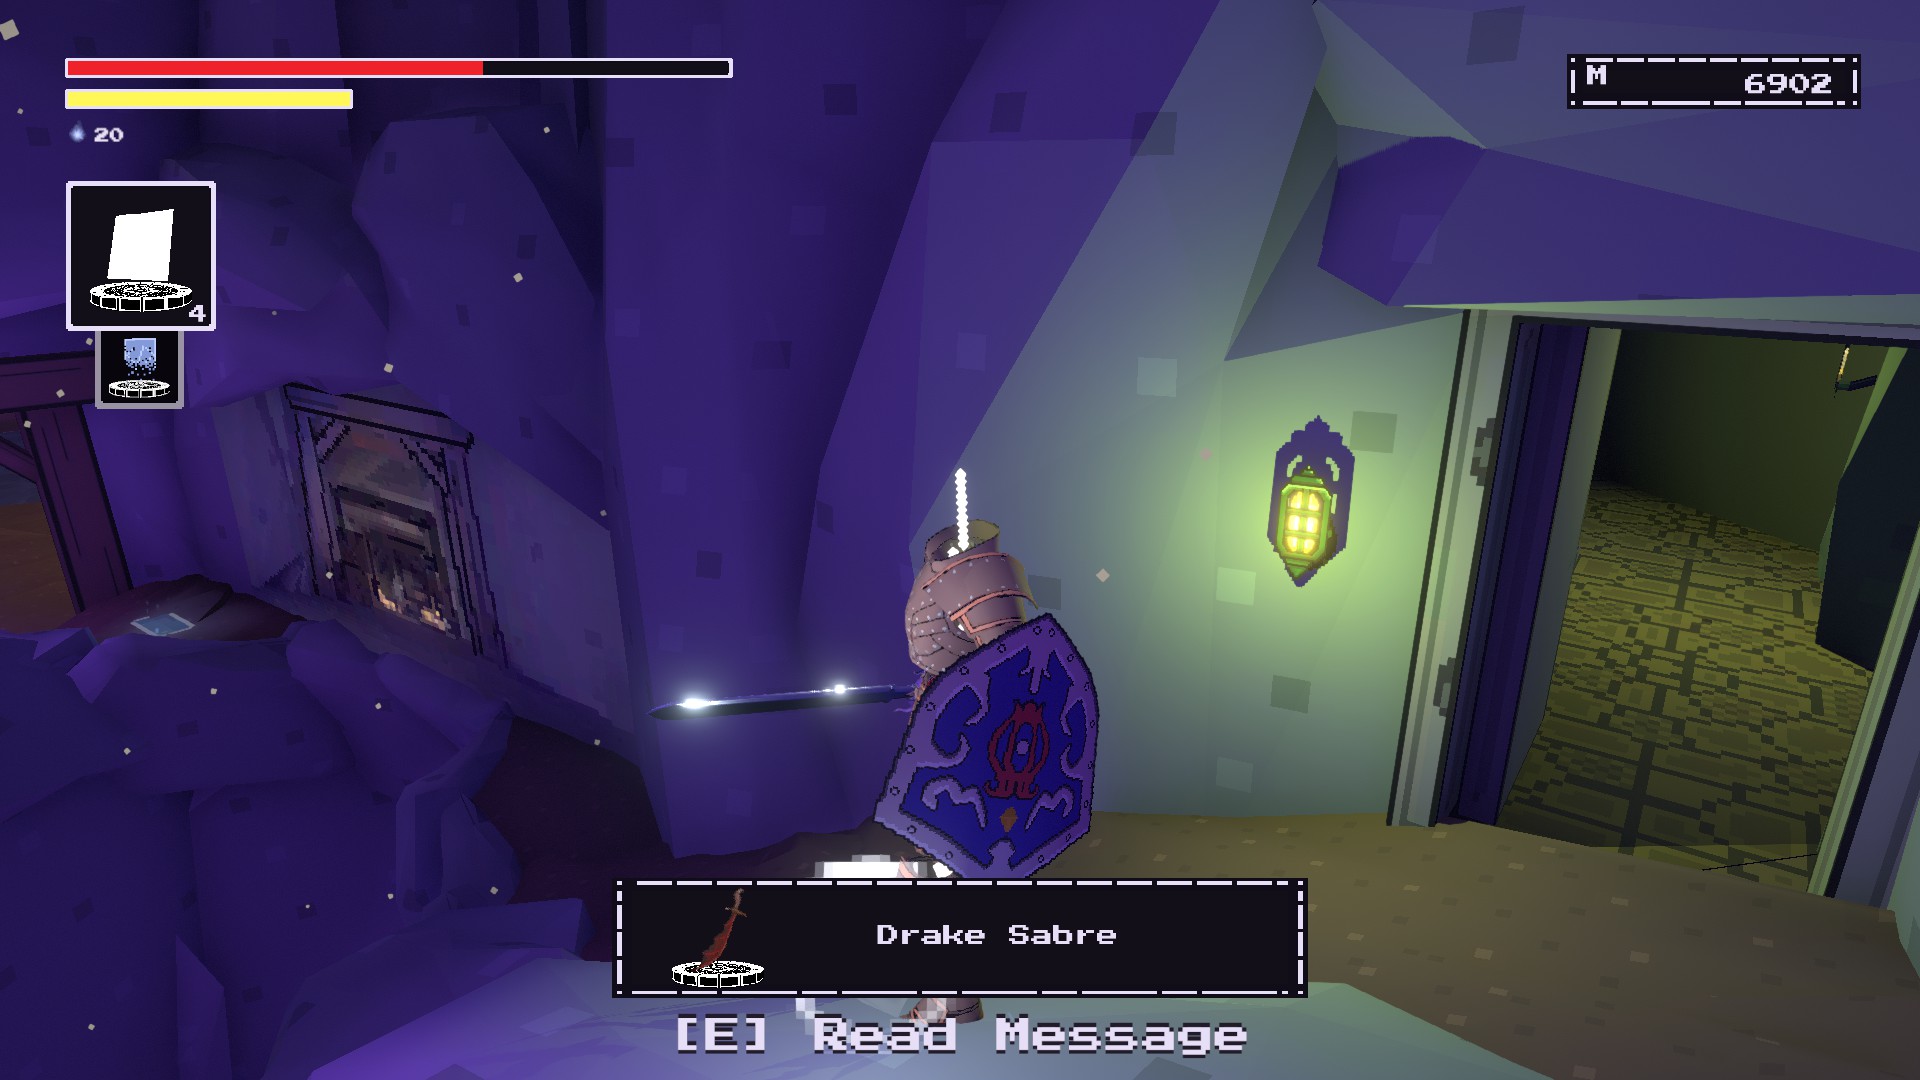
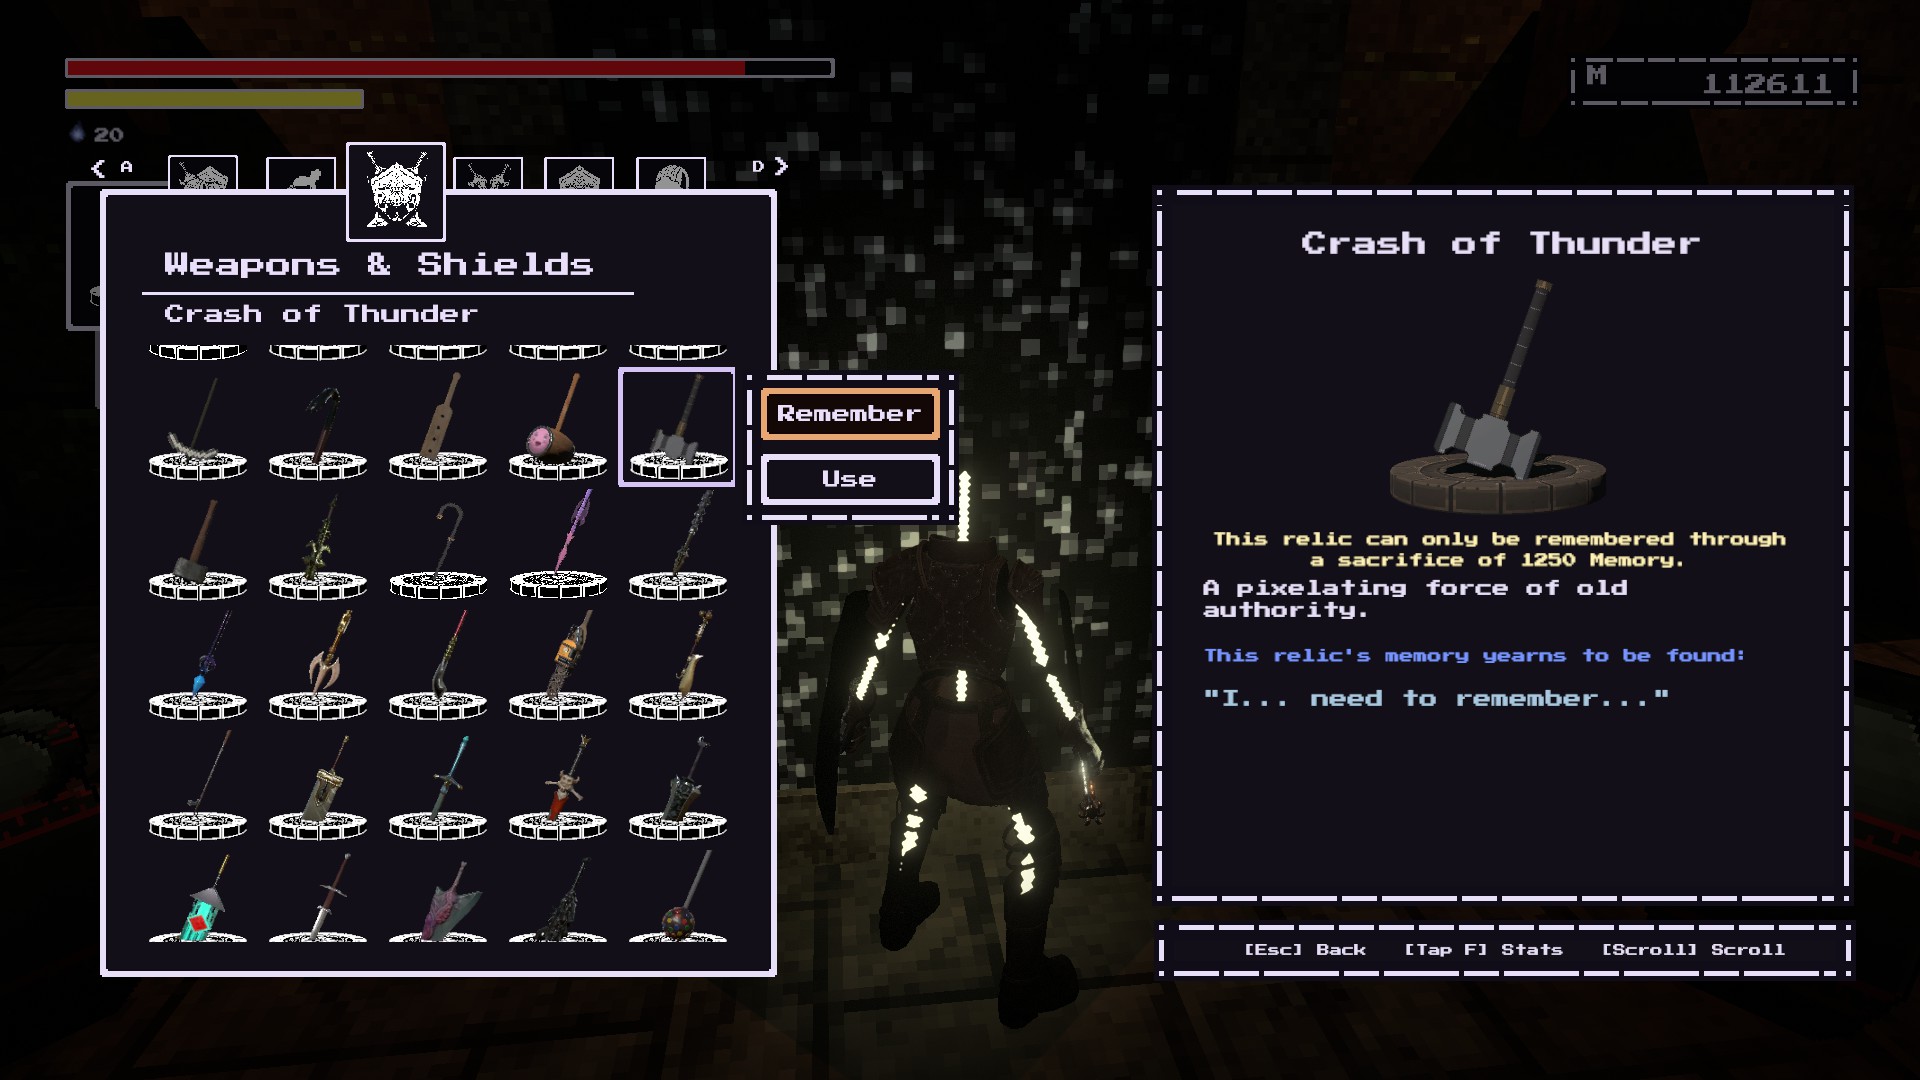
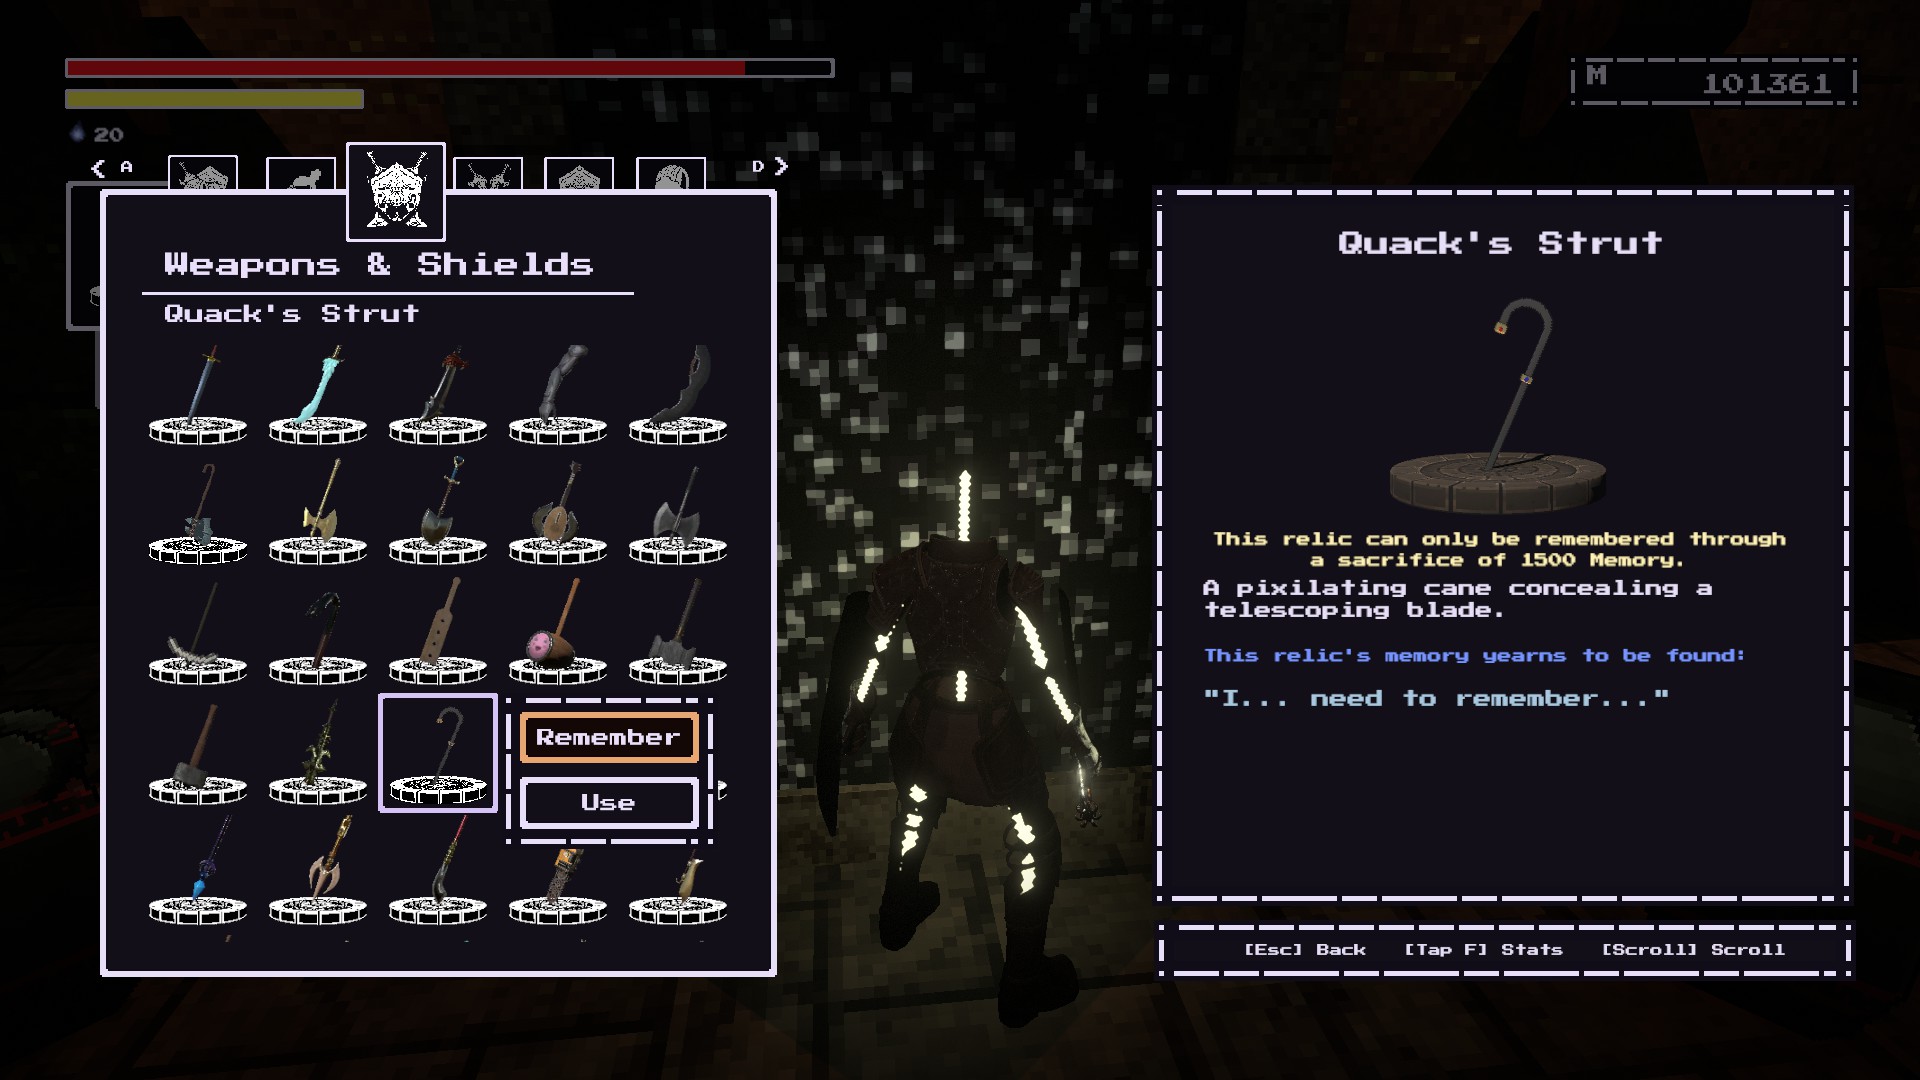
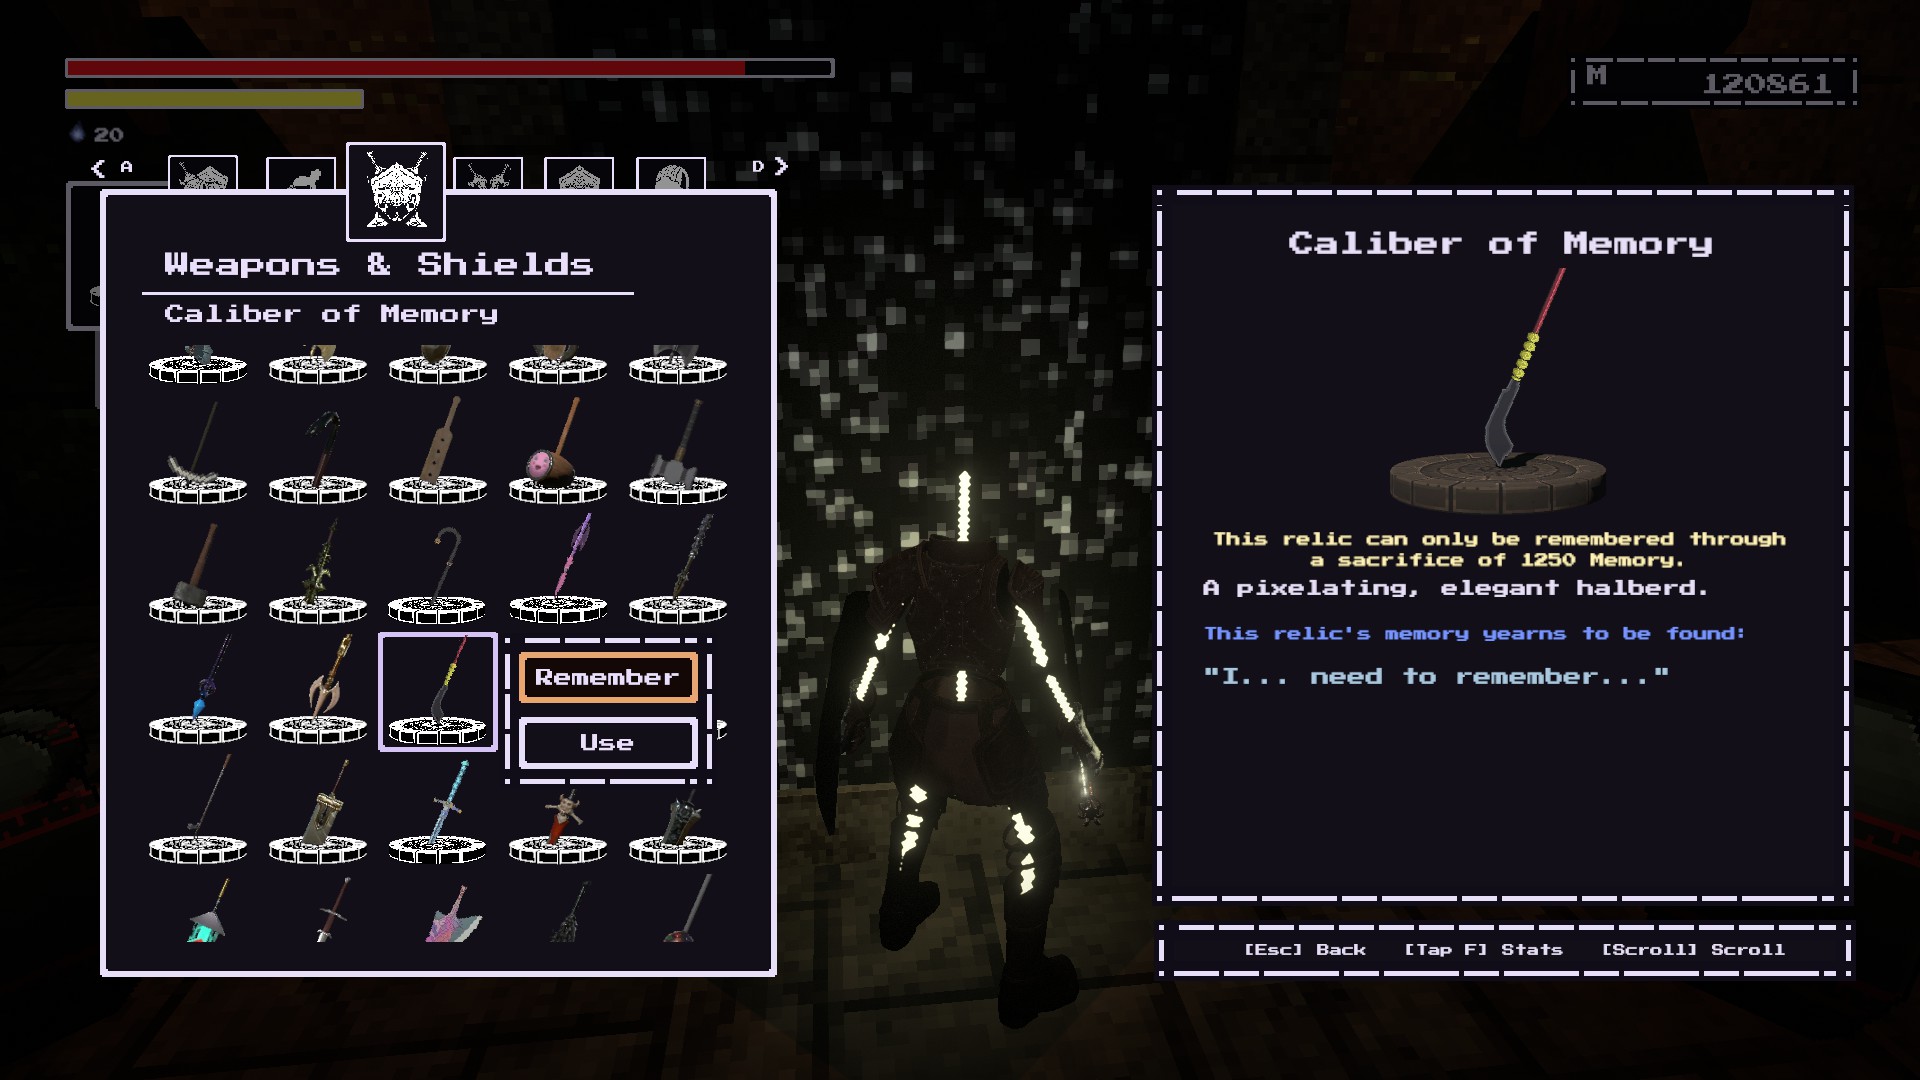
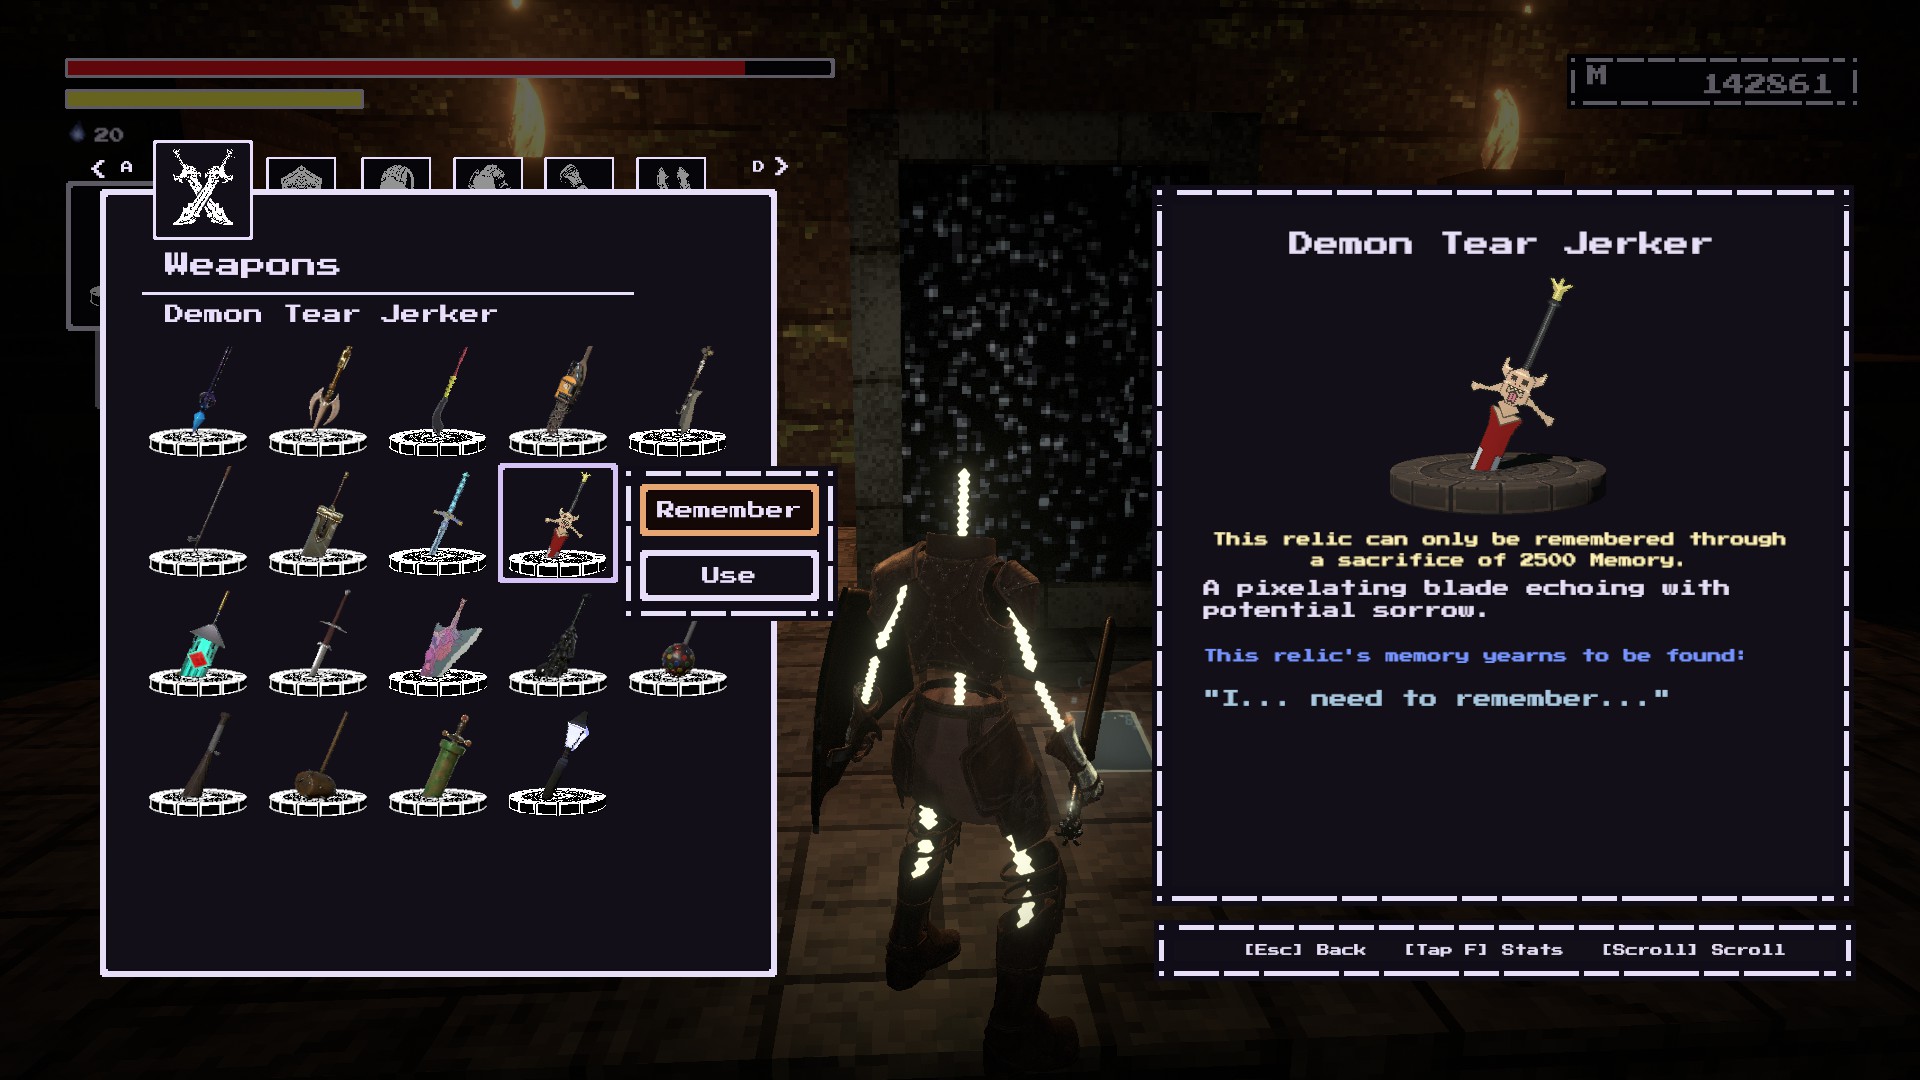
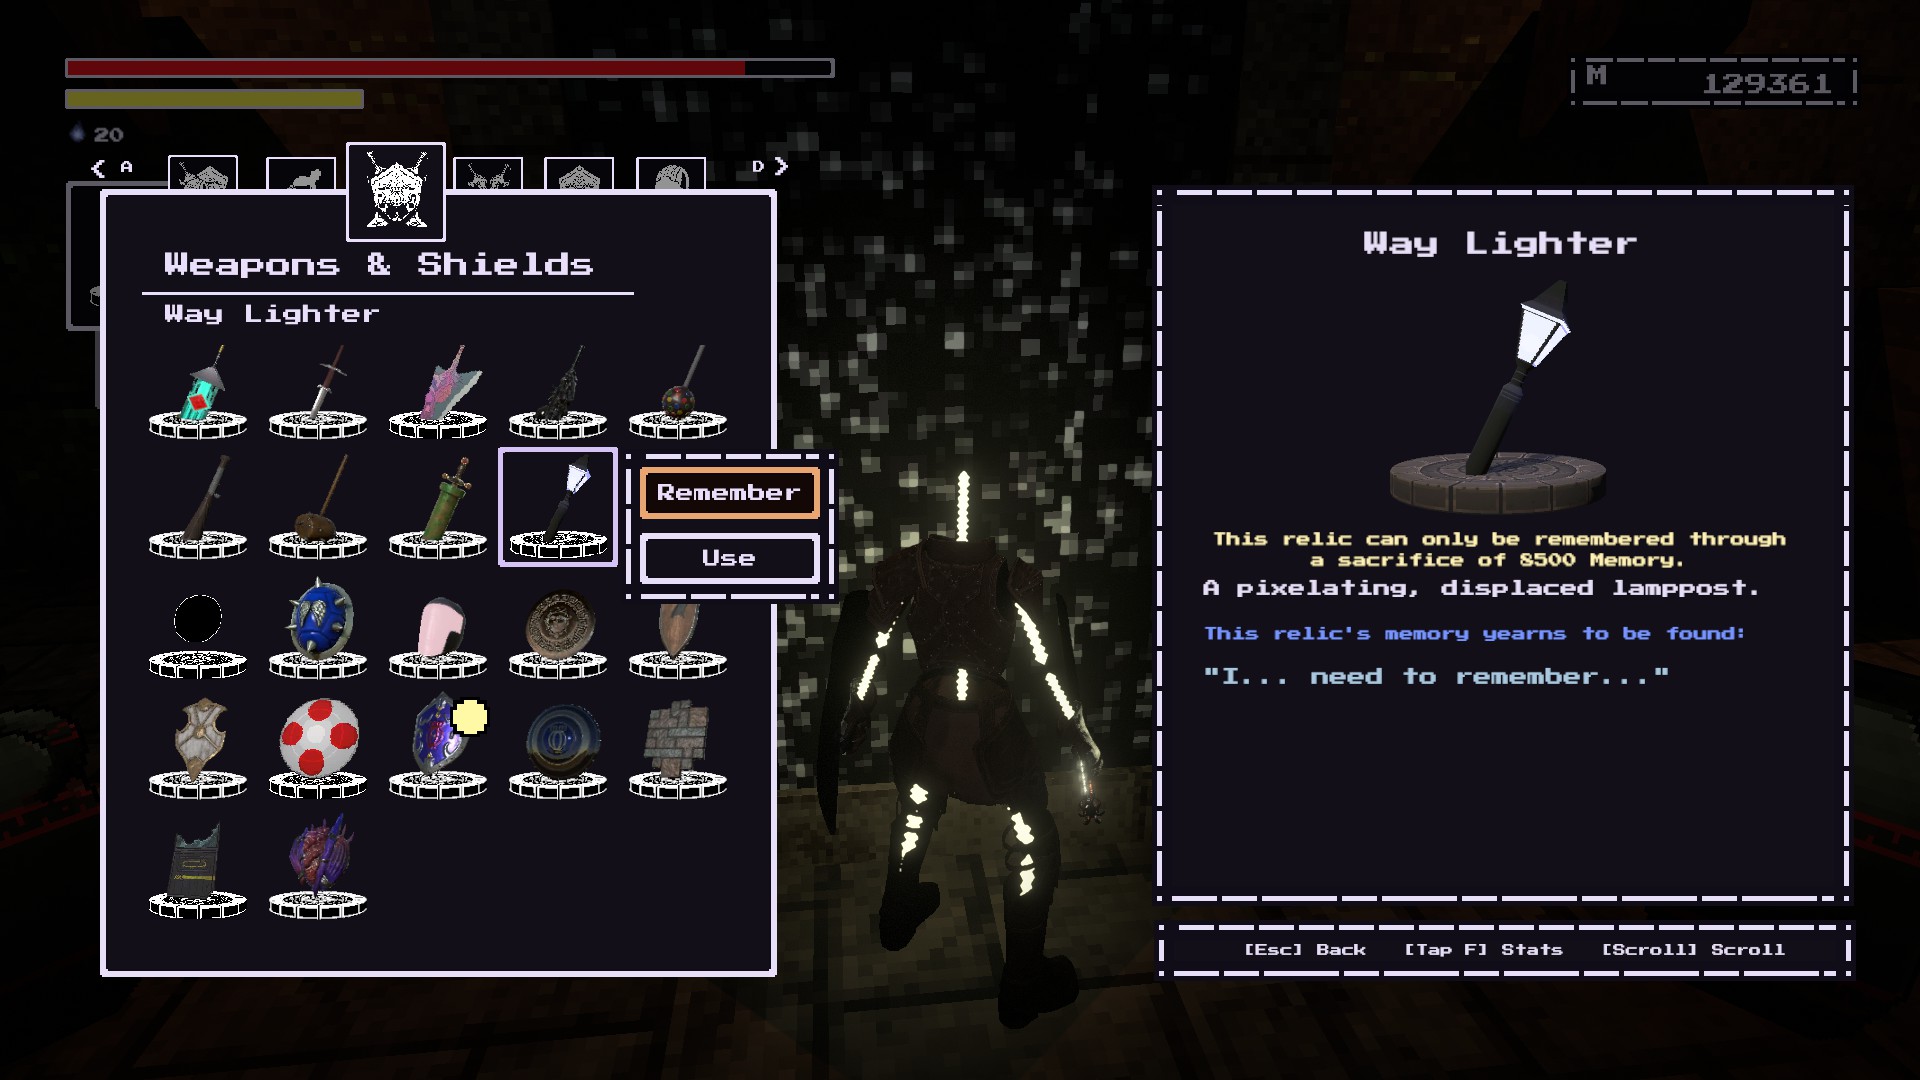
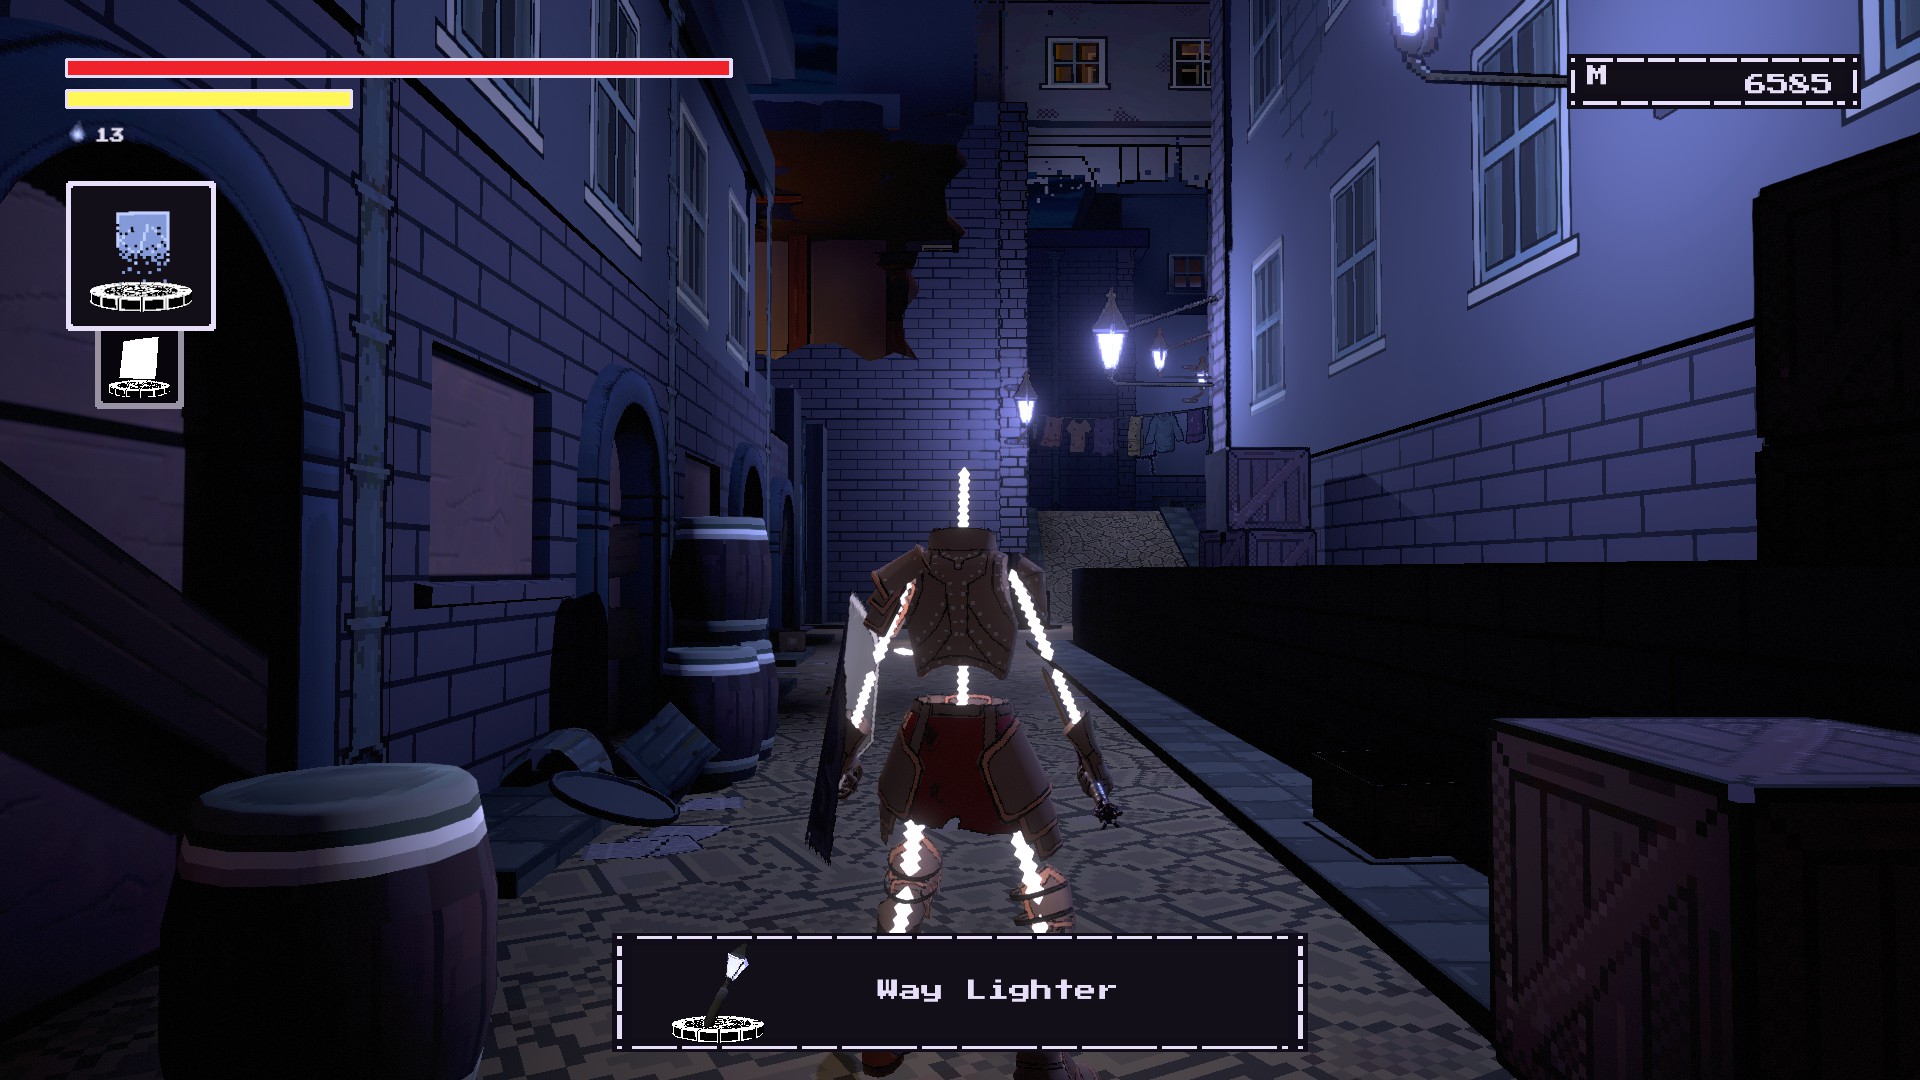
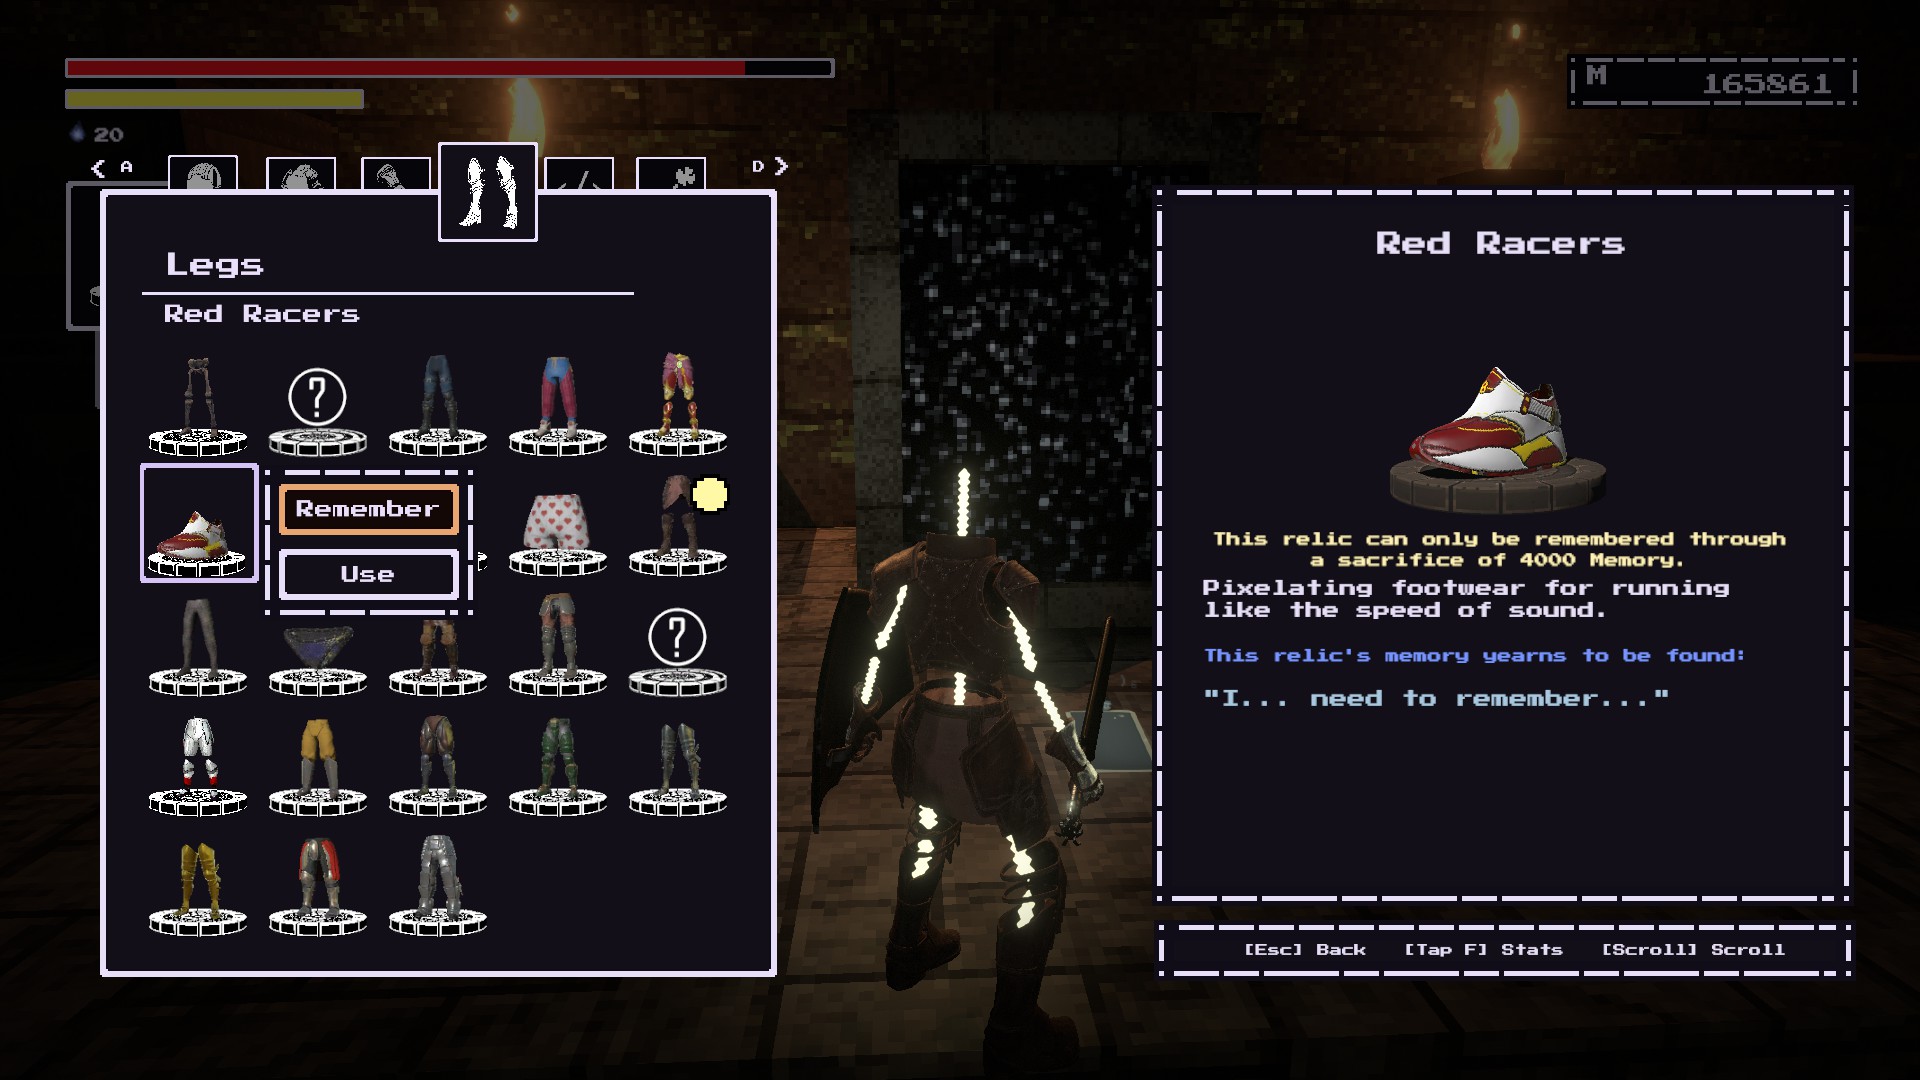
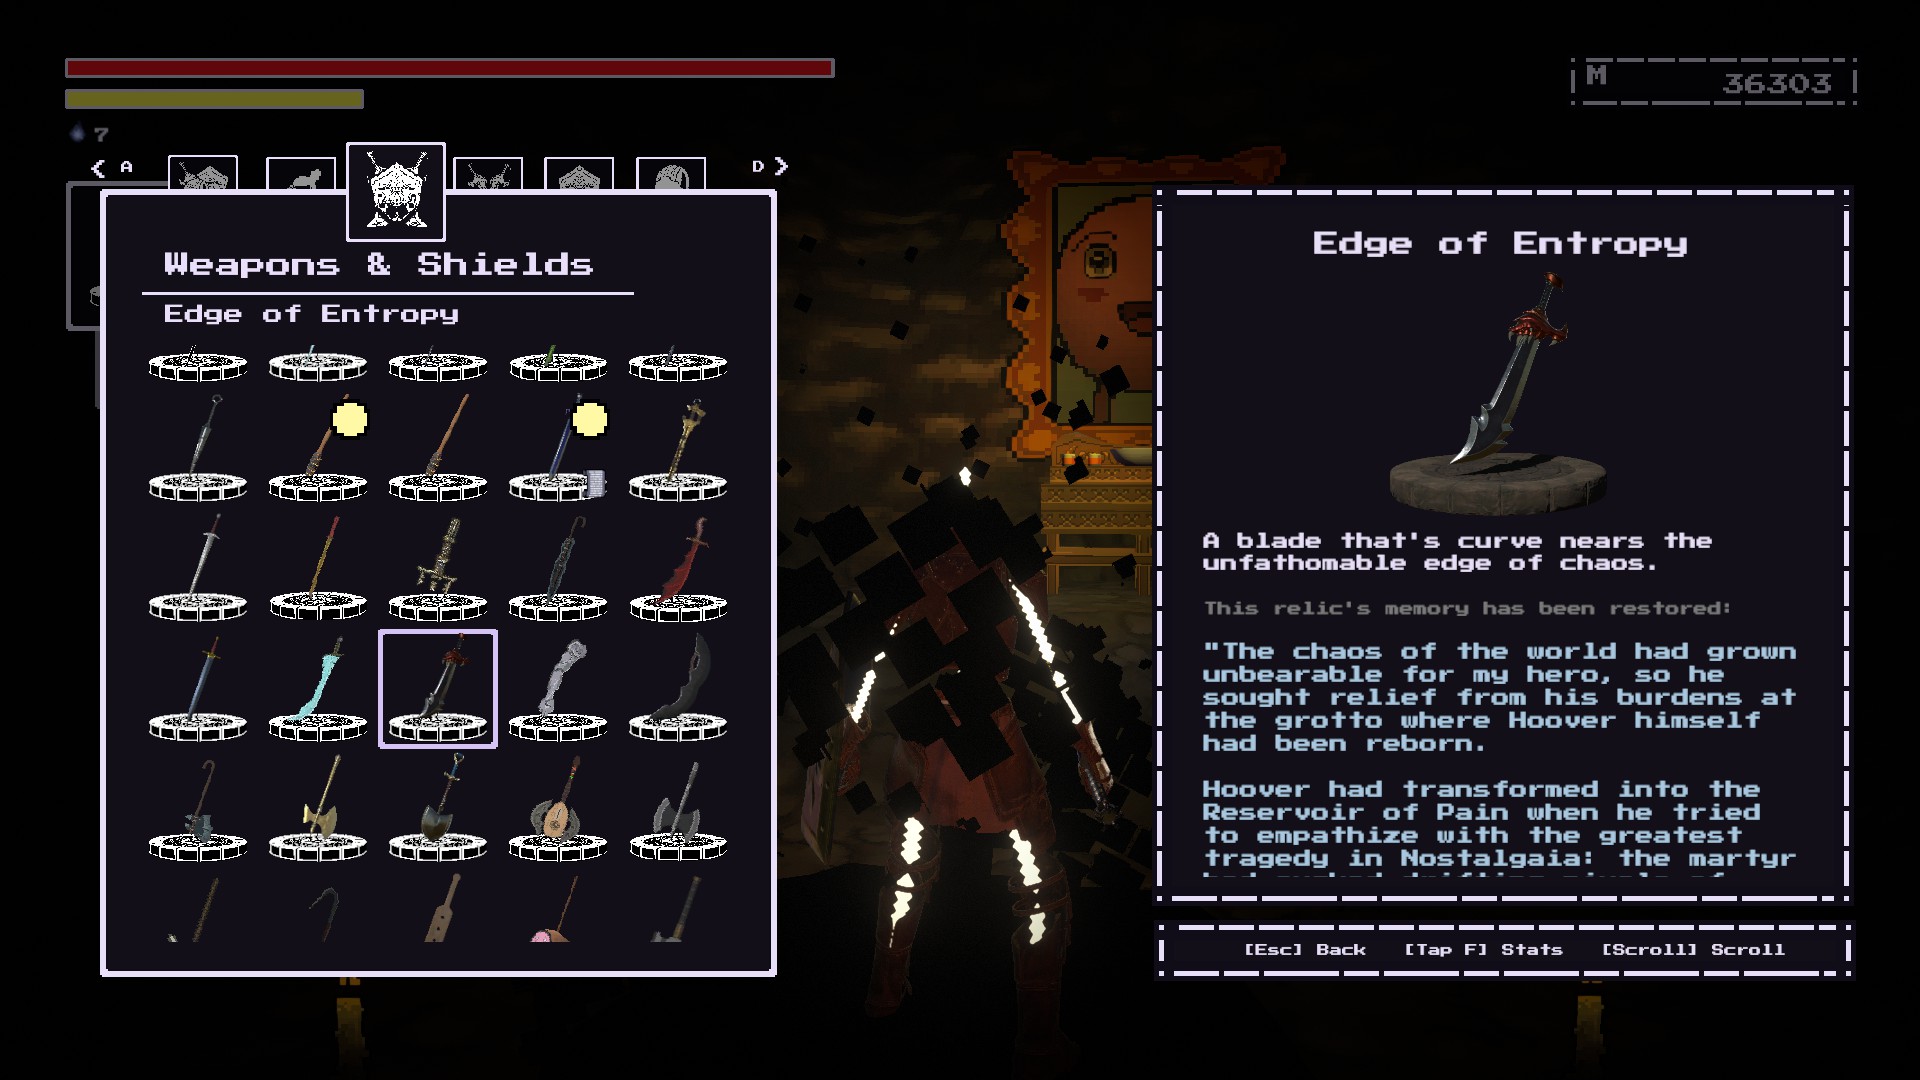
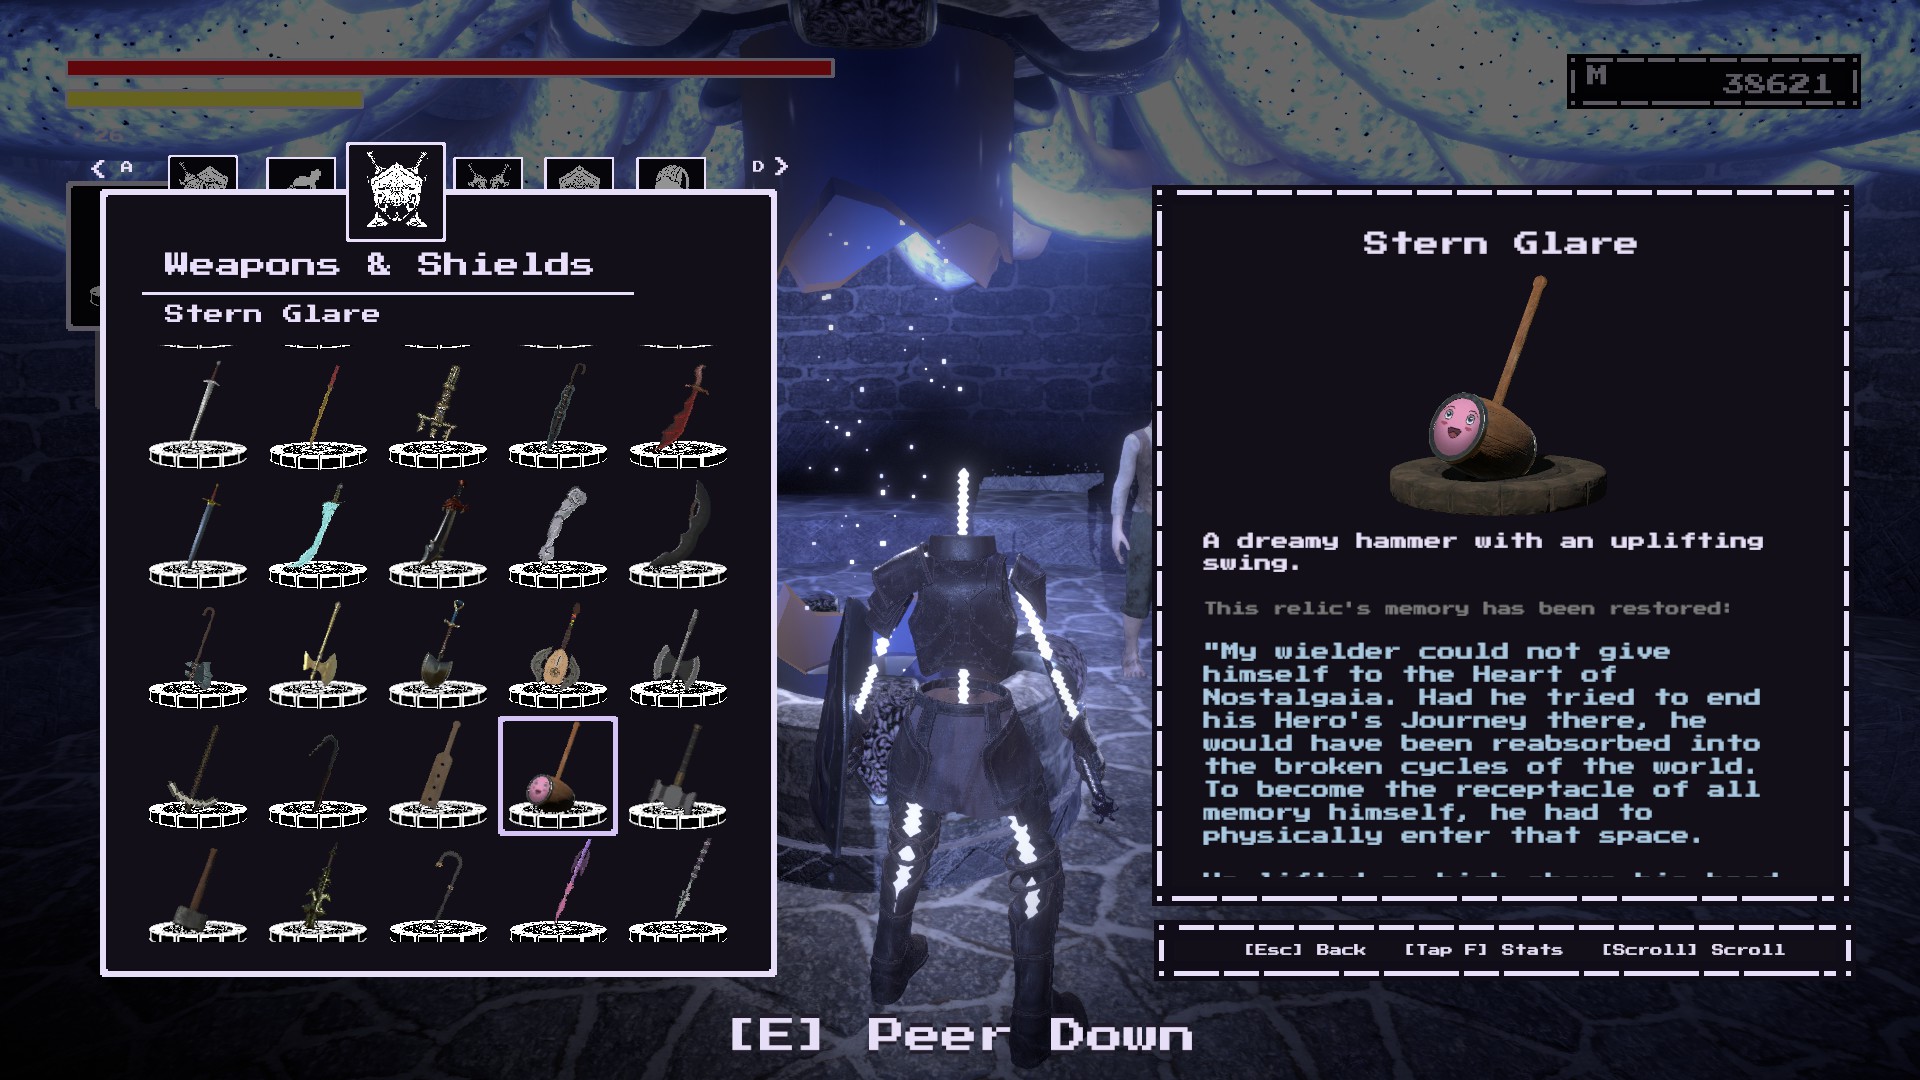
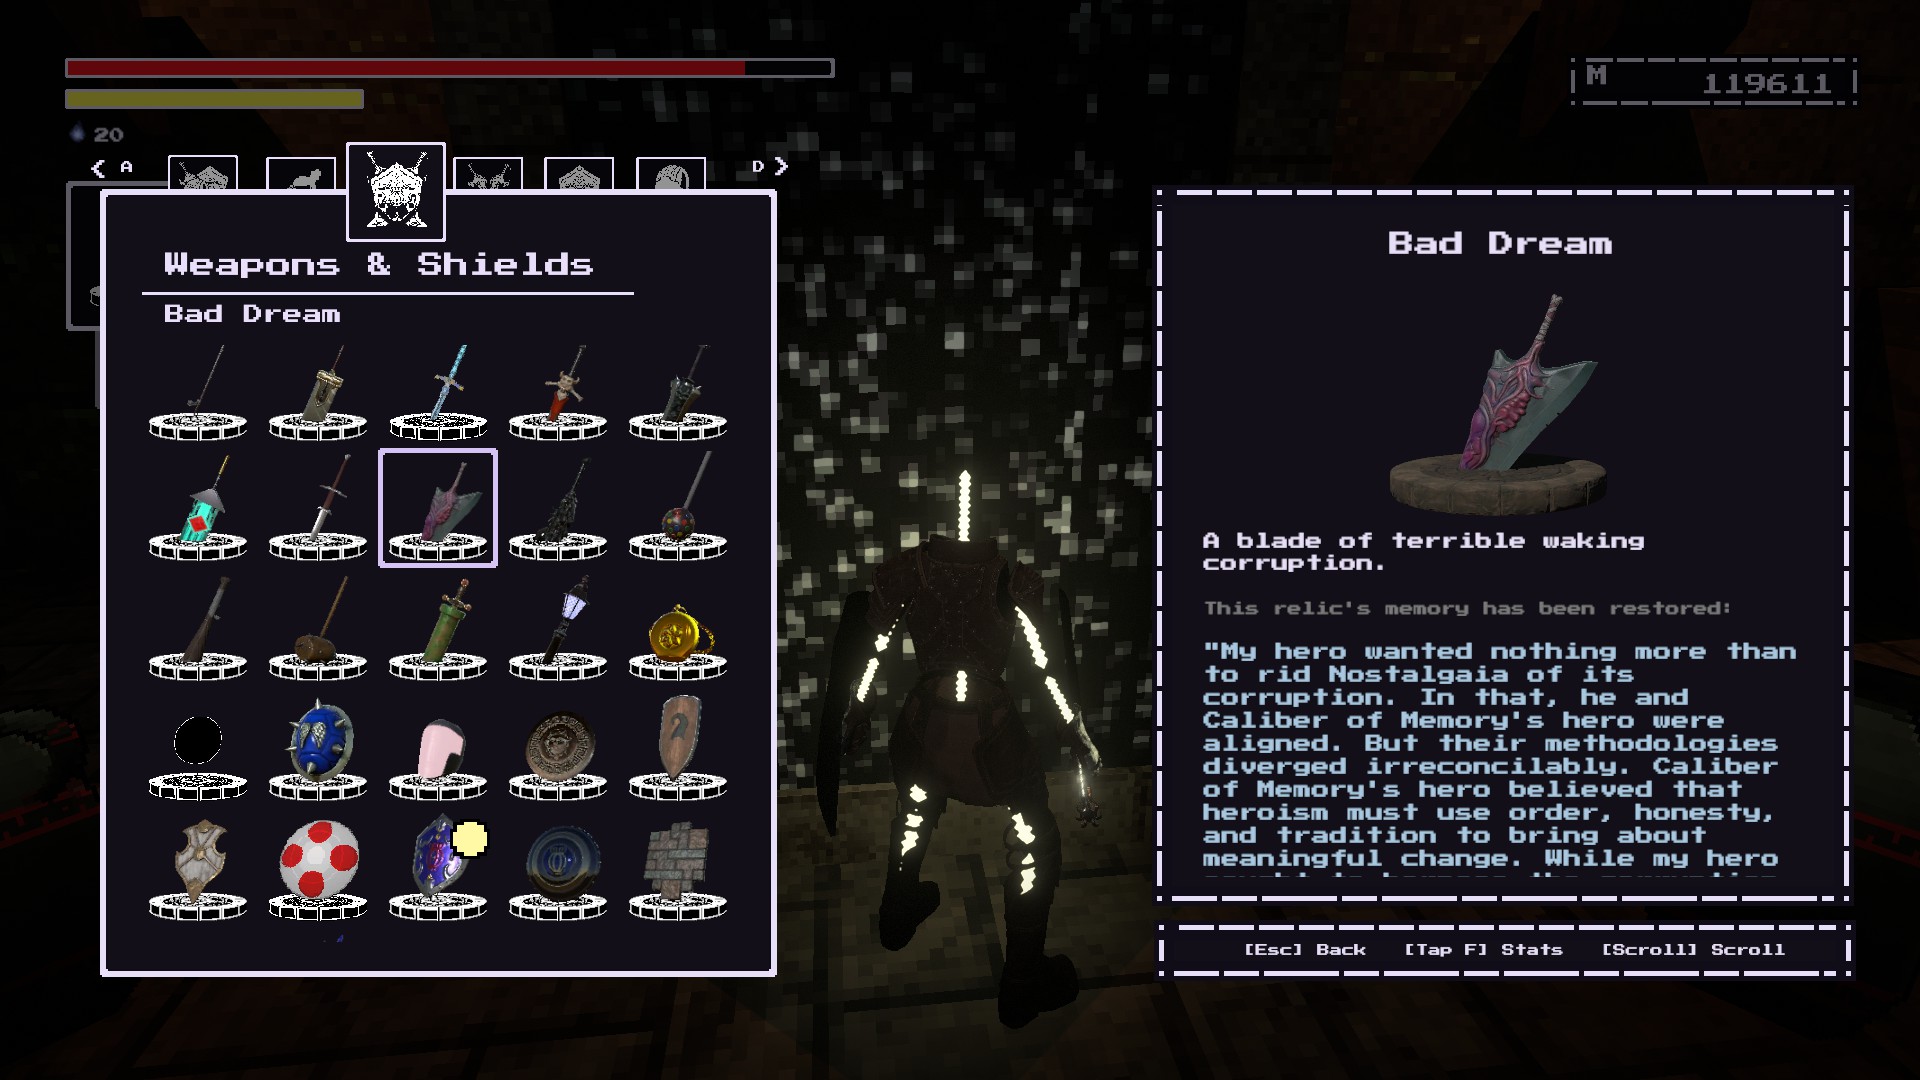
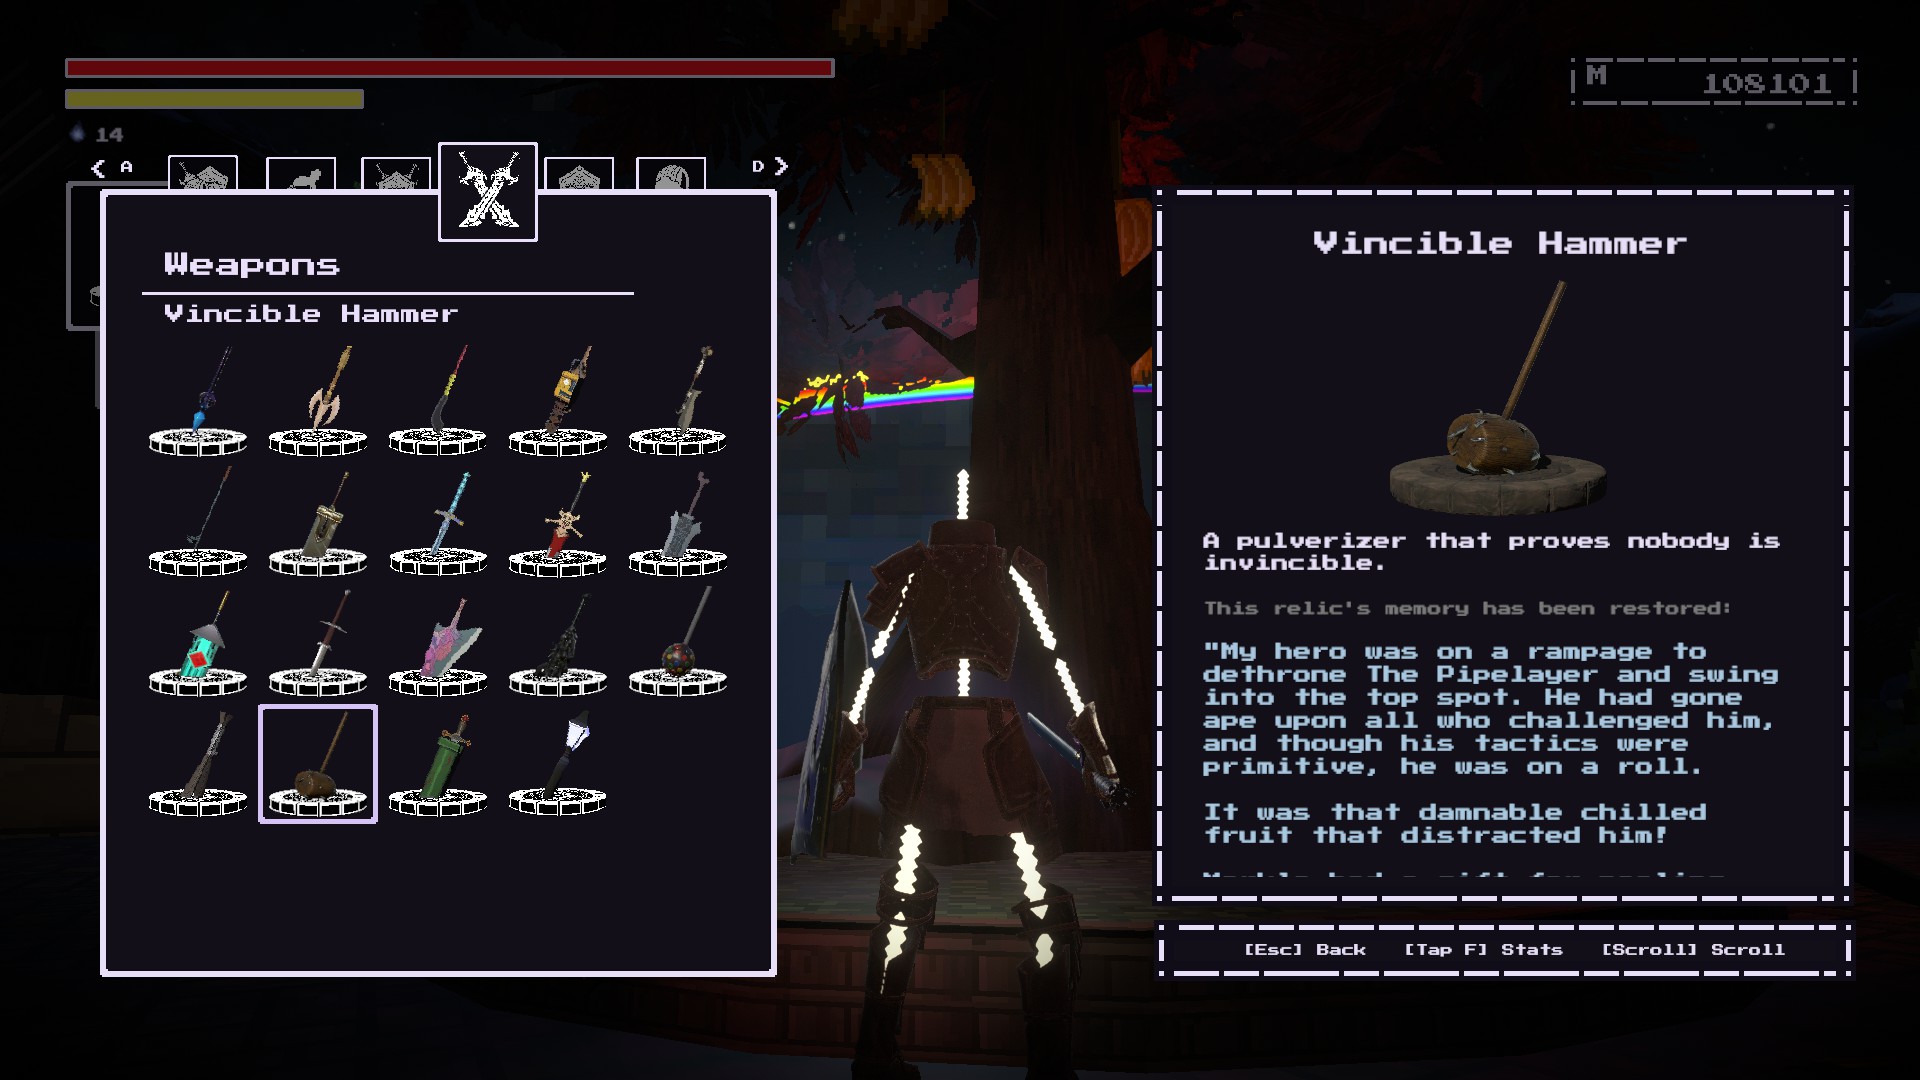
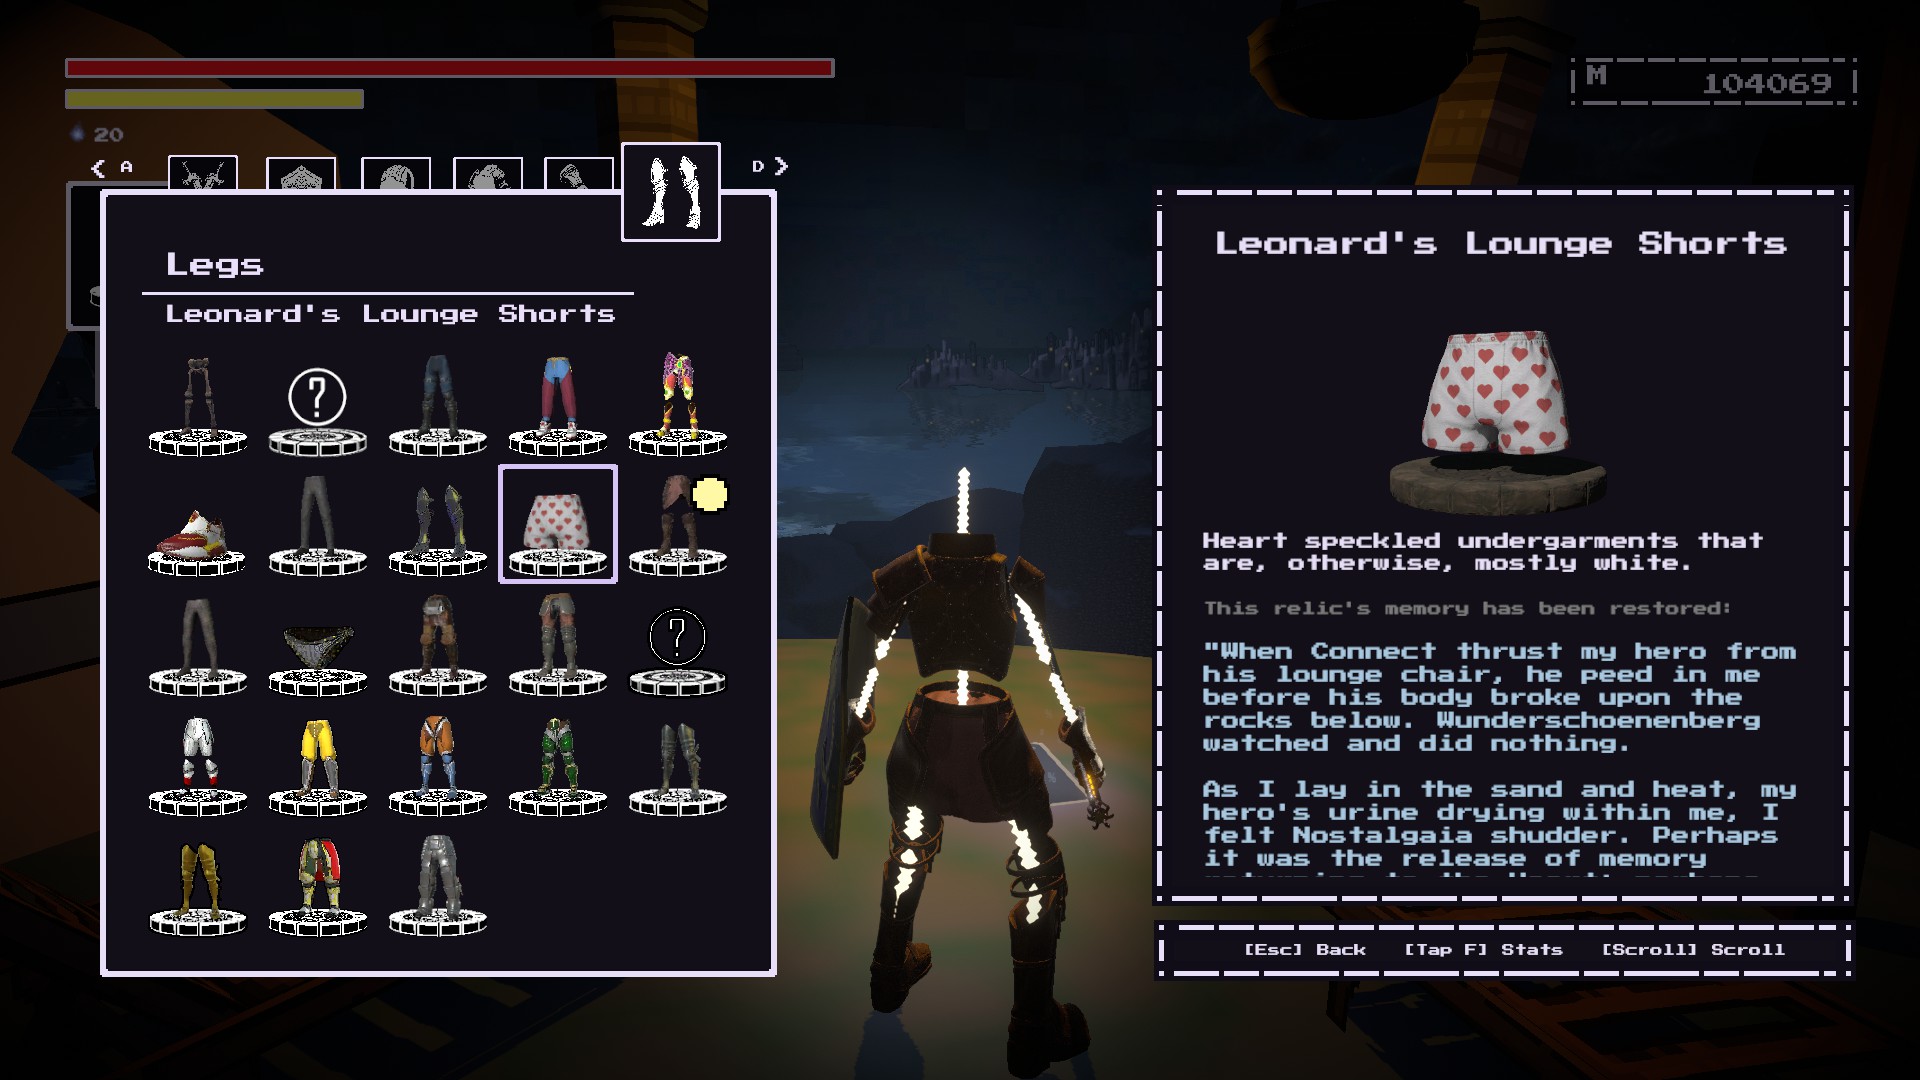
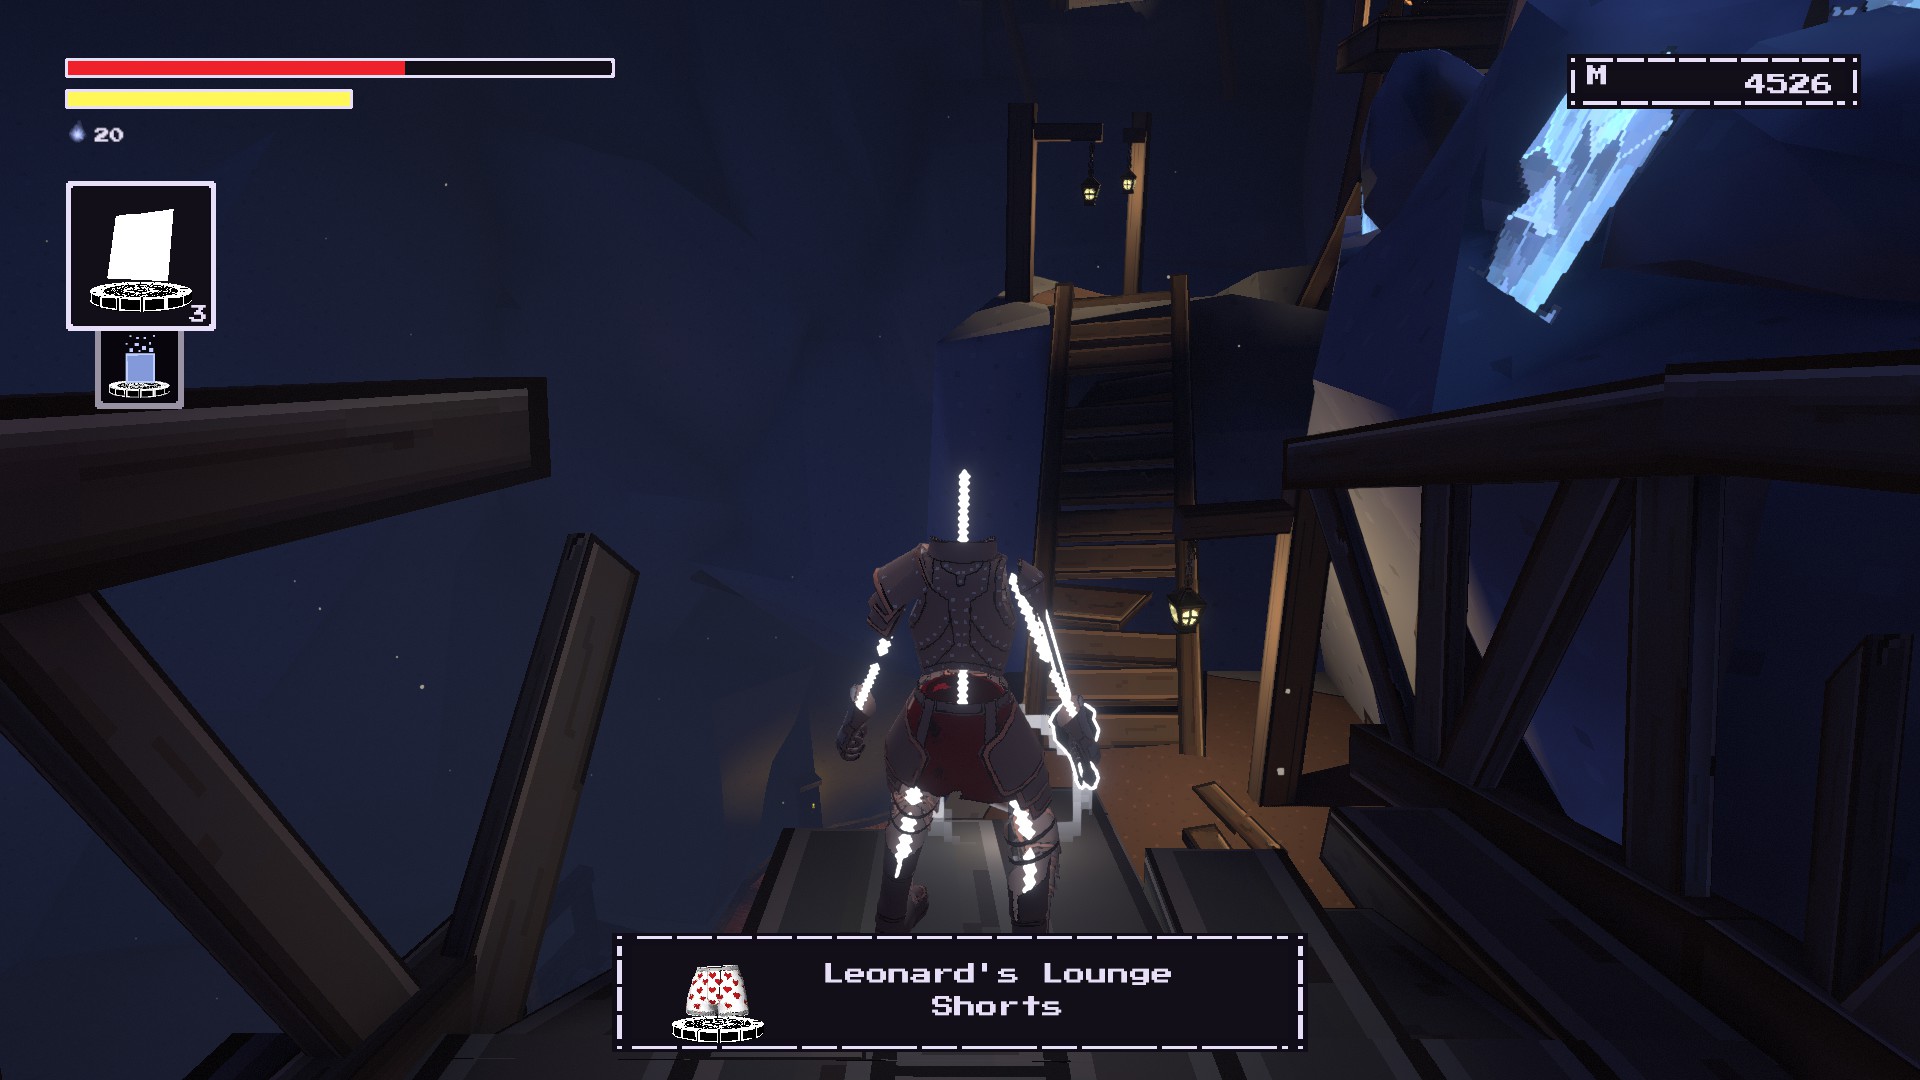
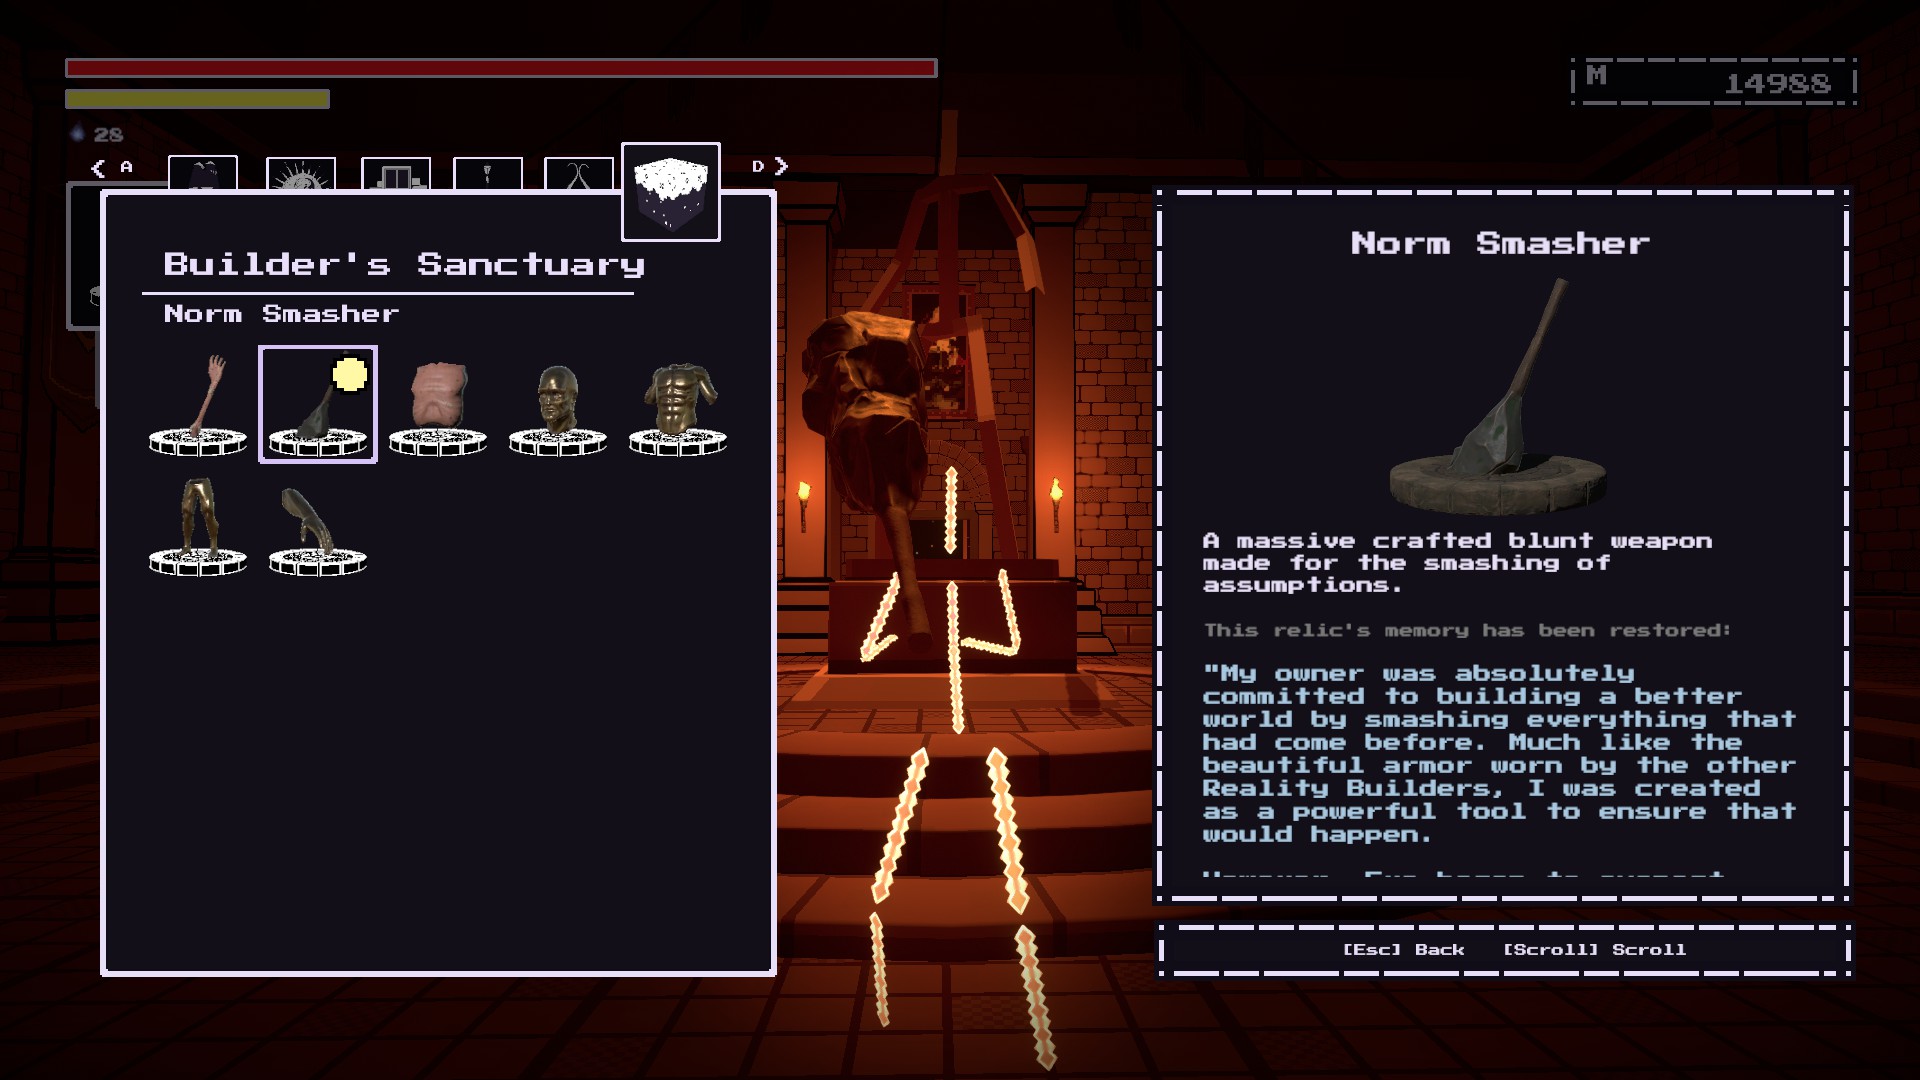
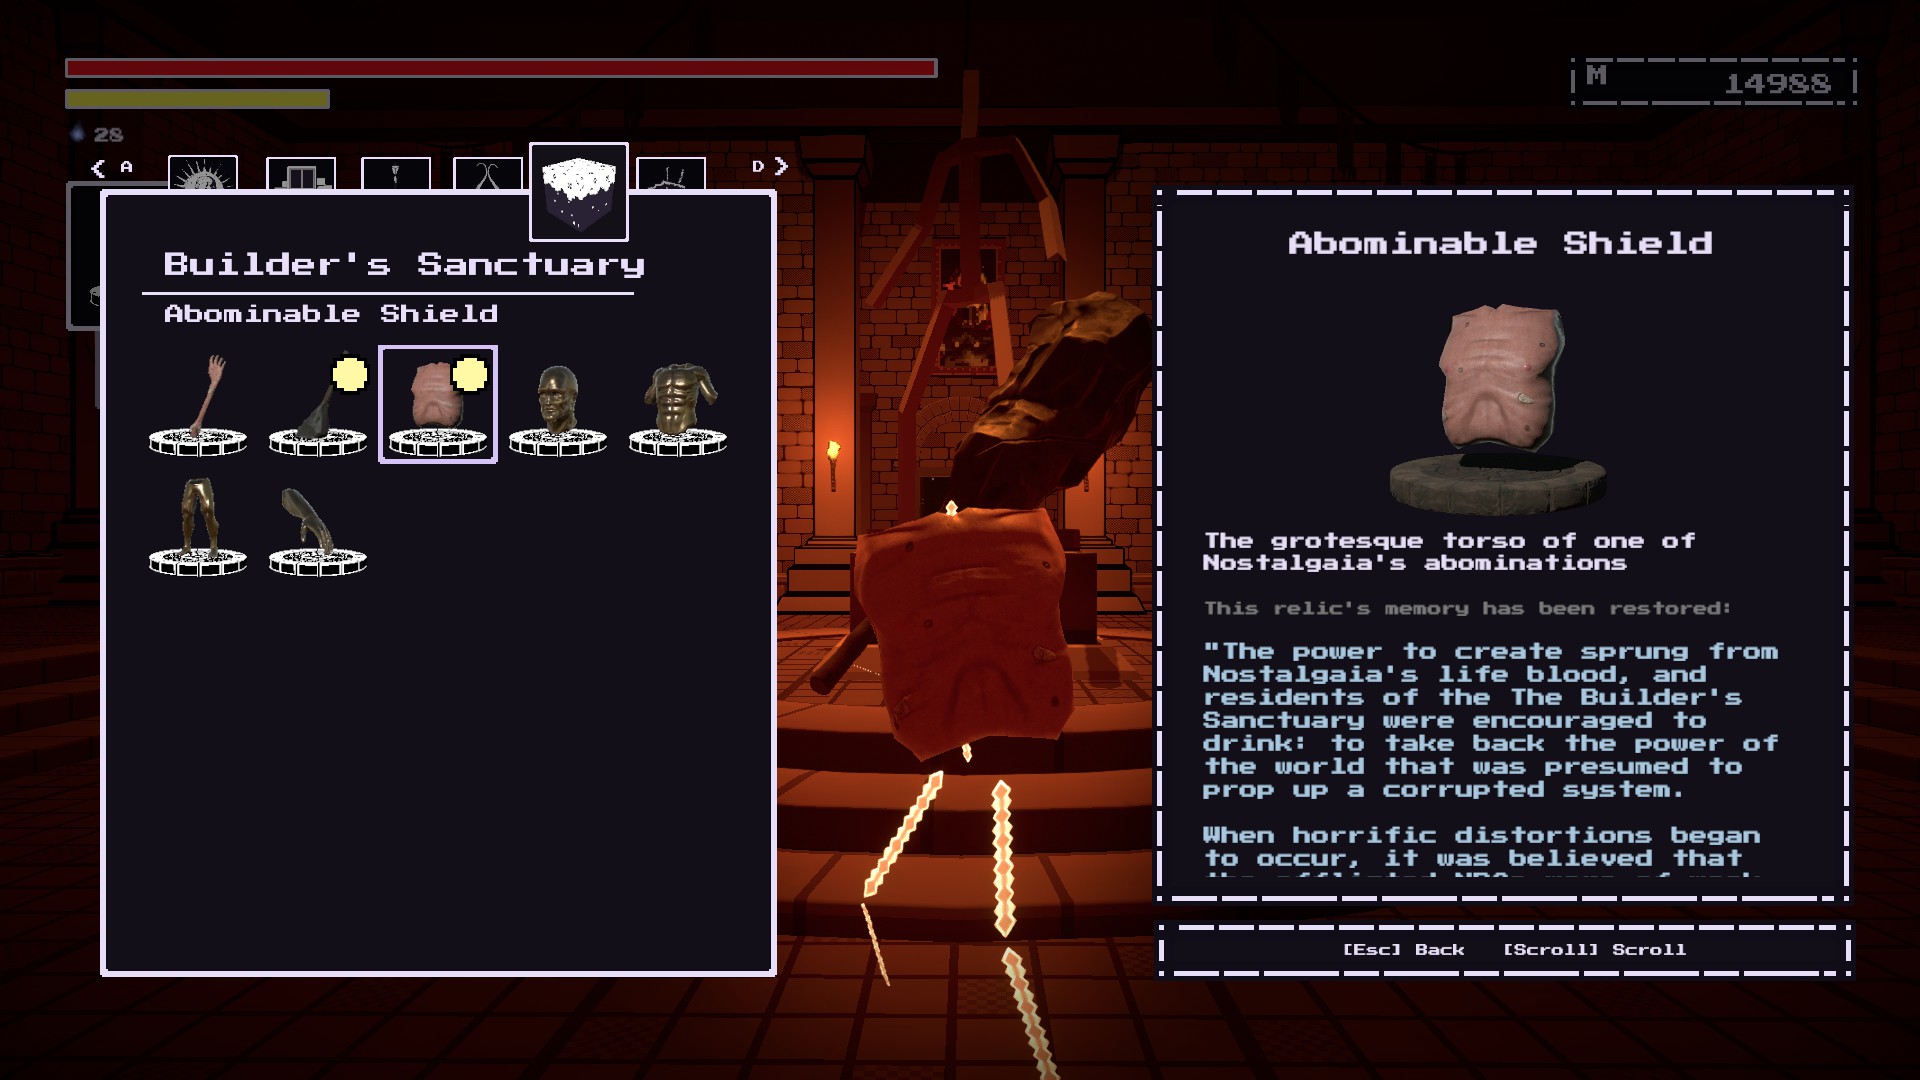
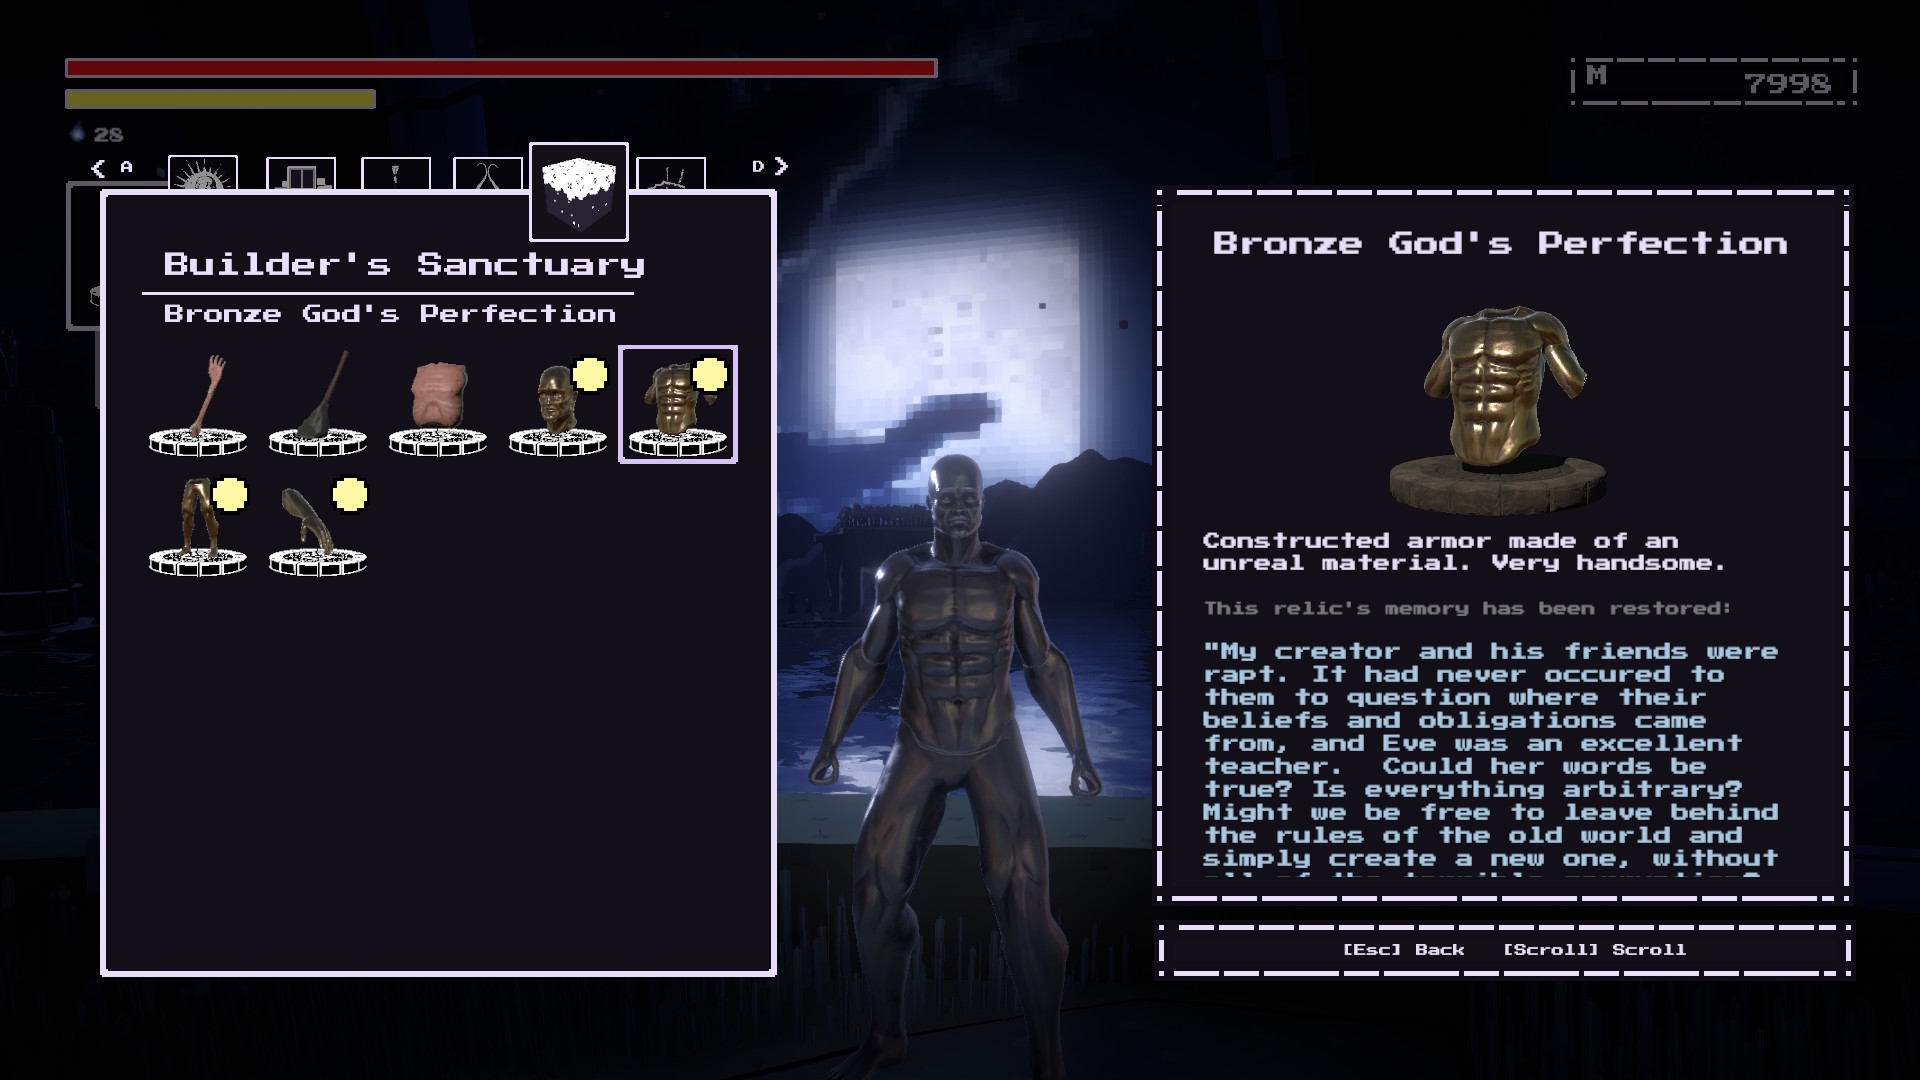
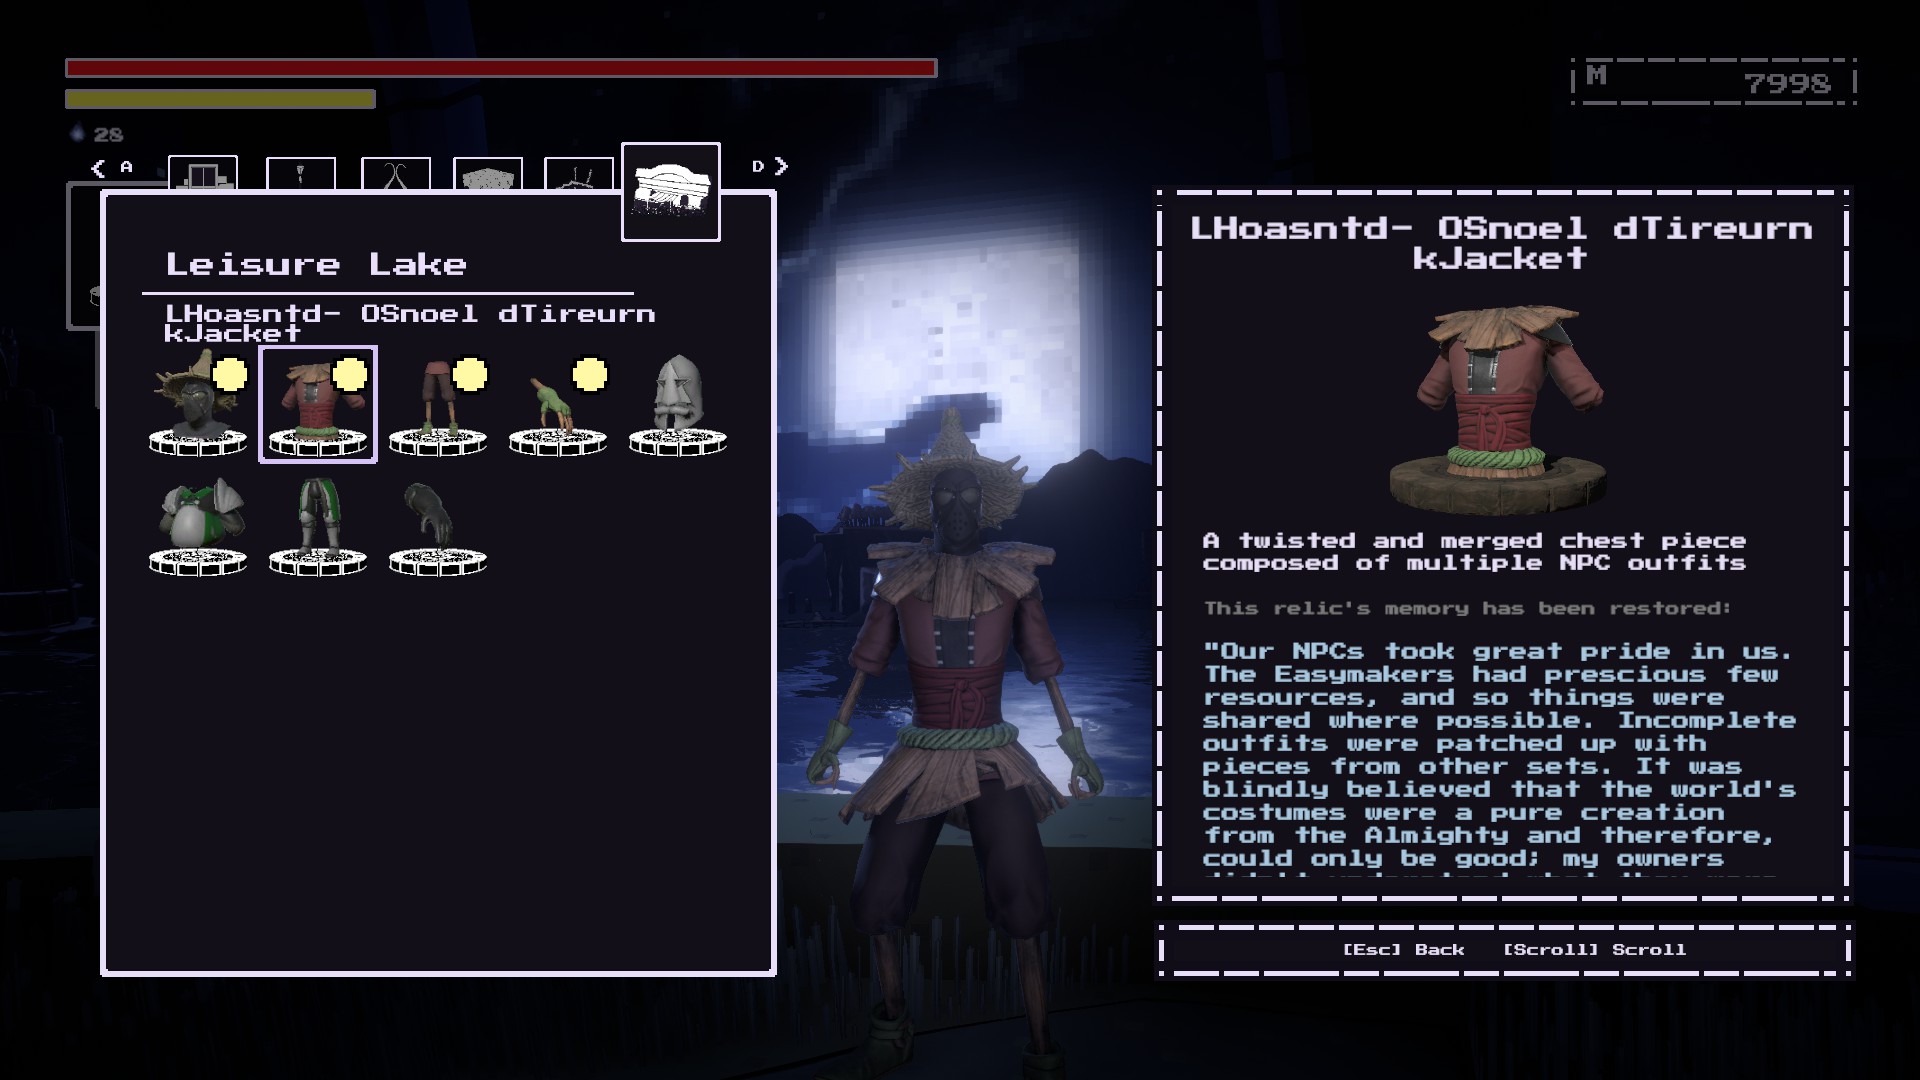
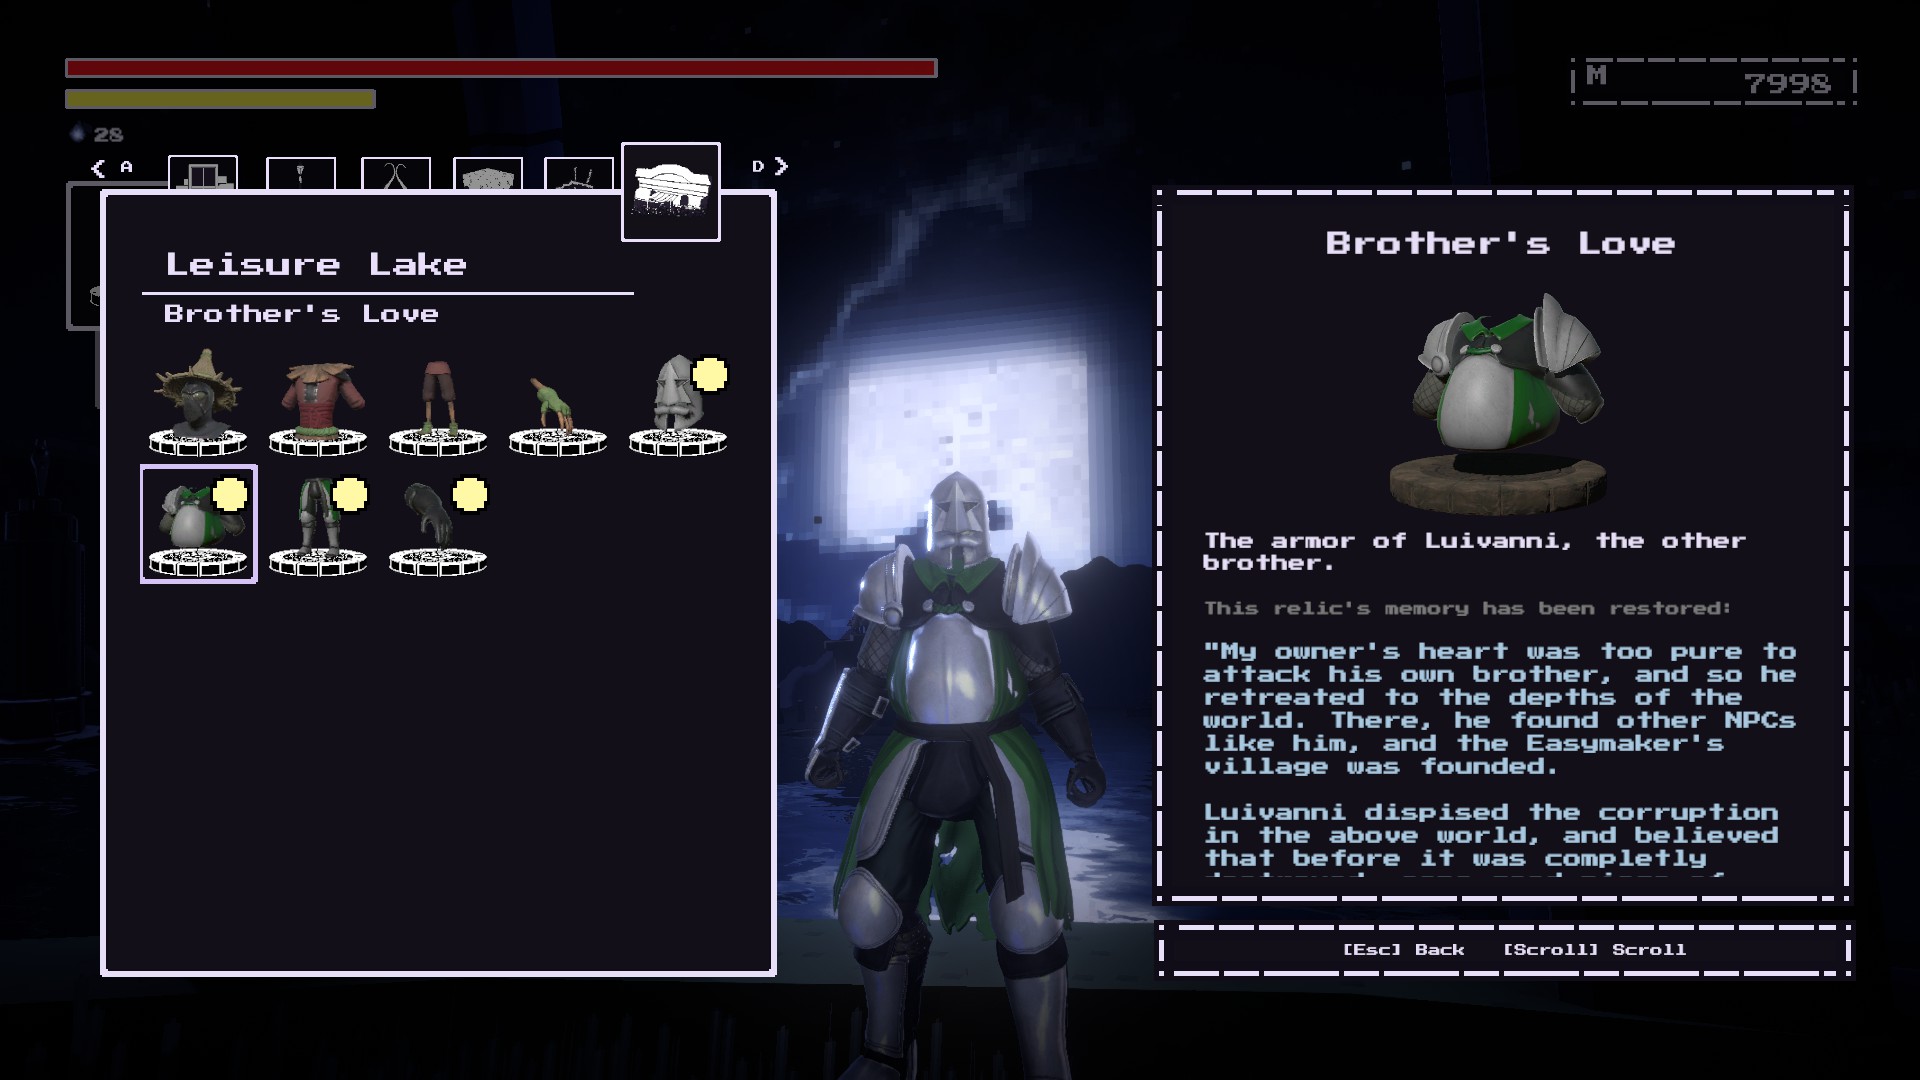
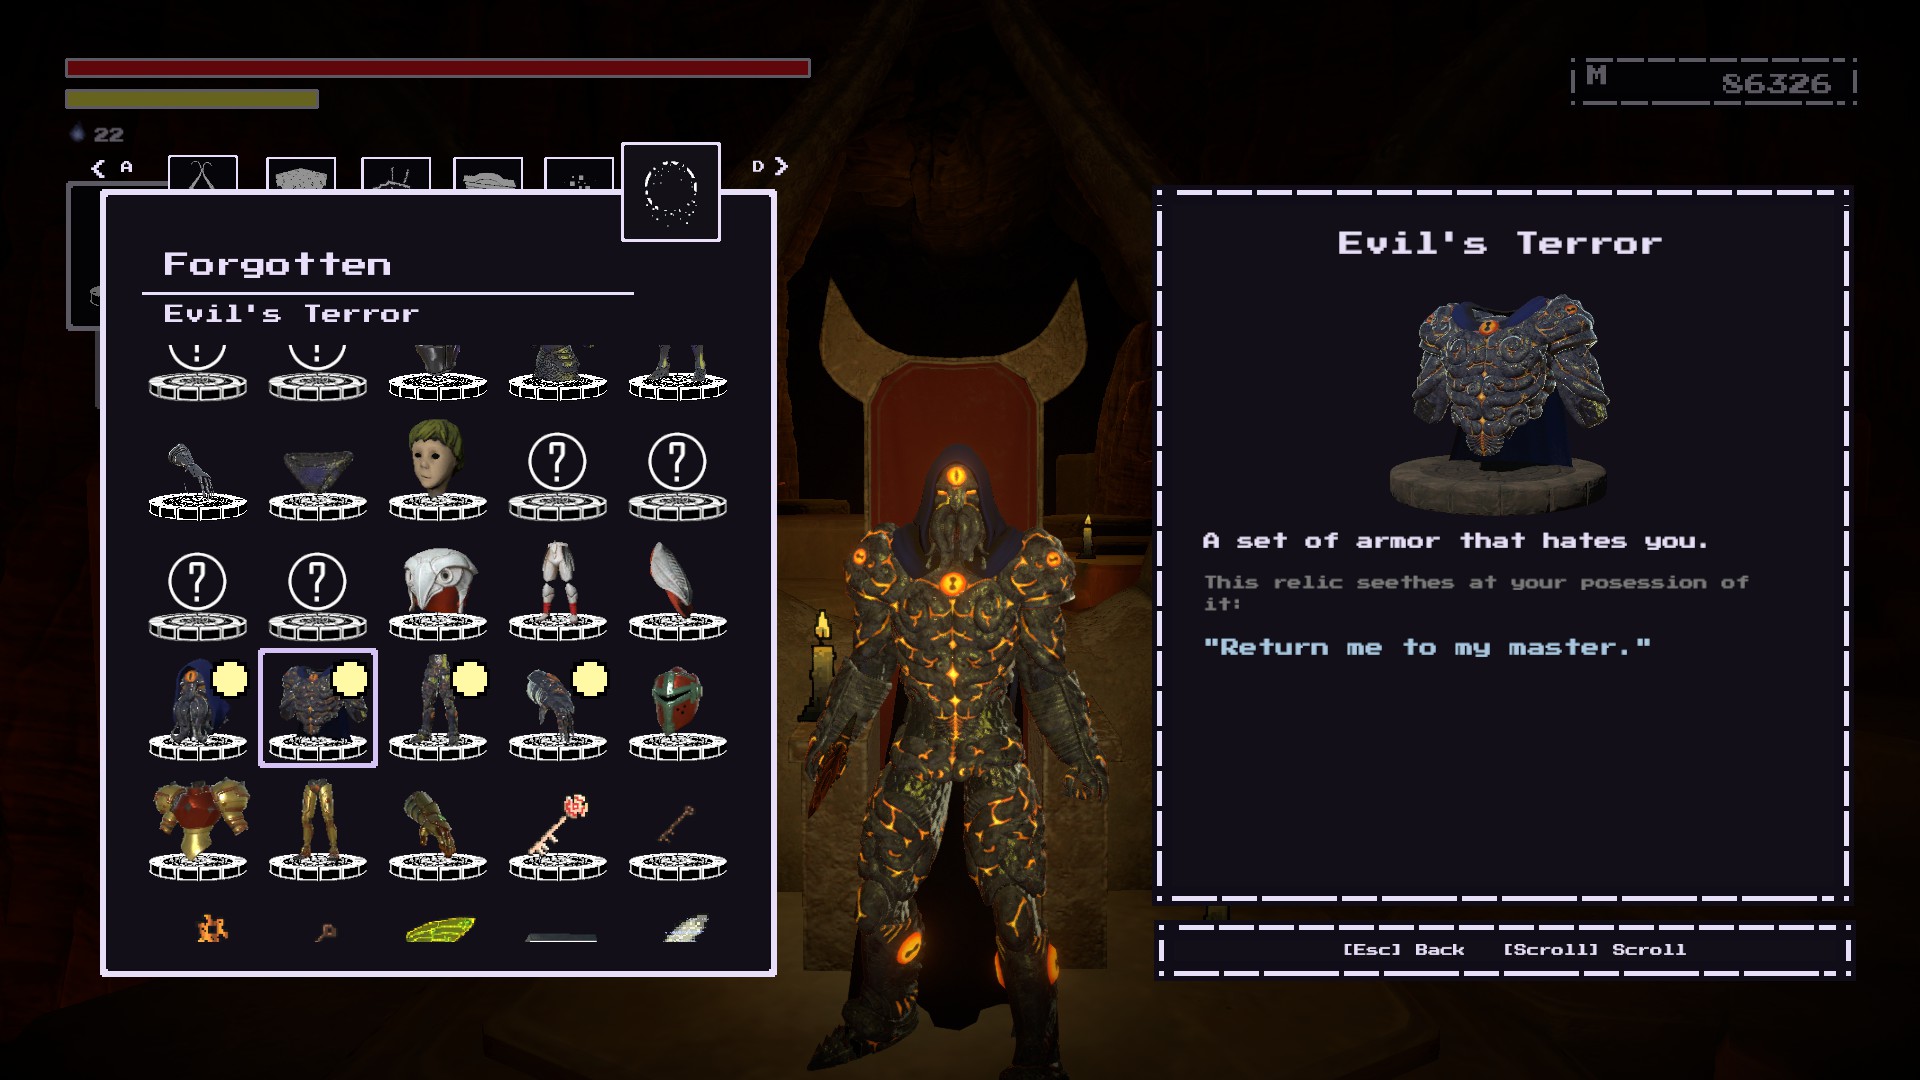
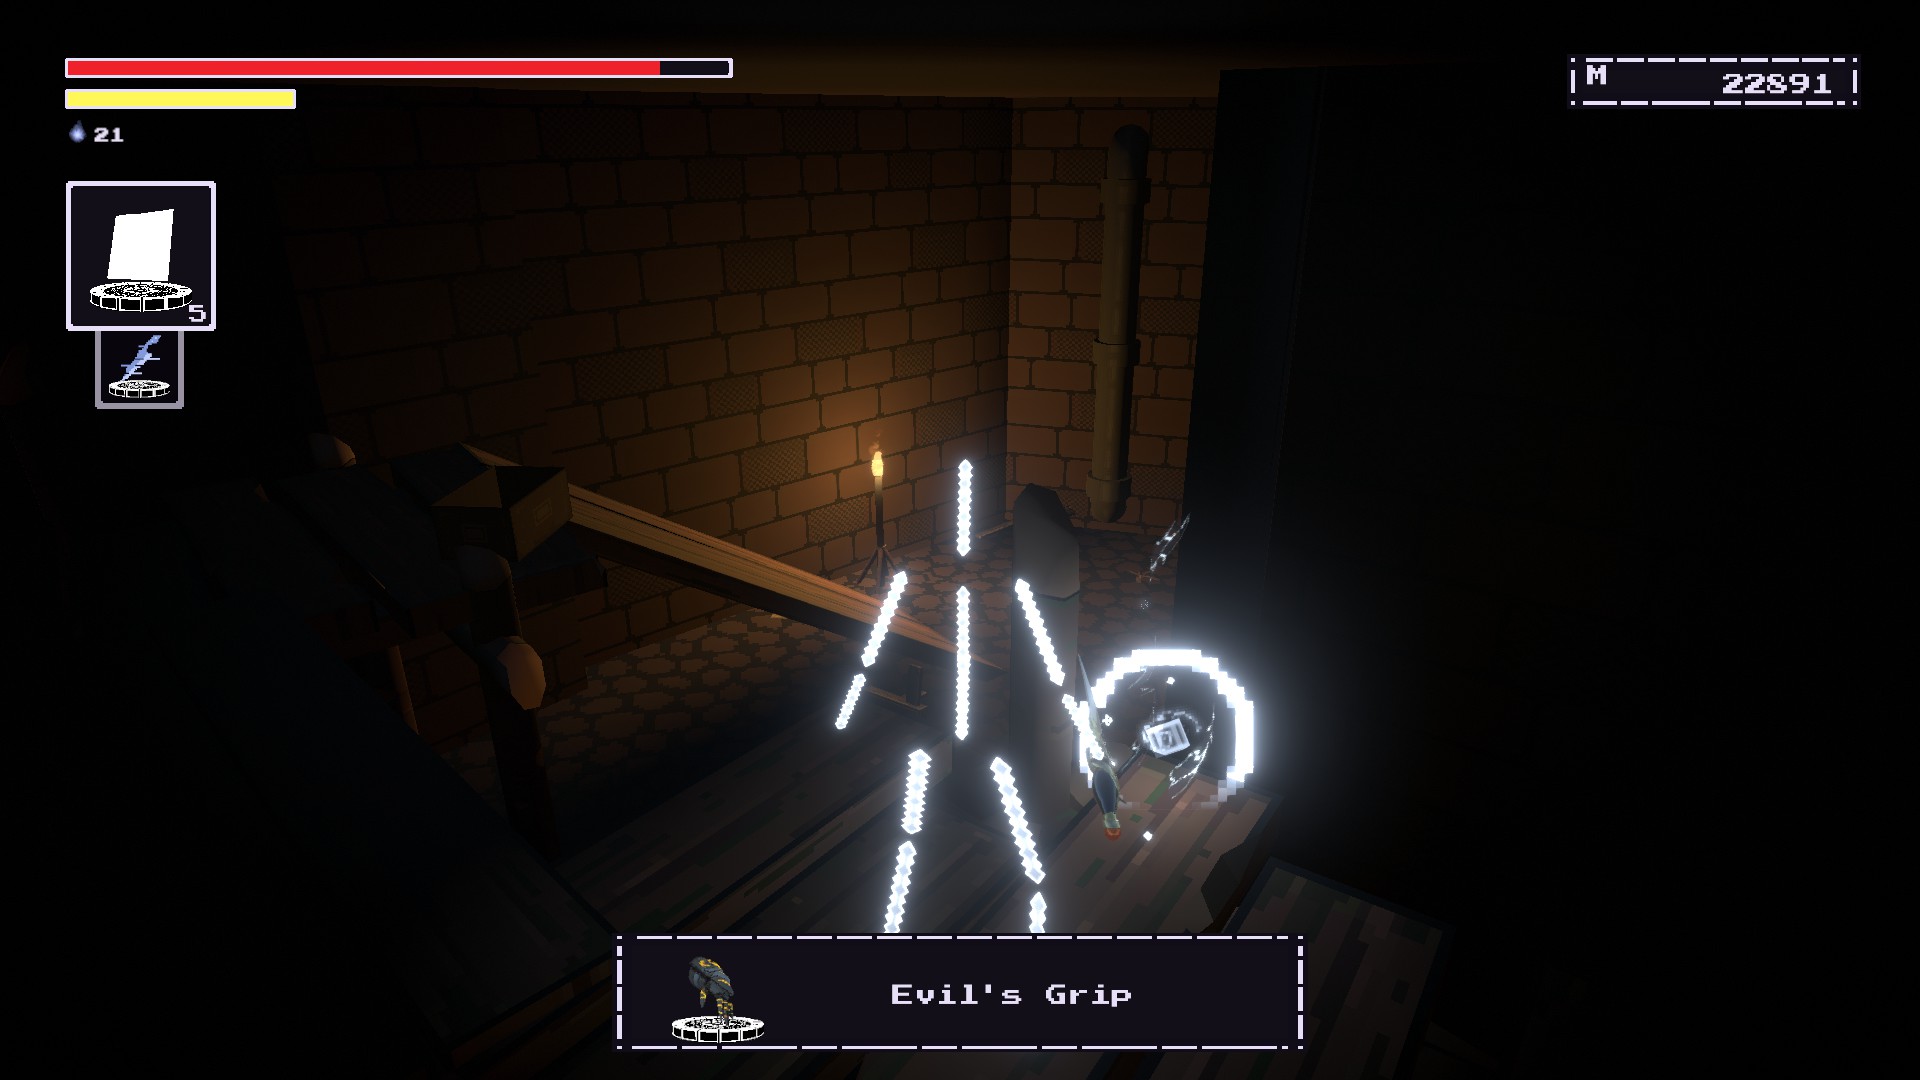
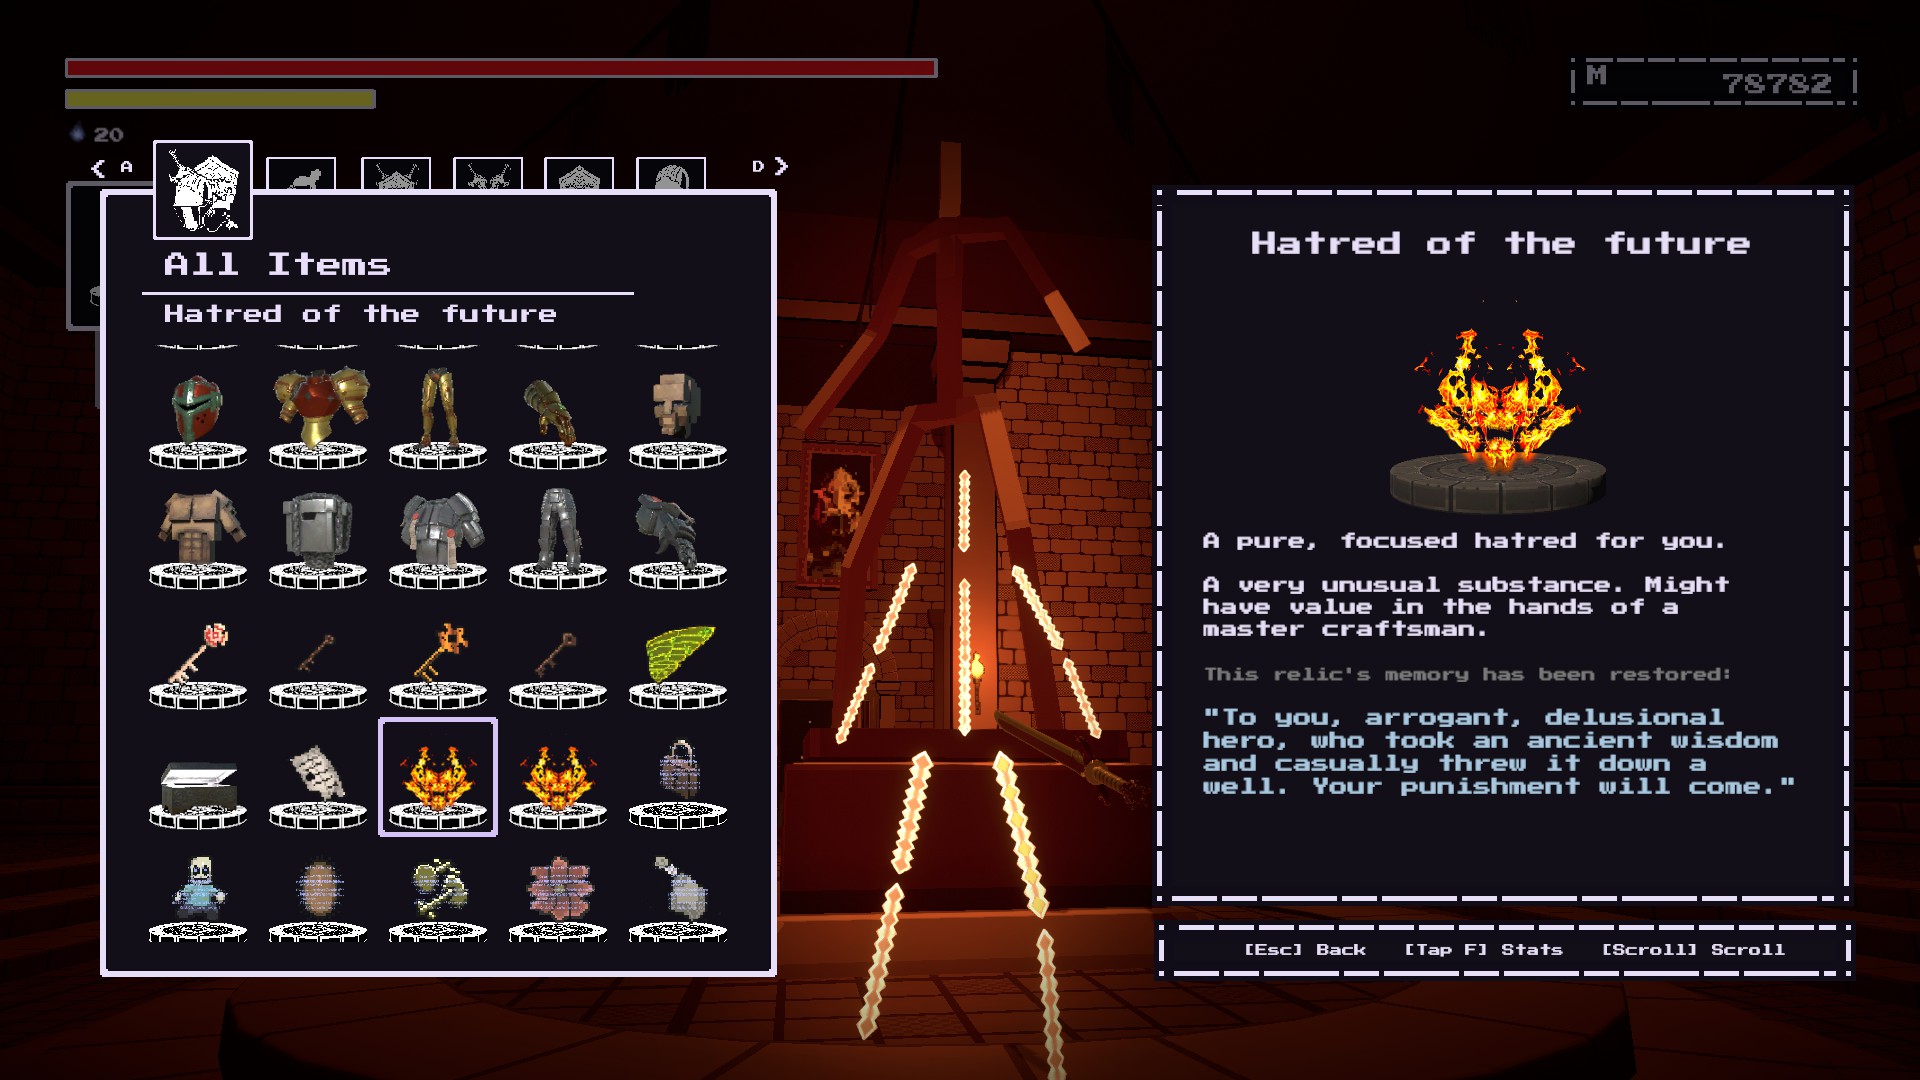
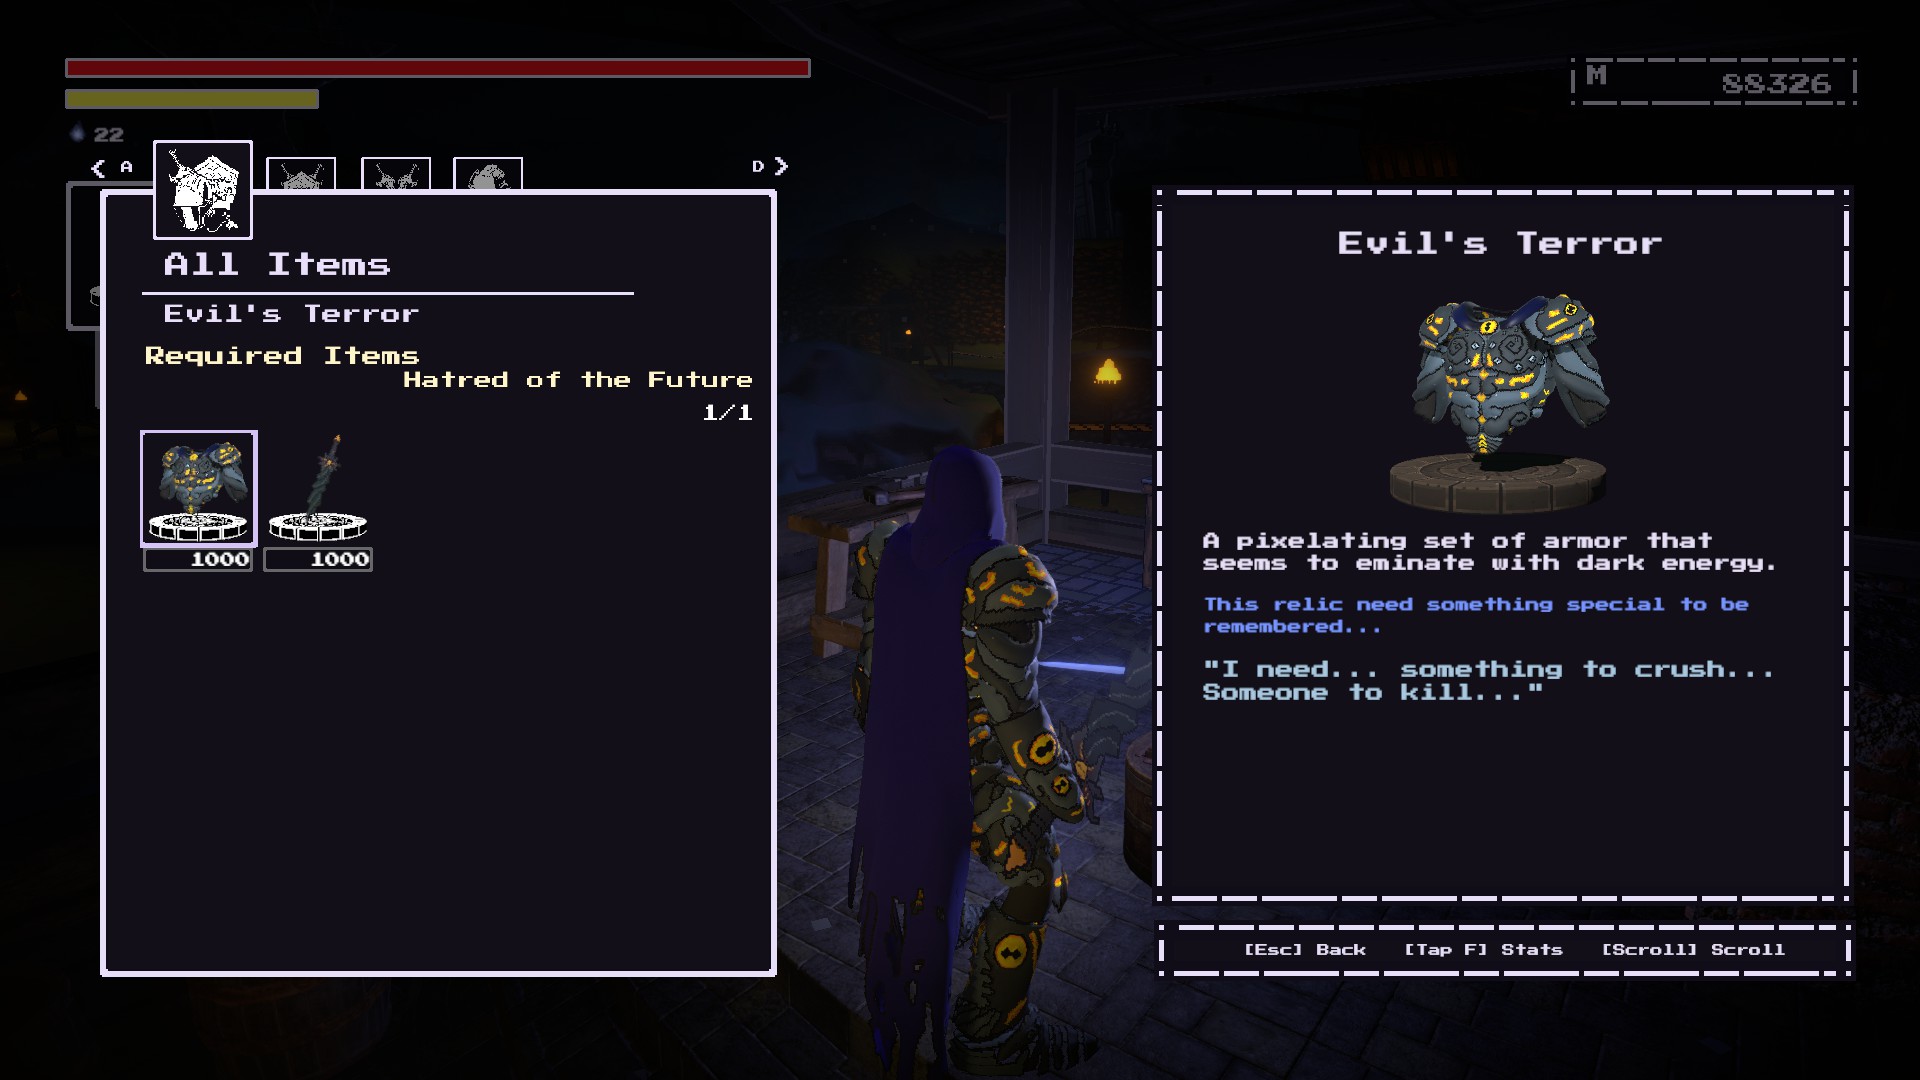
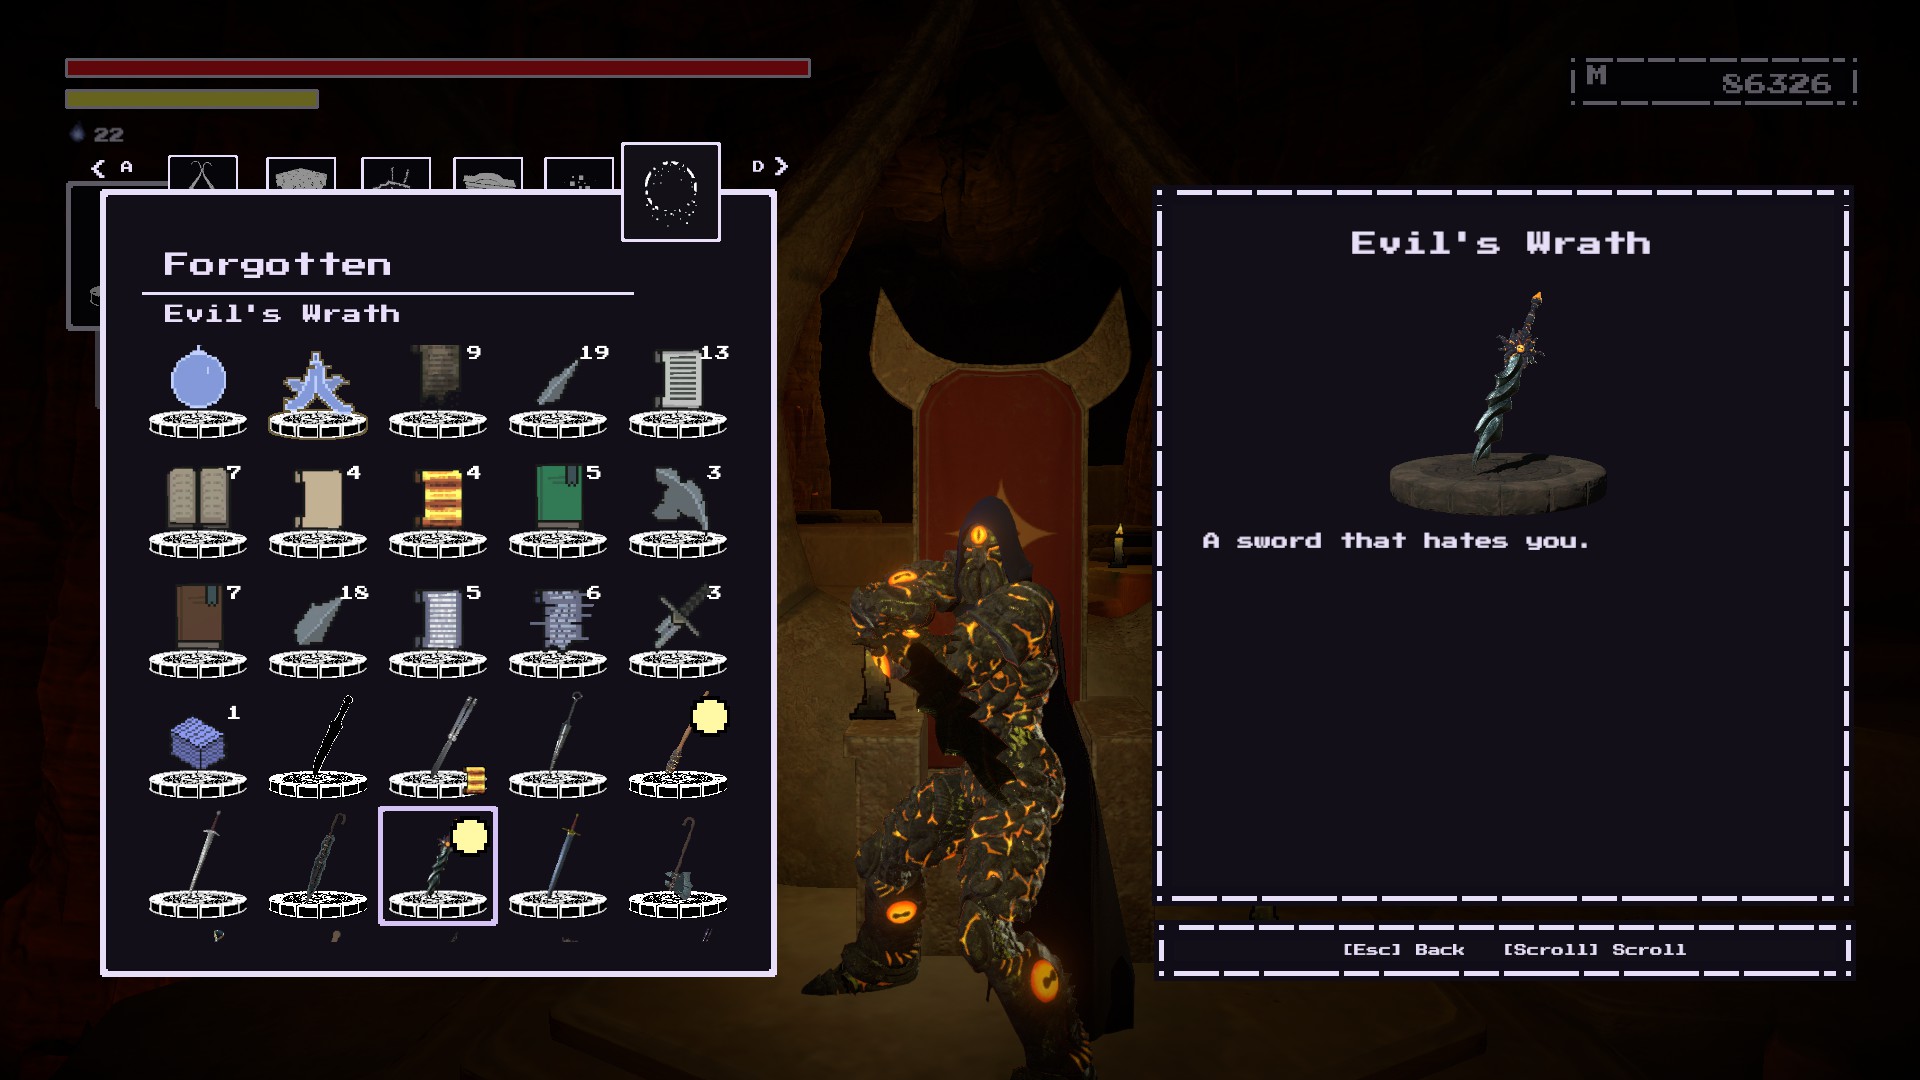
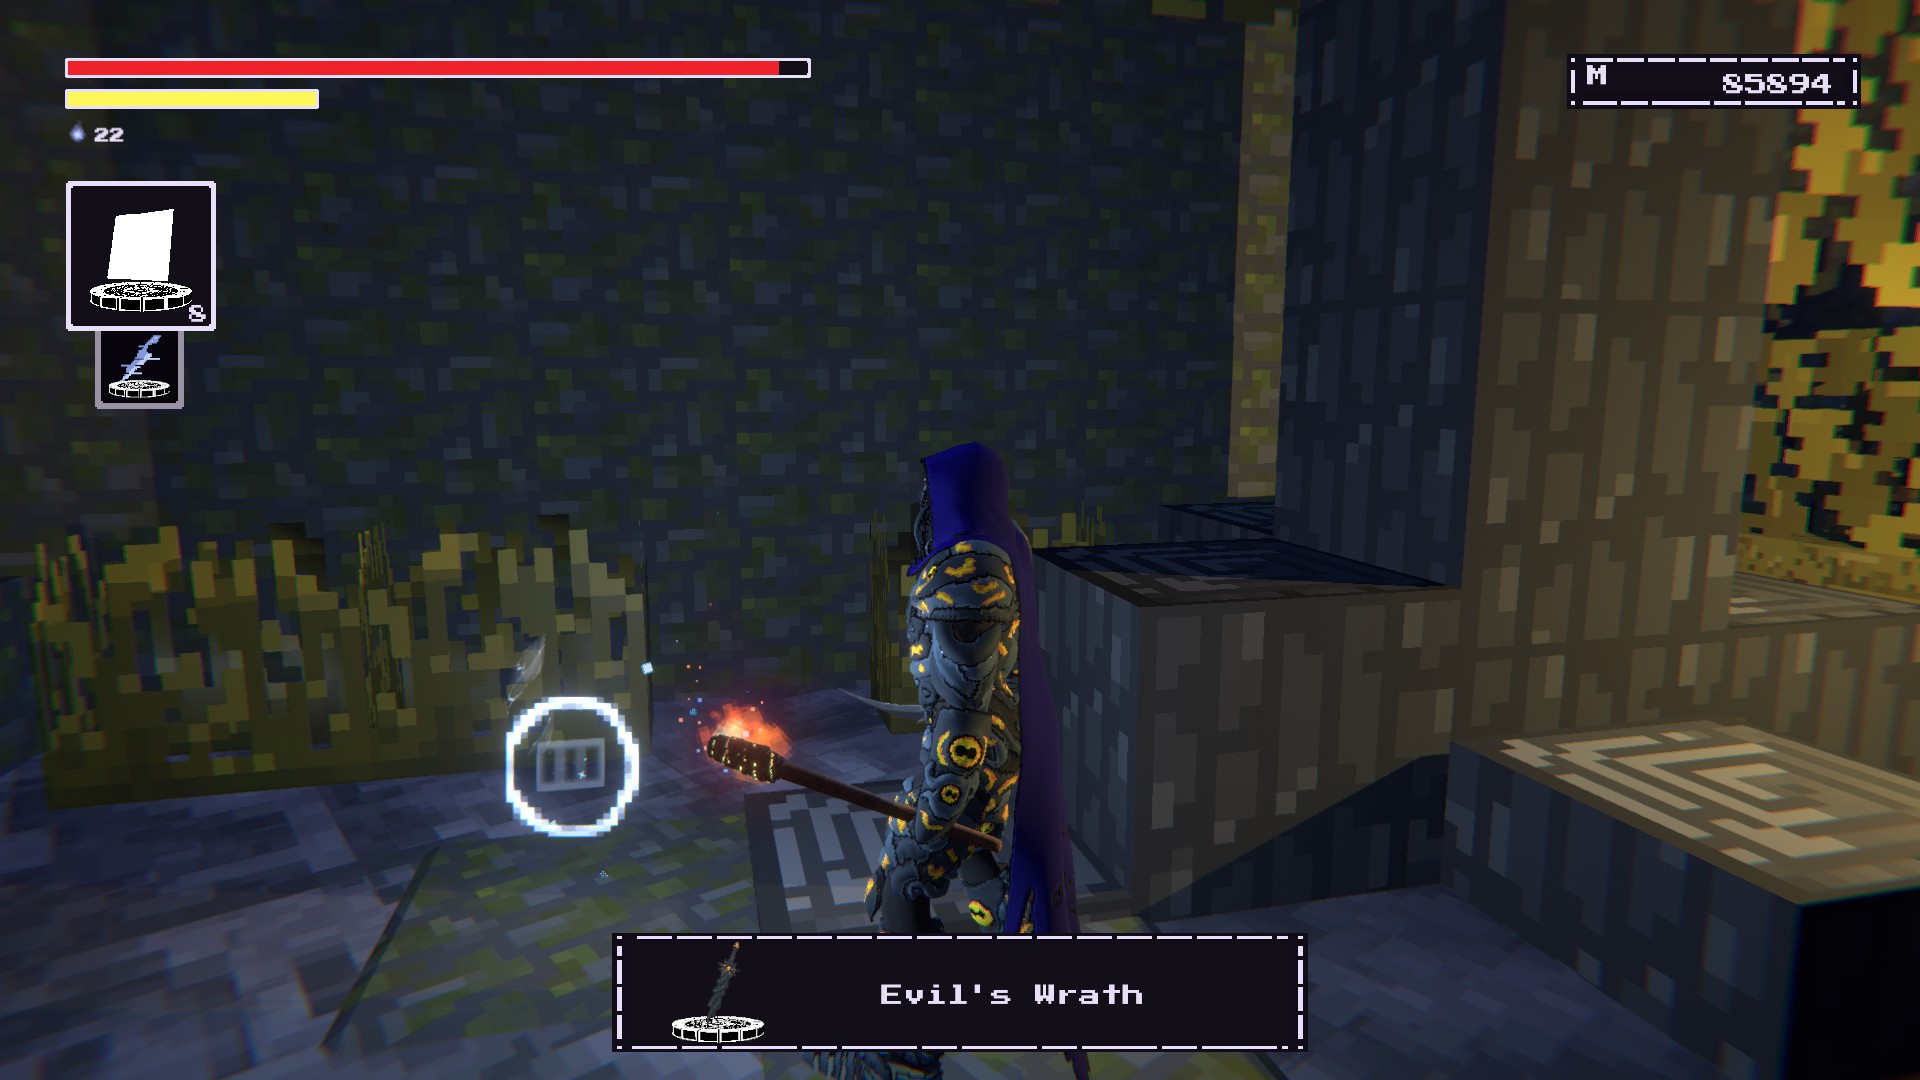
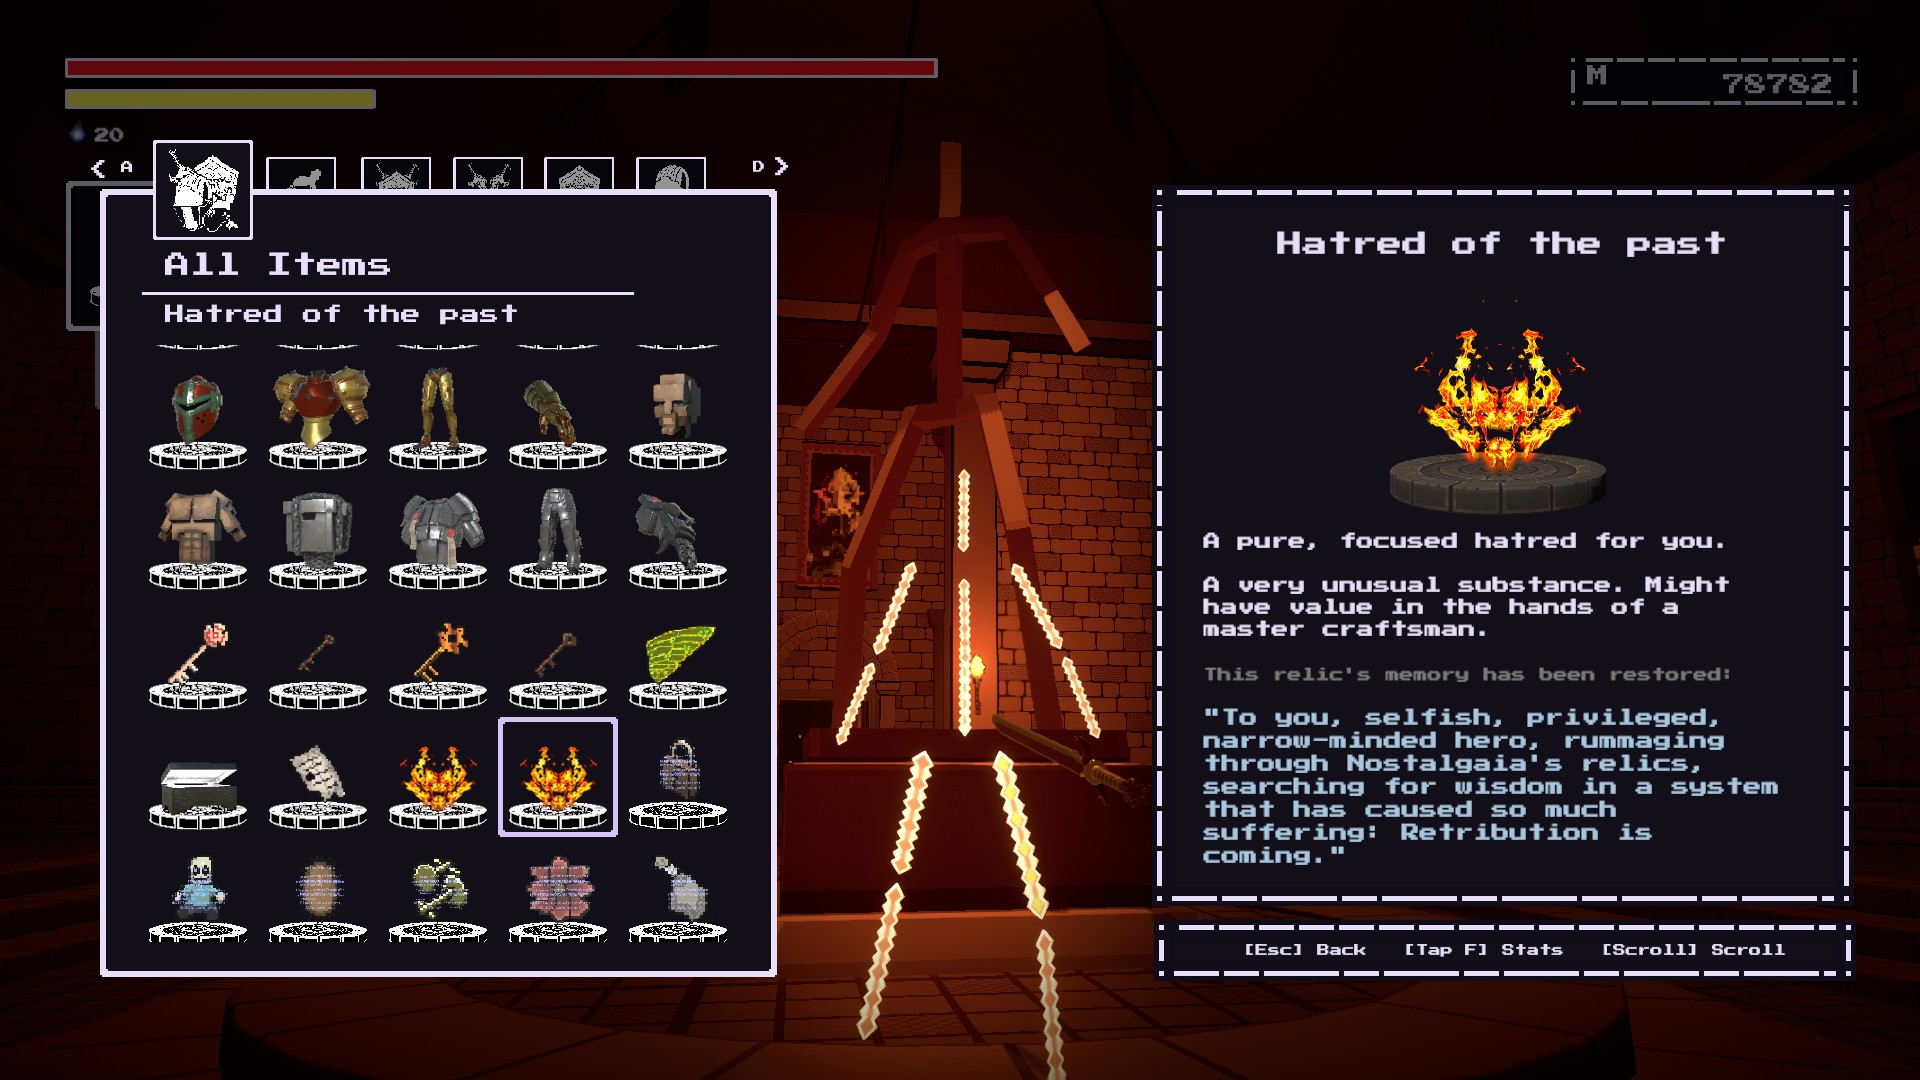
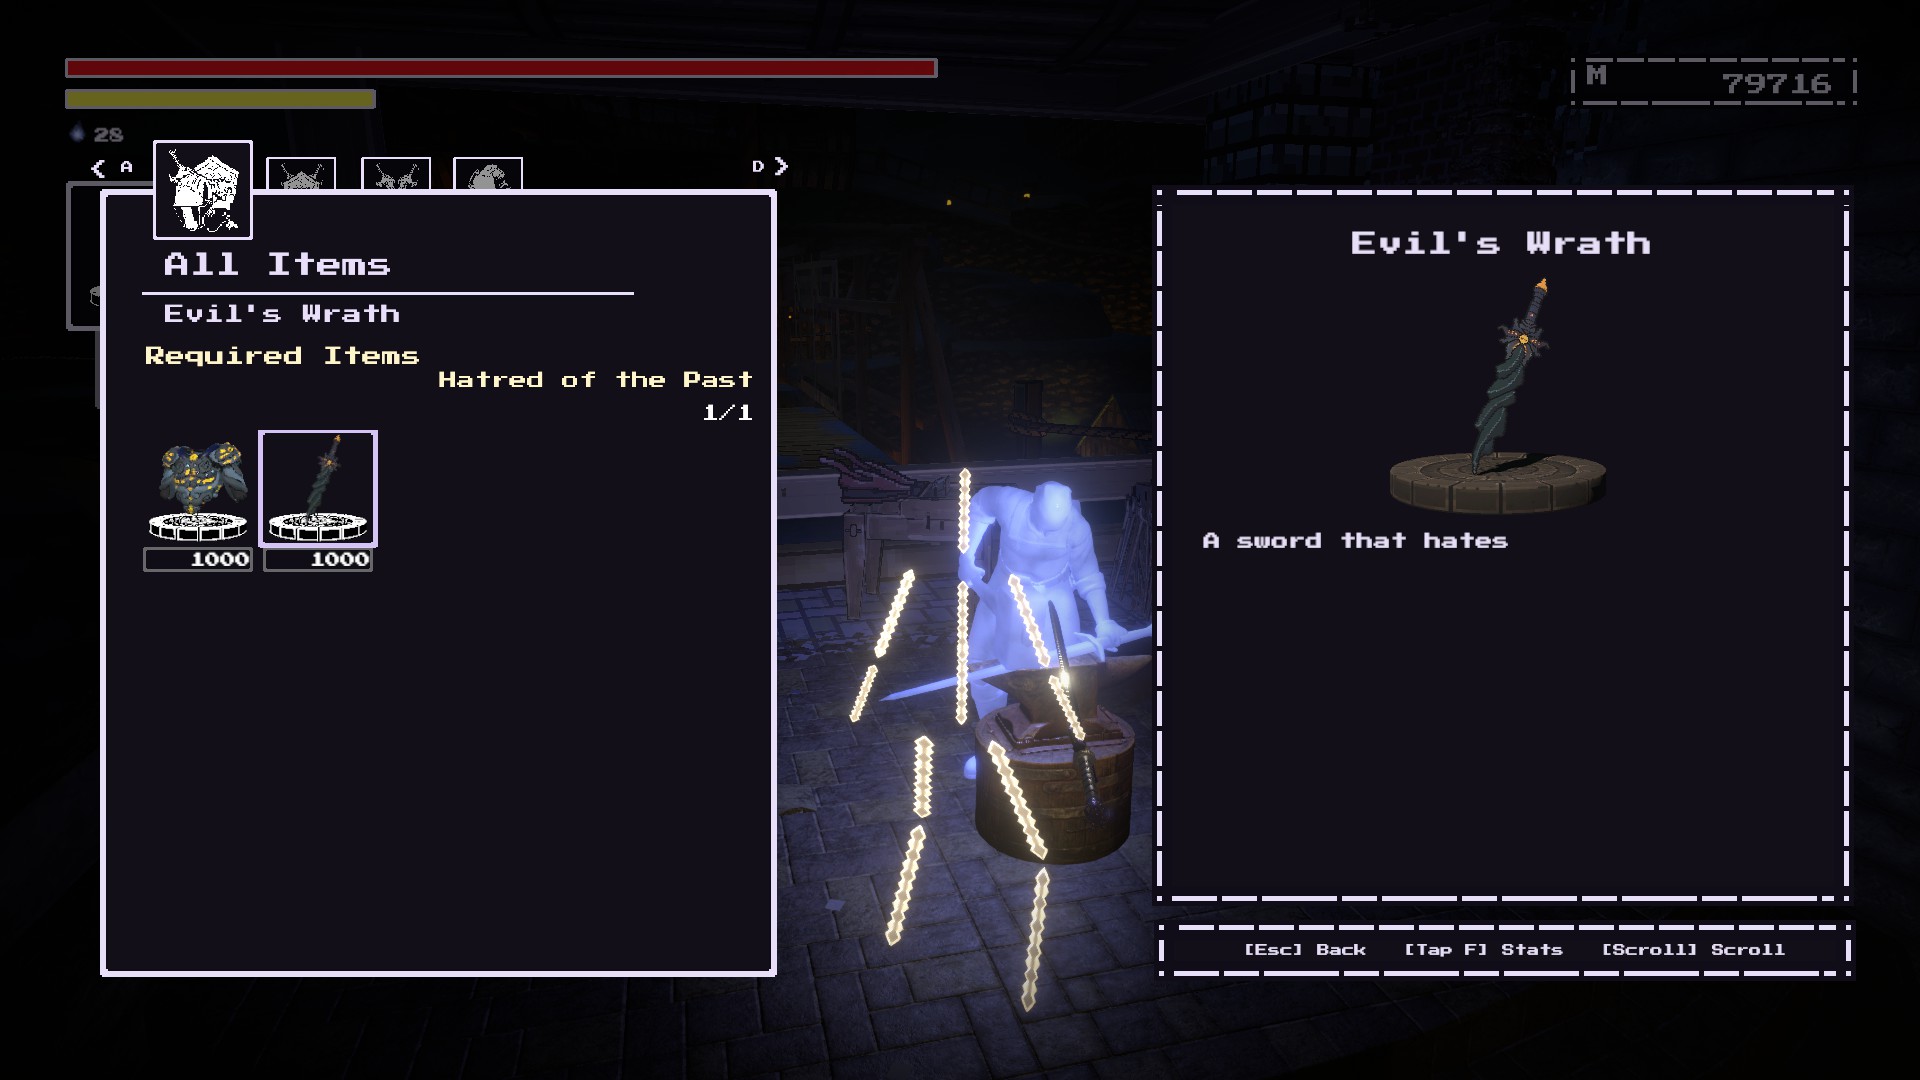
Examples include "Easymaker Armor Set", "Forgotten Knight Armor Set", "Torch".
AZRA3L The Eternal  [作者] 2023 年 12 月 8 日 下午 6:30 
Uh apologies if I misremember, the Forgotten Knight armor is not a relic that needs to be restored.

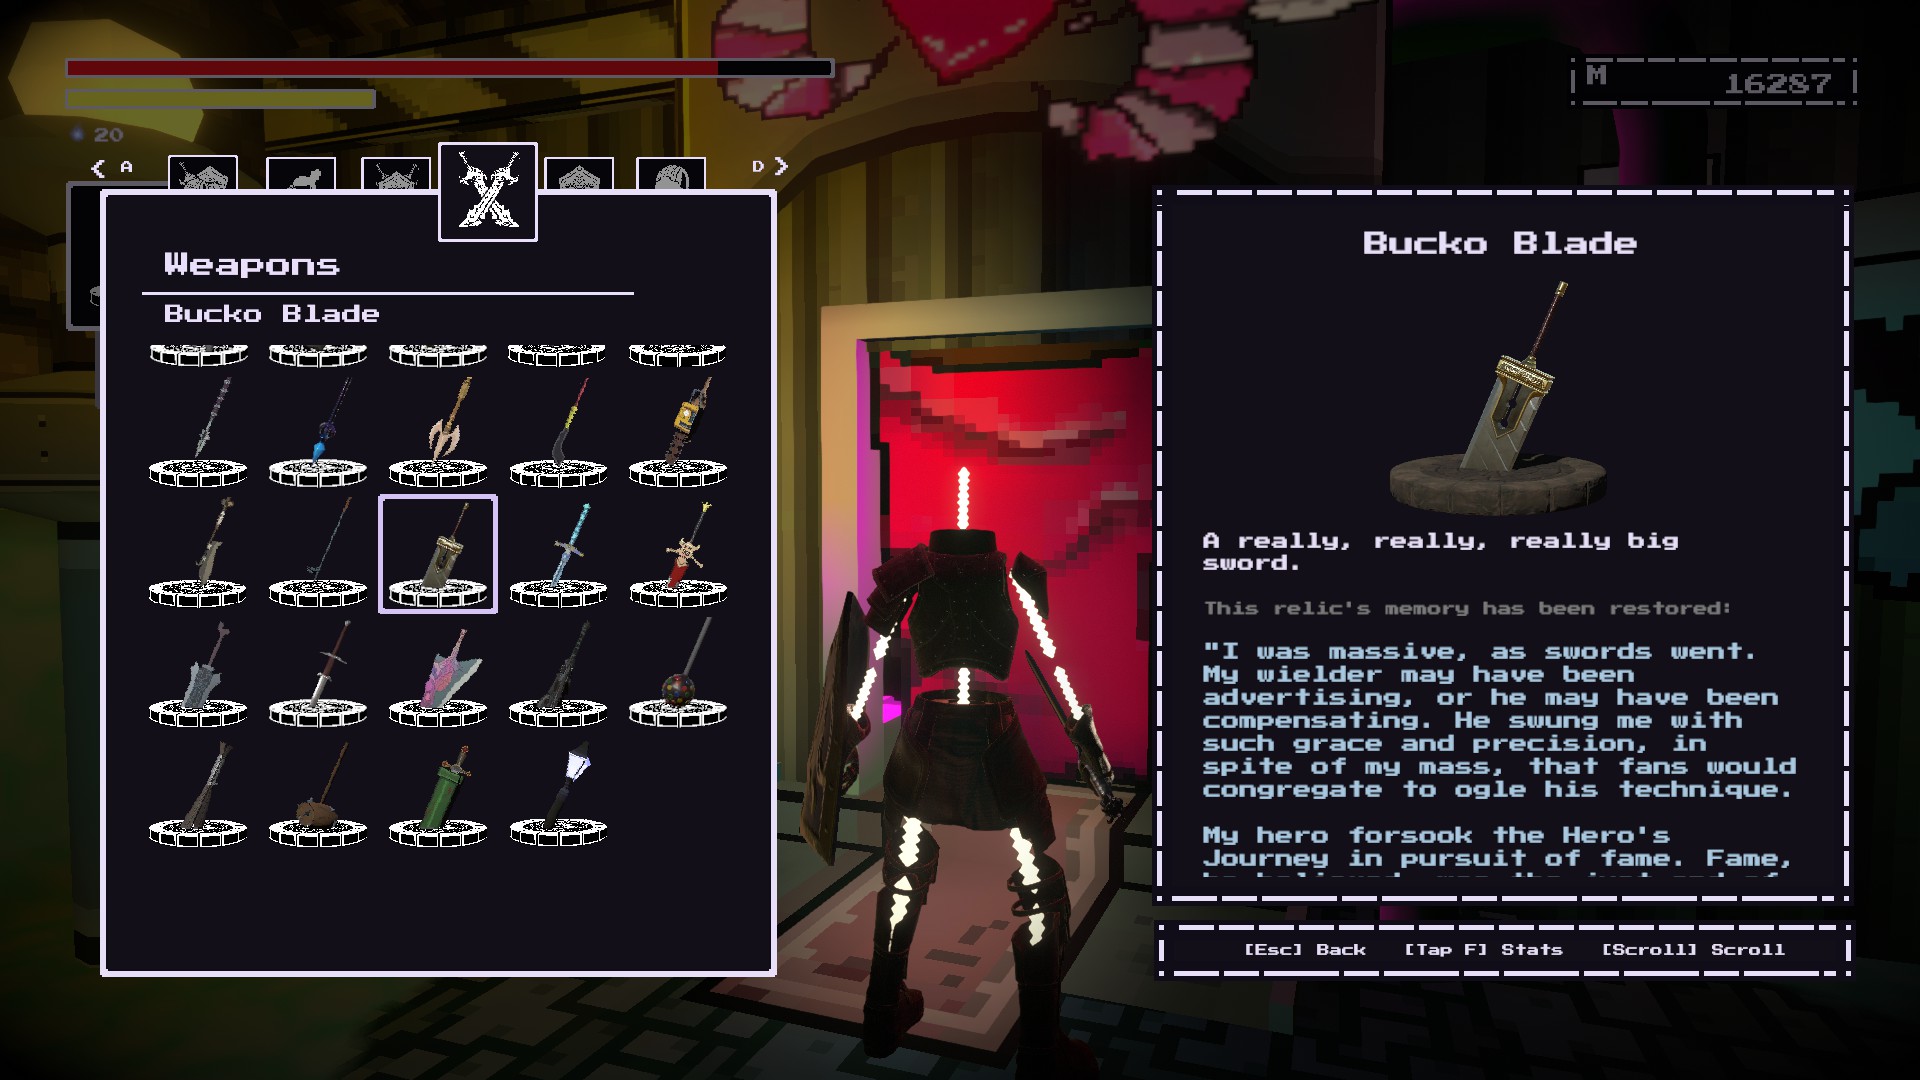
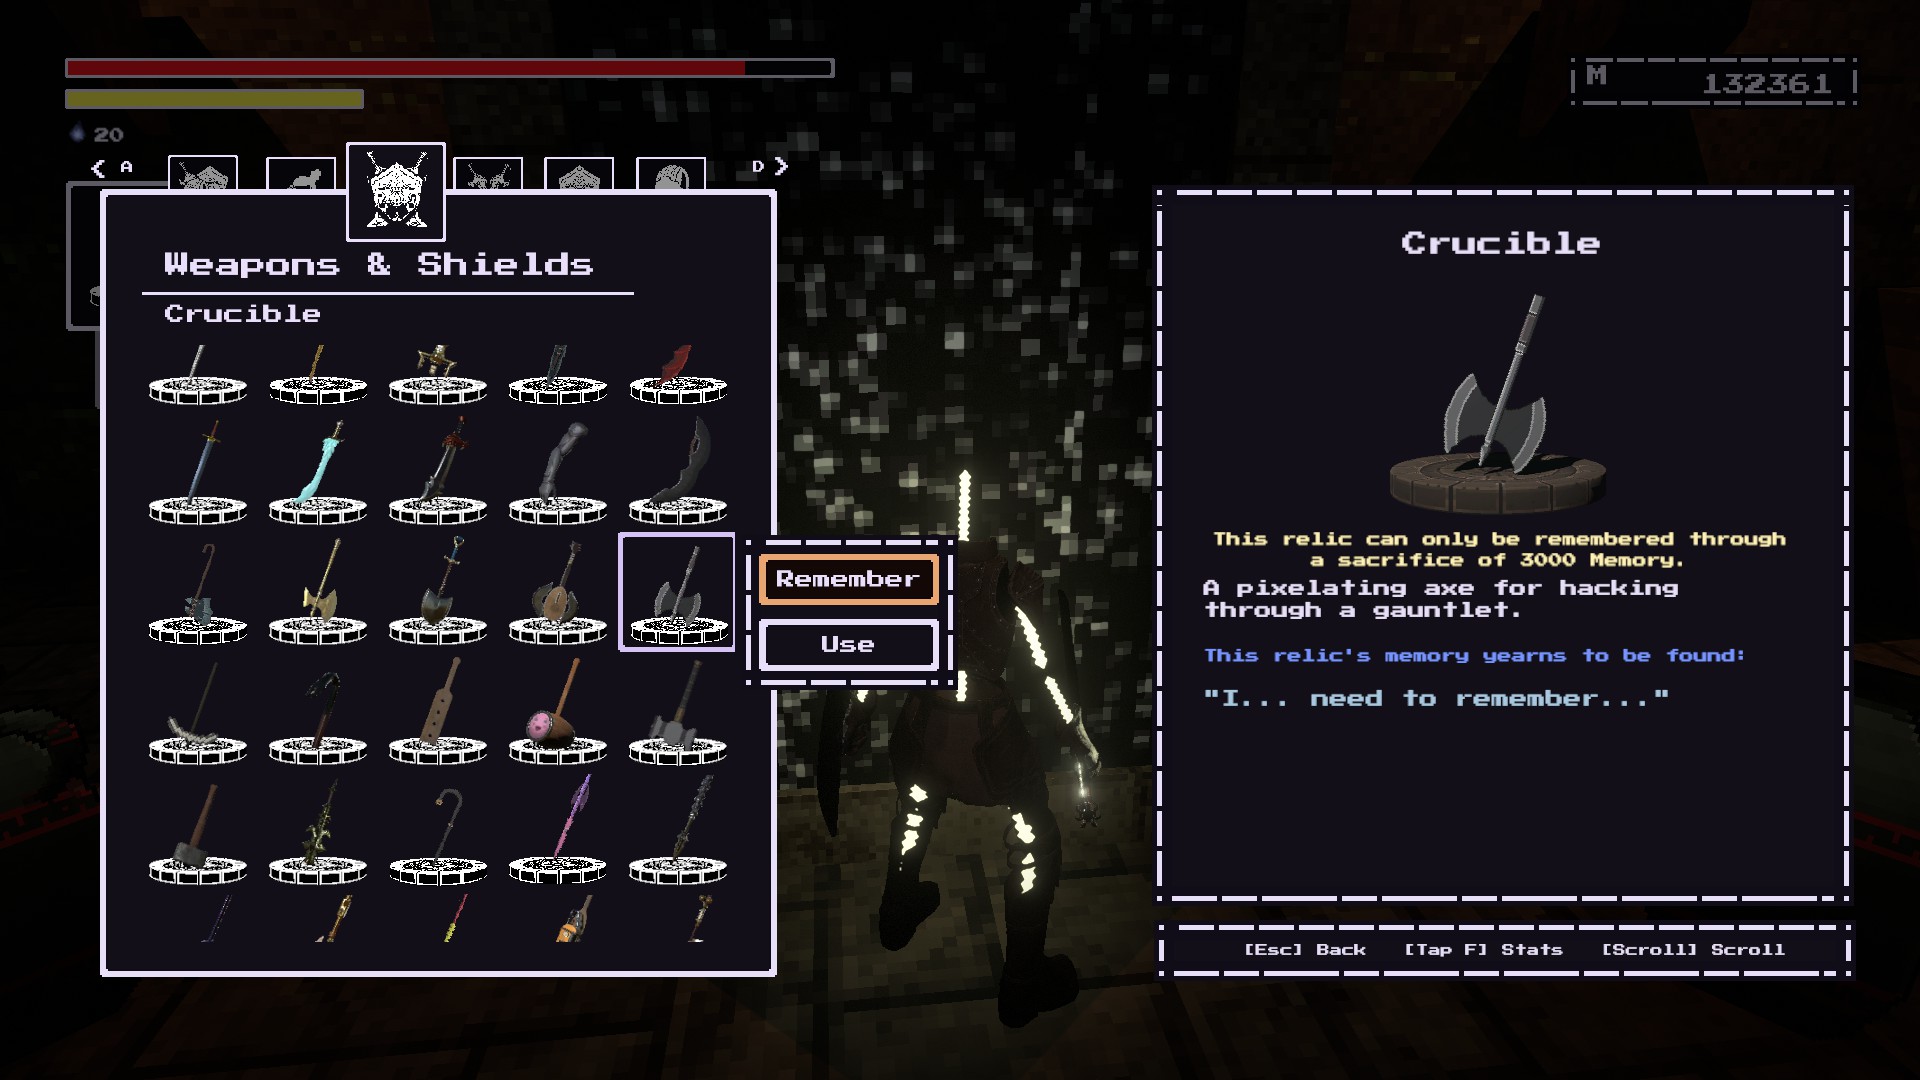
It won't count for the Lore of the Land achievement HOWEVER, it should count for the achievement in you collect all of the armor.
PINHATT 2023 年 12 月 8 日 下午 6:11 
and the Forgotten Knight Armor???