

Asenna Steam
kirjaudu sisään
|
kieli
简体中文 (yksinkertaistettu kiina)
繁體中文 (perinteinen kiina)
日本語 (japani)
한국어 (korea)
ไทย (thai)
български (bulgaria)
Čeština (tšekki)
Dansk (tanska)
Deutsch (saksa)
English (englanti)
Español – España (espanja – Espanja)
Español – Latinoamérica (espanja – Lat. Am.)
Ελληνικά (kreikka)
Français (ranska)
Italiano (italia)
Bahasa Indonesia (indonesia)
Magyar (unkari)
Nederlands (hollanti)
Norsk (norja)
Polski (puola)
Português (portugali – Portugali)
Português – Brasil (portugali – Brasilia)
Română (romania)
Русский (venäjä)
Svenska (ruotsi)
Türkçe (turkki)
Tiếng Việt (vietnam)
Українська (ukraina)
Ilmoita käännösongelmasta


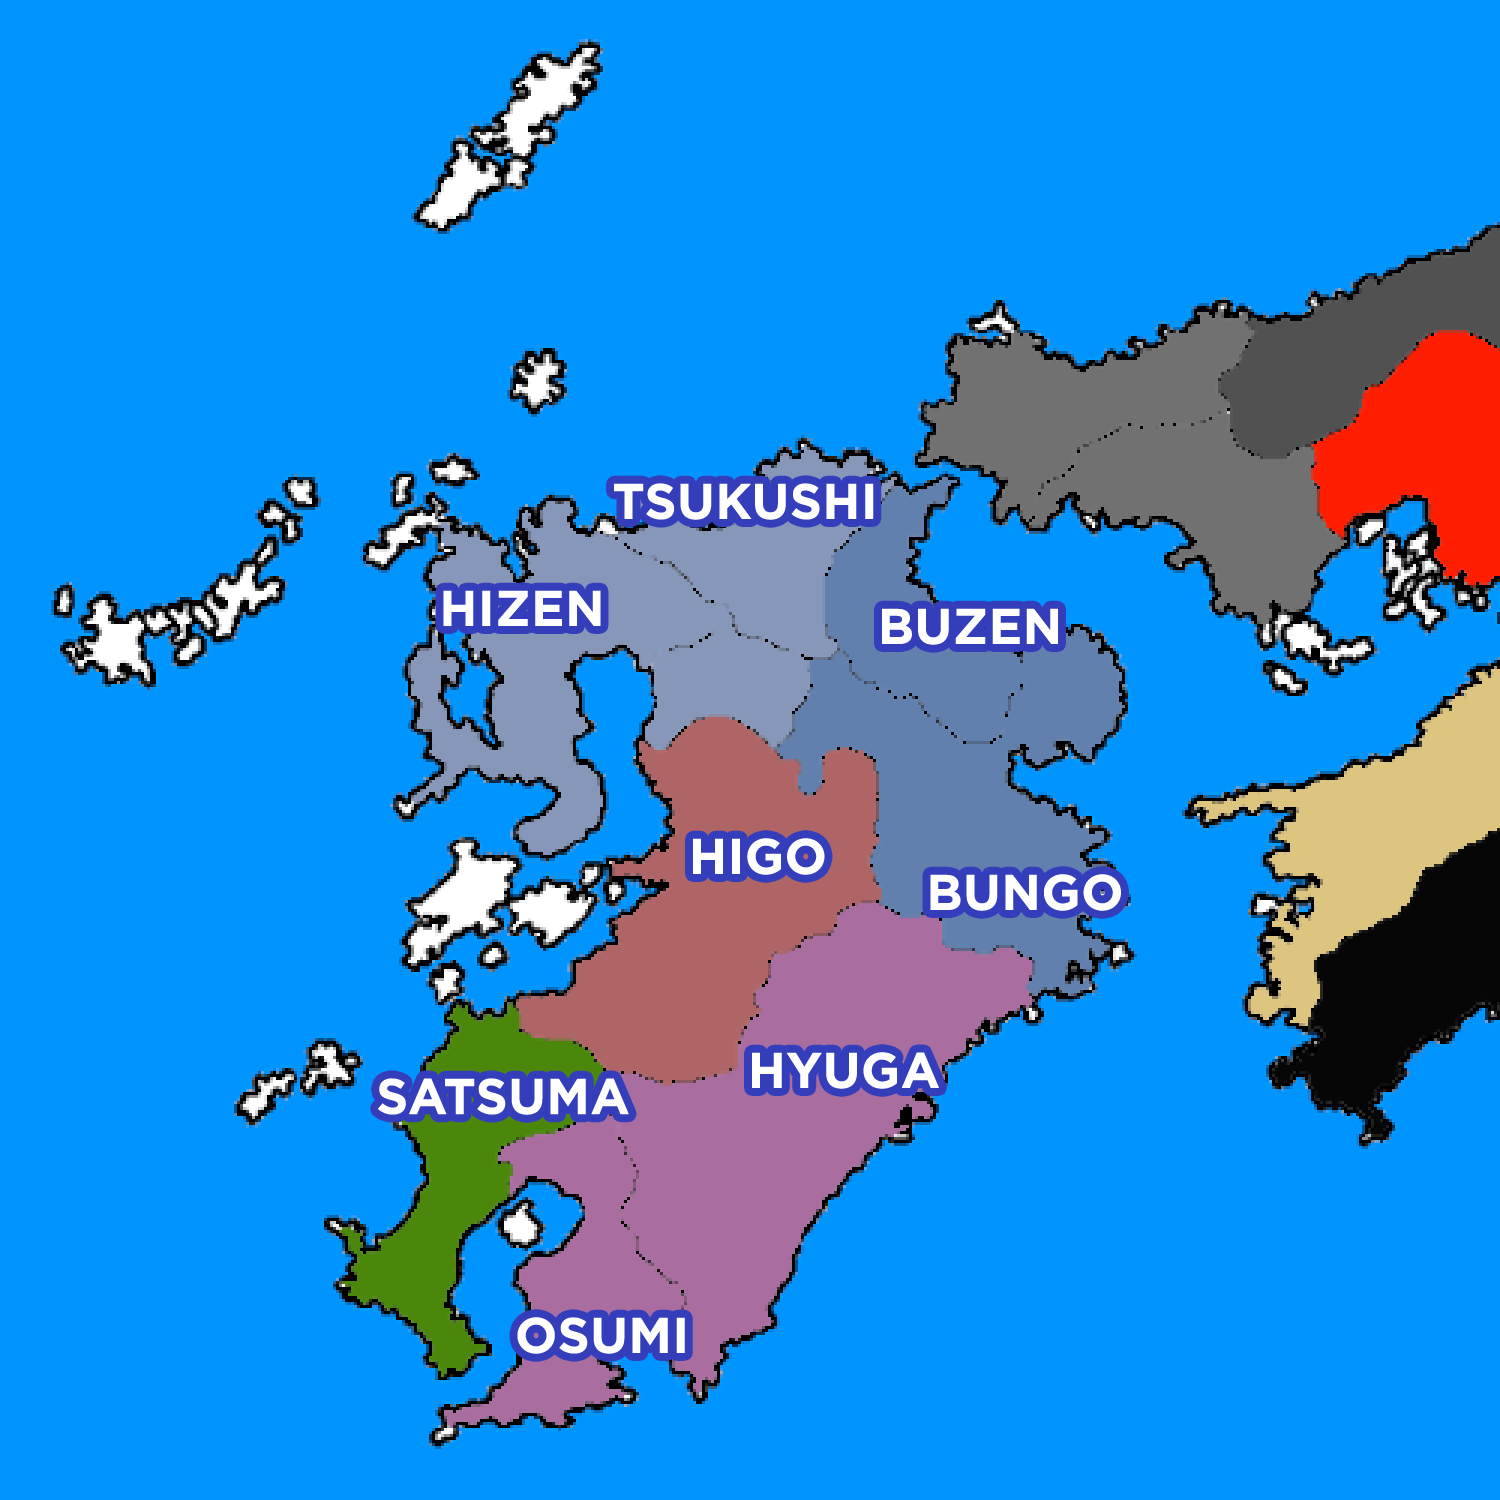


Once your first bow kobaya has arrived, start moving it to the west coast of Kyushu. Aim for the big island that's close to the coast. Once your second bow kobaya has arrived, start moving it to the west coast as well (to prepare for the naval chain trick).
You must achieve peace with the Ito by Spring 1546 so your invasion army can board the third bow kobaya in Summer 1546. You can only achieve this by beating the Ito army in battle. Read "Peace with the Ito" for a visual guide.
Now, use the naval chain trick to transport your army up north in one turn (Summer 1546). You need to land your troops at the beach near Hizen's castle. You might have to fight the Shoni navy first. Read "War with the Shoni" for a visual guide.