

安装 Steam
登录
|
语言
繁體中文(繁体中文)
日本語(日语)
한국어(韩语)
ไทย(泰语)
български(保加利亚语)
Čeština(捷克语)
Dansk(丹麦语)
Deutsch(德语)
English(英语)
Español-España(西班牙语 - 西班牙)
Español - Latinoamérica(西班牙语 - 拉丁美洲)
Ελληνικά(希腊语)
Français(法语)
Italiano(意大利语)
Bahasa Indonesia(印度尼西亚语)
Magyar(匈牙利语)
Nederlands(荷兰语)
Norsk(挪威语)
Polski(波兰语)
Português(葡萄牙语 - 葡萄牙)
Português-Brasil(葡萄牙语 - 巴西)
Română(罗马尼亚语)
Русский(俄语)
Suomi(芬兰语)
Svenska(瑞典语)
Türkçe(土耳其语)
Tiếng Việt(越南语)
Українська(乌克兰语)
报告翻译问题


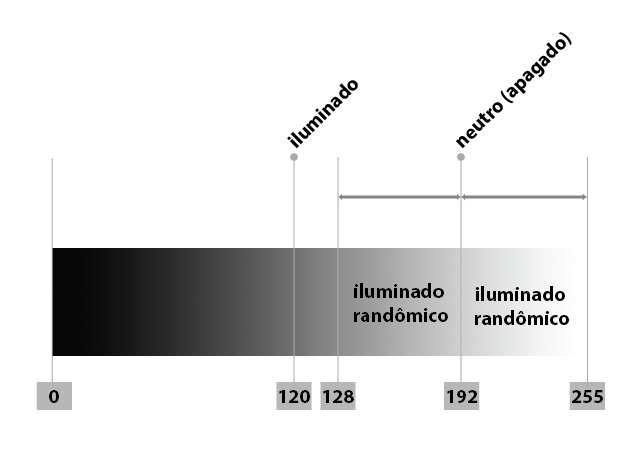


If you are using GIMP 2.10 like me, download normal map addon first, when using it do:
- invert X as a must - so your shadow dosn't go to the west while your sun is in the west too
- invert Y when needed - usually to get black/dark parts of a picture/texture to be deeper and white to be protruding (if not ticked, the opposite is true)
- change filter to make your creases ever more visible or leave it on 4 sample
- if left on 4 sample i usually use scale well over 5.000 (i hardly ever go below 1.00 - but that again may depend on filter type)
And voila... you didn't need to create bricks in blender/sketchup - saved on tris and file size, and you still have them in your game ! :)
see this guide:
https://psteamcommunity.yuanyoumao.com/sharedfiles/filedetails/?id=1139018071
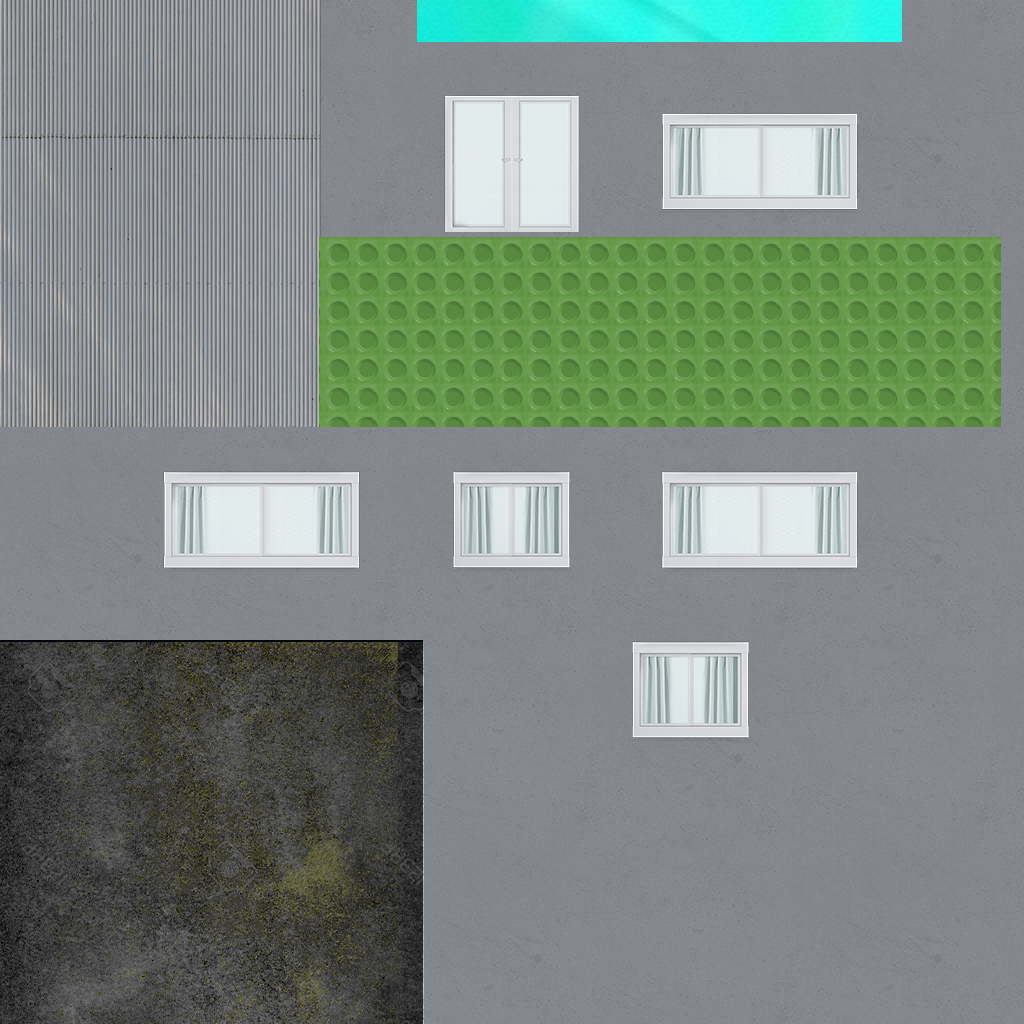
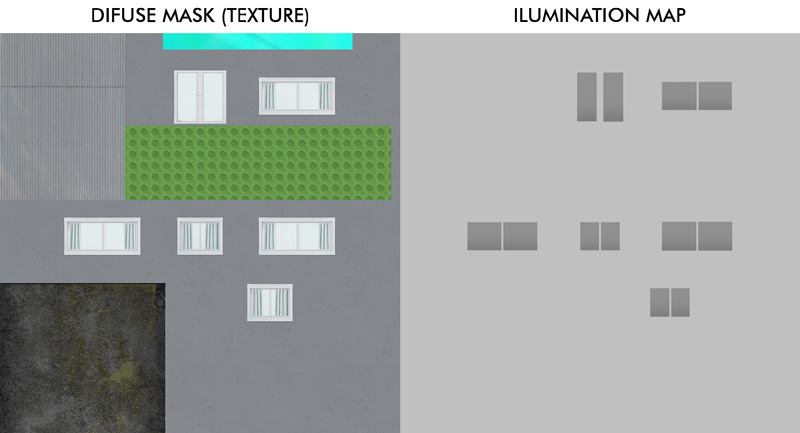
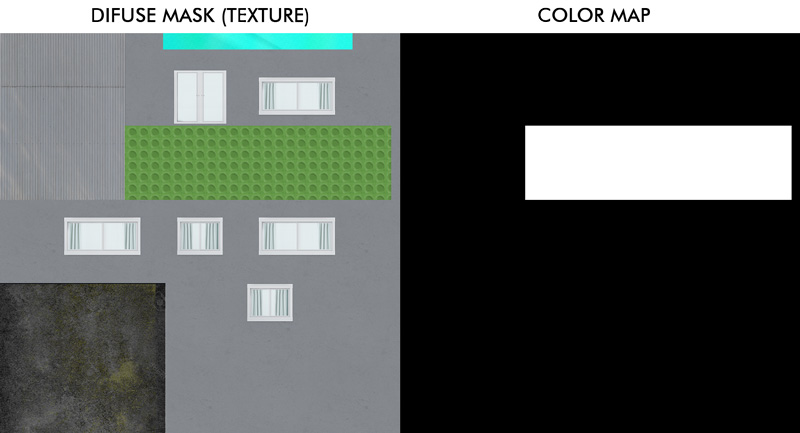
to do so you need to use your defuse map picture, the best is if you have layers there not collapsed (so it's not really a picture but the file with all your materials seperately laid out there) and do normal maps for each one of them seperately depending on your need (or simply use diffuse map png file to create one normal map with same value for all your textures).