

安装 Steam
登录
|
语言
繁體中文(繁体中文)
日本語(日语)
한국어(韩语)
ไทย(泰语)
български(保加利亚语)
Čeština(捷克语)
Dansk(丹麦语)
Deutsch(德语)
English(英语)
Español-España(西班牙语 - 西班牙)
Español - Latinoamérica(西班牙语 - 拉丁美洲)
Ελληνικά(希腊语)
Français(法语)
Italiano(意大利语)
Bahasa Indonesia(印度尼西亚语)
Magyar(匈牙利语)
Nederlands(荷兰语)
Norsk(挪威语)
Polski(波兰语)
Português(葡萄牙语 - 葡萄牙)
Português-Brasil(葡萄牙语 - 巴西)
Română(罗马尼亚语)
Русский(俄语)
Suomi(芬兰语)
Svenska(瑞典语)
Türkçe(土耳其语)
Tiếng Việt(越南语)
Українська(乌克兰语)
报告翻译问题


I can't find any good videos that explain the game.
There are details missing from the game, so I am just taking wild guesses.
I will read what you put together, but I prefer videos where I can sit back and casually watch and listen (occasionally looking away or working on other things), as opposed to reading with my eyes glued to the screen.
Second: I'm really enjoying this guide! Fantastic write up!
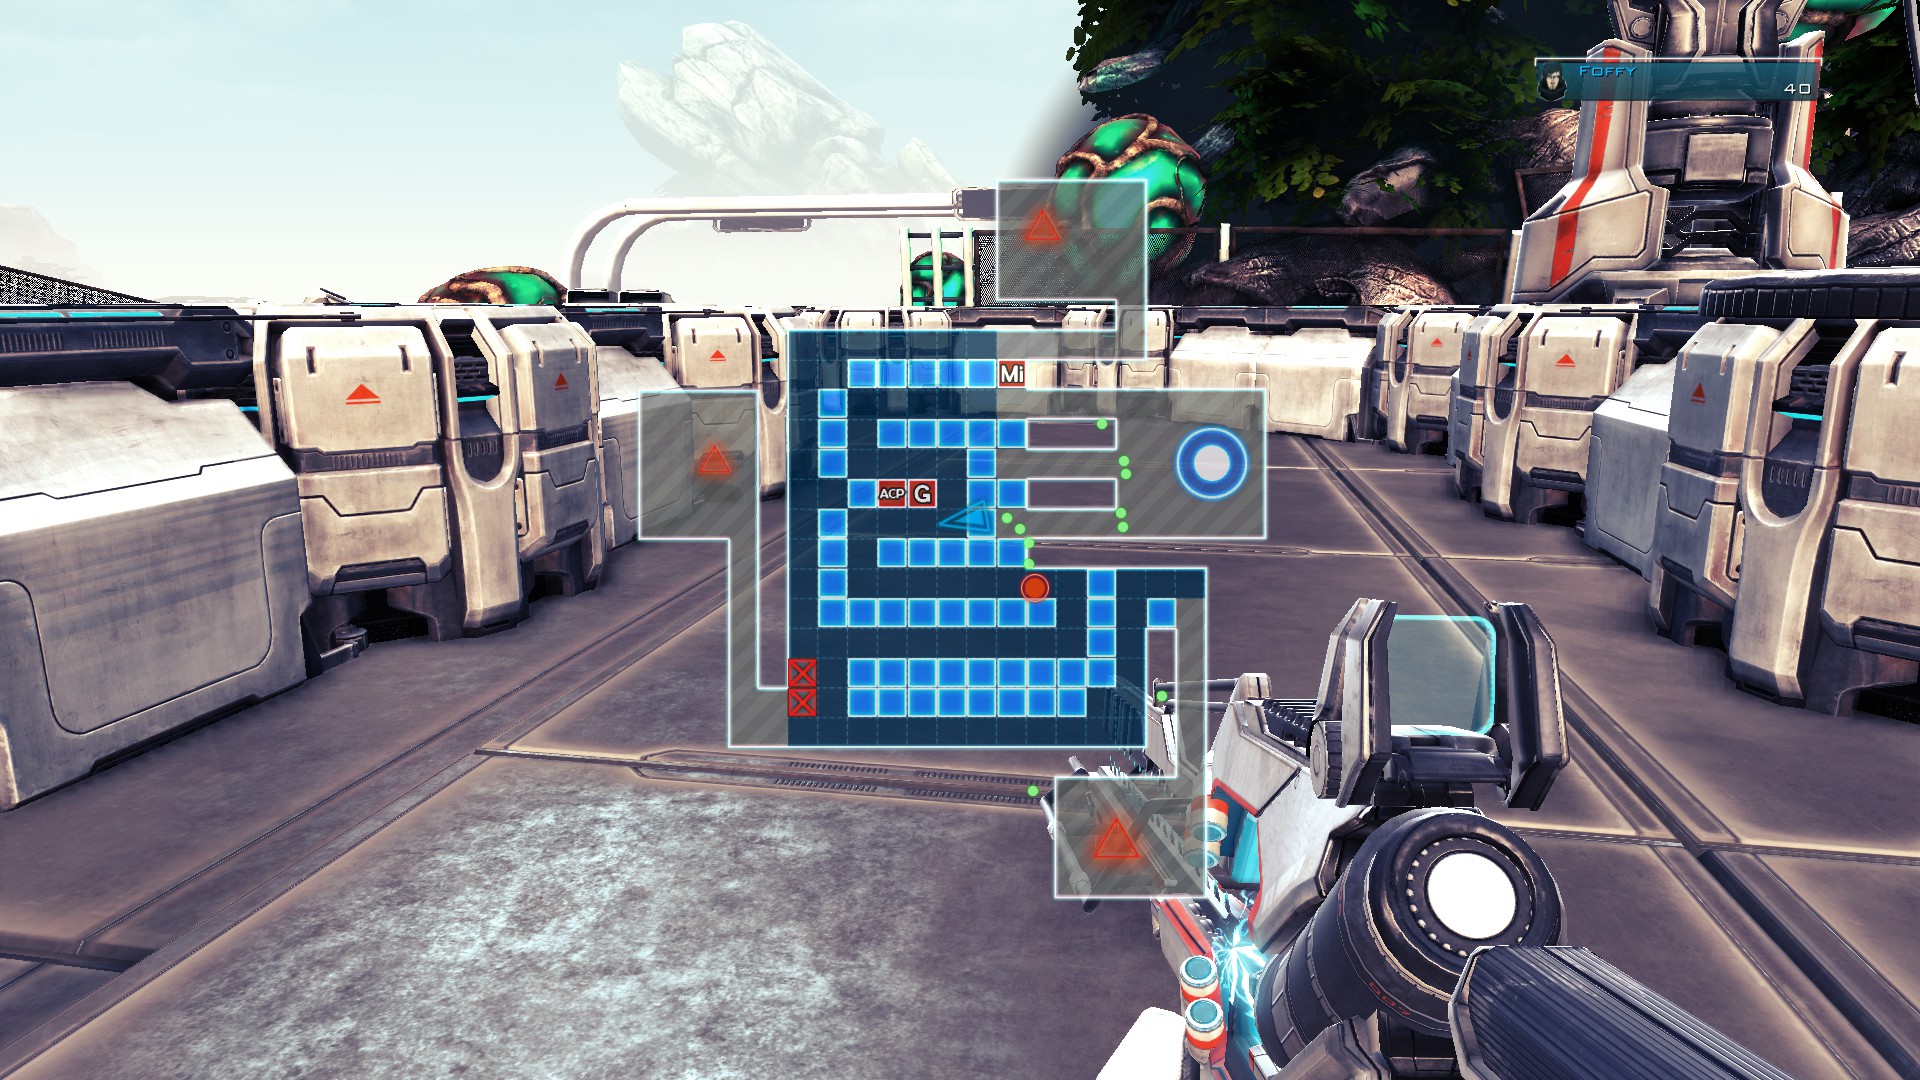
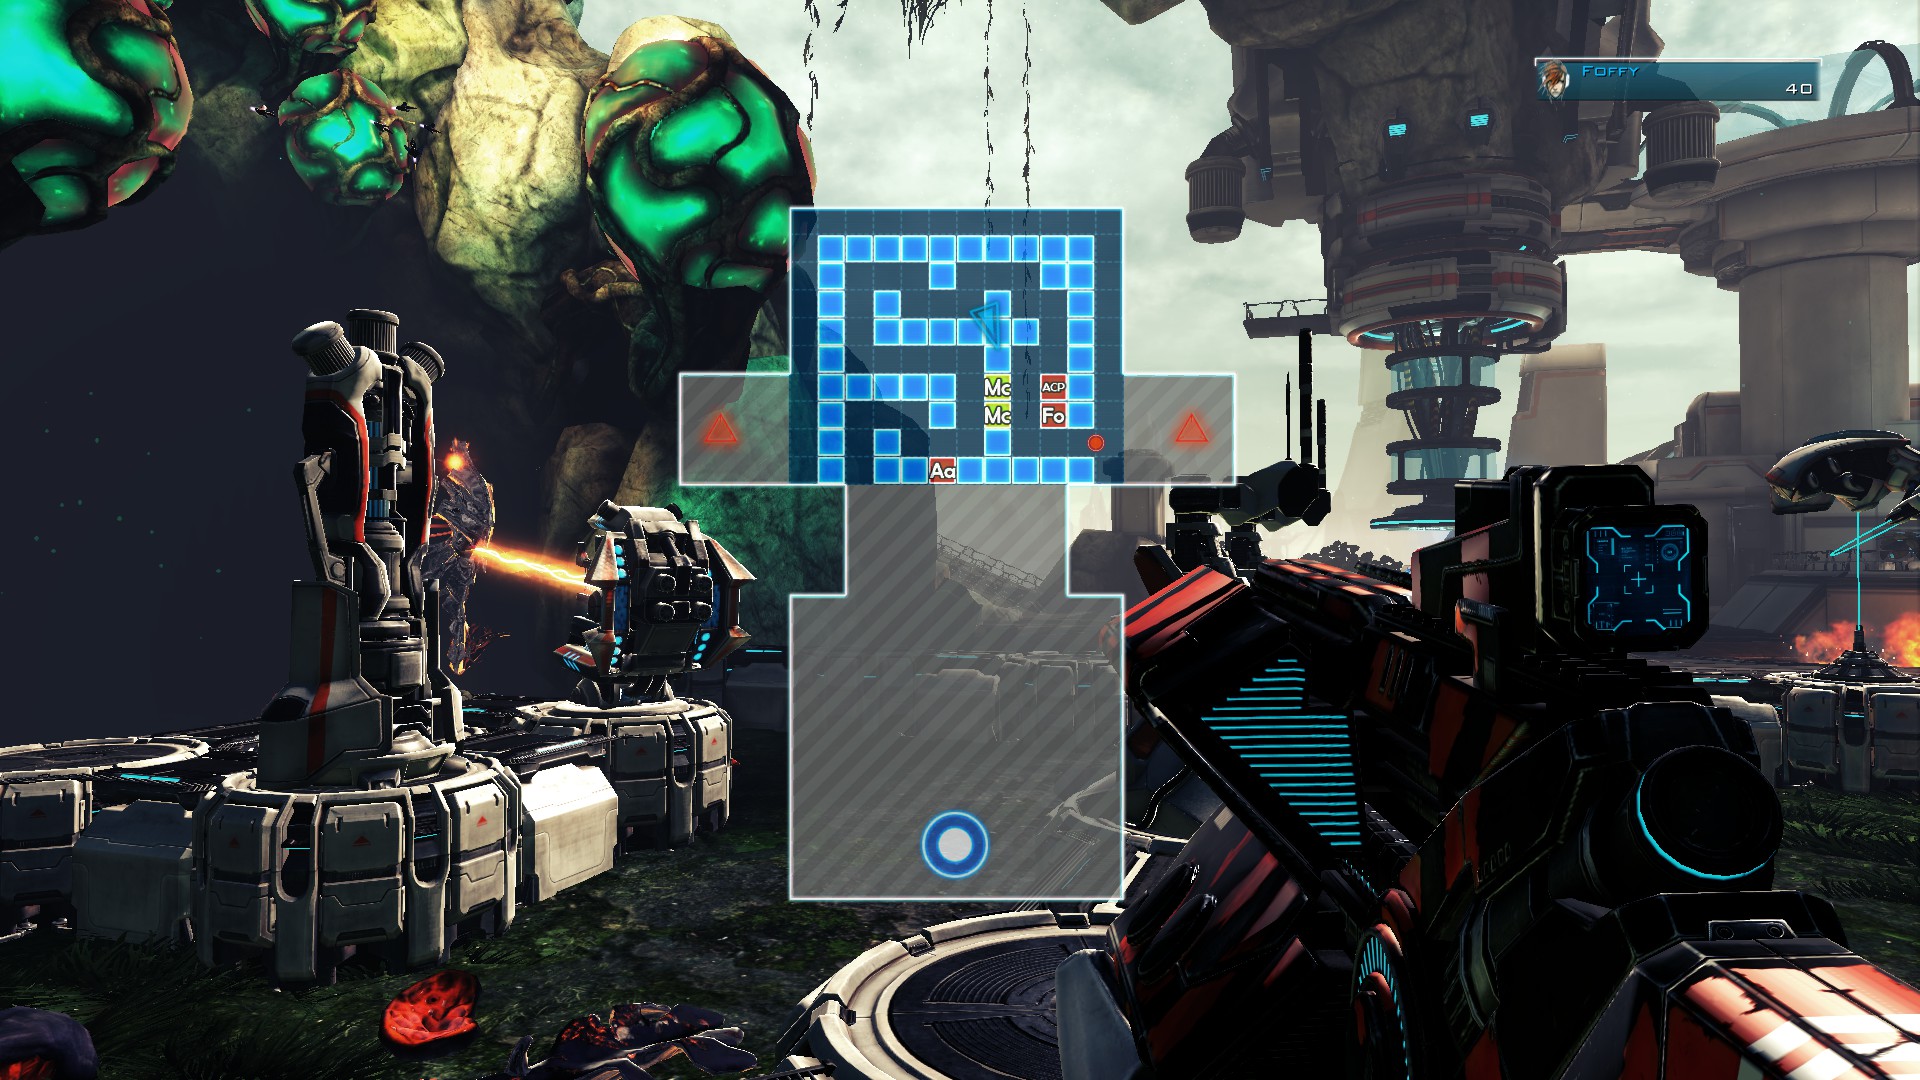
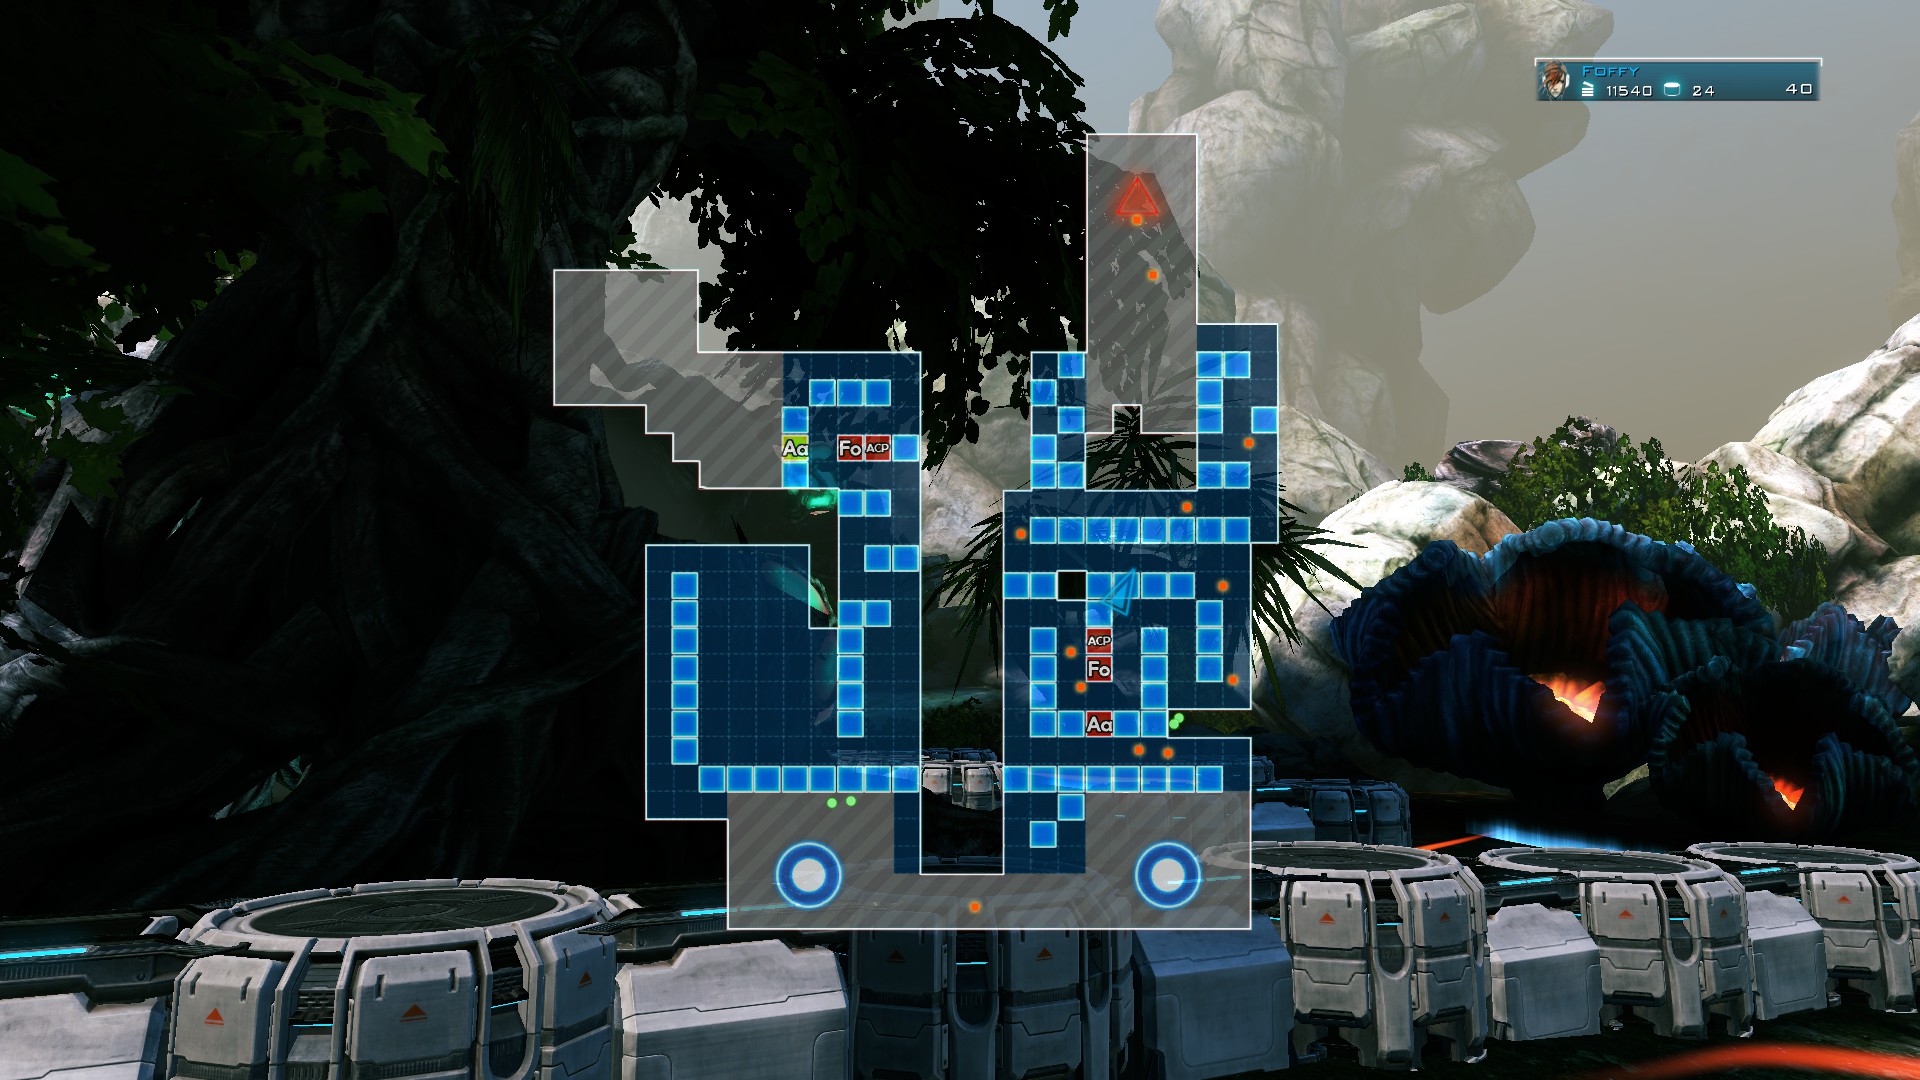
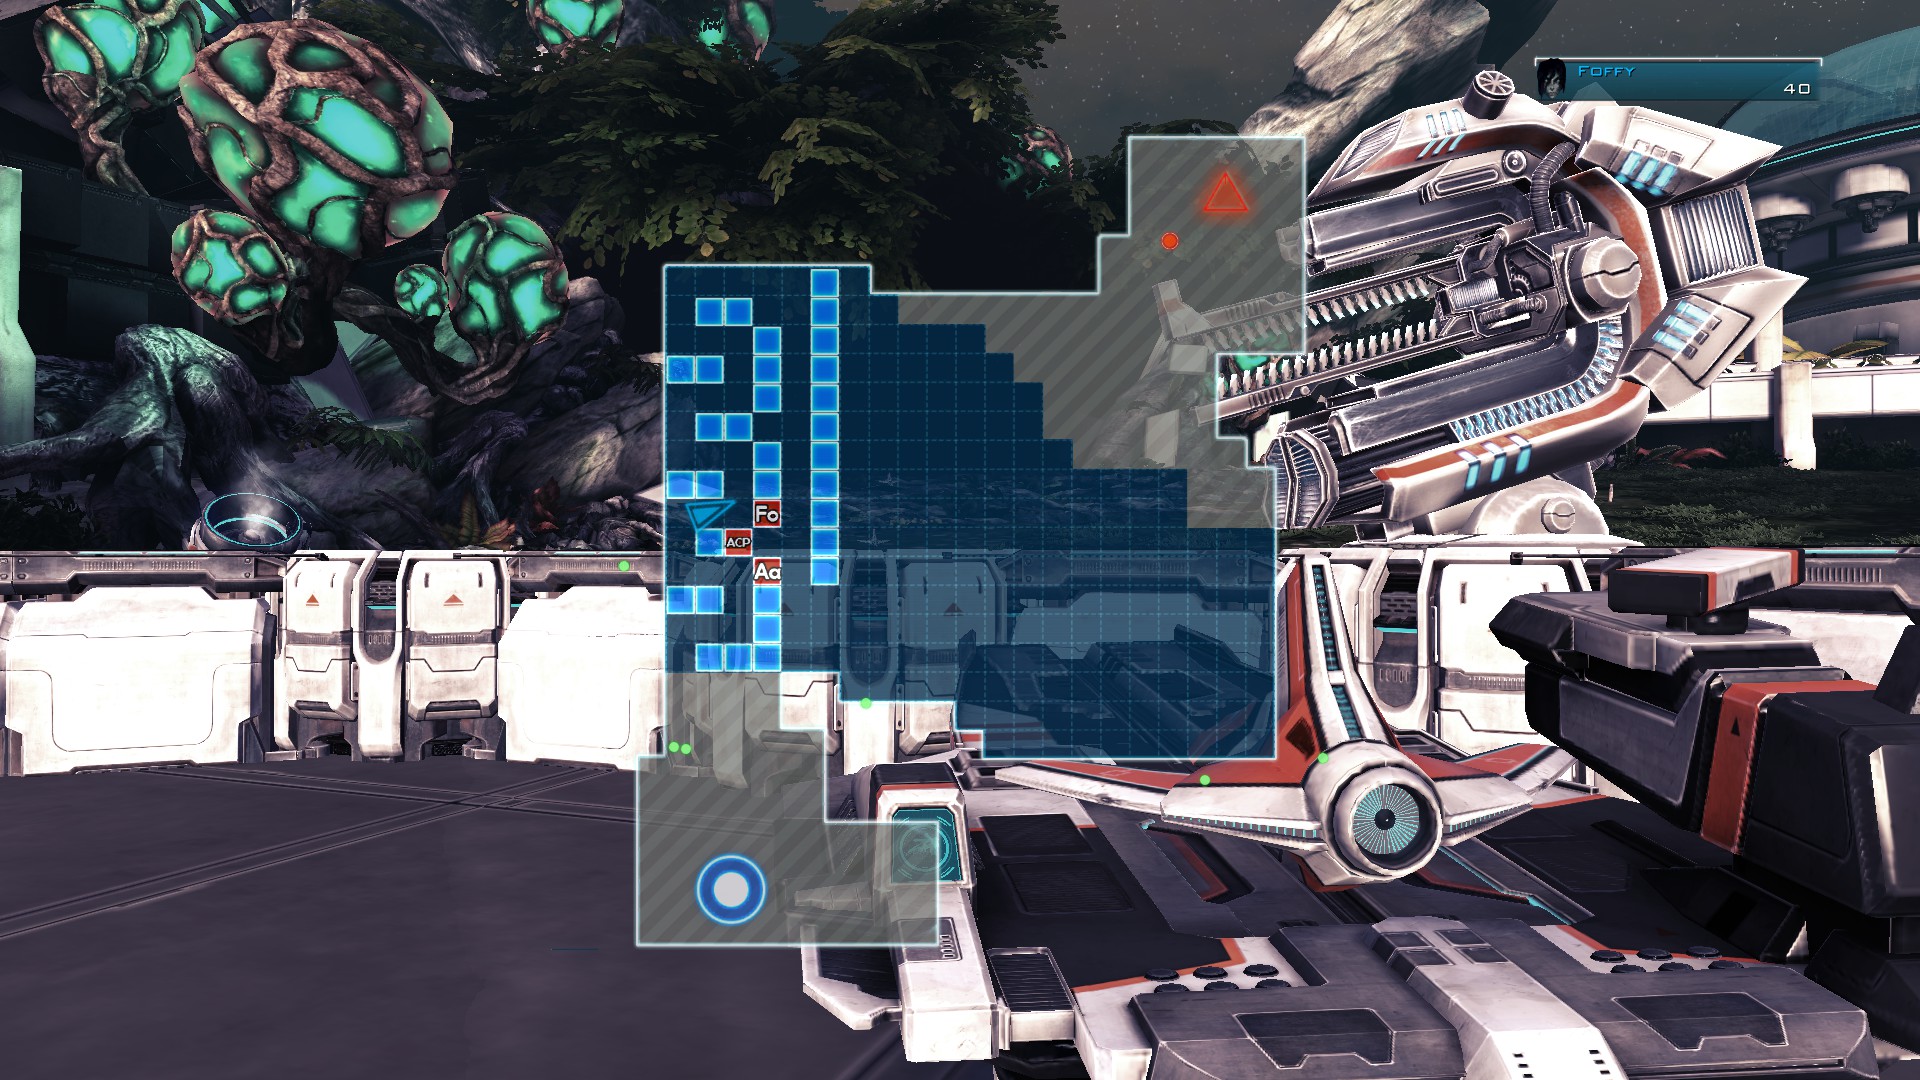
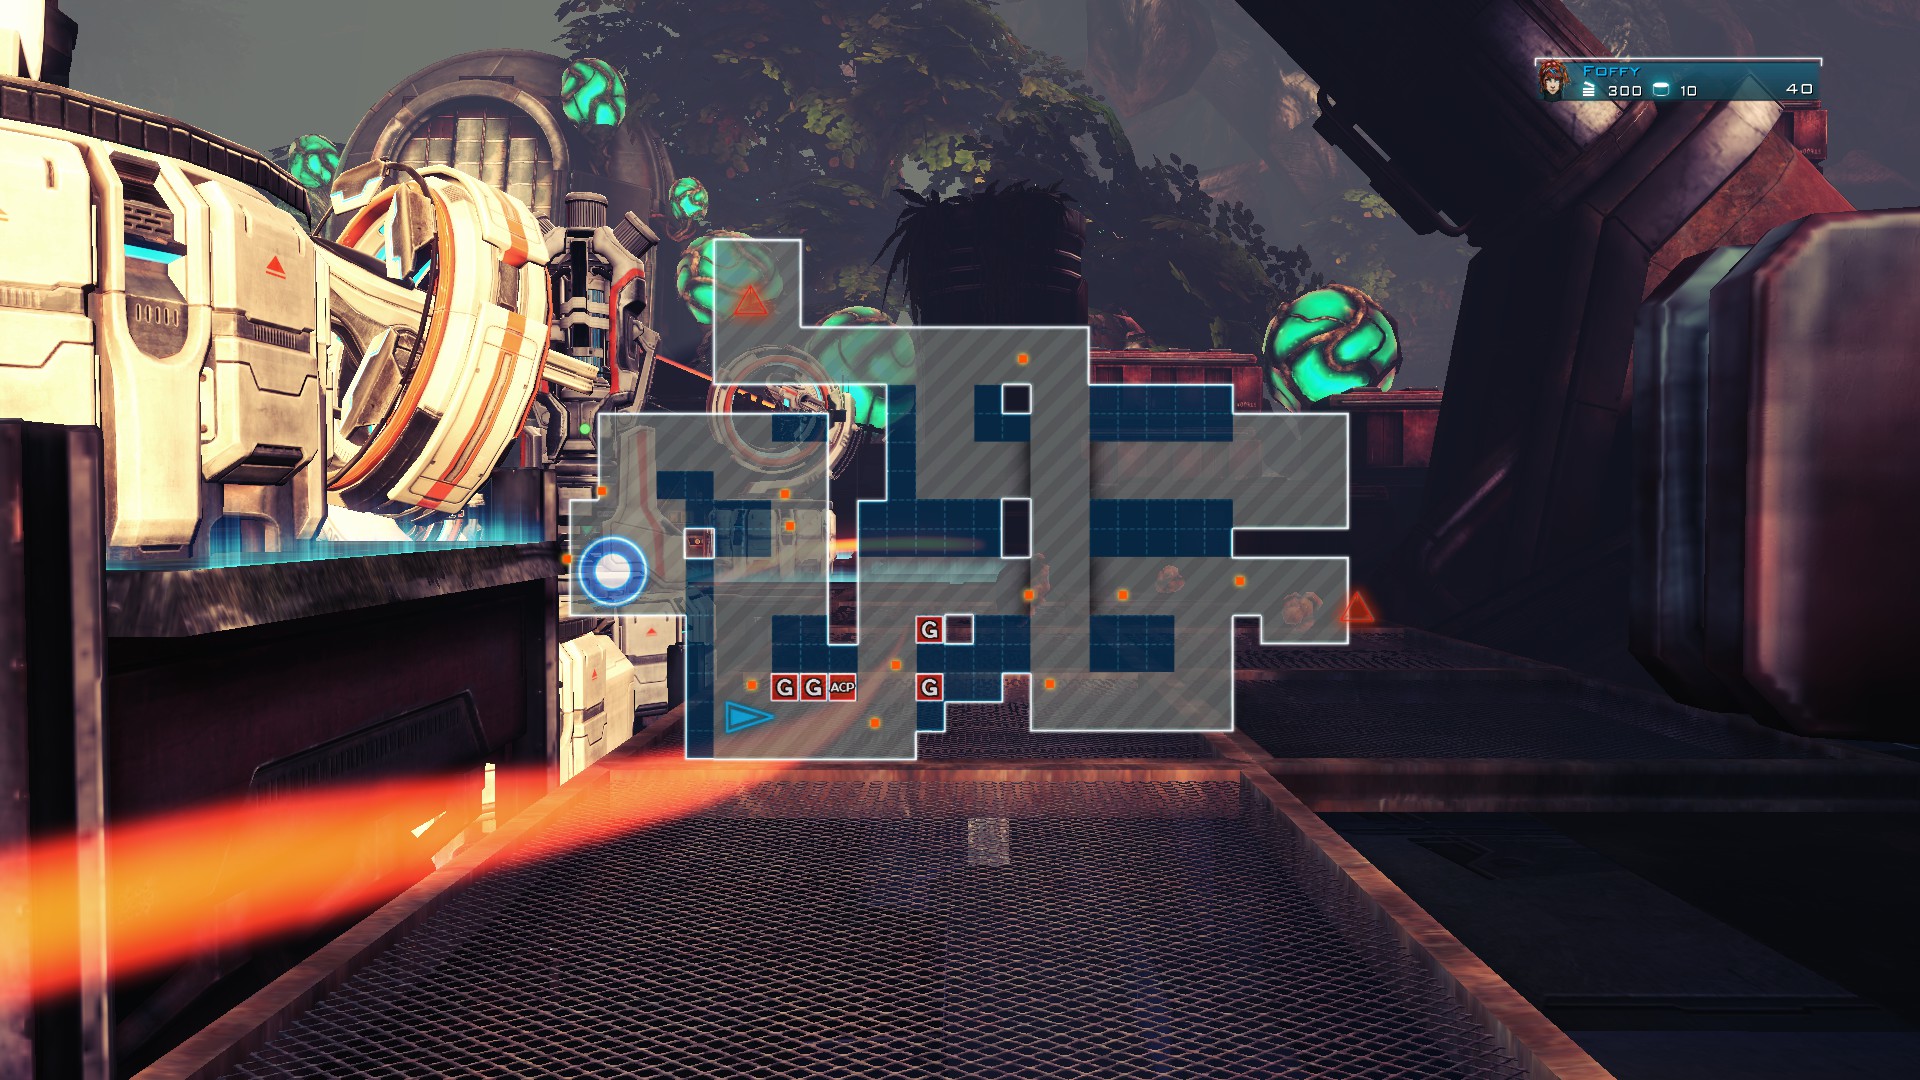
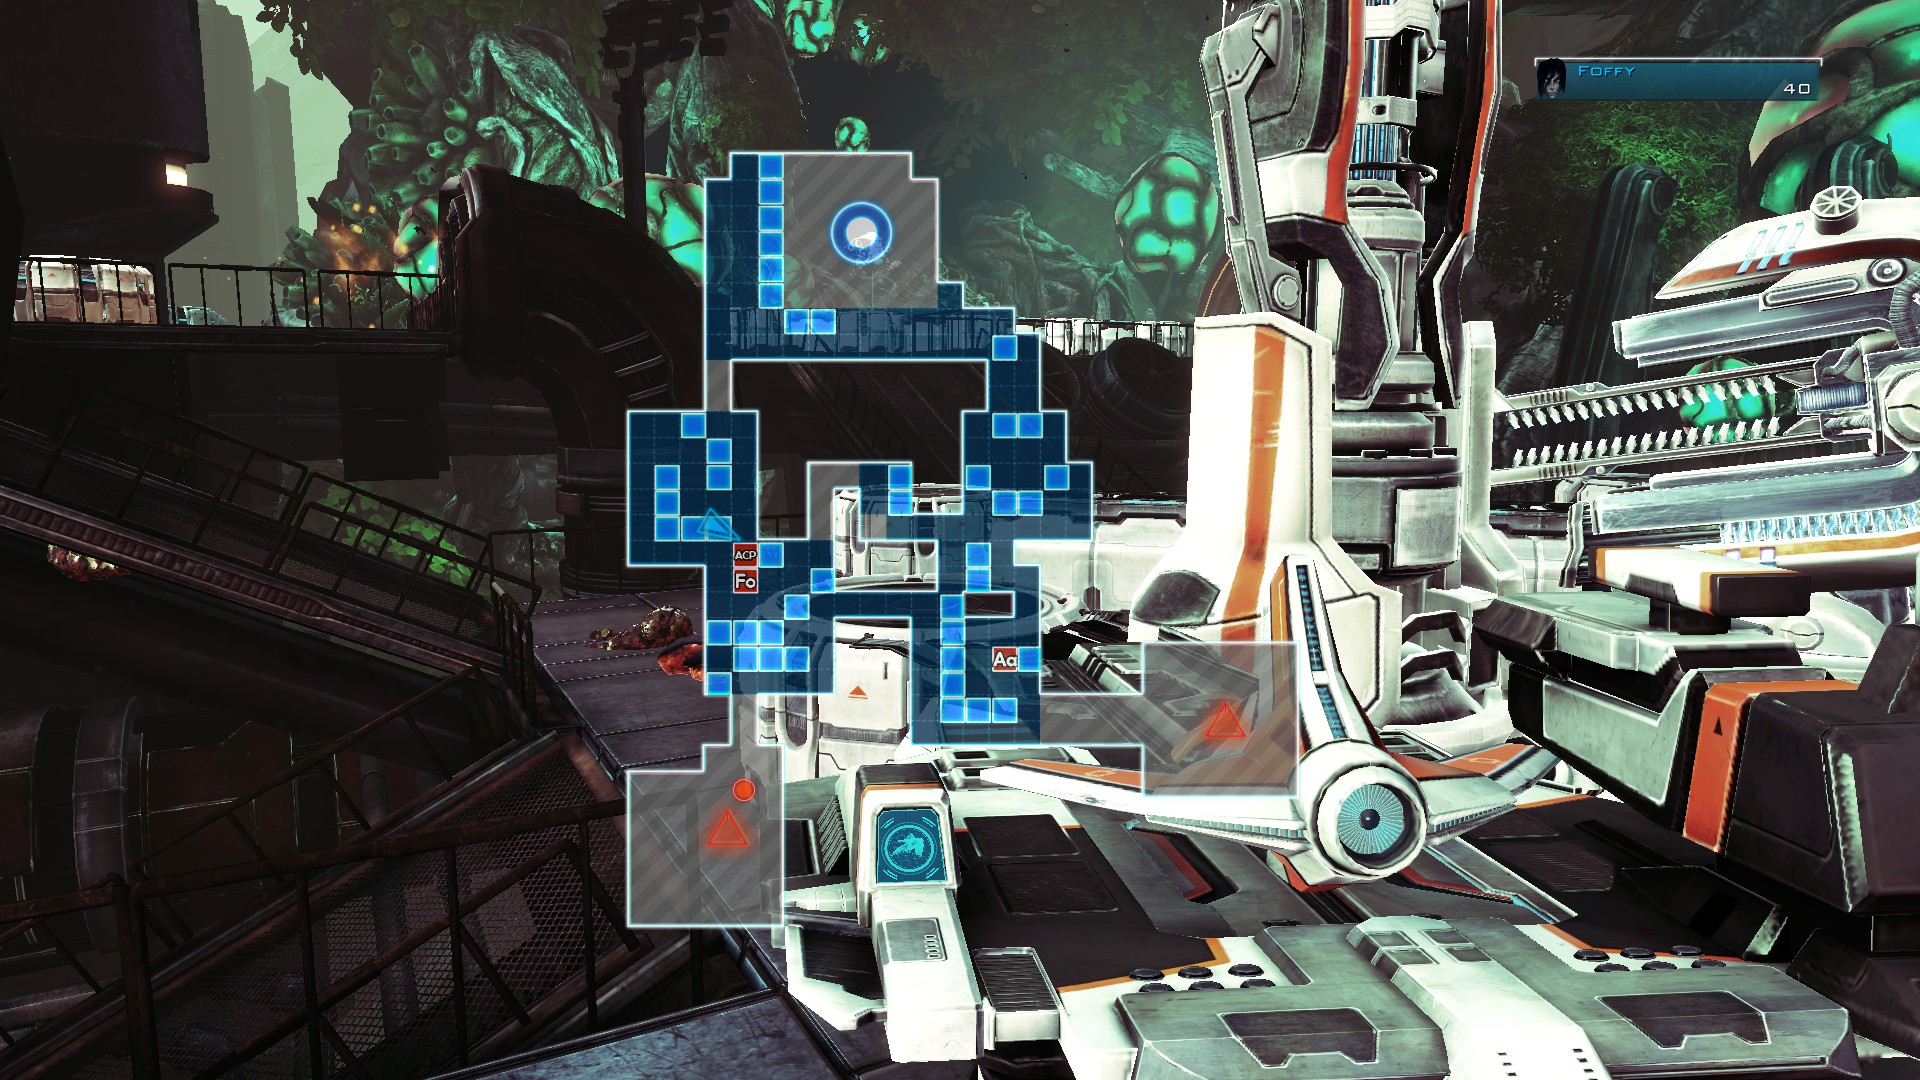
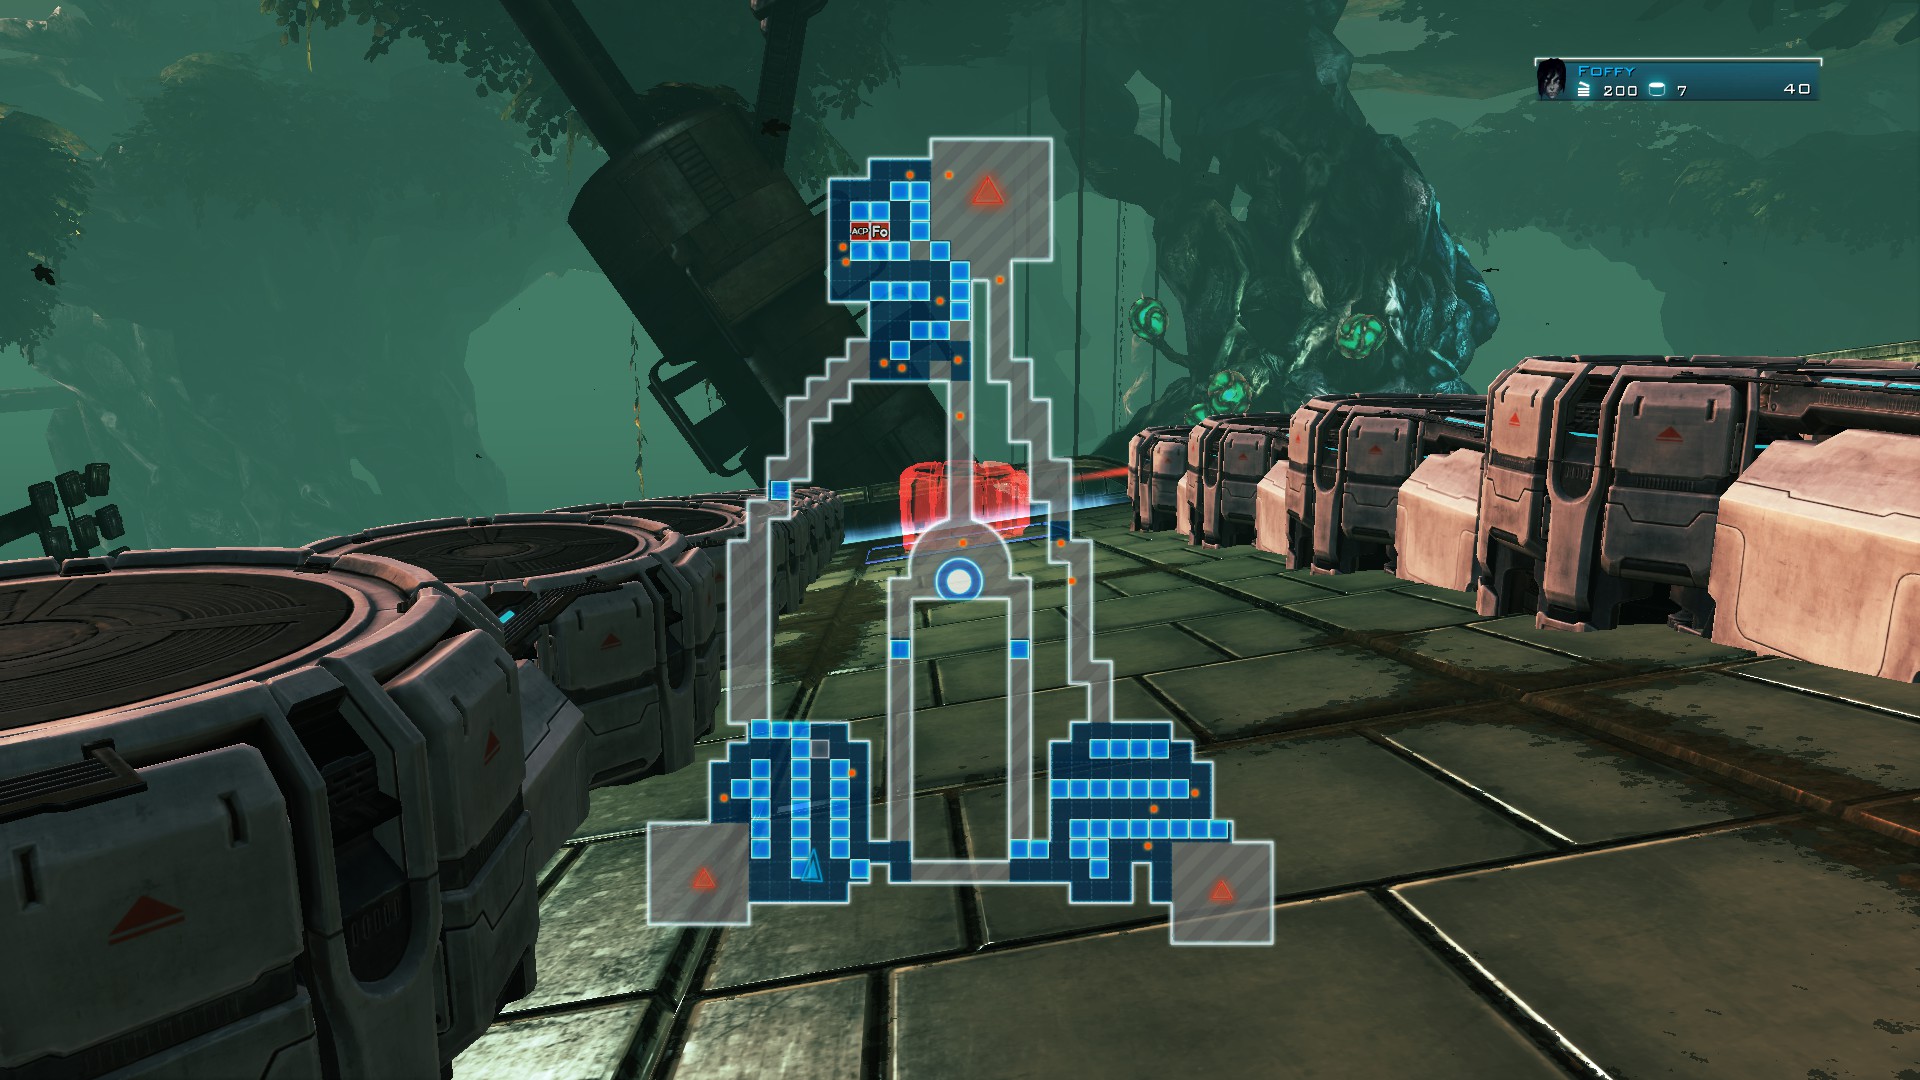
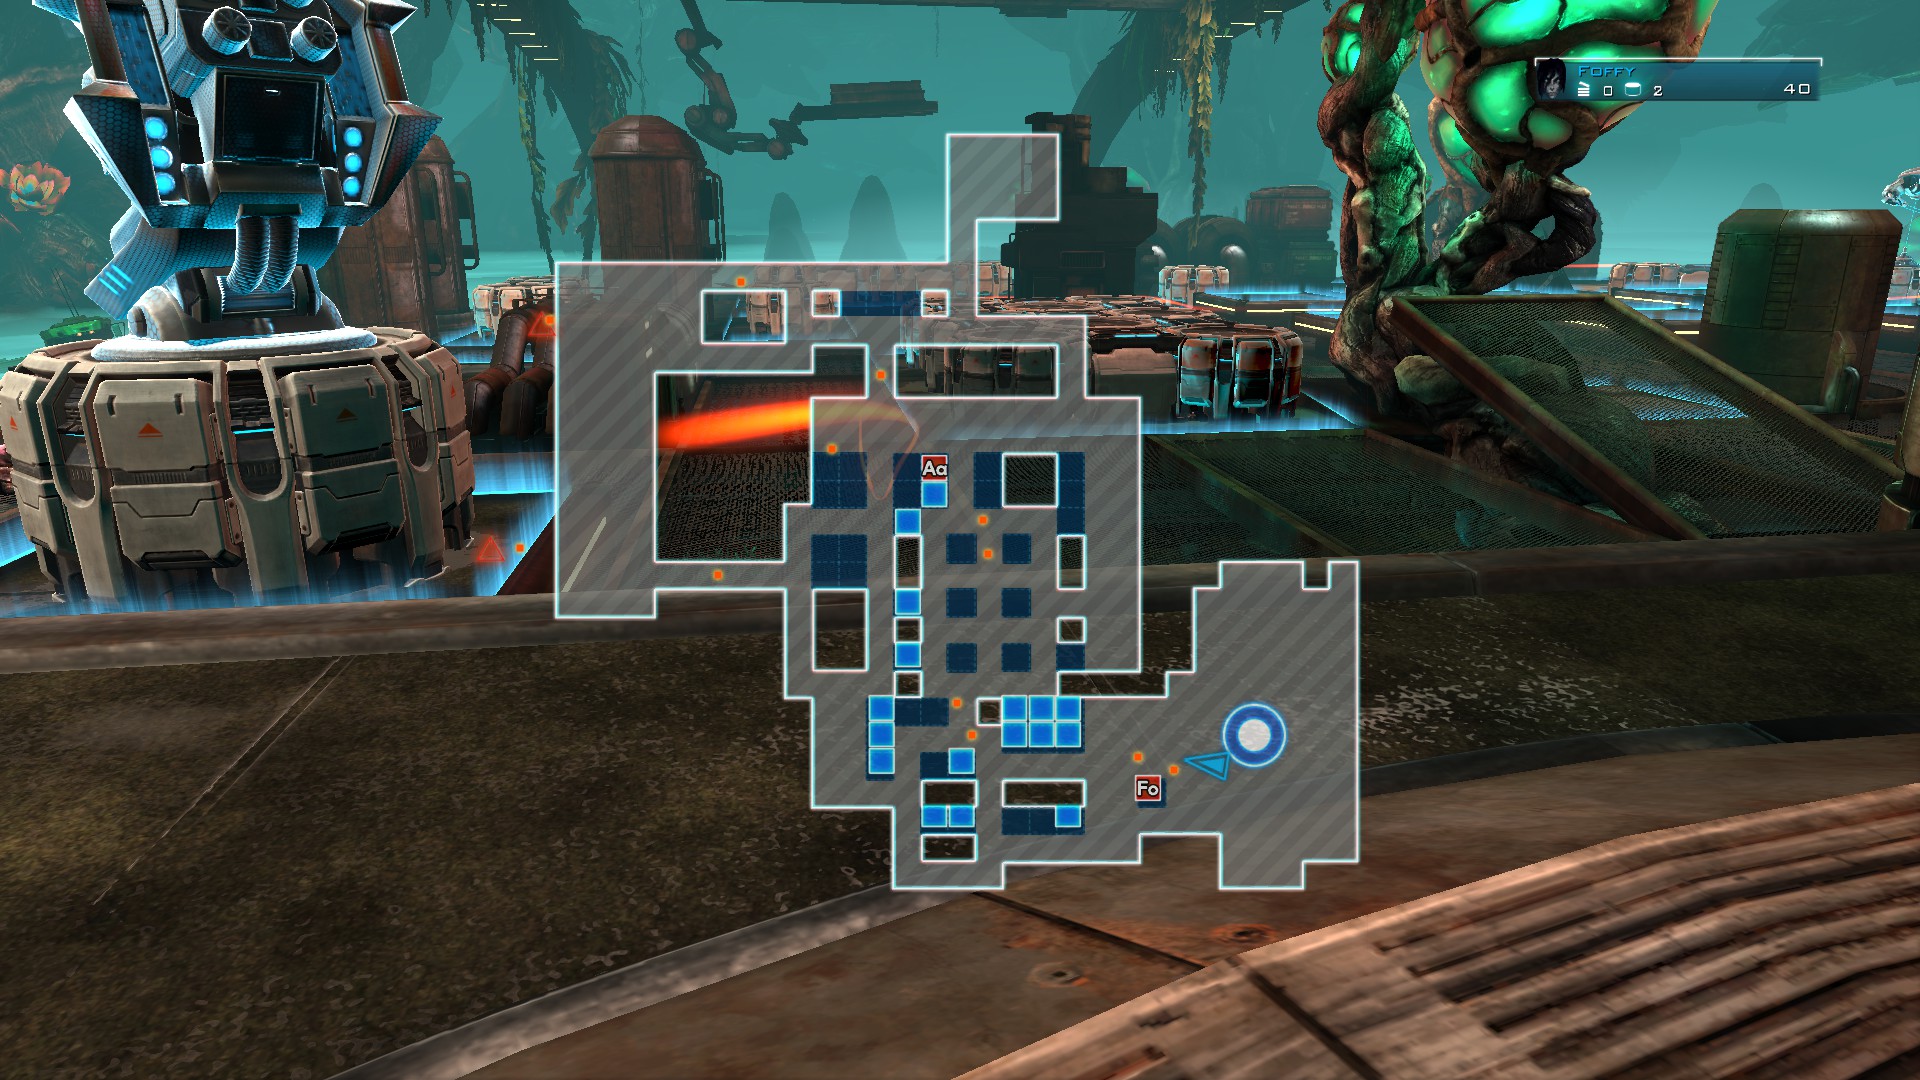
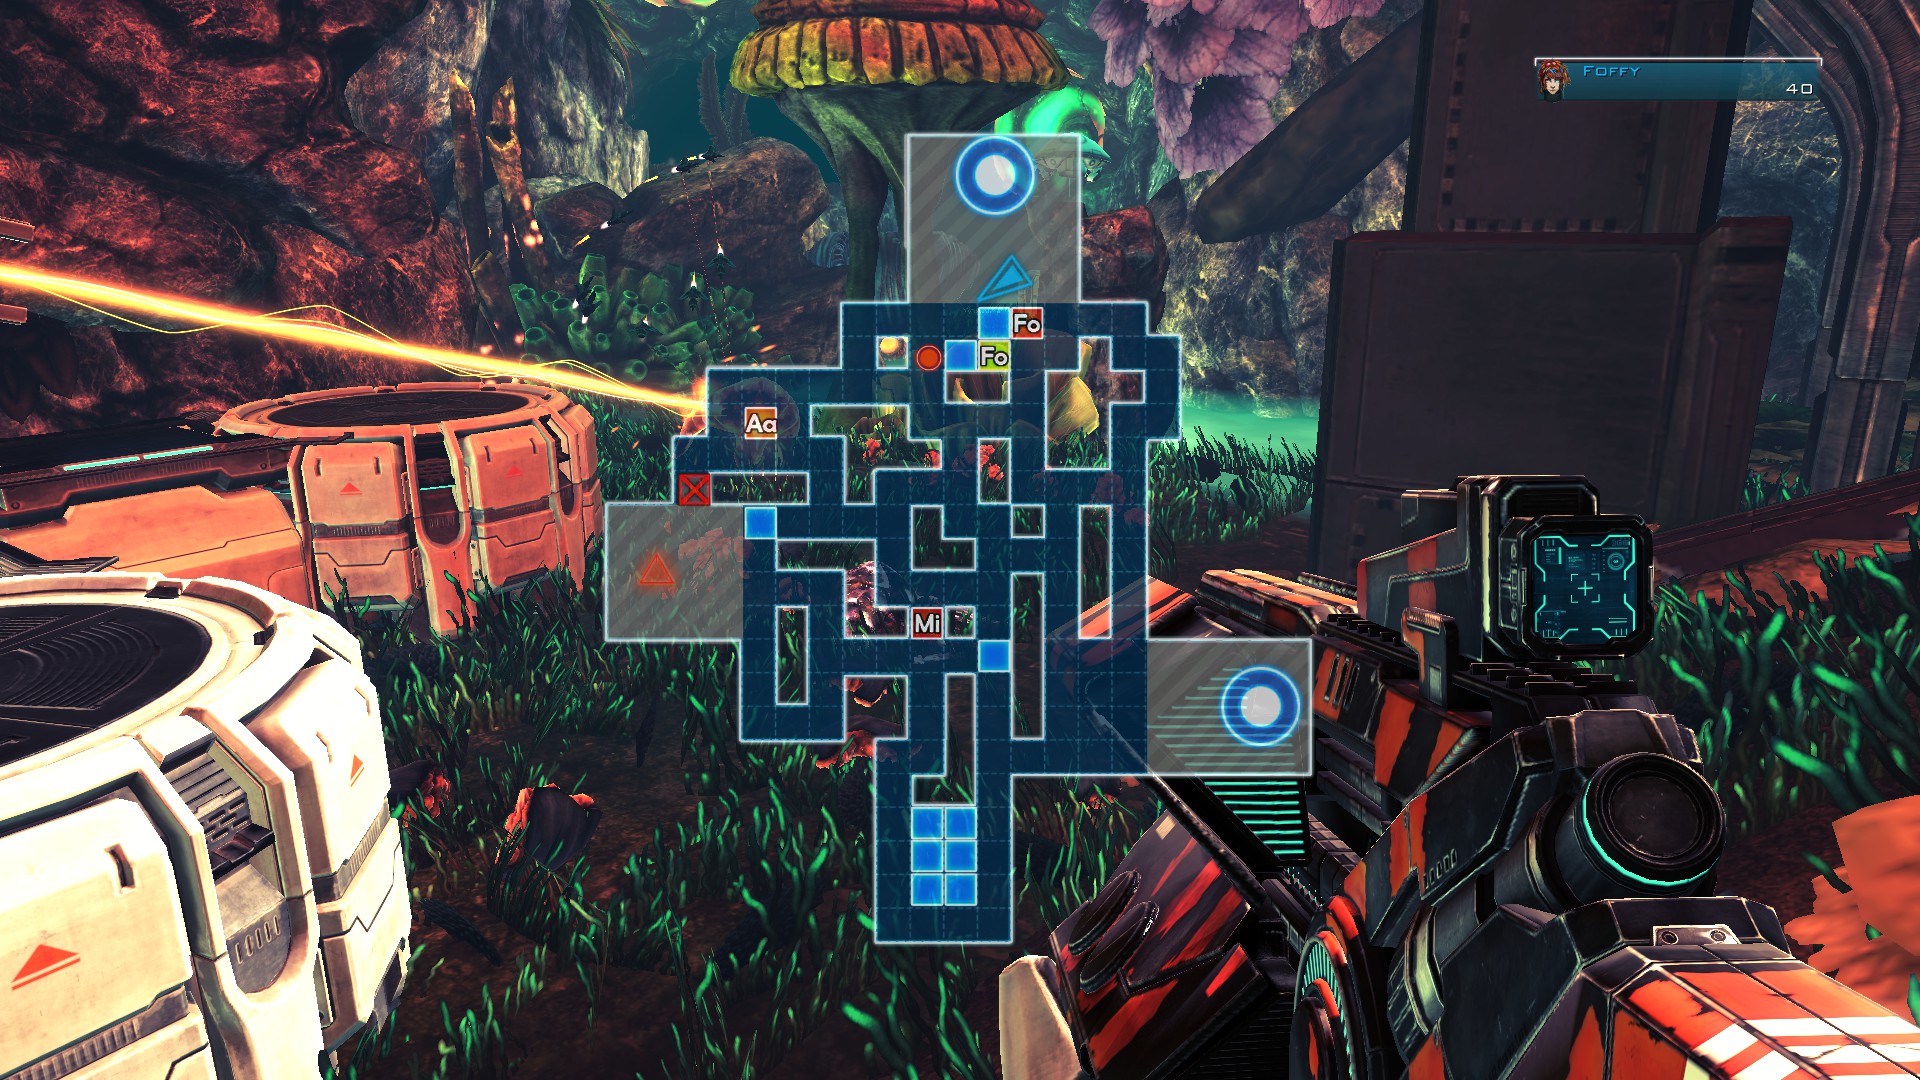
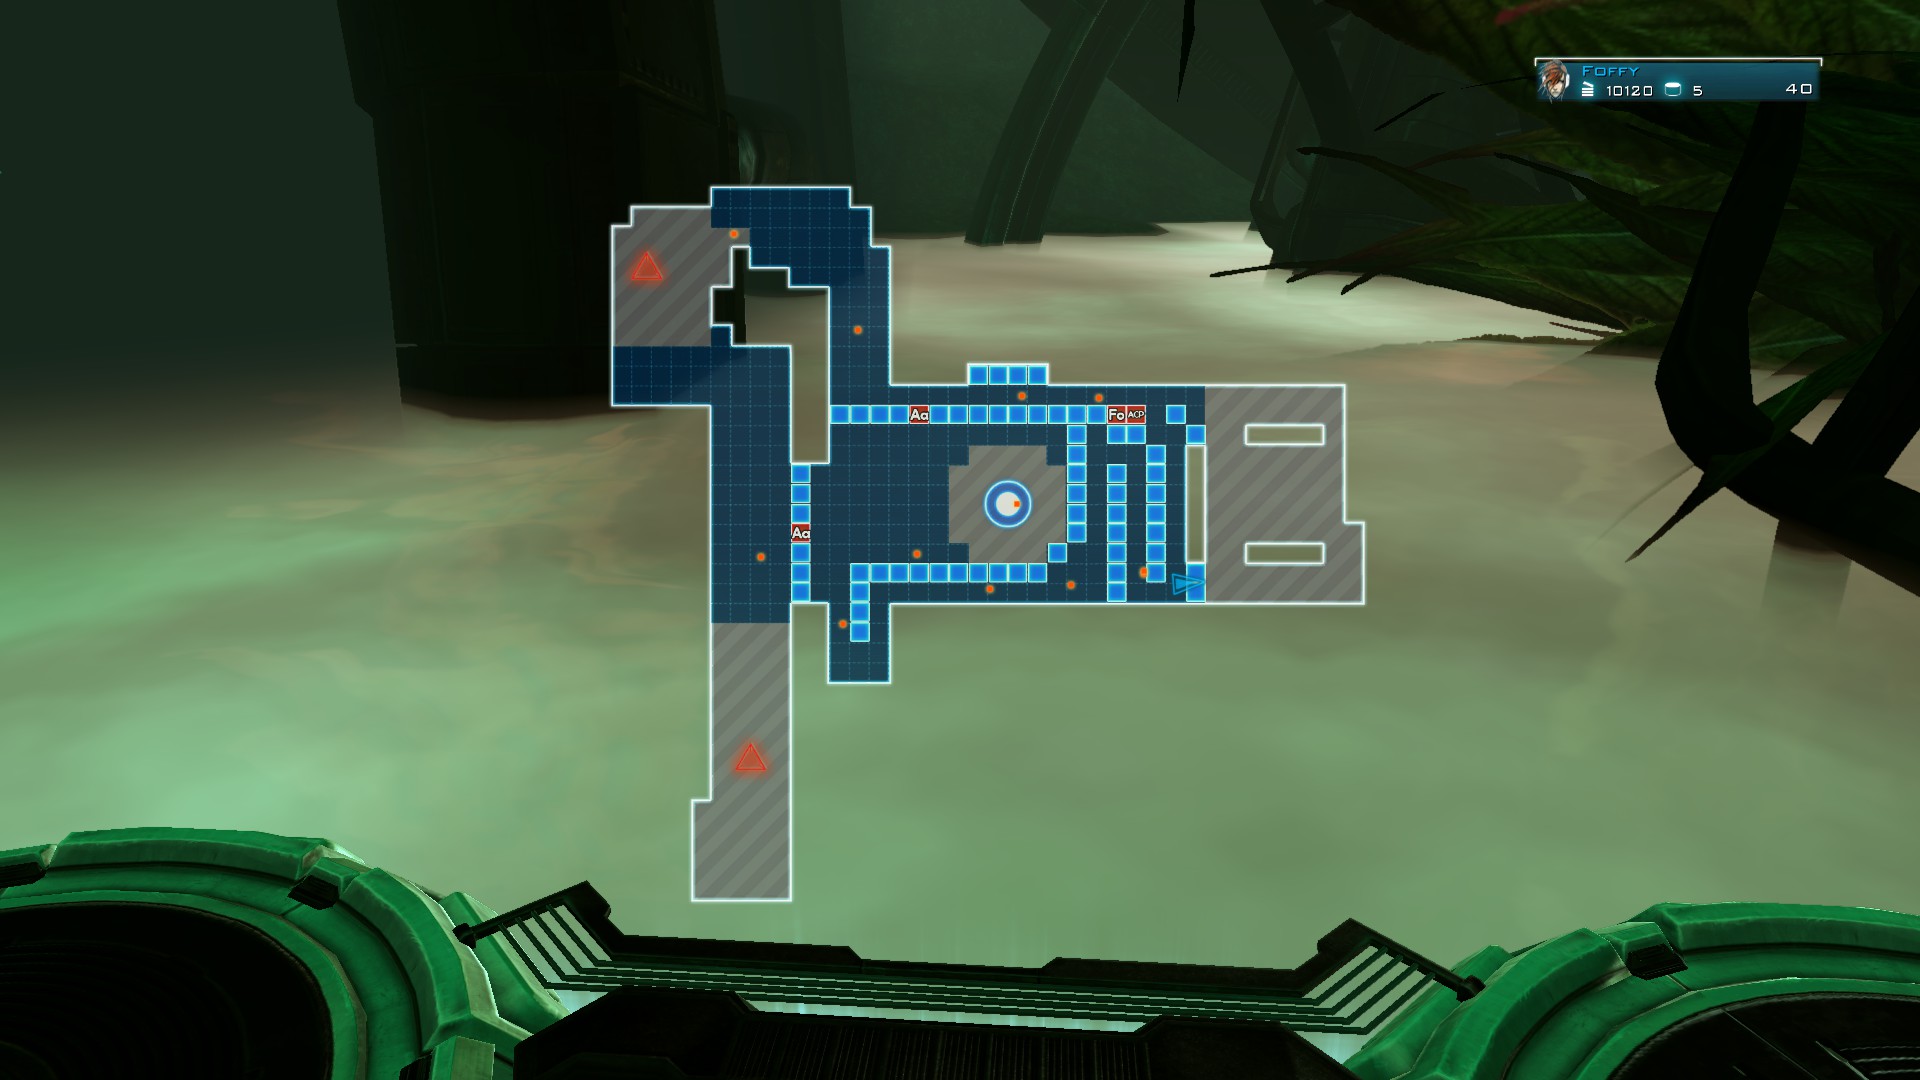
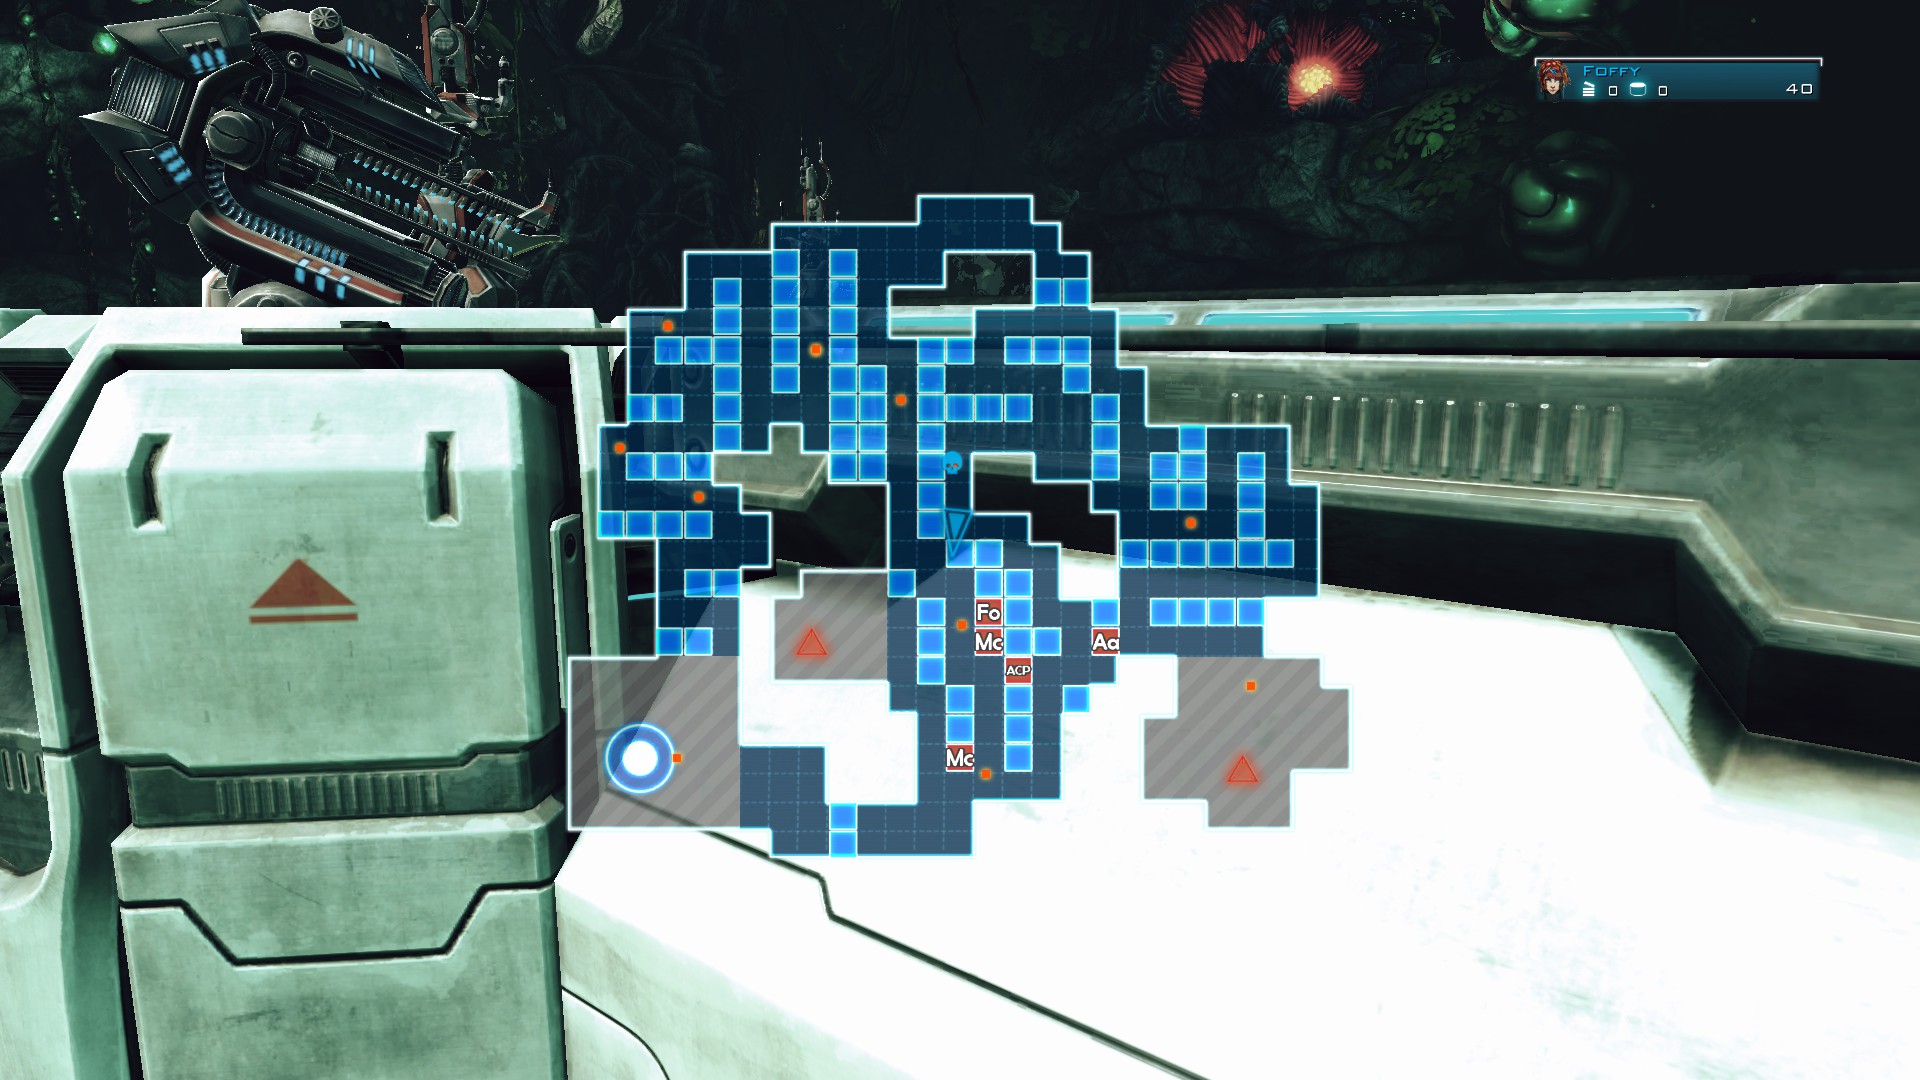
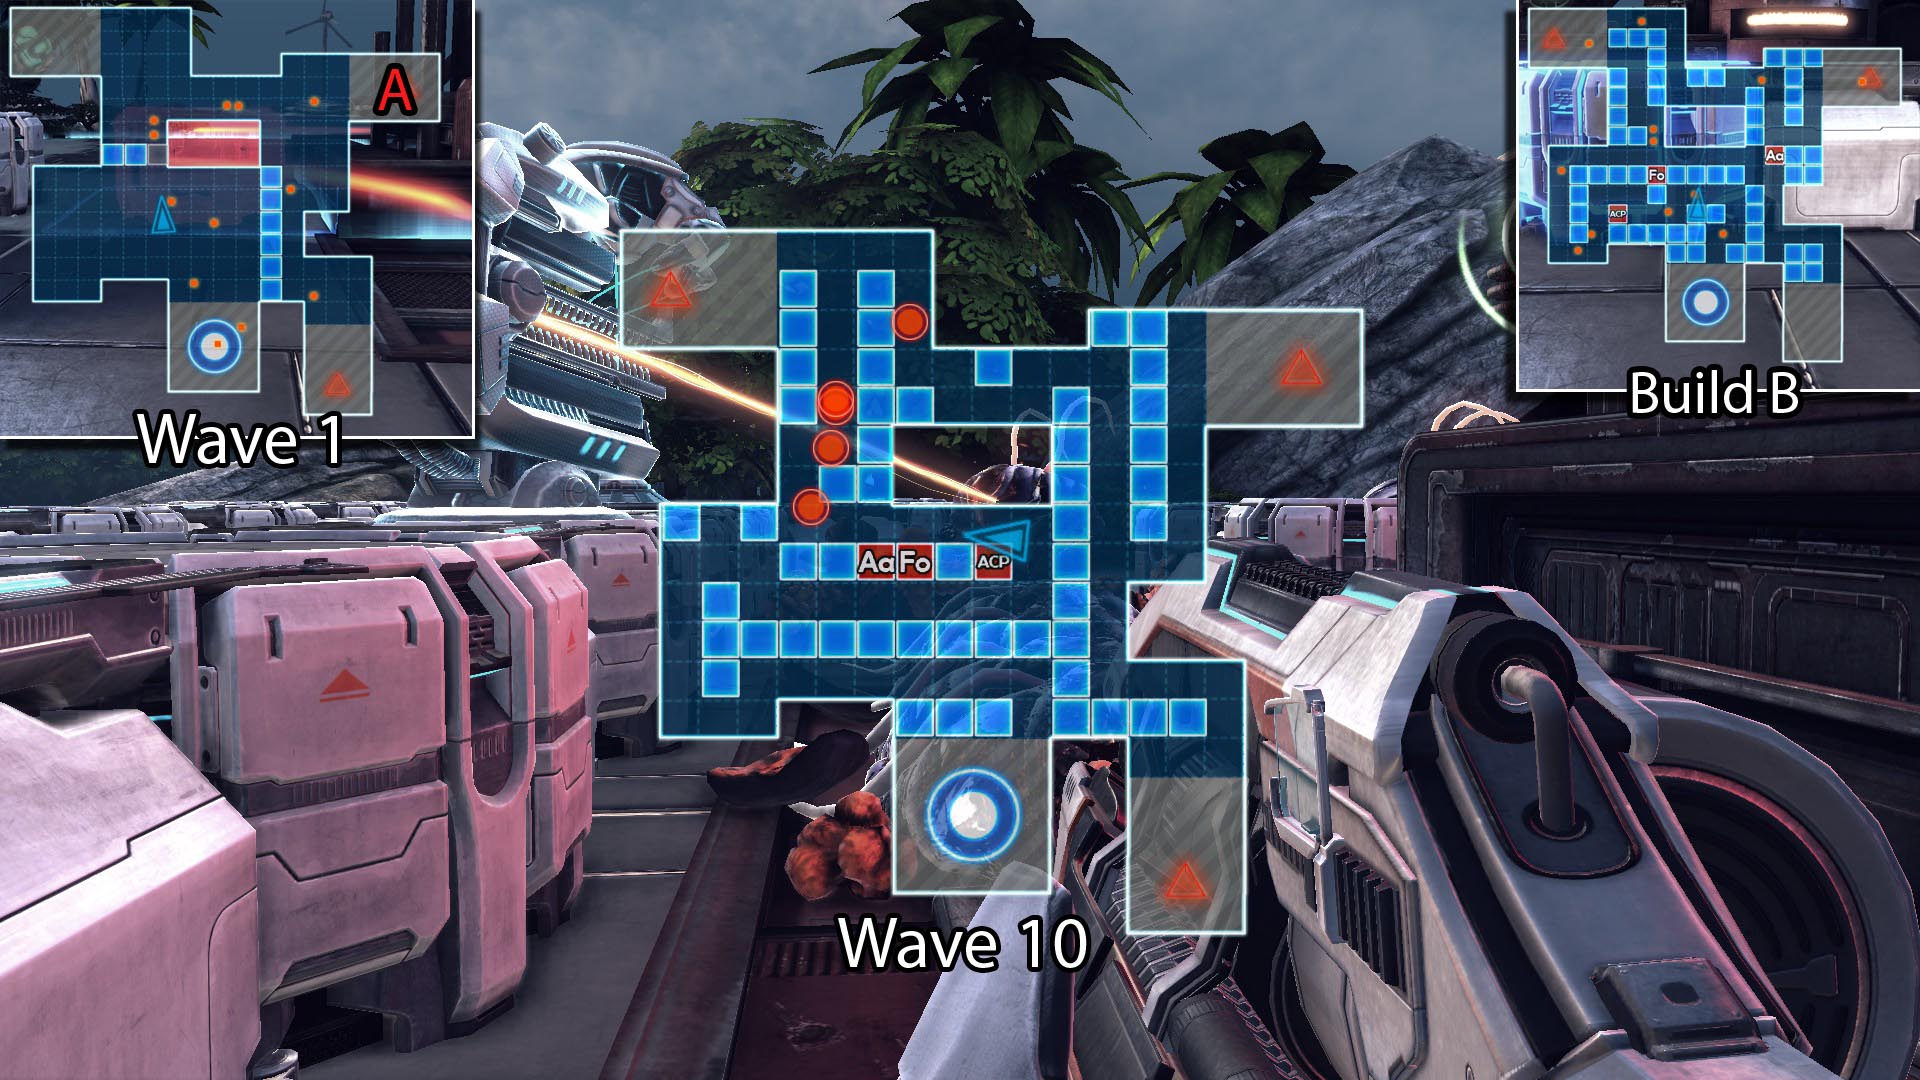
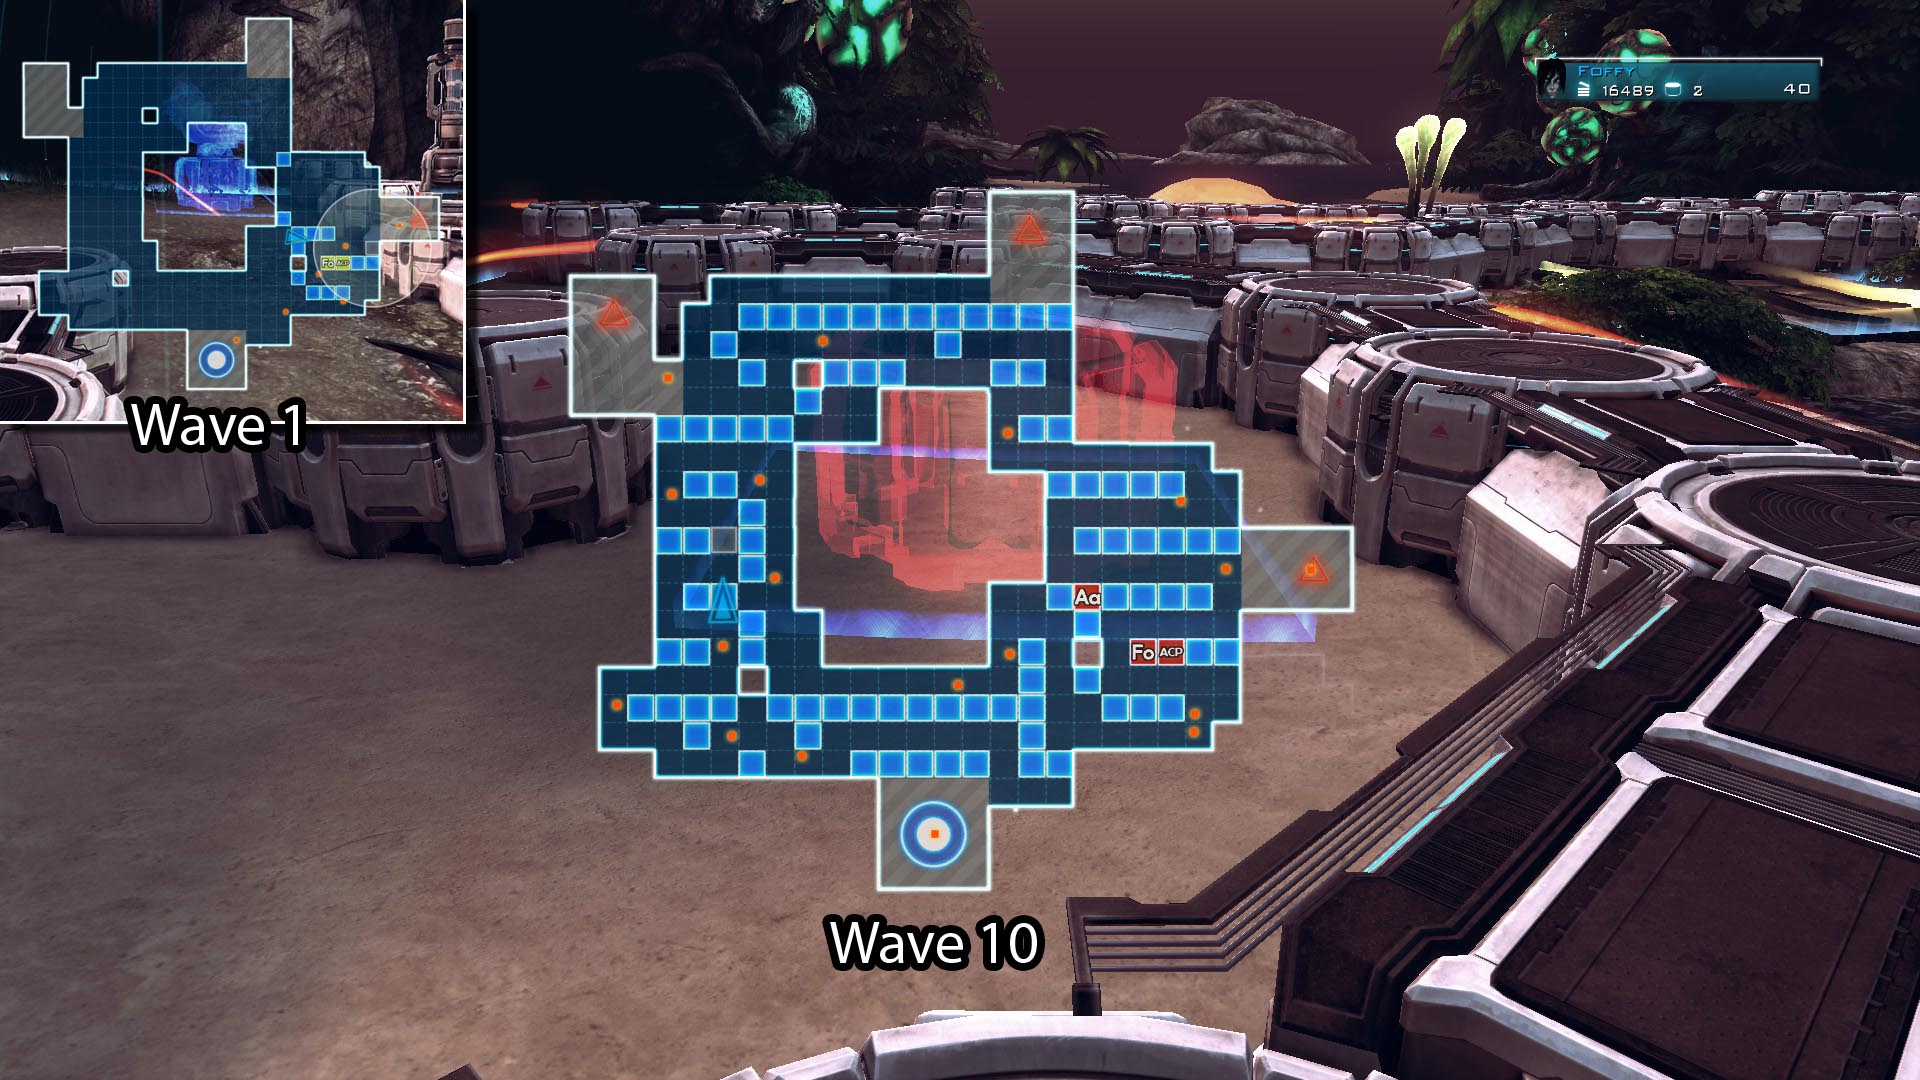
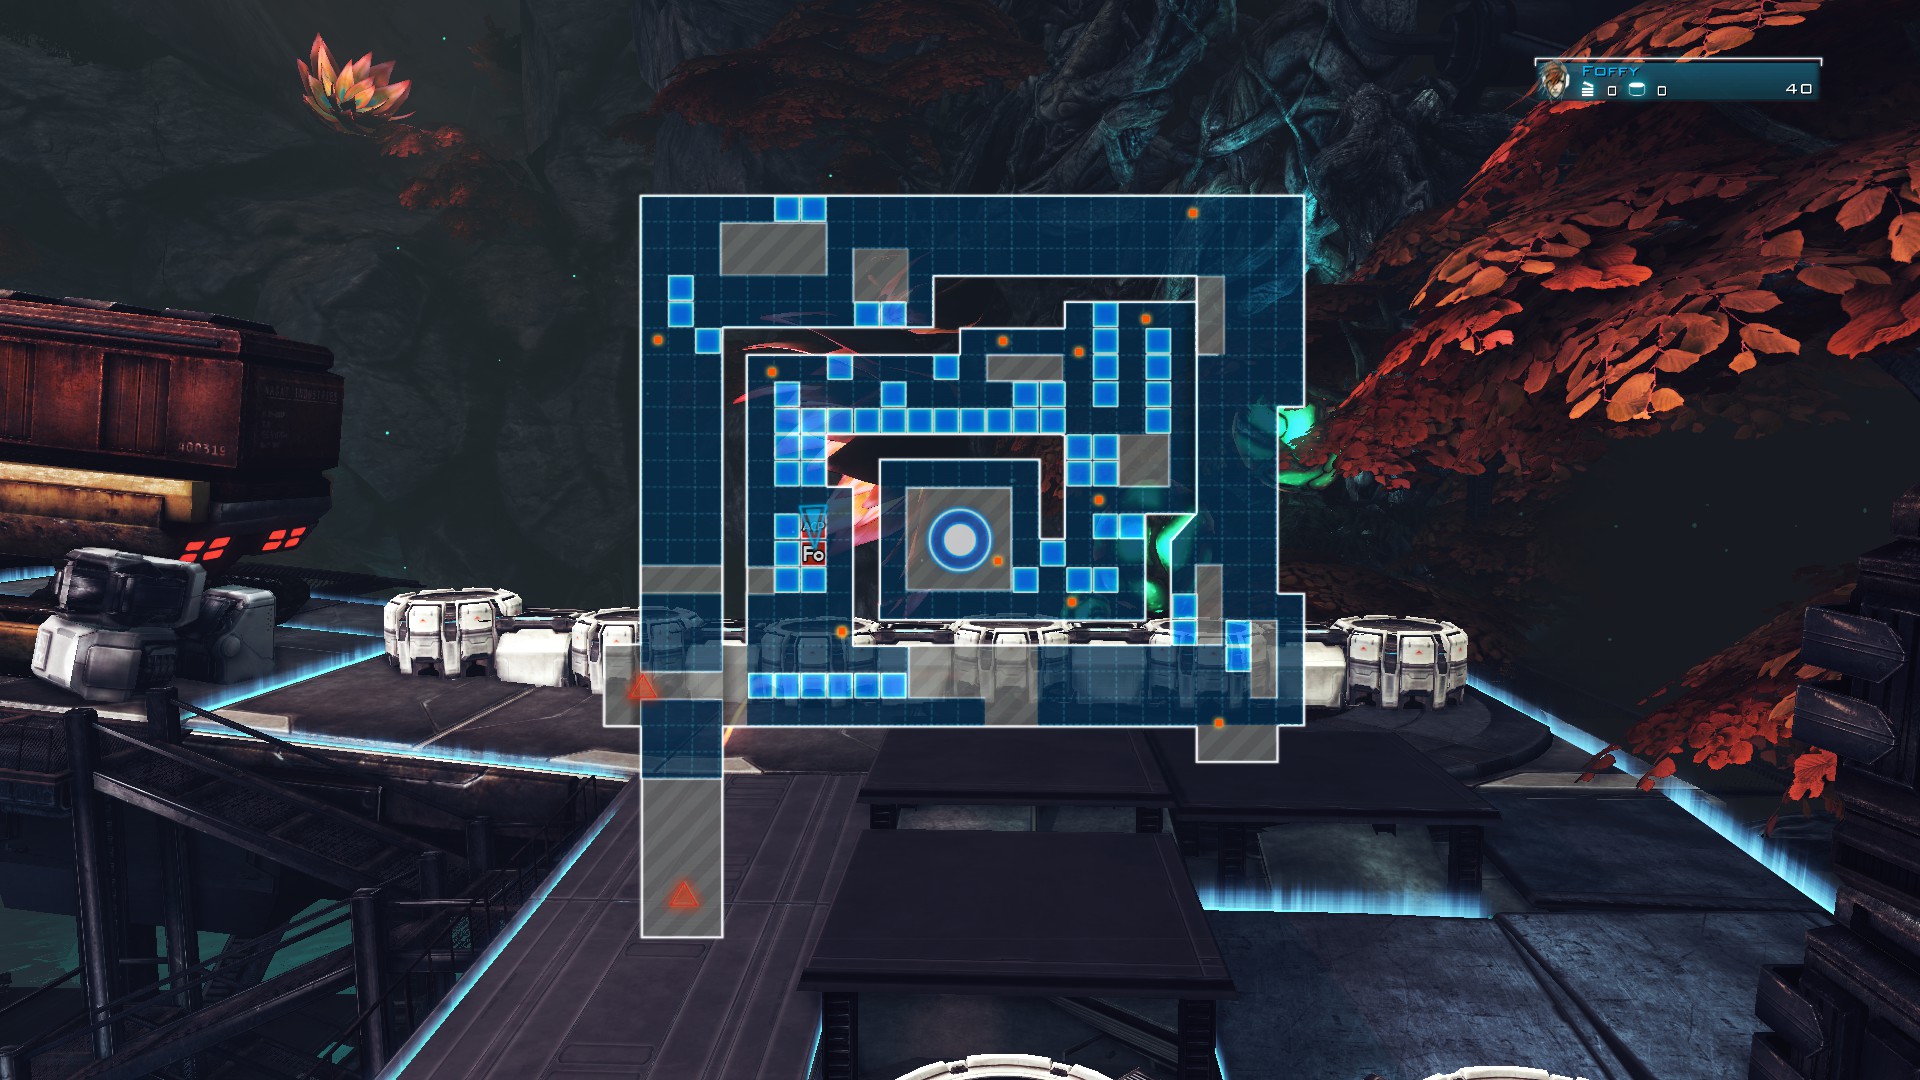
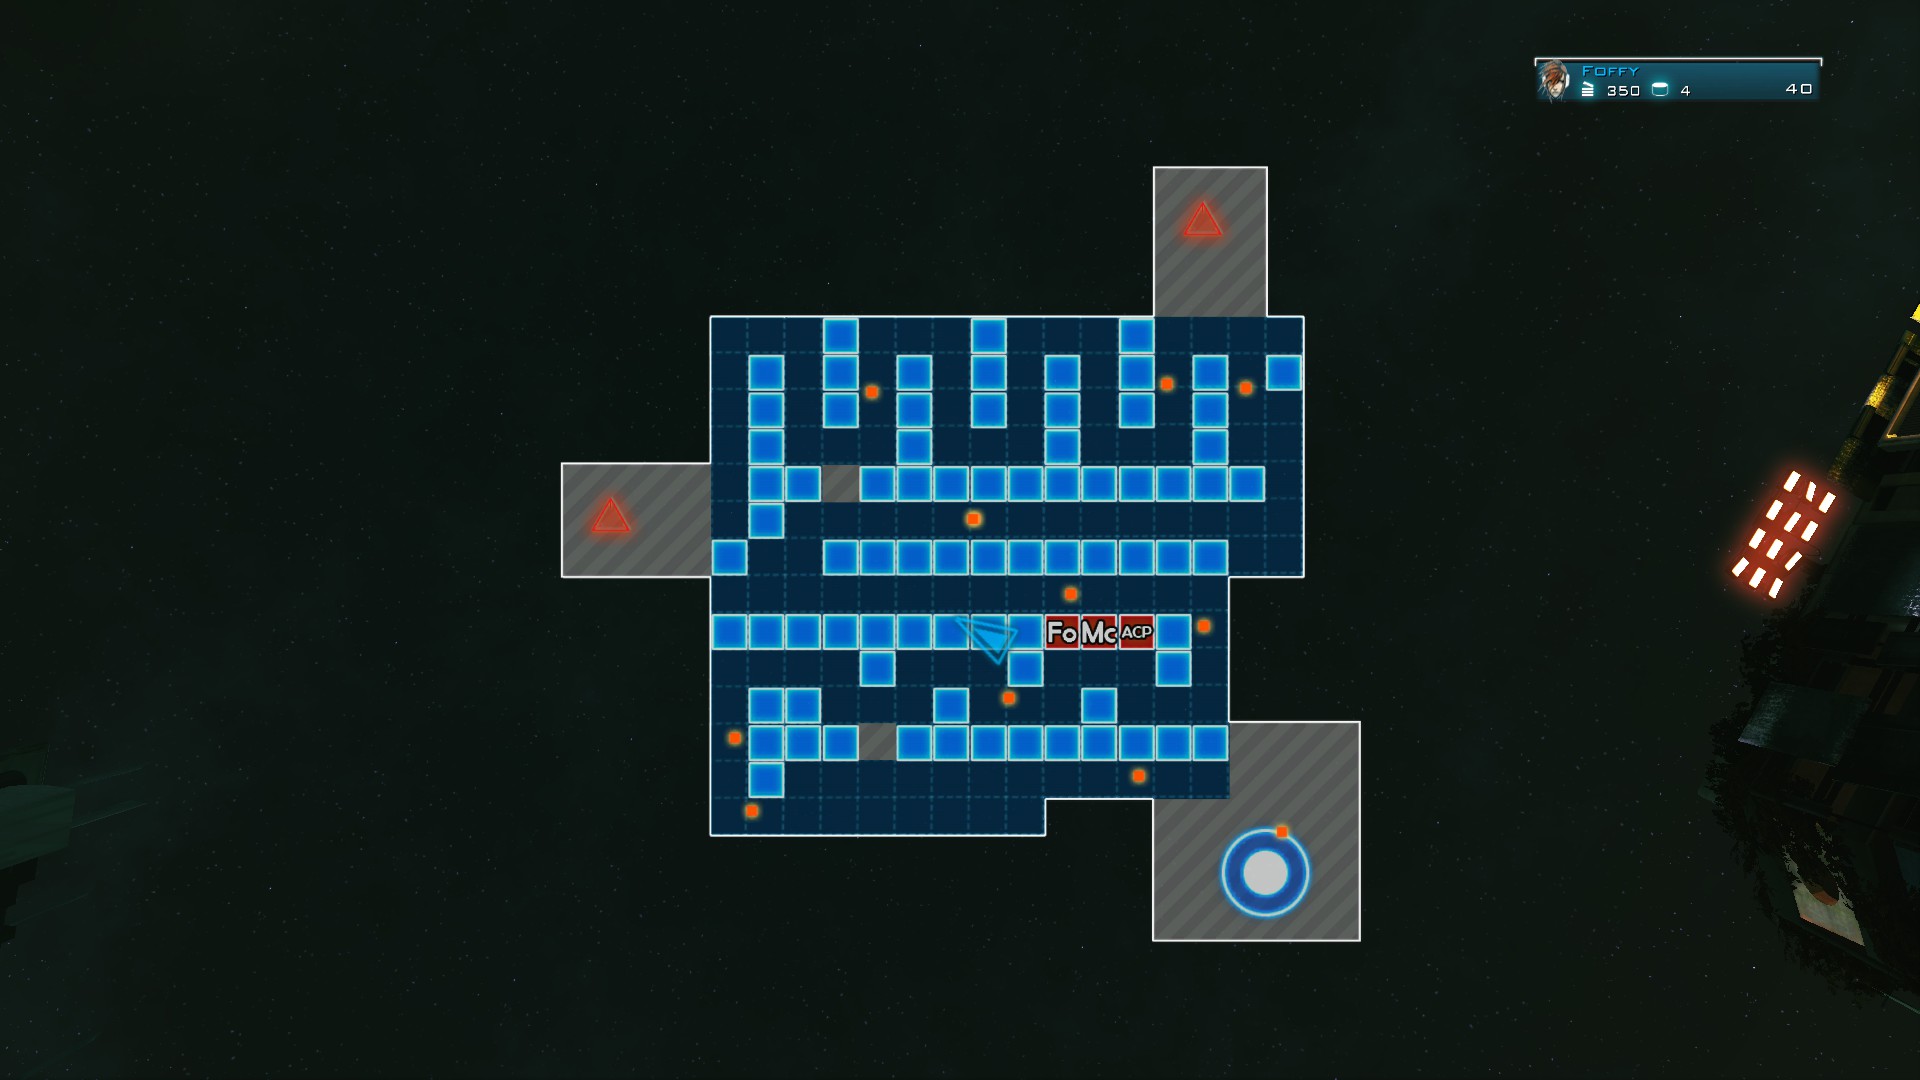
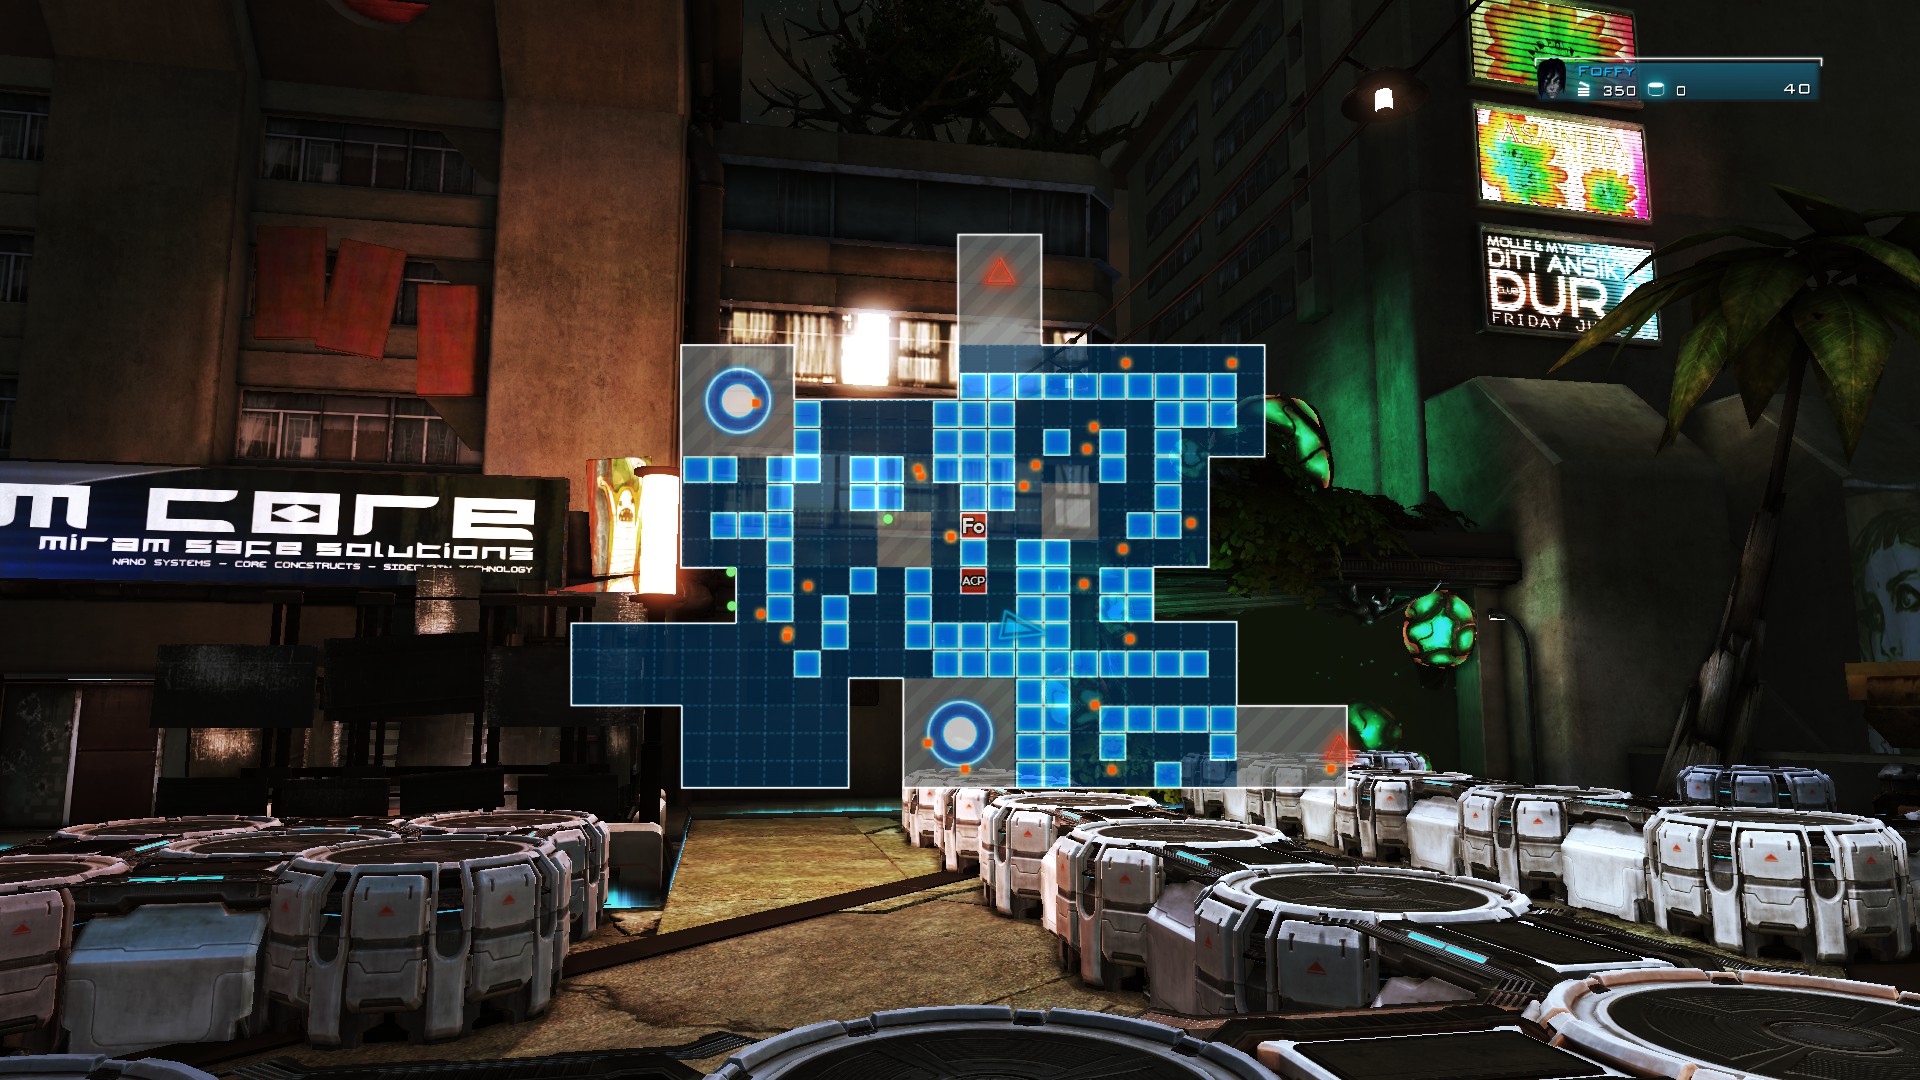
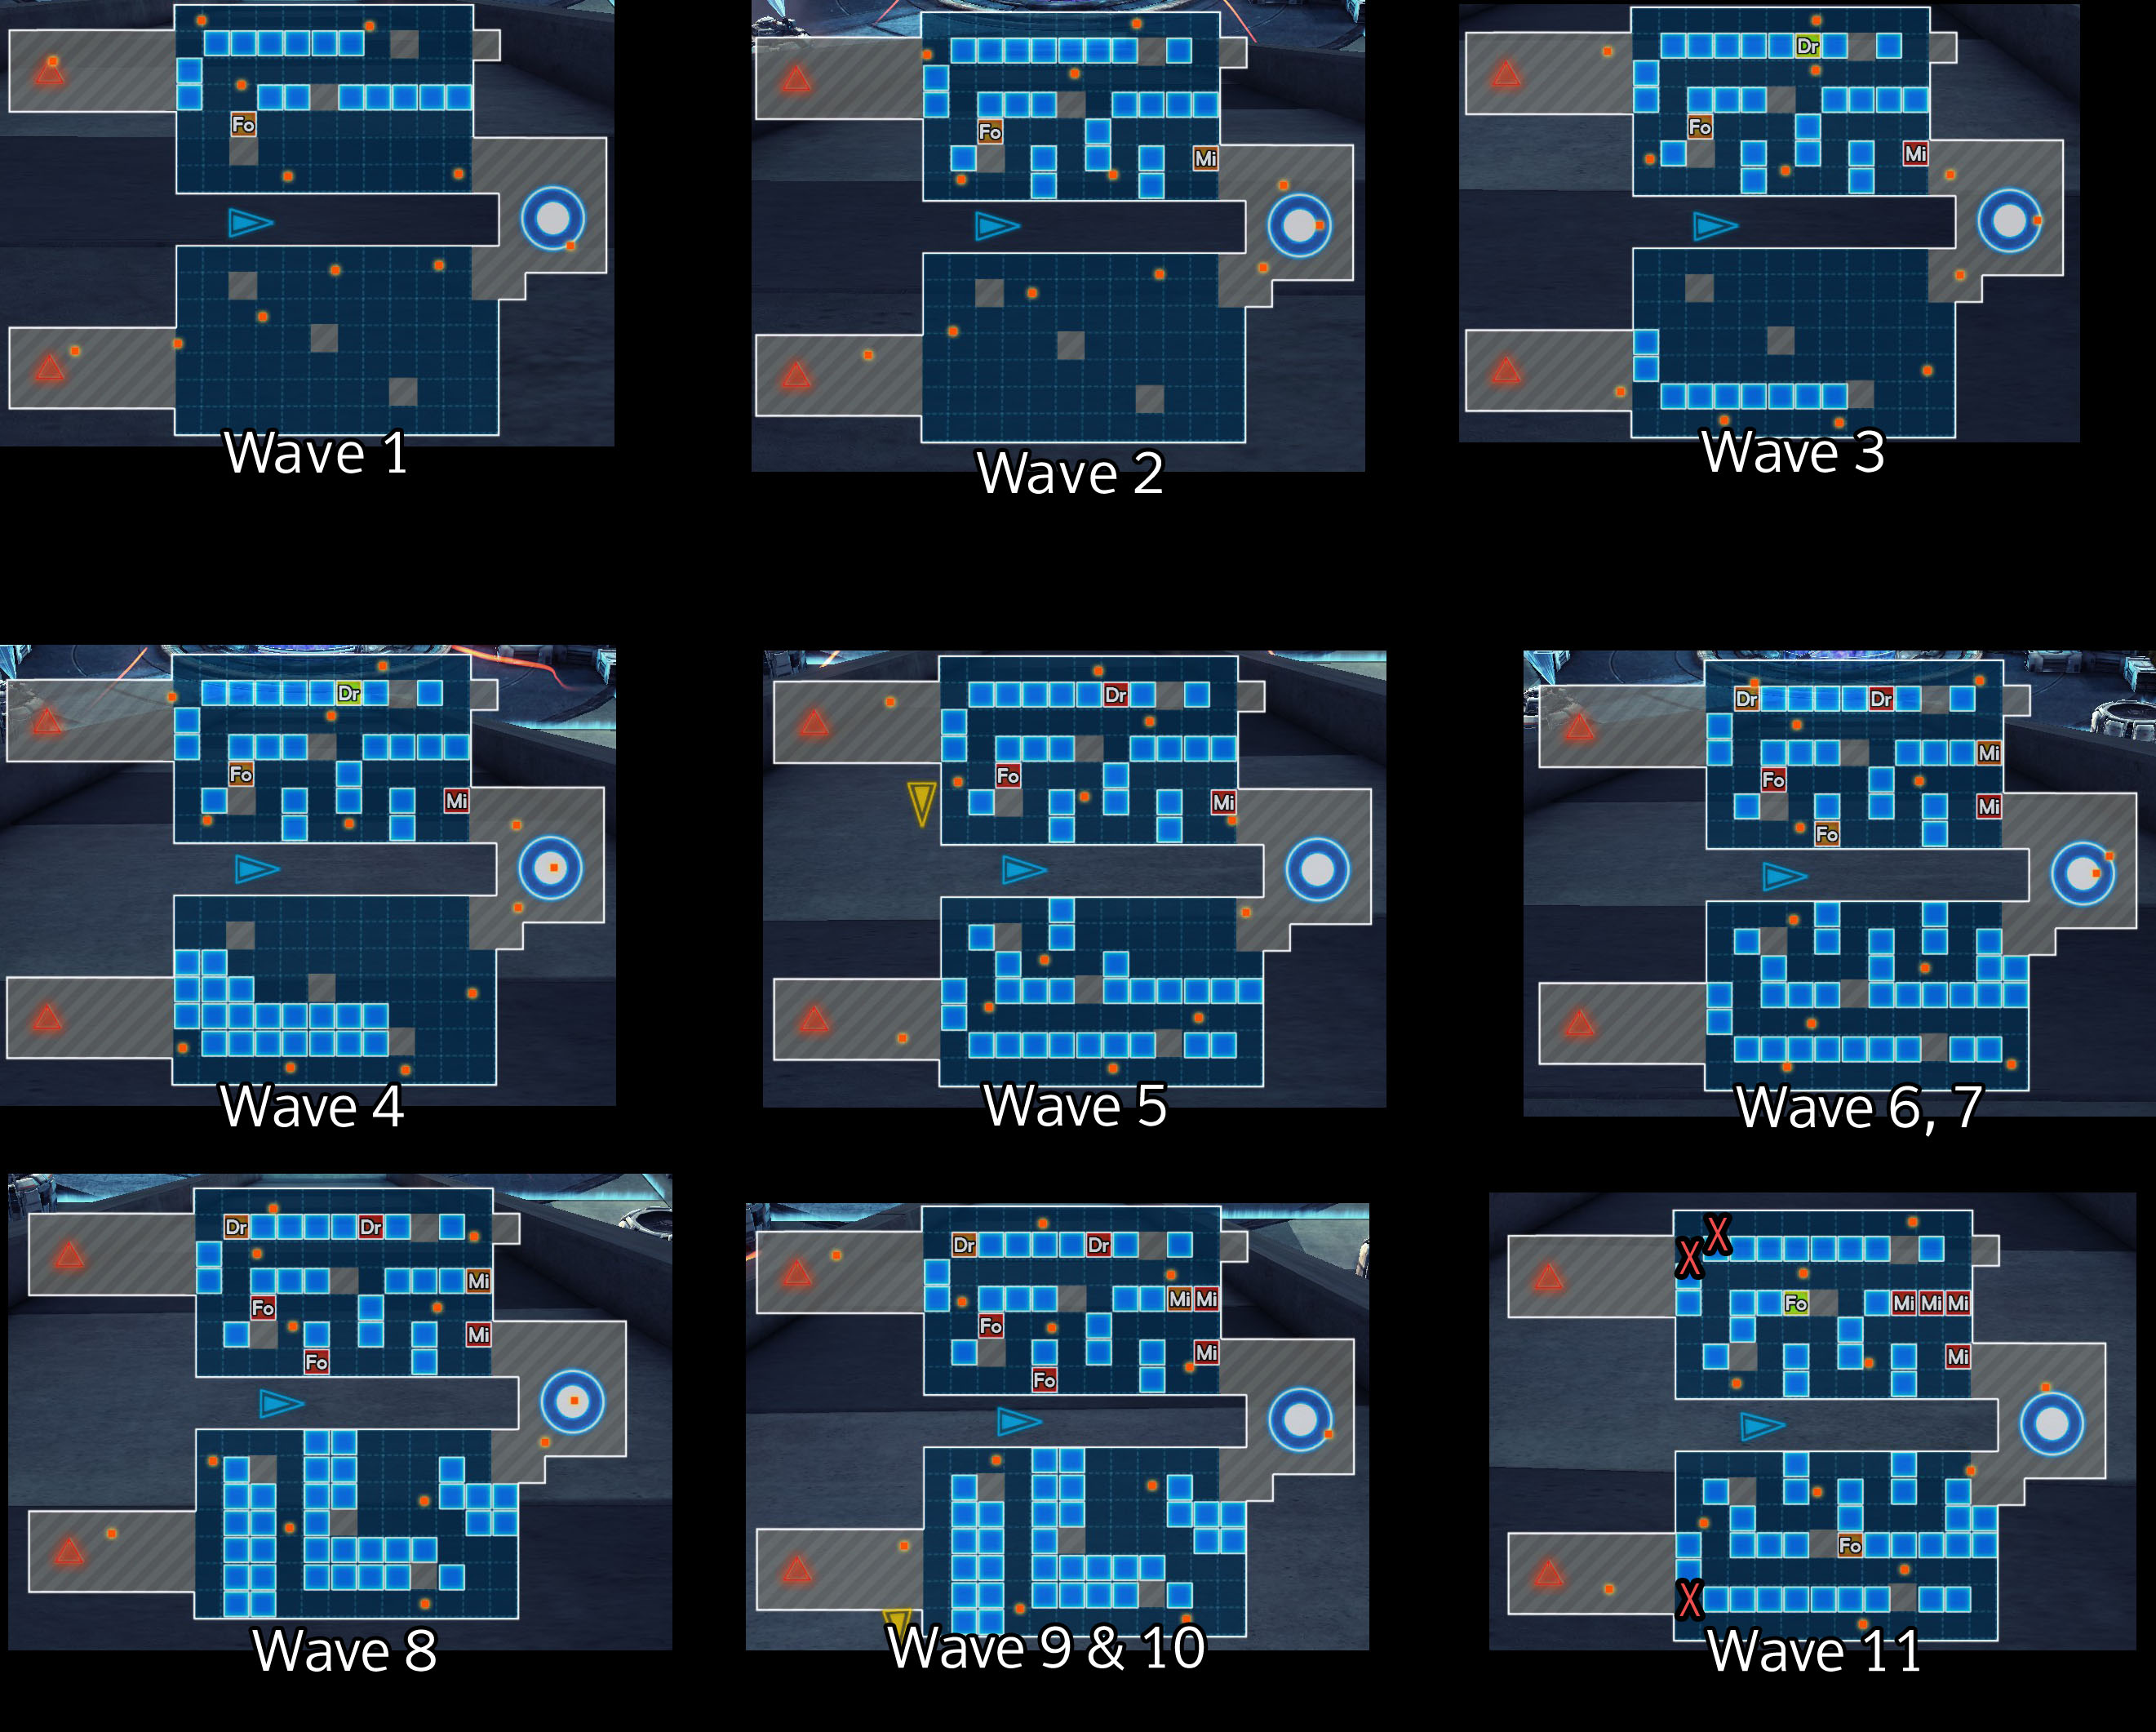
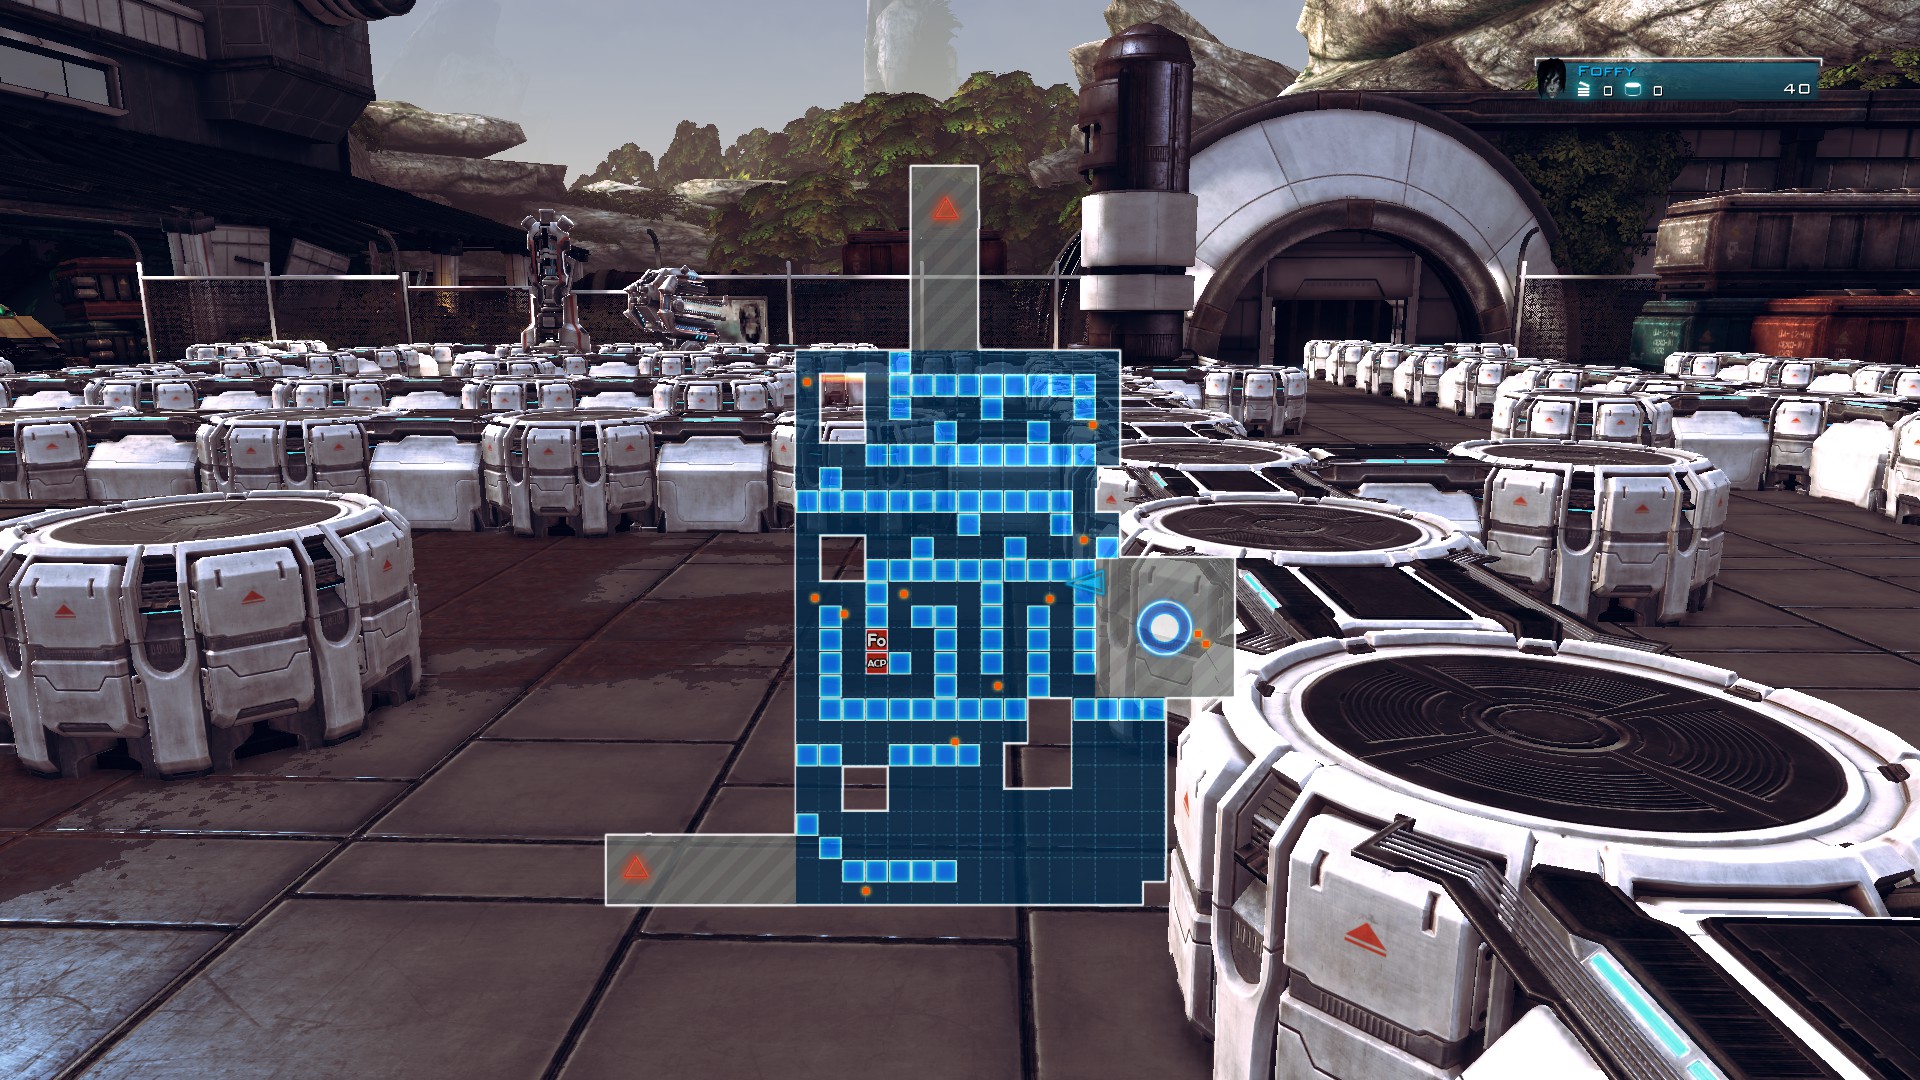
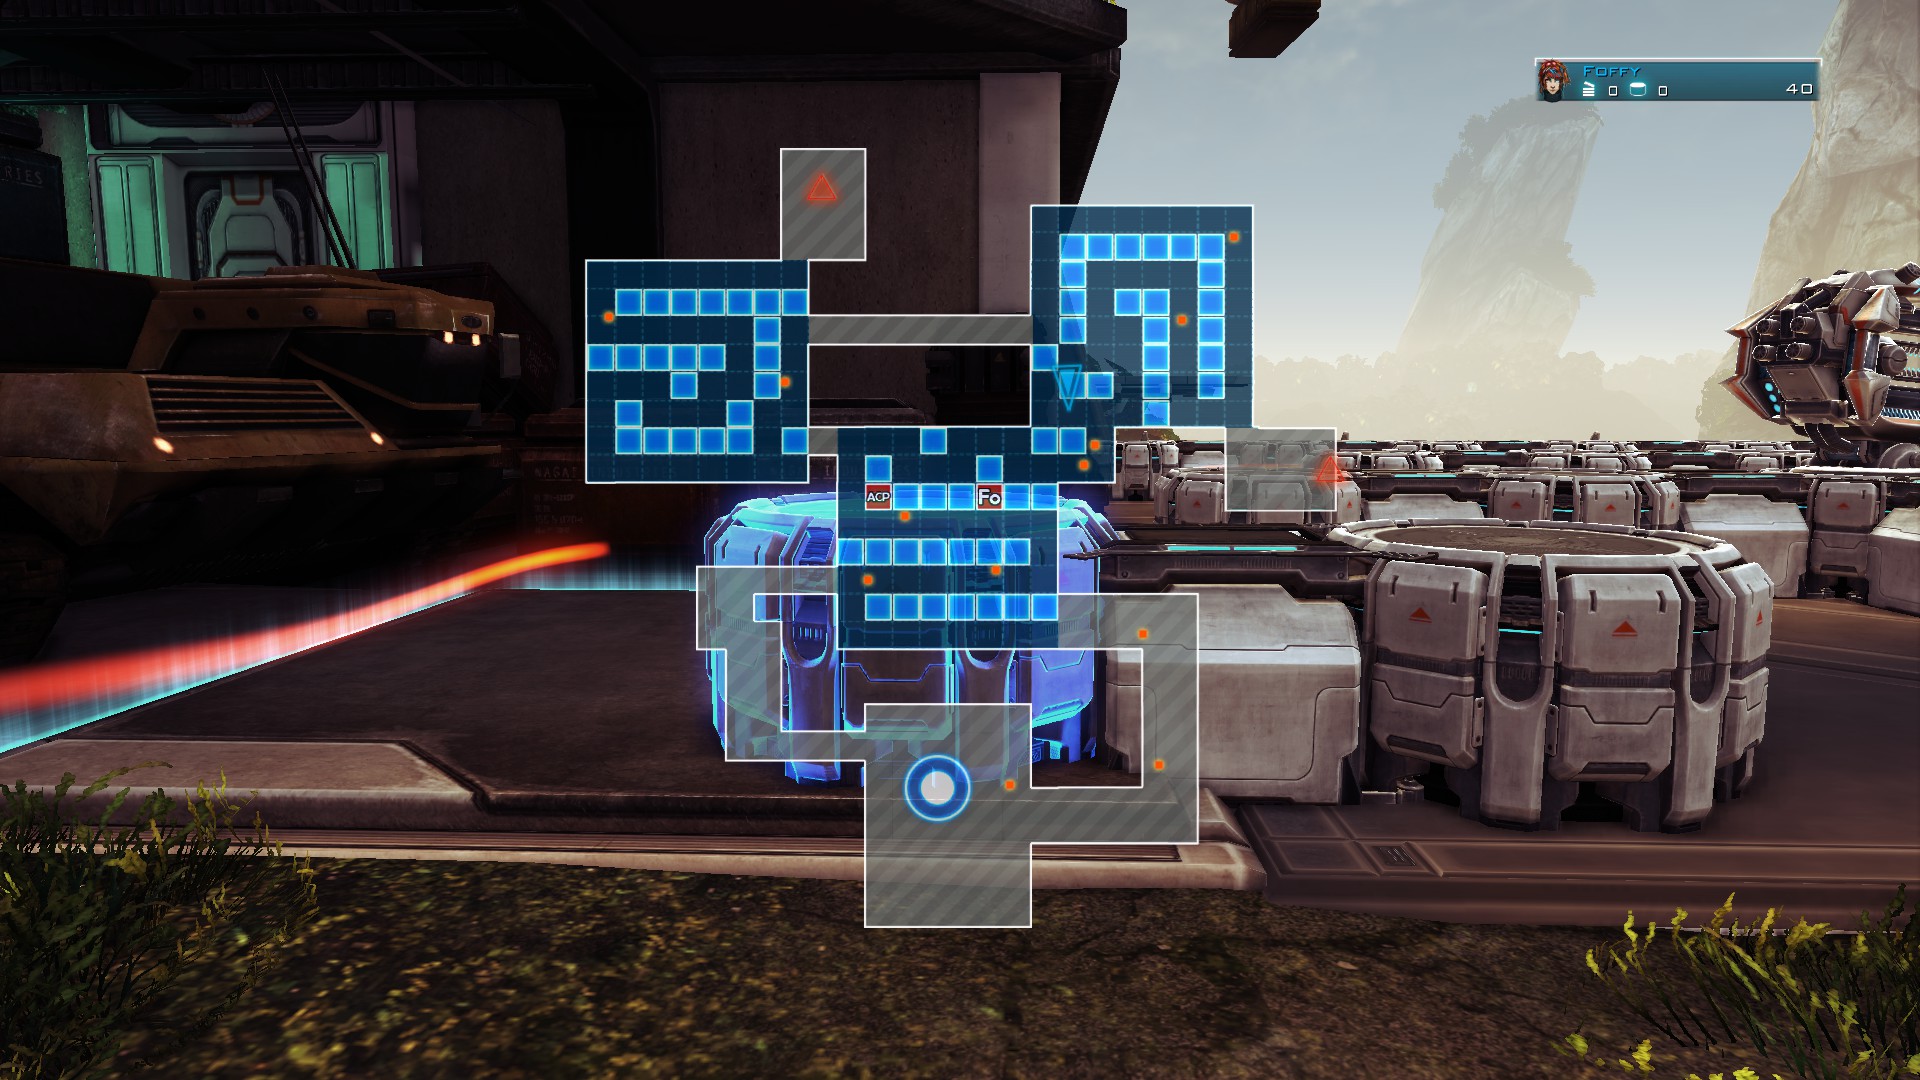
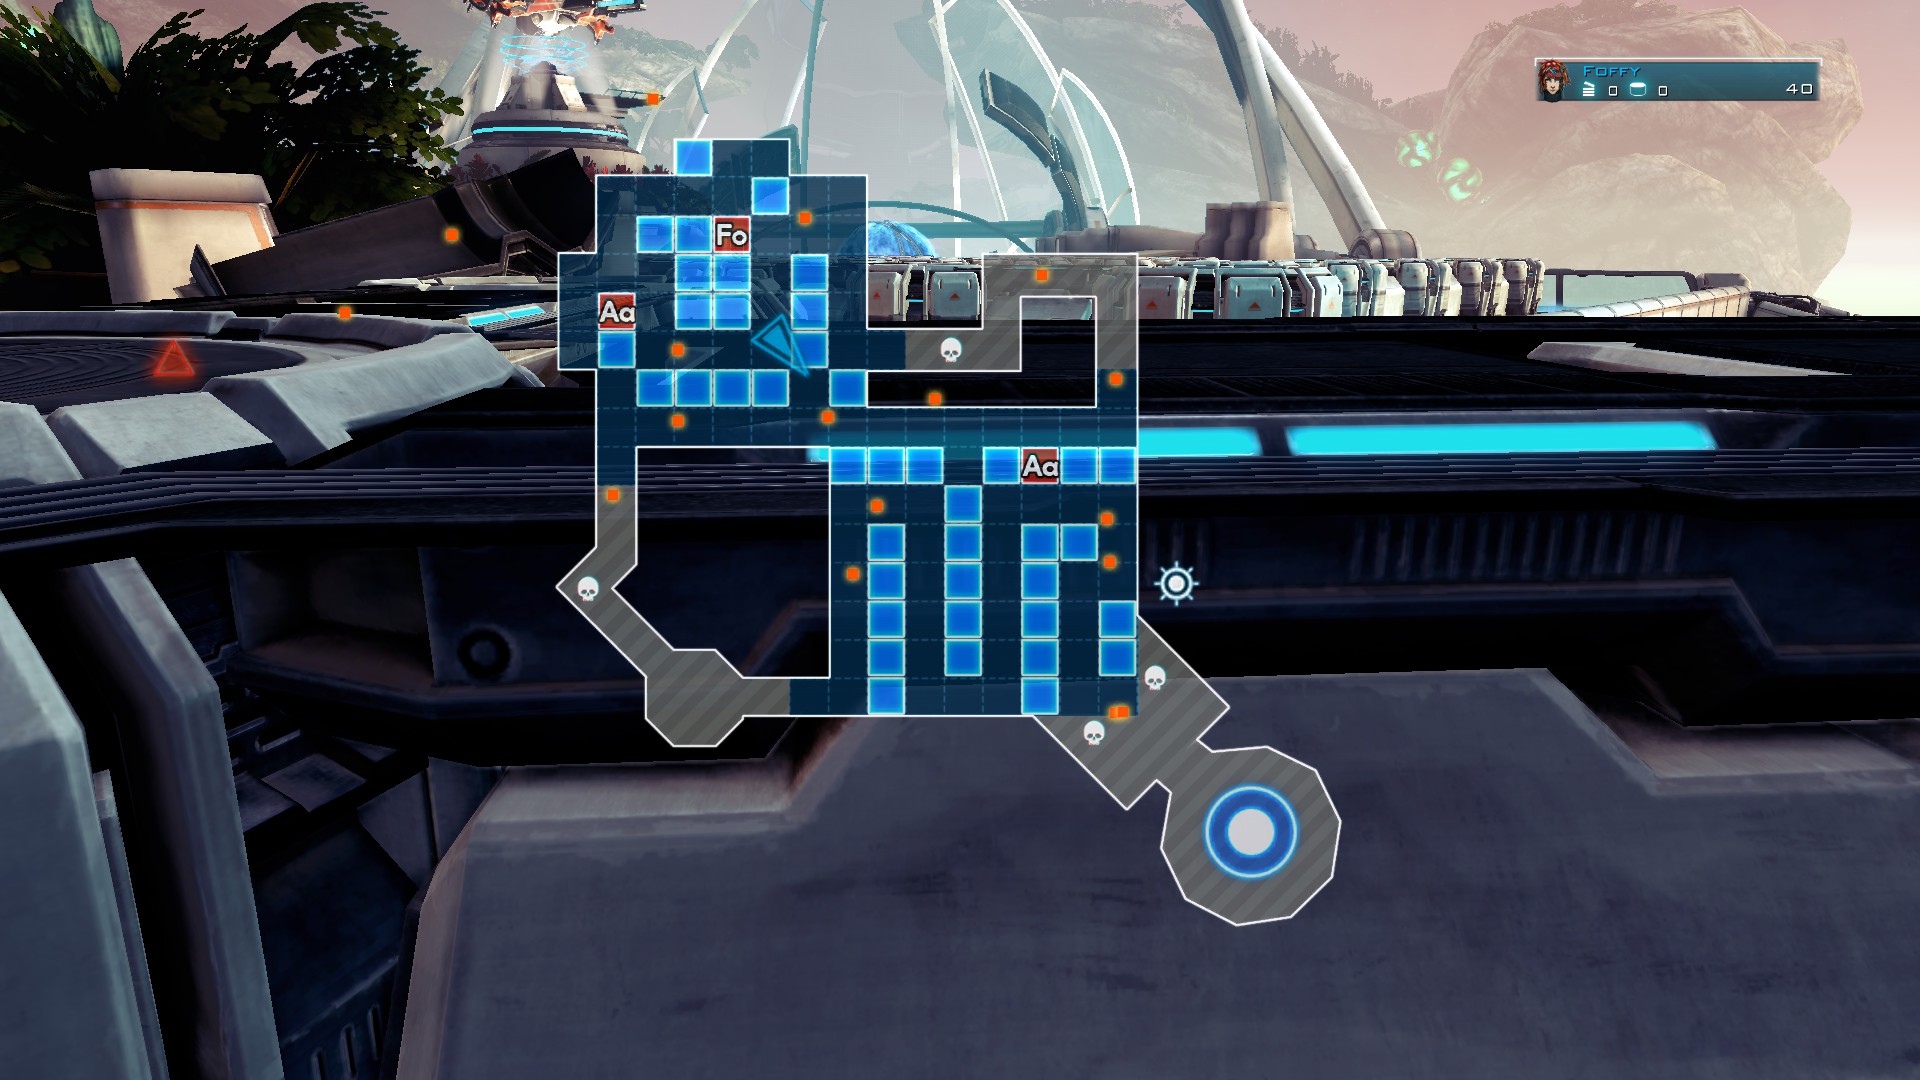
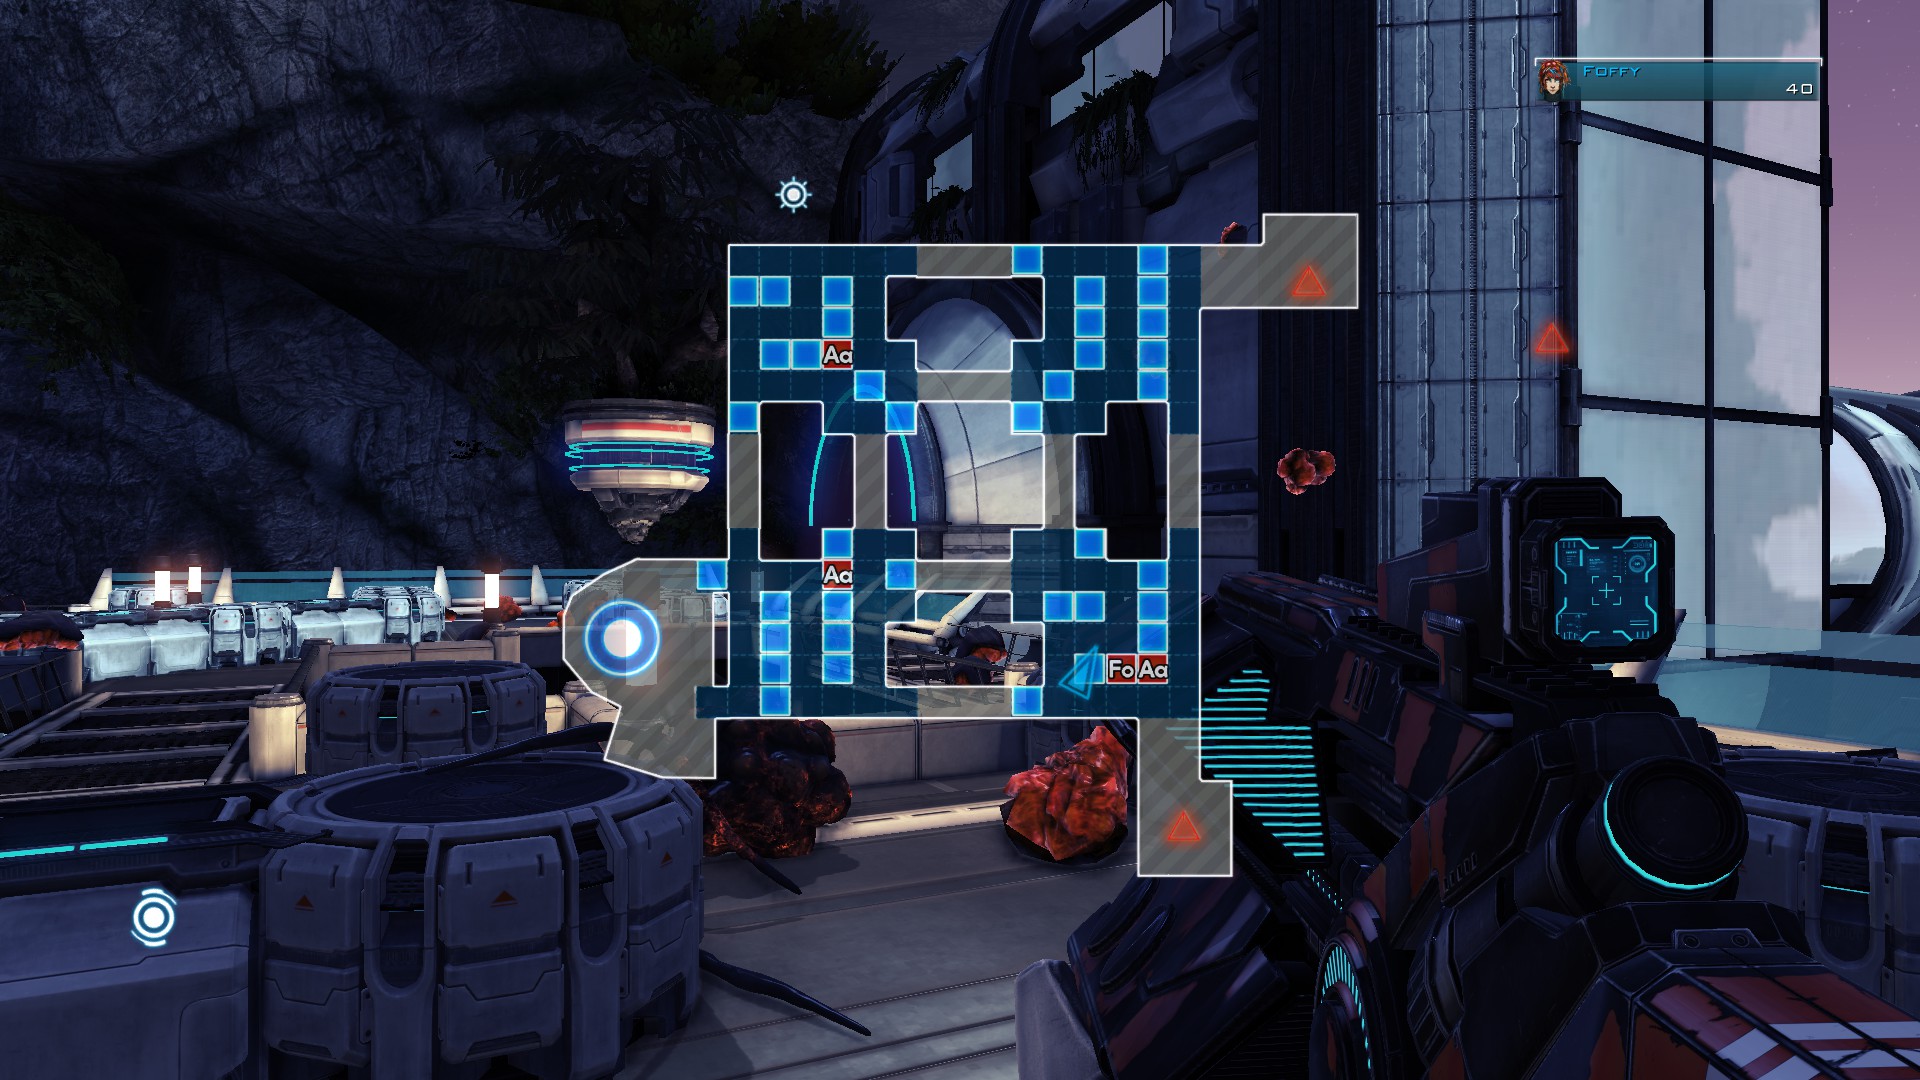
That being said, I can't figure out how you managed to build your "enclosed 4" layout for the Construction Site map without Lumes getting past during the earlier waves {2-6, mainly}. As such, I've adopted this layout {please ignore the tower placement, it was just one of MANY tests}:
Using the above layout, every 5 FoS attempt fails miserably. I'm guessing because either I haven't been using the correct towers/perks/character or perhaps it's just a lack of skill on my part.
In any case, the player in the YT vid I got the layout from managed to somehow clear the map with only minimal core damage using Sweet with the REX, Plasma Rifle, Unstable Core, Shocking Revelation, Tactical Juxtaposition, the Anti-Air tower & multiple Focus towers.