Kenshi
47 个评价
Creating Custom Animations and How Weapon Works
由 Gyropilot 制作
How to import and visualize Vanila animations, create your own, export them and include in the game. Also how weapon actually works on FCS. May require understanding of Blender and FCS depending on what you want to do
   
奖励
收藏
已收藏
取消收藏
Importing default animations and template
  • Open Blender (Any version seems to work) - Make sure you have Kenshi importing/exporting addon for Blender[www.lofigames.com]
  • Now select the desired race animation file to import and modify. Click on File > Import > Kenshi OGRE (mesh)
  • Animations are attached to _skeleton.mesh file. So open the skeleton of the race and gender you want to modify (animal or humanoid). Default path for female skeleton for example:
    C:\Program Files (x86)\Steam\steamapps\common\Kenshi\data\character\meshes\female_skeleton\female_skeleton.mesh
  • It should take a while. Don't worry, it's normal. After it finish converting, create a new Blender save file so you won't have to convert this again in case you have to start over
Understanding Animation Layout in Blender
  • Select Animation Mode on the top bar. You should see something like this


  • The file you imported should have:
    1. default body mesh. You shouldn't need to change anything here or in any of it's children properties (in the end you will need to export it with you skeleton/armature as well).
    2. female_skeleton armature. You should rename it for anything else. You shouldn't need to change anything in it's children properties either. Most of the time you should make sure you have this object selected

  • On the screen there will be:
    1. Dope Sheet Window Three little dots as icon. This window will show a timeline with all keyframes of all bones of the currently selected animation
    2. Graph Editor Window Two crossing lines as icon. This window is for small adjustments in keyframe vectors. We won't need this window right now. Change it to a NLA Editor
    3. NLA Editor Window This window shows a colection of animations in the skeleton. You can load any of these animations by clicking on it's lenght and pressing TAB (you can do this anytime to see how the default animations behave or to edit a animation) and any new animation should be SAVED HERE. Also to create a new animation you must click at the name of one of those animations besides the little star and press SHIFT + A. To quit a animation click on it's green lenght or press TAB. You can close this window after you load in a new animation
    4. Timeline Window A useful bar with all keyframes in a timeline. Light grey is available frames. You can change the amount of total frames for your animation by setting something else than 60 in the End box here. Right Click will jump to that frame. Up/Down arrow for next/previous keyframe. Left/Right arrow for next/previous frame. Also click the red dot button for automatic creation of keyframes
    5. 3D Viewport Window You can change this screen between different modes (make sure you have your skeleton selected to change into pose mode)
    6. [/list]
Animation Basics
Your workflow will consist of spacial adjustments on the skeleton in the 3D Viewport and timing adjustments in the Dope Sheet.
  • Time Controls: CTRL + A to play and stop animation. UP/DOWN/LEFT/RIGHT arrows and Right Click in the Timeline to travel between frames.

  • Dope Sheet: Keyframes (yellow dots) are frames of greater importance and are automatically created in the Dope Sheet every time a bone is moved in your CURRENTLY frame. One is created for each bone, each movement and each frame. You can move them around time freely in the Dope Sheet. Movement will flow from one keyframe to the other For final animation flow adjustments you can select keyframes and choose the acceleration fade-in fade-out by selecting the desired keyframe, pressing T and choosing the form as well as through the Graph Editor. Don't mind about this for now.

  • Dope Sheet Controls: Select keyframes with Left Click, select multiple by holding down SHIFT and Left Click each one or select a bunch by pressing B and dragging a box around them. Move selected keyframe with G. Delete them with X. Duplicate them with SHIFT + D. Select multiple keyframes and spread them through the timeline with S and dragging. Tweak fade-in fade-out of selected keyframe with T

  • 3D Viewport Make sure you are in Pose Mode (select your skeleton for this option). Most of the time you will want your Origin Point (yellow dot) to end where it started, even for displacing animation (dash attack, movement). Your main bone is the... Penis bone (Bip01) and your skeleton follow a hierarchy spreading outwards (Bip01 move everything, thigh move legs, calf move feet, and so on). Any object you will be interacting with (body being carried, weapon in your hand) replaces the Prop2 bone.

  • 3D Viewport Controls You won't want to resize your bones (S), most static animations won't require moving them either (G), so you will mostly rotate them (R). Rotate (also works for scale and moving) in only one axis by pressing R then the axis key Z, X or Y. Rotate in any axis but one by pressing R SHIFT + the axis to be excluded (R SHIFT + Z or X or Y). Move the camera with Middle Mouse Button + draggin or by pressing any key in the numberpad. Add a keyframe IN THE CURRENTLY FRAME with I (Whole Character and Whole Character Selected Bones Only are the most useful options) or by simply making the desired move.

  • Saving your project: You can create automatic increasing Blender save files by simply pressing SHIFT + Plus Sign and hitting Enter. You must save your animation as a functional one by clicking on the double arrow on the NLA Editor


  • You should start your animation by setting a Whole Body Keyframe at frame zero (It's useful to copy the whole dummy pose keyframe in a frame earlier as well in case you mess something up or want to start over). Then, create the most important poses anywhere in the timeline. Then adjust them in the timeline so it has correct speed. Only then start chopping the timeline gaps with more intricate positions. For a more fluid movement, don't sync all body parts in the same frame, make it so the head moves first, then the body, then the arms and so on for example.
Exporting Your Animation File
So your animation is ready and saved in NLA group. Don't worry, you can easily come back and edit it later if you are not happy about how it looks in game. Time to export. Kenshi will look into the animation name for when to use it, therefore you should give your animation a unique name in NFL. The name that Kenshi will look for it's reference in NLA. Even if you want to overhaul a animation, it's better to do it in FCS than to overhaul it in Blender. It's advisable that you delete ALL VANILLA ANIMATIONS on your skeleton, otherwise glitches might happen. Having only your animations on your skeleton, now select both the default body mesh and the skeleton as objects to export. Now click in FILE > EXPORT > Kenshi OGRE (mesh). You must select your specific mod folder, as Kenshi and FCS will look there for your file and it will only export it with your mod if it's there too. Before exporting, also check on the botton left if Export tangents, Export Binormals, Export Skeleton and Export Animations are selected. And now finally you are good to go. On your destination folder will be created a mesh file and a skeleton file.
How To Include Your Animation in FCS
First of all, you need to copy and paste BOTH FILES (.mesh and .skeleton) created by Blender into your mod folder. Also check as both files need to have the same name (minus .extension) and usually Blender will add .blend in your files. Now open FCS and under Game World > Animation > Animation File, add a new item. You can name it whatever you want. Your new item will have just two options (You should leave preprocess True as it is by default). Target female animation and/or male animation to the destination folder and your file itself. Now your animation can be found by the game and used in your mod. Now you must assign it as a animation repertoire for your desired race, animal or individual character. For a race, find it in Race (Ex. Greenlander). For a Unique Character, find it in Characters (Ex. Beep). For a Animal, find it under Characters > Animal (Ex. Garru). On the chosen creature, select on the dropbox animations file instead of AI Goals and click Add and then choose your new item. Now that creature has access to your animation in it's repertoire. For the animation finally be used, it needs to have it's name correctly written on the anim name under a animation item. Now you can simply override a default animation, create a copy of a existing animation so it doesn't get overriden, or create a totally new animation.
FCS Animations
How to add your animation in the game varies. Overriding default animations and creating common weapon variations should be easy and free of issues, but creating unique stuff is really tricky. I'll share what I found out about this so far

  • Animations: Every animation (besides Combat Techniques) is a item under the Animation list. What determines what animation will be used in a given situation is all determined by those items. This table is for humanoids, for animal animations refer to the proper list in FCS. Most noticeable fields and their description:
    Item
    Description
    anim name
    The actual animation to be used. Will use the animation with the same name in this field and in NLA Editor in Blender
    category
    What stance the character needs to be to use this animation. Further determined by other fields
    track exclusion
    What bone will be ignored by this animation and be replaced by other less priorized animations
    type
    If a Combat Technique, what situation can this animation be used

  • Combat Technique: Animations that depends on the weapon being used. Only works for melee weapons. All dodges, blocks and attacks animations are here, but not other combat stance animations like strafe and weapon guard stance. Barehands are also considered a weapon. Also true for animals, as they also uses weapons, just their unique one. Most noticeable fields and their description:
    Item
    Description
    anim name
    The actual animation to be used. Will use the animation with the same name in this field and in NLA Editor in Blender
    skill
    The skill level the character needs to have in the skill type chosen in animal field to use this animation
    animal
    What skill this Combat Technique uses. As every human has any of those skills (besides ATTACK_ANYMALTYPE), this field can be anything. As only each animal specie has the skill in it's given specie, only it can use that ATTACK_ANIMALTYPE. Not to be confused with which skill will be leveled by using the weapon. Also could be used to overhaul animations for unique weapons by setting the same item here weapon as well (more information on this in the Weapons description)
    type
    Type subfields (beside animal) limits what situation this animation can be used. If only one handed and with what weapon kind. This field seems to work as supposed to

  • Weapons: Every melee weapon item is here. Here you can set a weapon .mesh and adjust it's stats. Importantly though, notice that Skill Category is the actual weapon category, what skill will it level and what weapon type limitation will it have, while Skill Category Animation Override is used to change it's animation possibilities. Most of the weapons use SKILL_NULL (Exception example: Heavy Jitte) and most animations uses SKILL_KATANA. Therefore there are many free slots to be used for unique Combat Techniques for unique weapons. Further inromation and testing needed on this regard
More Information
For more fluid animations, you will need Inverse Kinectics on your Blender Skeleton
https://www.youtube.com/watch?v=0U3NjTvwdWI&t=1s

How to import-export Animations file: Lo-Fi Page[www.lofigames.com]
https://www.youtube.com/watch?v=AHGySKWStB8&t=159s
20 条留言
indikid9149 2022 年 4 月 13 日 上午 9:47 
I get an error message every time I try to import the skeleton meshes, how can I fix this?
Cattrina 2021 年 9 月 2 日 上午 3:40 
I have also made a video tutorial on animations: https://www.youtube.com/watch?v=U0XpZUQV6CQ
Og-the-Trog 2021 年 5 月 5 日 下午 5:06 
Is 2x weapon speed multiplier in the FCS faster or slower than 1x?

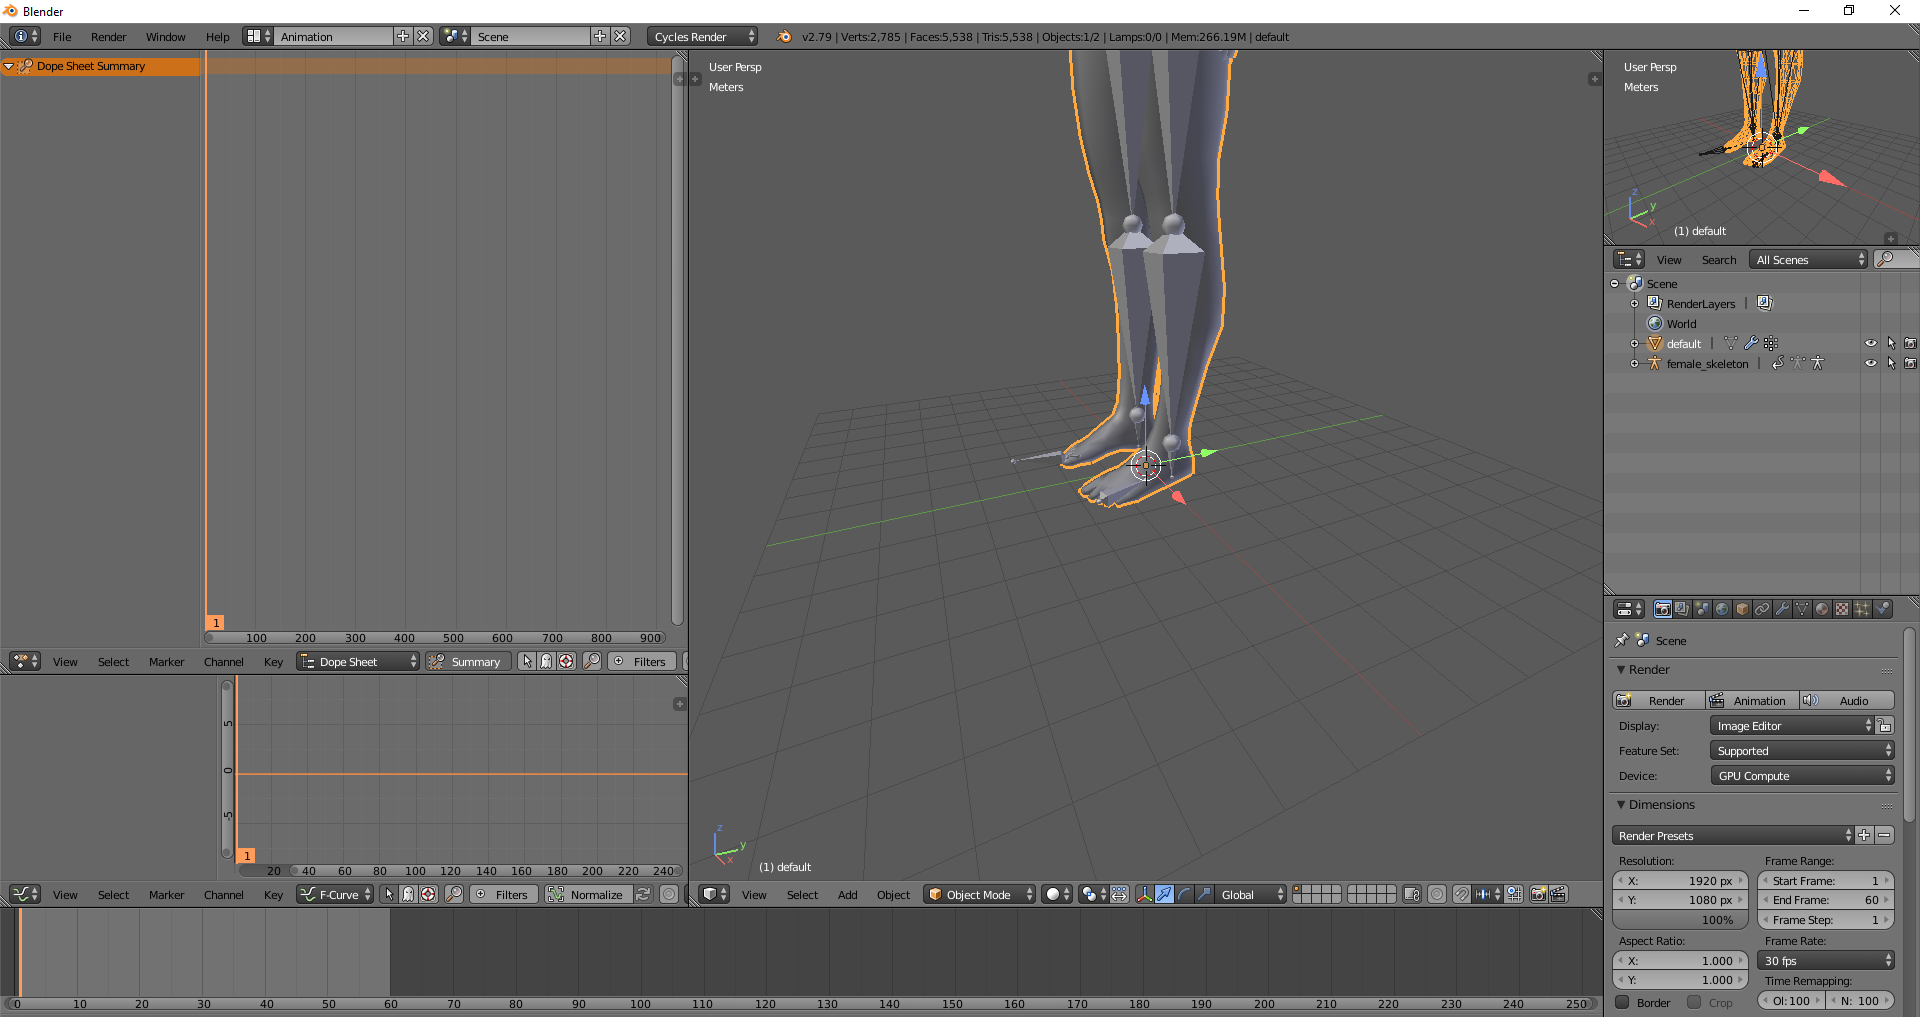
Trying to slow down some modded animations, don't want to edit them all just to find out I went the wrong direction..
Hapless 2021 年 1 月 14 日 上午 1:13 
Thanks alot my man, this guide helped me make reload animations for my firearms mod.
Hugo the Dwarf 2020 年 2 月 24 日 下午 9:57 
Thank you, that seems to make a bit of sense, and now I have a visual prop to work with and it does align with the vanilla weapon animations.

So I might be able to get a bit further now, Thanks again. This is a great guide and you've been a great help. I might have more questions, or I might not.
Gyropilot  [作者] 2020 年 2 月 24 日 下午 8:44 
I think Prop 02 is the weapon bone. You should be able to import a weapon mesh just like you imported the skeleton itself (with the Import Kenshi Ogre Mesh). And it should already be properly following that bone. Otherwise you can create a weapon template.
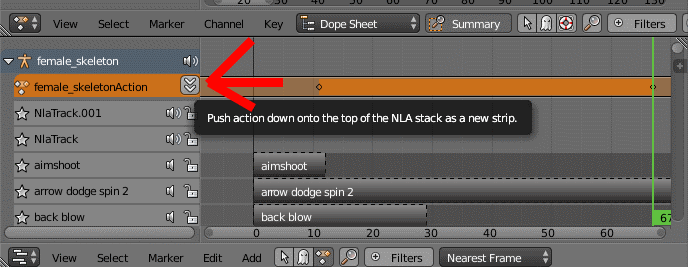
I've made a video doing that, the shortcuts I use are in the corner https://imgur.com/QQlZxp4
Basically what you need to do is in Object mode, select your weapon, hold Shift and select any part of the armature, CTRL + P, Parent it to the armature with Empty Weights. Then, select your weapon, enter Edit mode, select all it's vertexes, and assing it to the Prop02 like I do in that window in Properties. You will have a problem though, that the Origin point of your weapon and the bone you want it to follow must be in the same place. That's why in the beginning I select the bone and make "Cursor to selected", because then when I create a object to be my sword, it will already have it's origin in the right place
Hugo the Dwarf 2020 年 2 月 24 日 下午 6:44 
This guide has helped me get a test animation made, and put into the game. However I'm having an issue with the weapon positioning, and rotation. Do you know of a guide to get a weapon prop imported and constrained to the bip01 Prop01 and bip01 Prop02 (if 02 is used). It'd help me greatly if I can visualize where the weapon is in blender so I have an idea how it will look in game.
Gyropilot  [作者] 2020 年 2 月 21 日 上午 10:58 
Thanks for the info Monocly. I'll include it in the description :)
Monocly Man 2020 年 2 月 21 日 上午 9:46 
Turns out I downloaded an outdated version of the import software and it didn't support animation importing. If anyone else is looking at this in the future https://www.lofigames.com/phpBB3/viewtopic.php?f=11&t=10732 this link is the official source for the software.
Monocly Man 2020 年 2 月 21 日 上午 9:03 
How do I select "Import Animation" in the import screen?