安装 Steam
登录
|
语言
繁體中文(繁体中文)
日本語(日语)
한국어(韩语)
ไทย(泰语)
български(保加利亚语)
Čeština(捷克语)
Dansk(丹麦语)
Deutsch(德语)
English(英语)
Español-España(西班牙语 - 西班牙)
Español - Latinoamérica(西班牙语 - 拉丁美洲)
Ελληνικά(希腊语)
Français(法语)
Italiano(意大利语)
Bahasa Indonesia(印度尼西亚语)
Magyar(匈牙利语)
Nederlands(荷兰语)
Norsk(挪威语)
Polski(波兰语)
Português(葡萄牙语 - 葡萄牙)
Português-Brasil(葡萄牙语 - 巴西)
Română(罗马尼亚语)
Русский(俄语)
Suomi(芬兰语)
Svenska(瑞典语)
Türkçe(土耳其语)
Tiếng Việt(越南语)
Українська(乌克兰语)
报告翻译问题








Then we have Sally the team carry , much more useful in the last boss fight but very good in act 2 and 3 once you get a good weapon to reset and she is level 10.
Piper was pretty ''op'' on act 1 because you will want to heal on this first act.
But in the second act I pretty much dropped her because I wasn't needing her healing at all, everything was dying and Got Beatrix as my third one (Piper became my 4th slot).
My playthrough was more balanced around one/shot everything and you wont get it.
I-m not joking I didn-t need Piper.
My setup was = 1 Payroll 2 Sally 3 Beatrix 4 Piper.
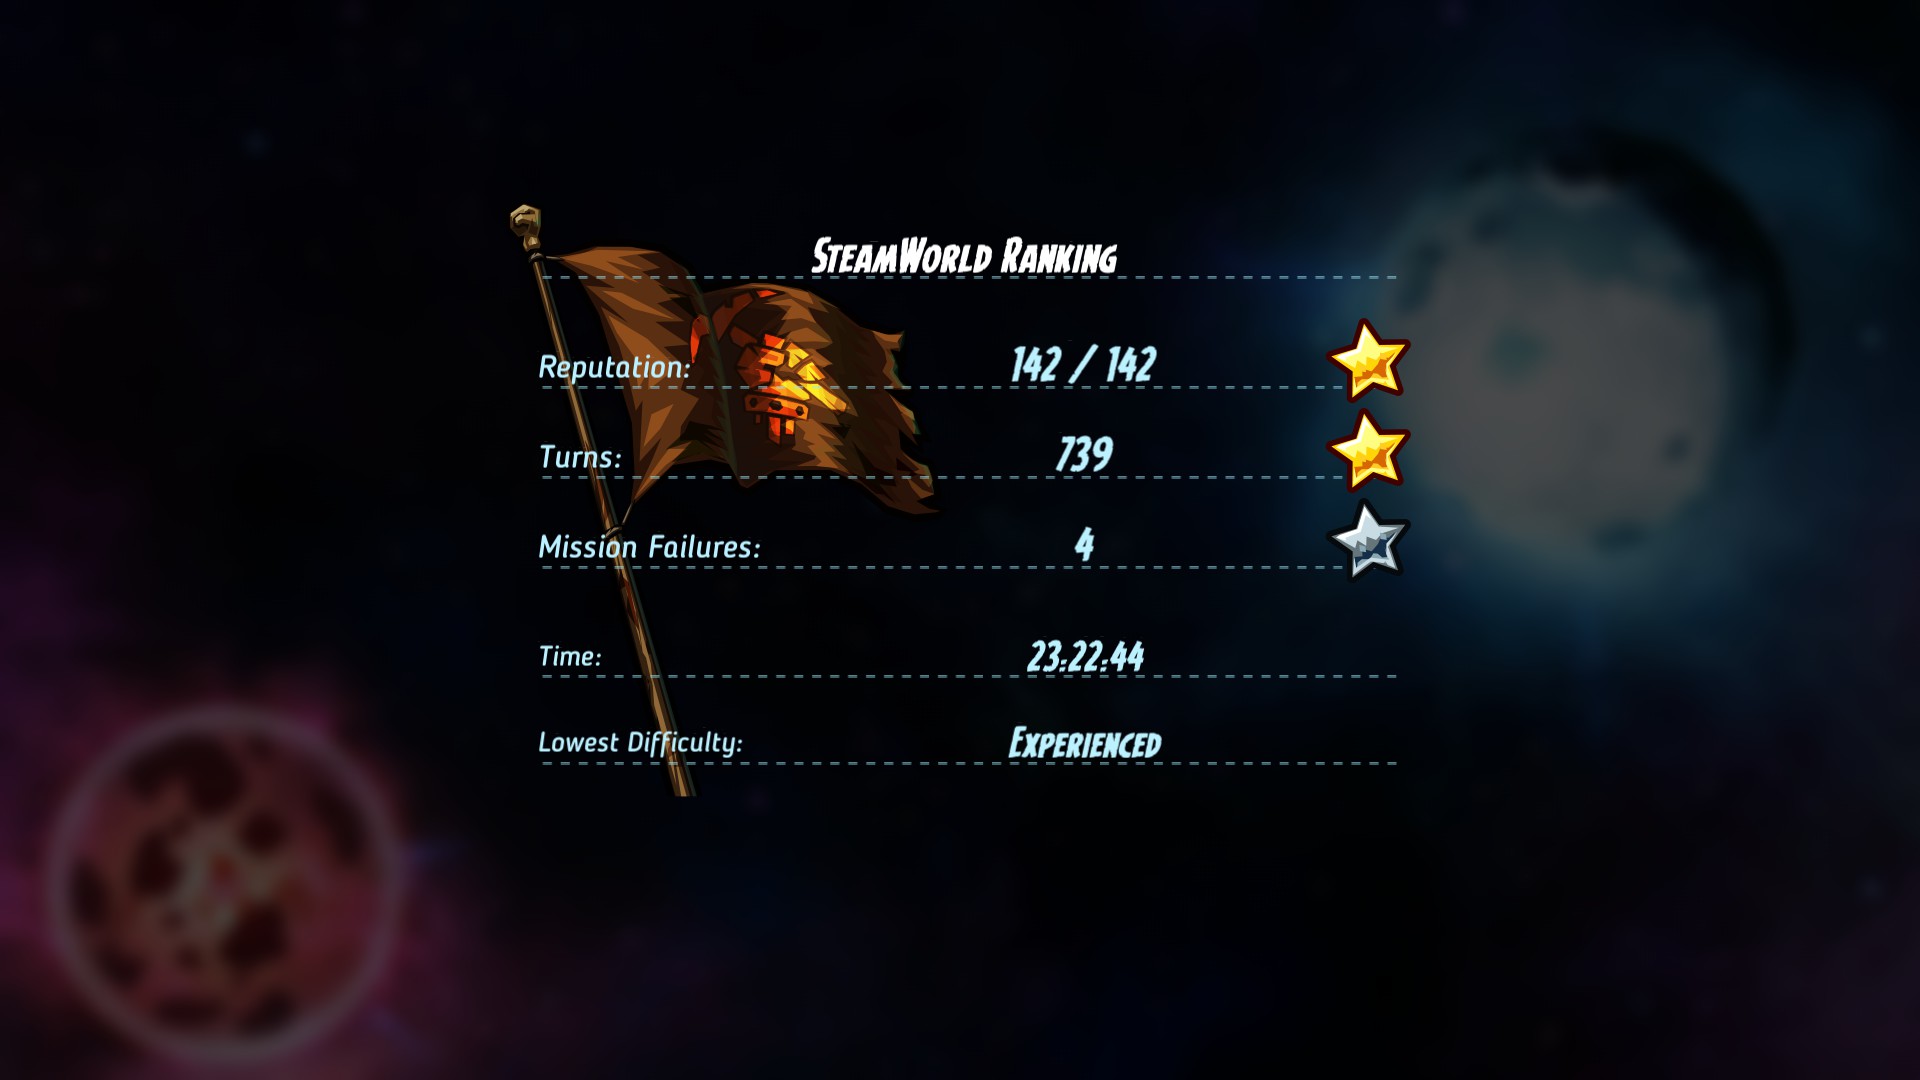
I had to only repeat one mission on the early game where one of my bots died but the rest was one try only.
Anyway thanks for the in-depth guide, very helpful not everyone is willing to spend their time on the hardest achievements , Thank you, truly!